Graduation Mason Jar Centerpiece DIY (Easy Step‑by‑Step Tutorial)

If you’re looking for an easy and affordable graduation mason jar centerpiece, this DIY project is a great option. It uses simple supplies—painted mason jars, tulle pom poms, and a graduation year topper—to create a fun, personalized decoration for your celebration. Below, I’ll walk you through each step so you can recreate this centerpiece at home, even if you’re not a crafter. It comes together quickly and adds a bright, festive touch to any graduation party table.
Disclosure: This page may contain affiliate links. If you purchase through these links, I may earn a commission at no extra cost to you.
And for those of you that would rather watch via video, I’ve included a link to a YouTube video below.
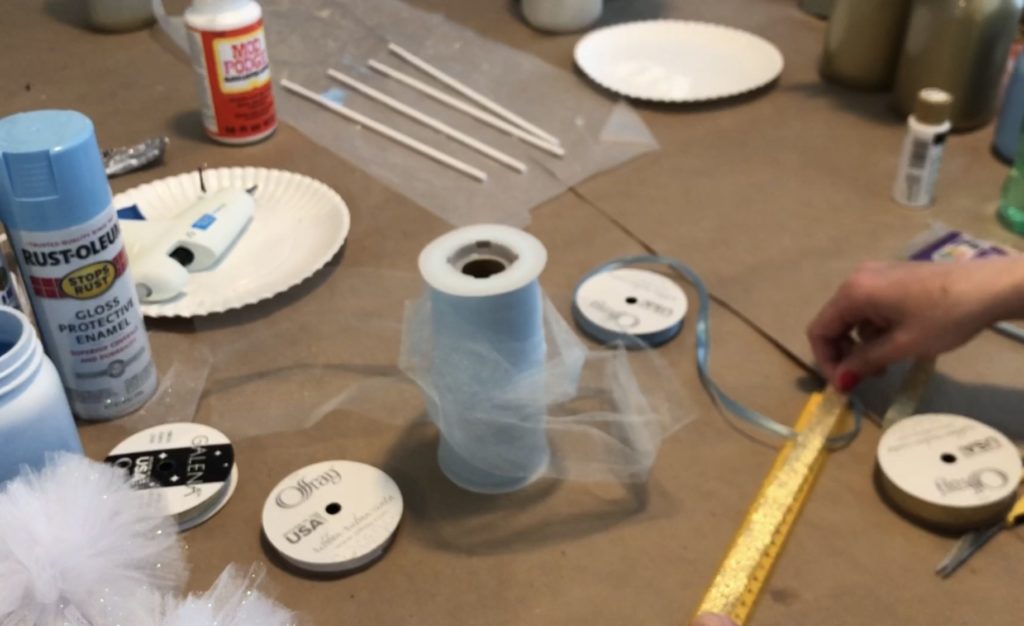
Supplies:
- mason jar
- tulle
- ribbon & twine
- tulle
- Styrofoam
- dowel rods
- spray paint for mason jar
- acrylic paint for the dowel rods
- glue gun & glue sticks
- foam brush
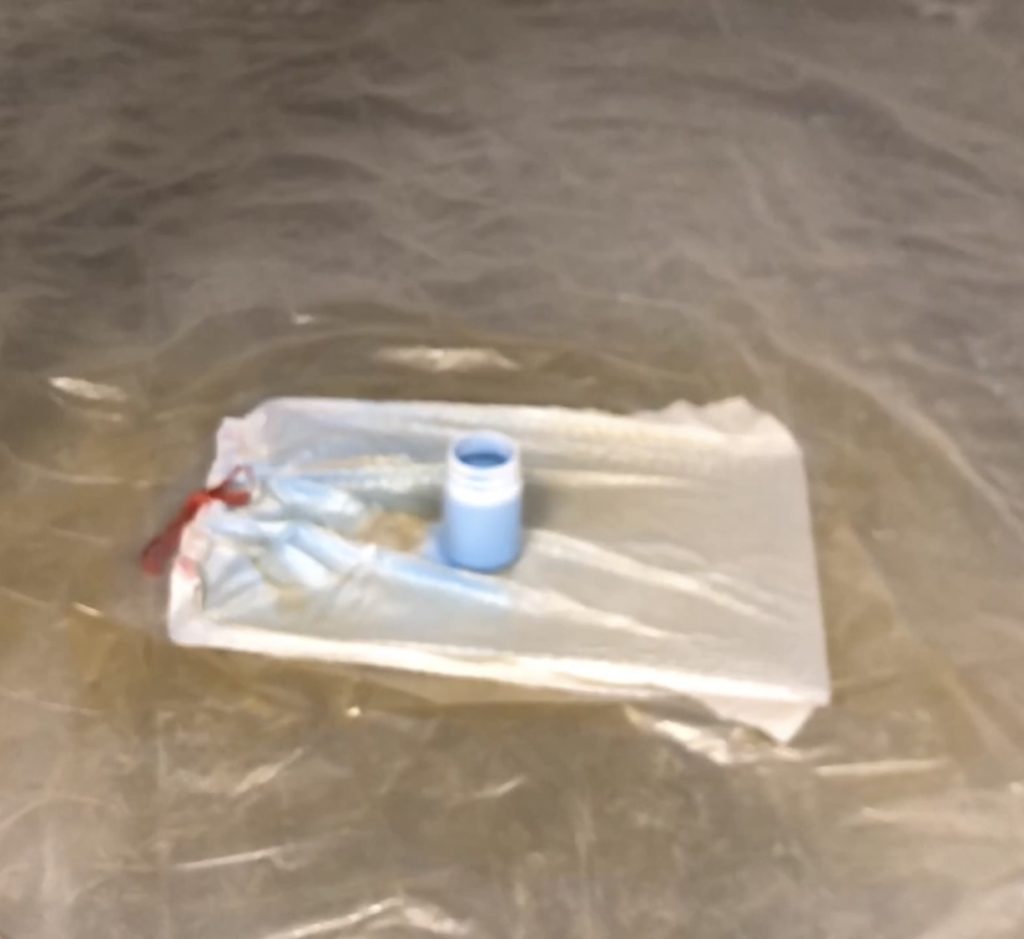
- card stock to print the graduation year from
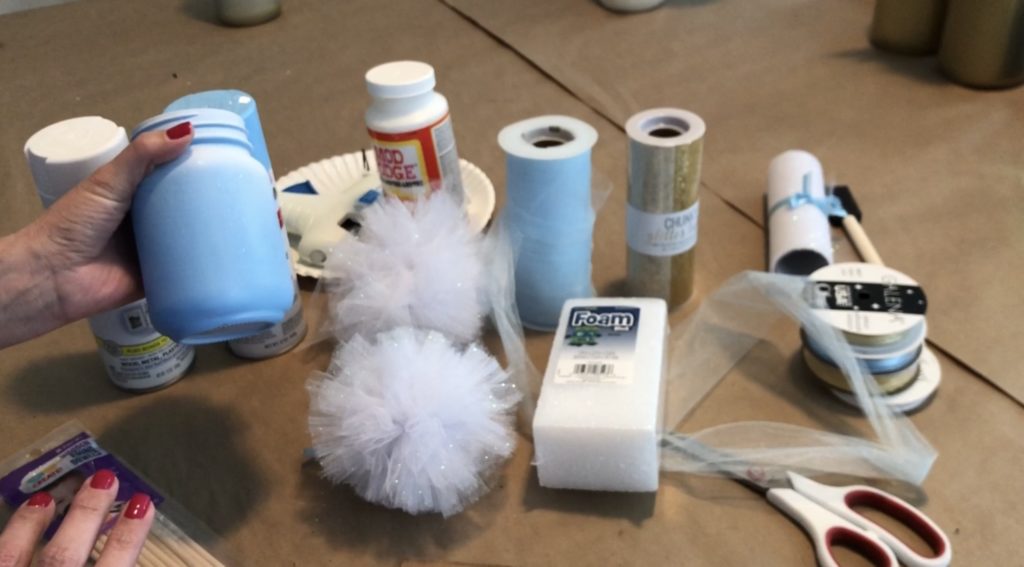
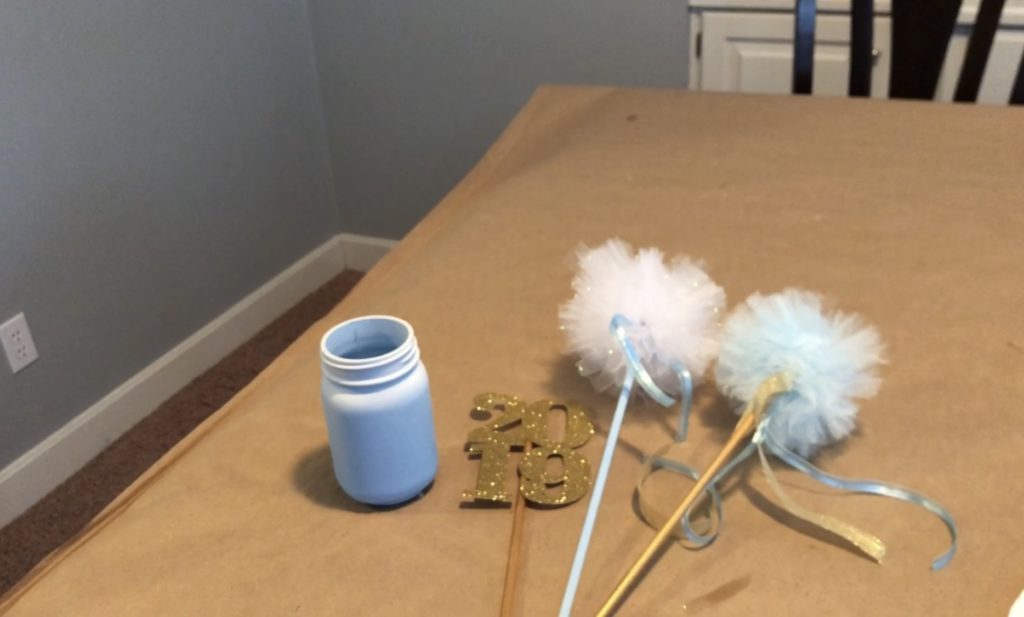
Paint mason jar.
I painted two coats of the blue spray paint, following directions on the paint can.
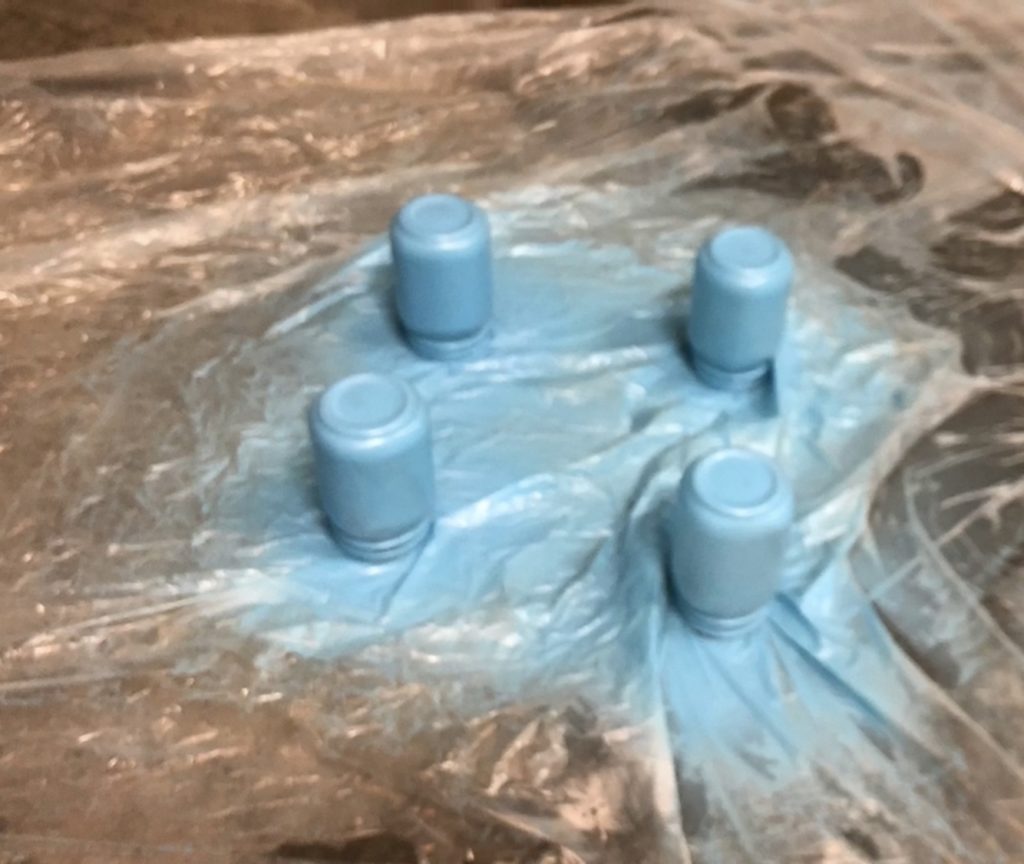
Once the blue paint dried, I painted the top of the jar with white spray paint.
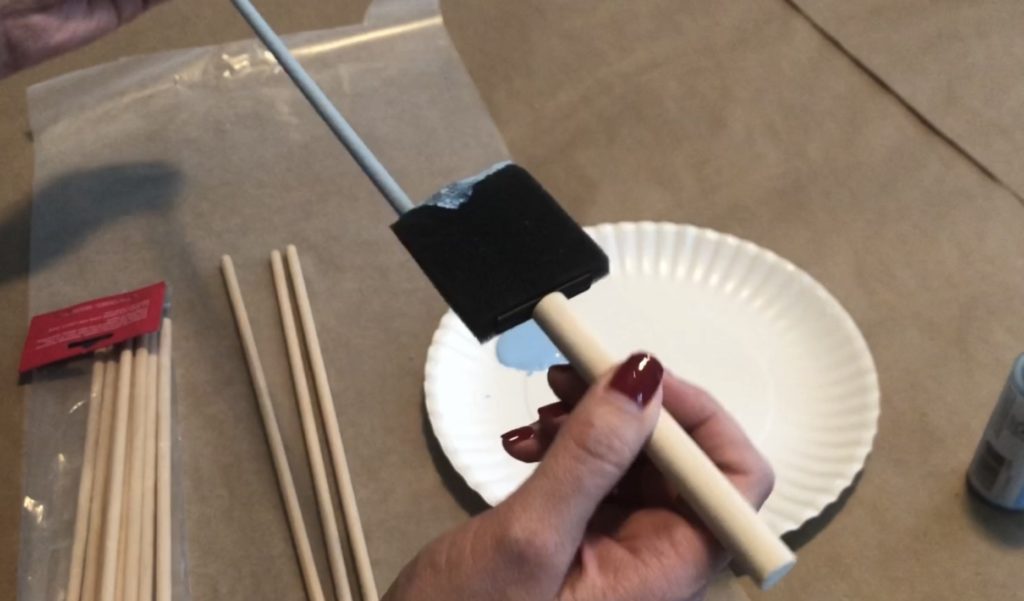
Next, paint the dowel rods.
I purchased my 12″ dowel rods at Walmart for 97 cents (for a pack of 16). The Dollar Tree had some as well, but they were much shorter, so the Walmart option worked better for this project.
To add color, I painted several dowel rods blue, others white, and a few gold using a foam brush. The paint dried quickly, allowing me to go back in with a second coat for a more solid finish.
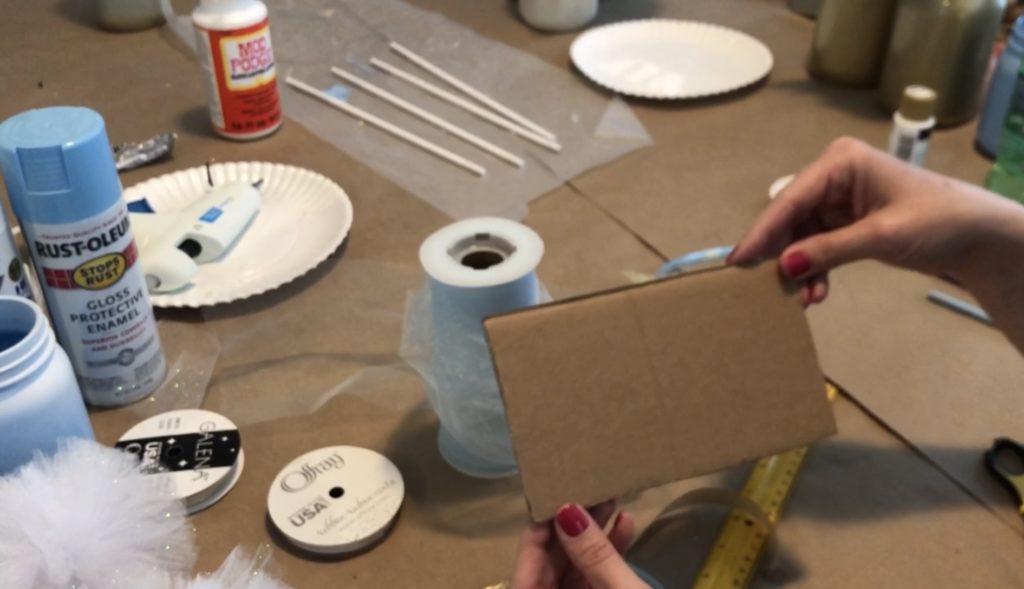
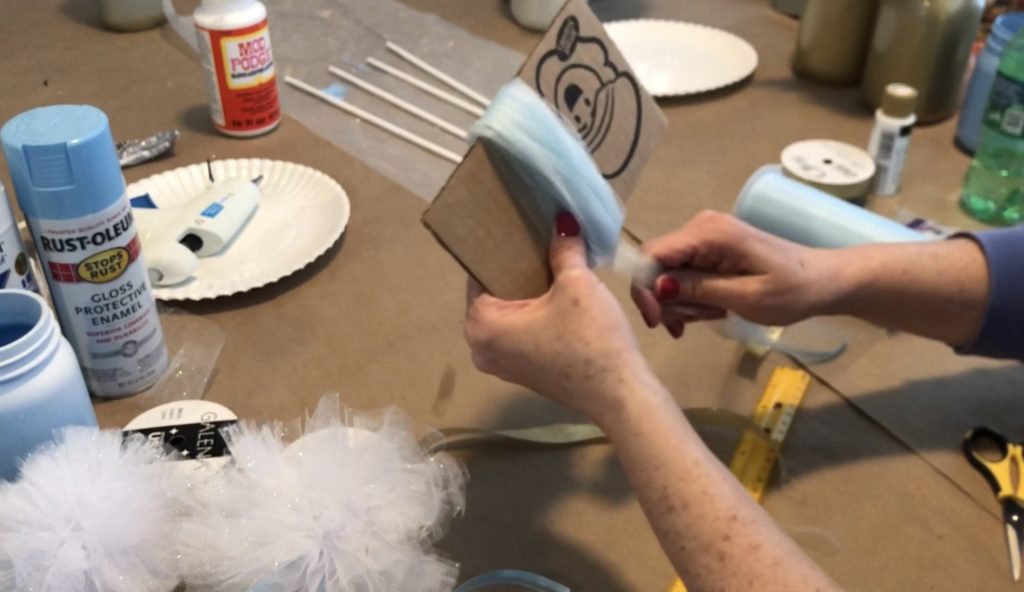
Then, prepare the tool to use for pom pom making.
I cut a piece of cardboard 4″ by 6″ to be used for wrapping the tulle.
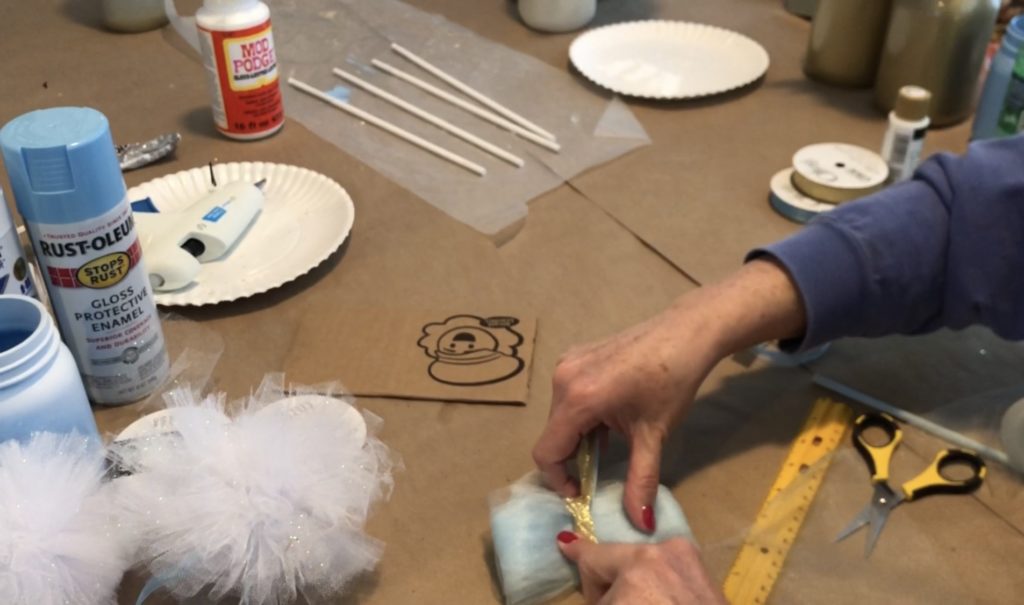
Cut ribbon for pom pom.
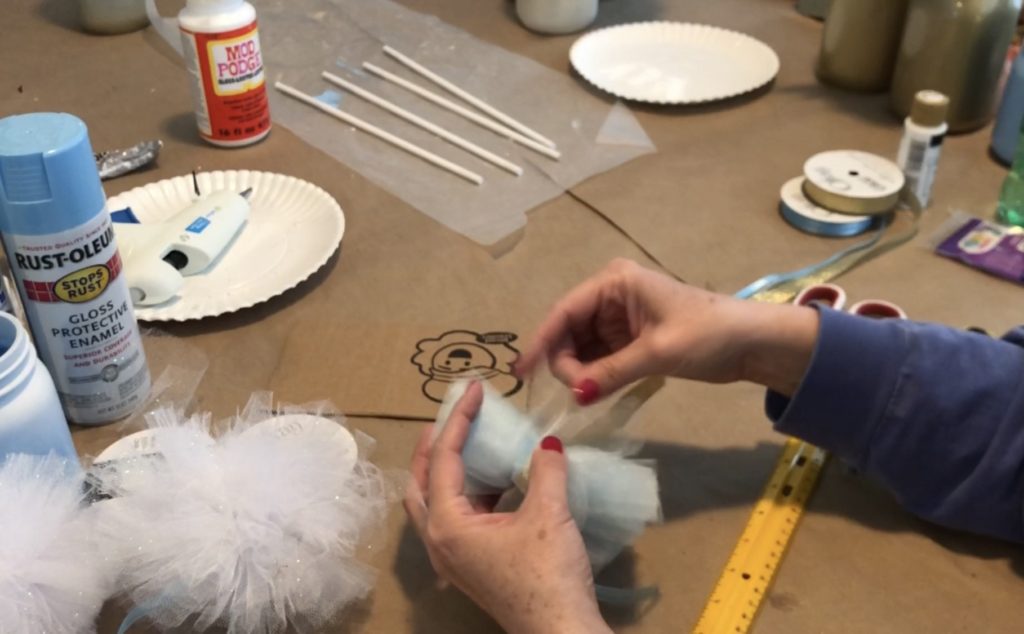
To make the tulle pom poms, start by cutting several strips of ribbon to your desired length. I like to keep them long enough to add movement and texture without overwhelming the centerpiece. Once the ribbon is cut, set it aside so it’s ready to tie around the tulle after you’ve fluffed each pom pom.
Wrap tulle around the cardboard.
To make each pom pom, start by wrapping the tulle around the 4″ side of your cardboard piece. I usually wrap it about 17 times so the pom poms end up full and consistent in size. Keeping the number of wraps the same for each one helps your centerpiece look uniform and polished.
Slide the tulle off and tie the center
Once you’ve finished wrapping, gently slide the tulle off the cardboard and tie it tightly in the center. Getting the knot as close to the middle as possible helps the pom pom stay even on both sides. A secure tie also makes the next steps—cutting and fluffing—much easier.
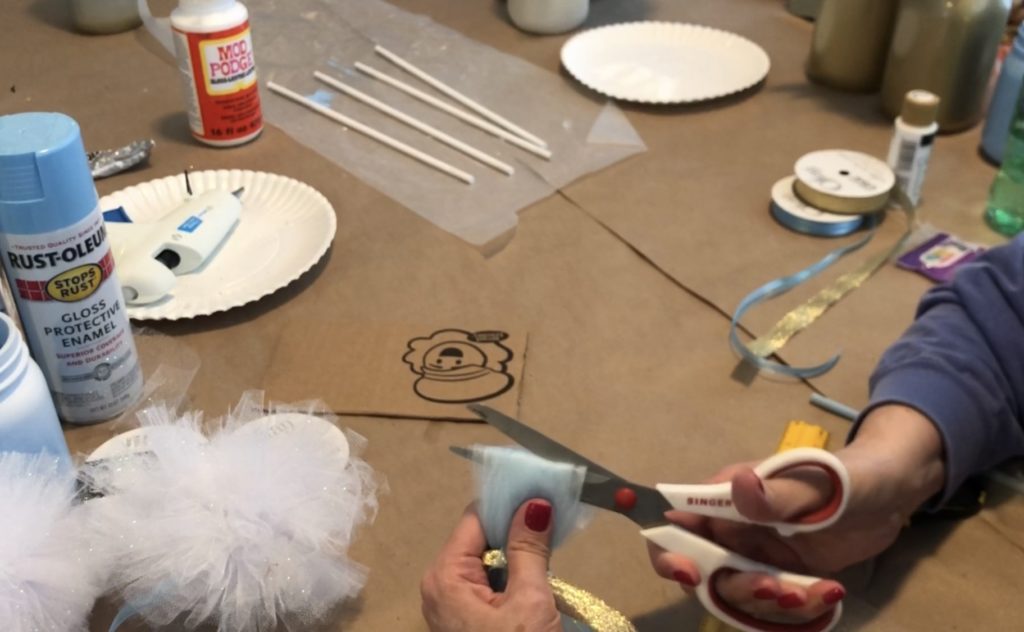
Clear a path in the loop to cut.
Before cutting the tulle, use your finger to gently separate the layers and create a small opening in the loop. This makes it much easier to guide your scissors through and helps ensure you get a clean, even cut on both sides of the pom pom.

Cut the loops.
Carefully slide your scissors into the opening you created and begin cutting through the tulle loops. It’s completely fine if you can’t cut every layer at once—just work your way through them as you go. After one side is finished, repeat the same process on the other side, trimming any missed loops along the way so the pom pom fluffs evenly.
Fluff the pom pom.
After both sides are cut, gently separate the layers of tulle with your fingers to fluff the pom pom. Keep working around the entire ball until it looks full and even. If you notice any longer pieces sticking out, give them a quick trim so the shape stays round and consistent.
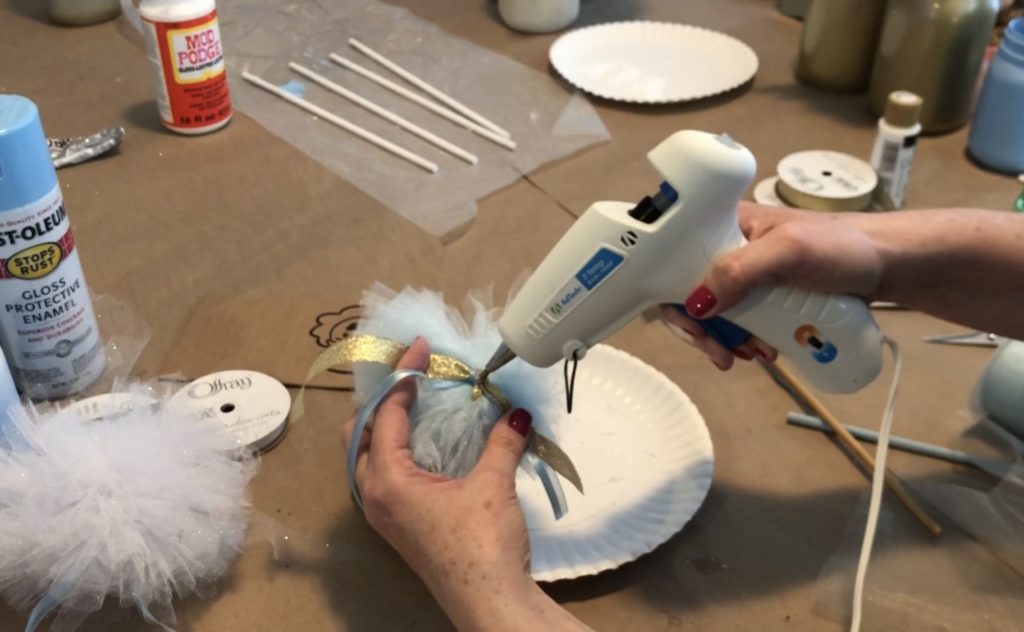
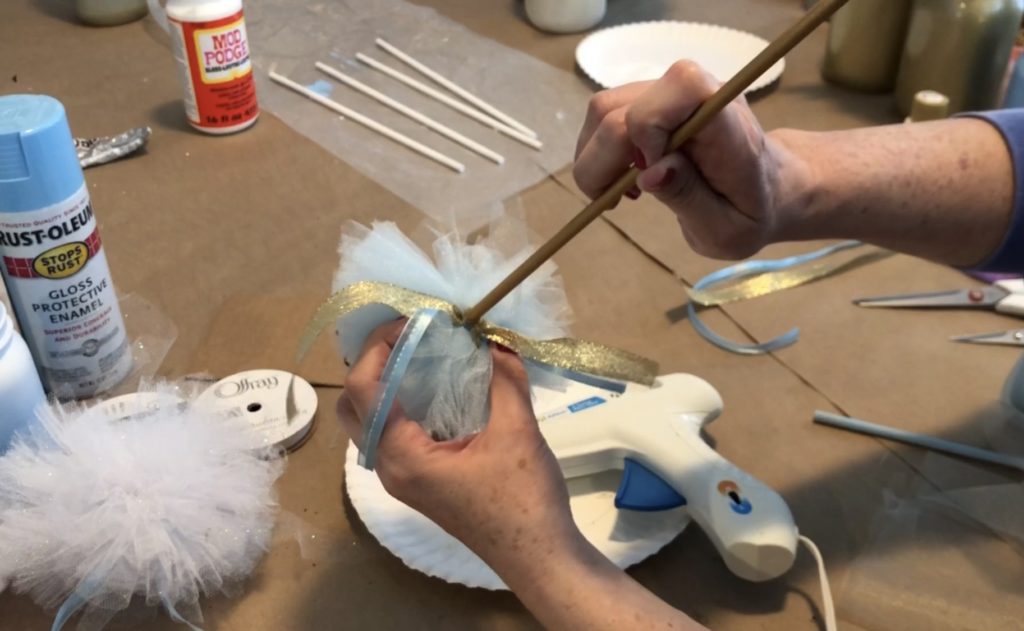
Glue the Pom Pom to the Dowel Rod.
Add a generous dot of hot glue to the knot of the pom pom, then press the dowel rod firmly into the center. Hold it in place for about a minute so the glue can set. For extra security, add a little more glue around the base of the stick and gently press the tulle into it. Just be careful—this step gets hot quickly.
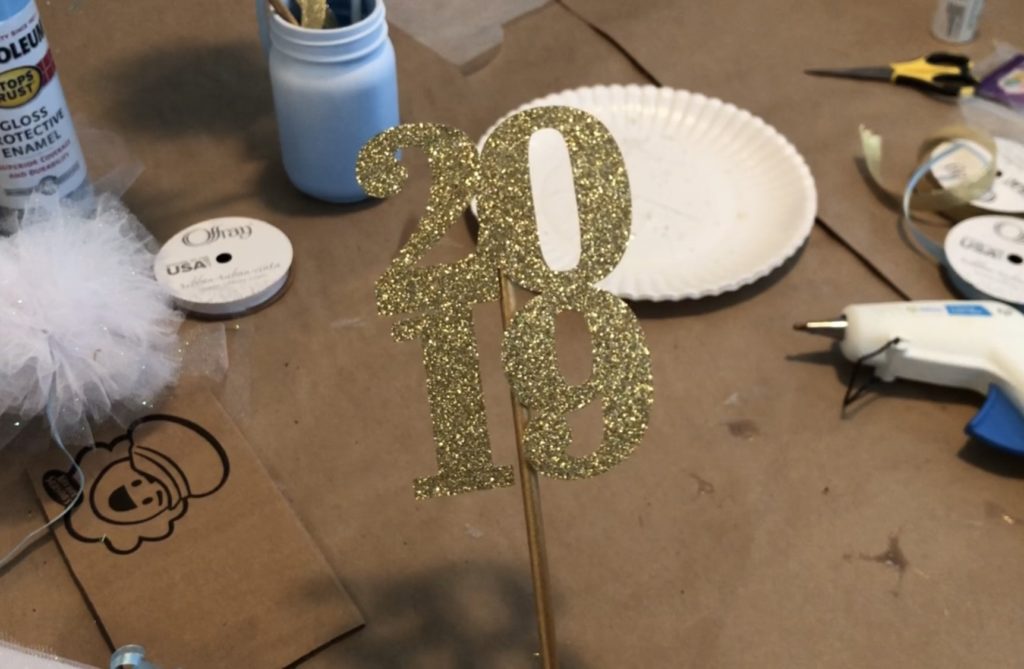
cut the graduation year and attach it to the dowell rod
Using your cutting machine, cut the graduation year from cardstock—I used a glitter cardstock for a little extra shine. Once the piece is ready, add a small dot of hot glue to the back and press it onto one of the painted dowel rods. Hold it in place for a few seconds so it adheres securely. This adds a fun, personalized touch to the centerpiece.
Below you see the two pom poms and the 2019 sign.
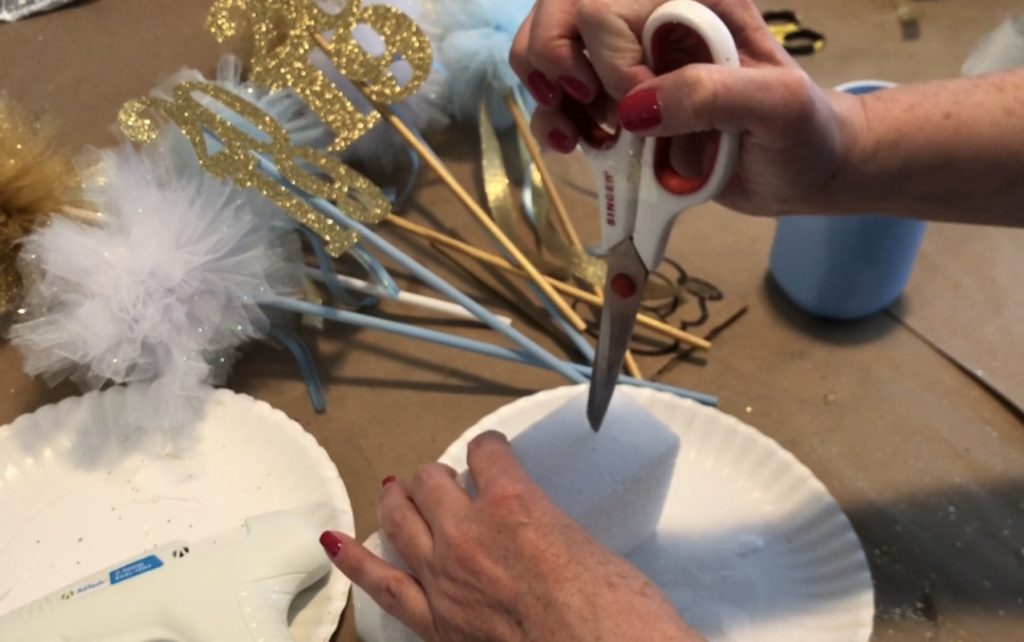
Cut the Styrofoam to fit the mason jar
Place a piece of Styrofoam on top of the mason jar opening and trace around the rim. Cut just inside the line so the foam fits snugly inside the jar without bulging the sides. Once trimmed, press it down into the jar—this will hold your dowel rods upright and keep the centerpiece stable.
Place the Styrofoam Inside the Mason Jar
After cutting the Styrofoam to size, press it firmly into the mason jar until it sits just below the rim. You want it snug enough to hold the dowel rods upright without shifting. Once it’s in place, your jar is ready for arranging the pom poms and graduation year topper.
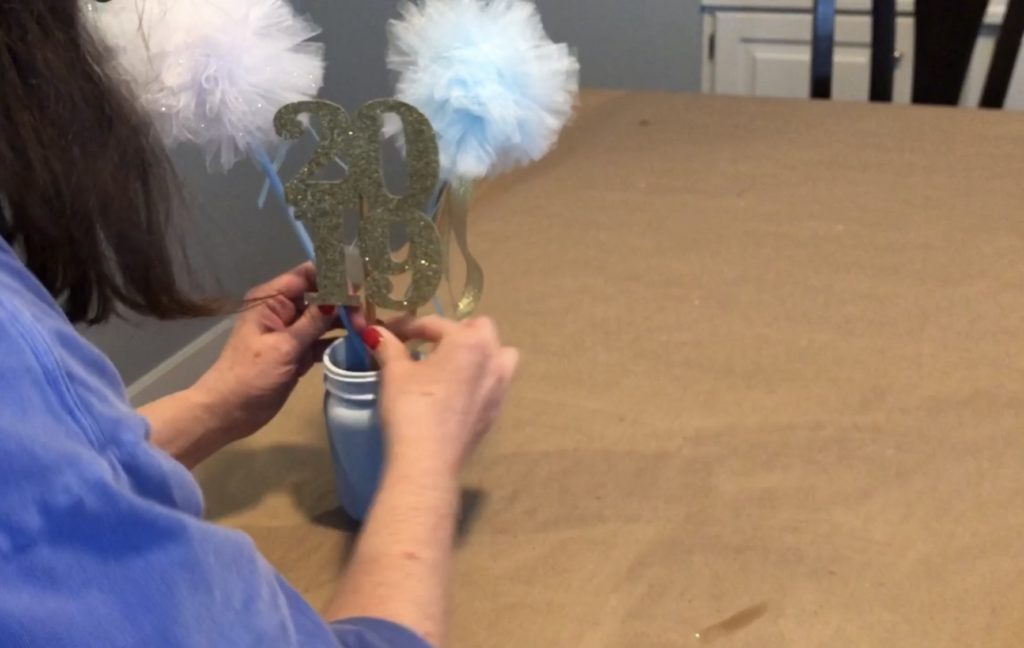
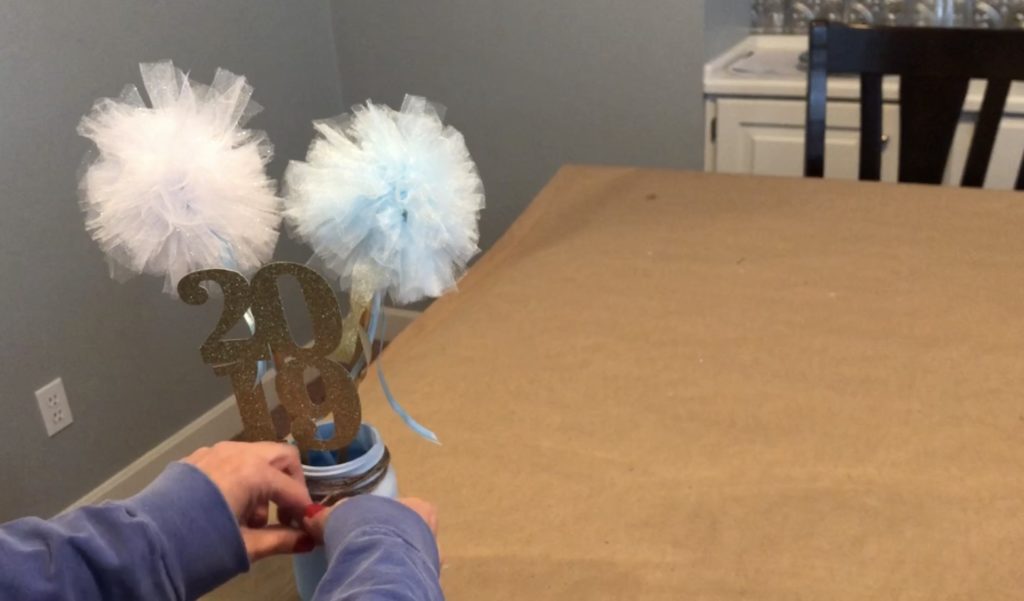
Insert the dowel rods into the Styrofoam.
Once the Styrofoam is in place, begin inserting your decorated dowel rods. I like using an odd number because it creates a more balanced, visually appealing arrangement. Press each rod in firmly so it stands upright and stays secure as you build out the centerpiece.
Tie twine around the jar.
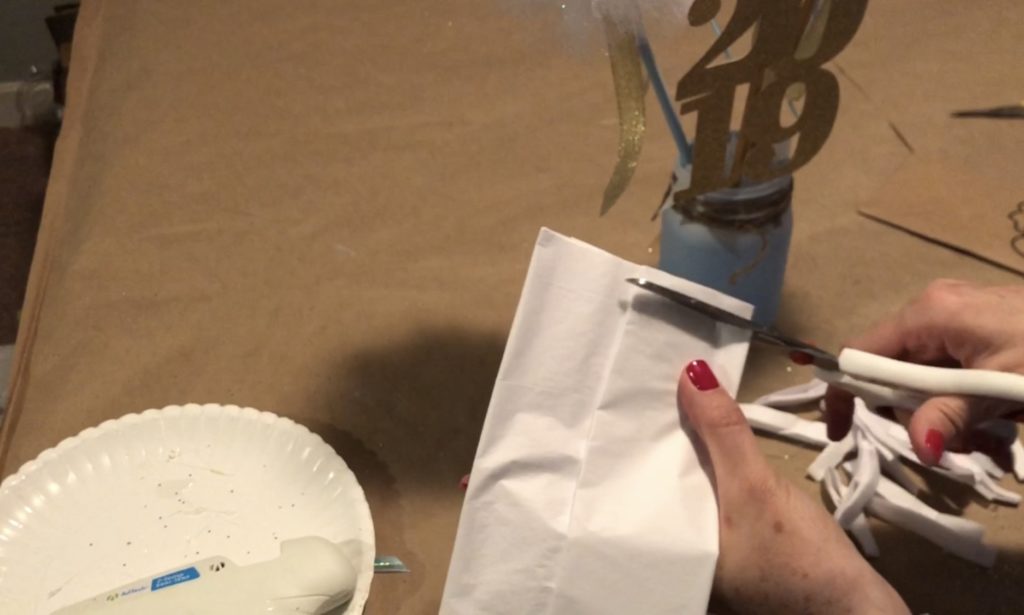
Cut tissue paper shred.
I cut tissue paper shred to put into my mason jar. To do this, simply open a package of tissue paper. Keep it folder and cut thin strips off of the tissue paper. Grab the end of each cut piece and shake to make your shred.
add paper shreds to the jar
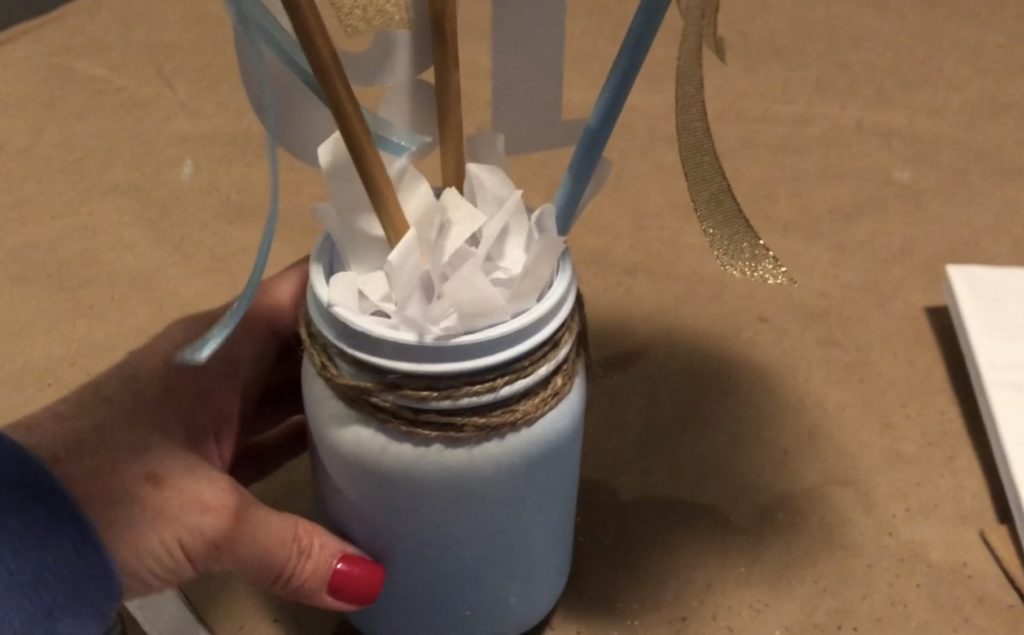
Once the dowel rods are arranged, fill the top of the jar with paper shreds to hide the Styrofoam. Gently tuck the shreds around the rods until the jar looks full and the filler is completely covered. This simple step gives the centerpiece a finished, polished look.
Final Thoughts
Creating a graduation mason jar centerpiece is such an easy way to add a personal, handmade touch to your celebration. With just a few simple supplies, you can style a table that feels festive, thoughtful, and completely customized to your graduate. Whether you’re hosting a small gathering or a full party, this DIY project comes together quickly and adds a bright pop of color to your décor. It’s a fun keepsake, too—something your grad can save long after the celebration ends.
If you’re looking for other graduation decor ideas, please see some of my other graduation posts:
- Photo Booth Backdrop Ideas
- Cotton Candy Station
- S’mores bar
- Graduation Senior Table Photo Poster
- Graduation Party Centerpiece (with pom poms and pictures)
- Graduation Photo Guest Book
- Another Graduation Photo Guest Book
- Dr. Seuss inspired Guest Book
- Card Box ideas, includes request for guests to address envelopes
- Graduation Card Box
- Graduation Centerpiece in galvanized tin
- Graduation Centerpiece in mason jar with pom poms
- Graduation senior board
- How to make a popcorn bar
- Frame Luminary
- Senior Table Photo Poster
- Photo Displays for Graduation Parties
- Hinged Frame with photo clips idea
- Graduation Money Gift Box
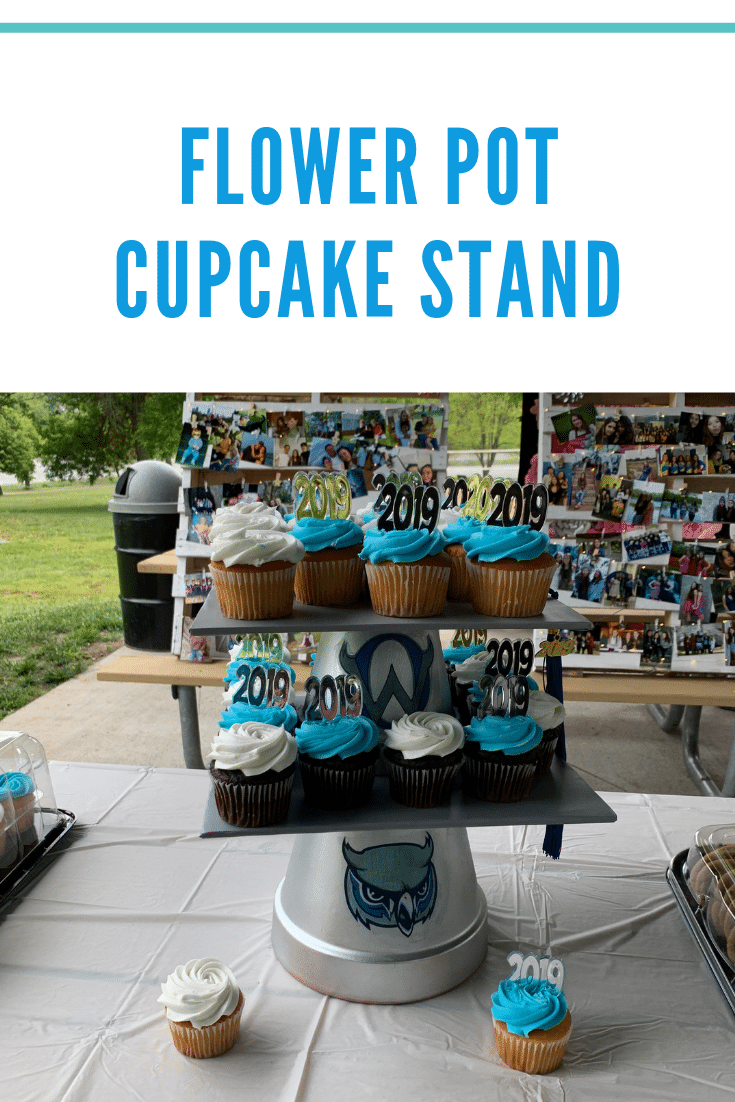
- Flower Pot Graduation Cupcake stand
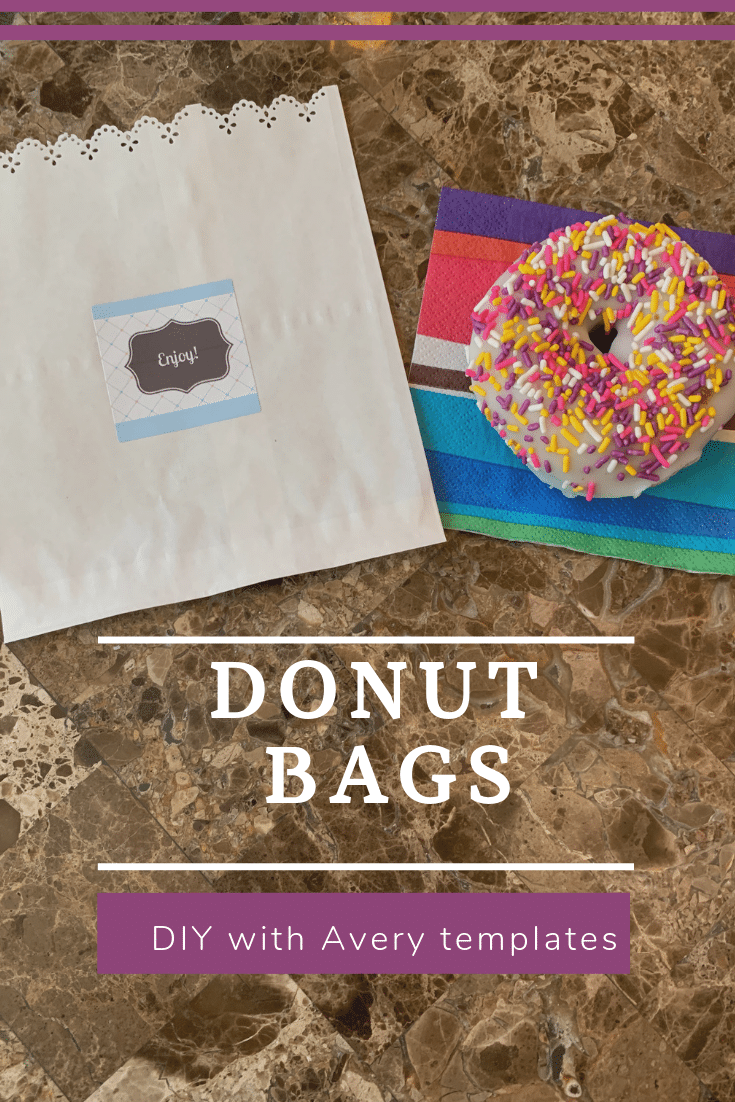
- How to make a Donut Bar
- Graduation Party Sign Ideas – Easel Signs with Vinyl Letters
- DIY Cake Stands for your Food Bars