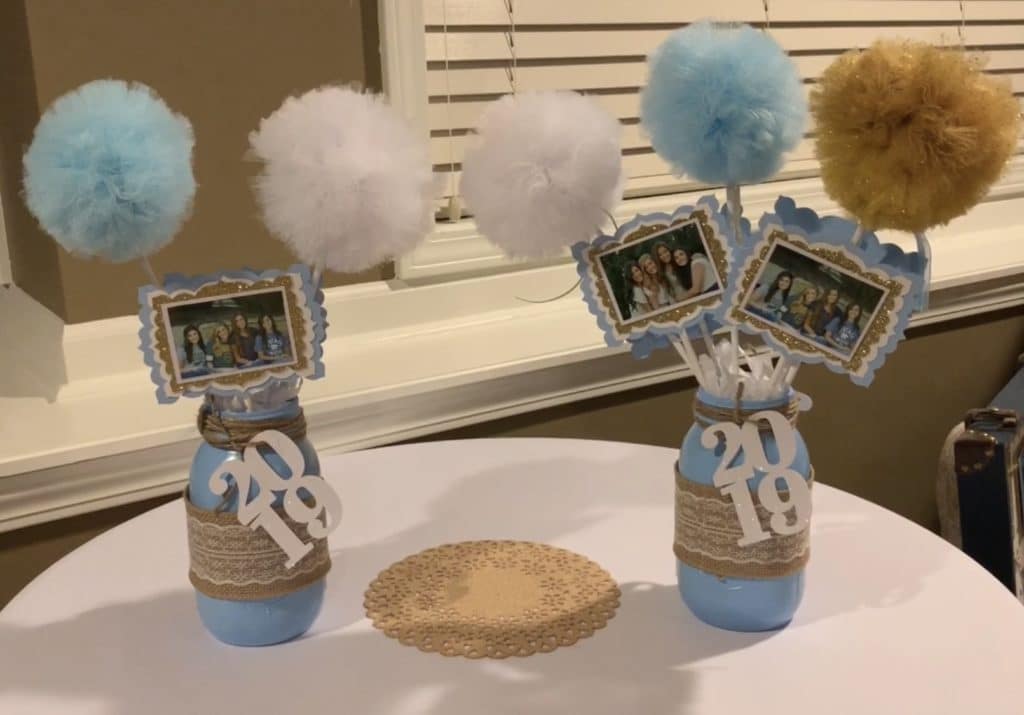
Graduation Party Centerpiece: A Creative DIY Mason Jar Idea
I finally carved out time to make my second graduation party centerpiece for the upcoming celebration—and this one might be even more fun than the first! In this post, I’ll walk you through the step-by-step process of assembling this easy, affordable, and festive DIY graduation centerpiece using mason jars, photo frames, and pom poms. You can also check out the video tutorial at the bottom of the post for a visual walkthrough.
Disclosure: This page may contain affiliate links. If you purchase through these links, I may earn a commission at no extra cost to you.
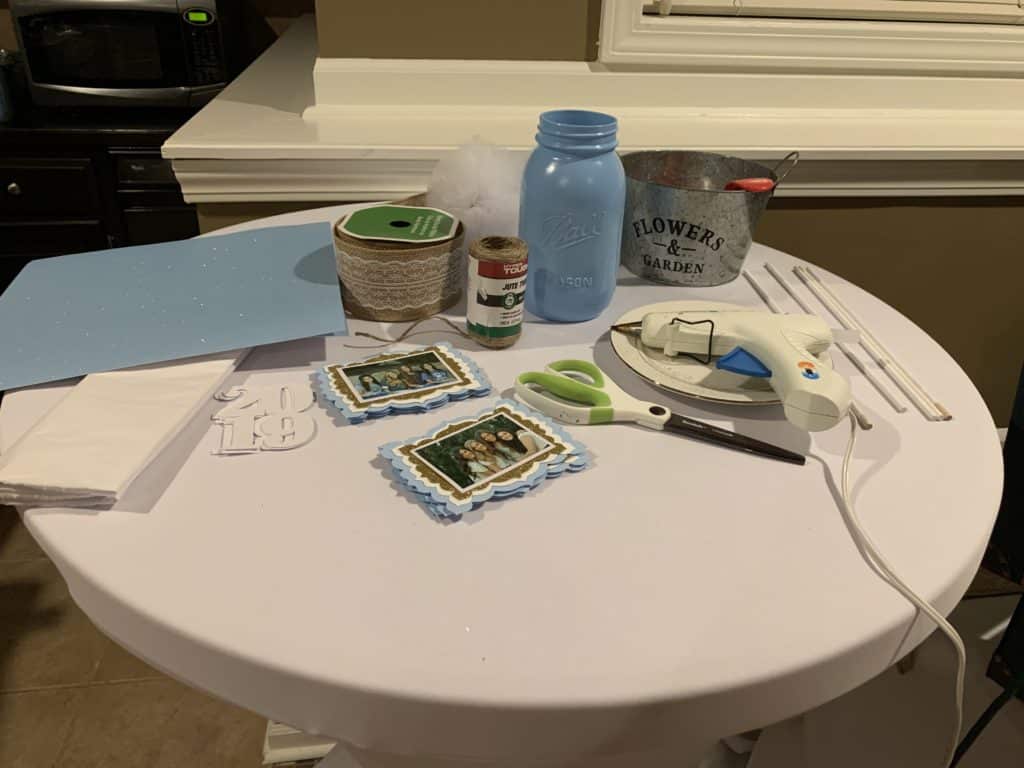
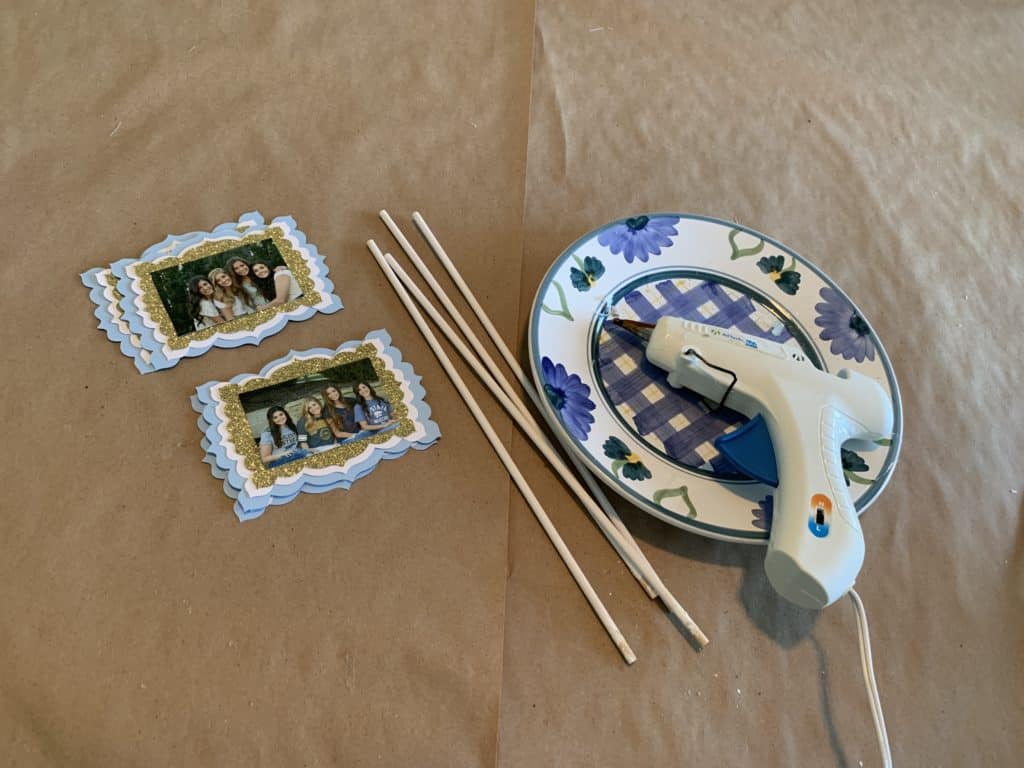
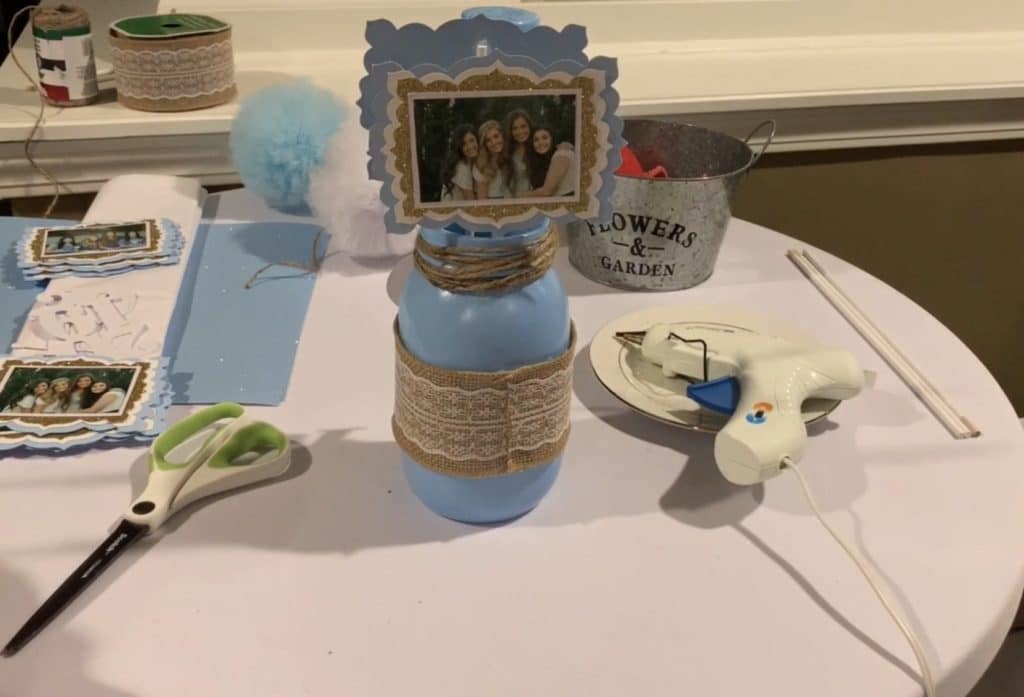
Supplies You’ll Need
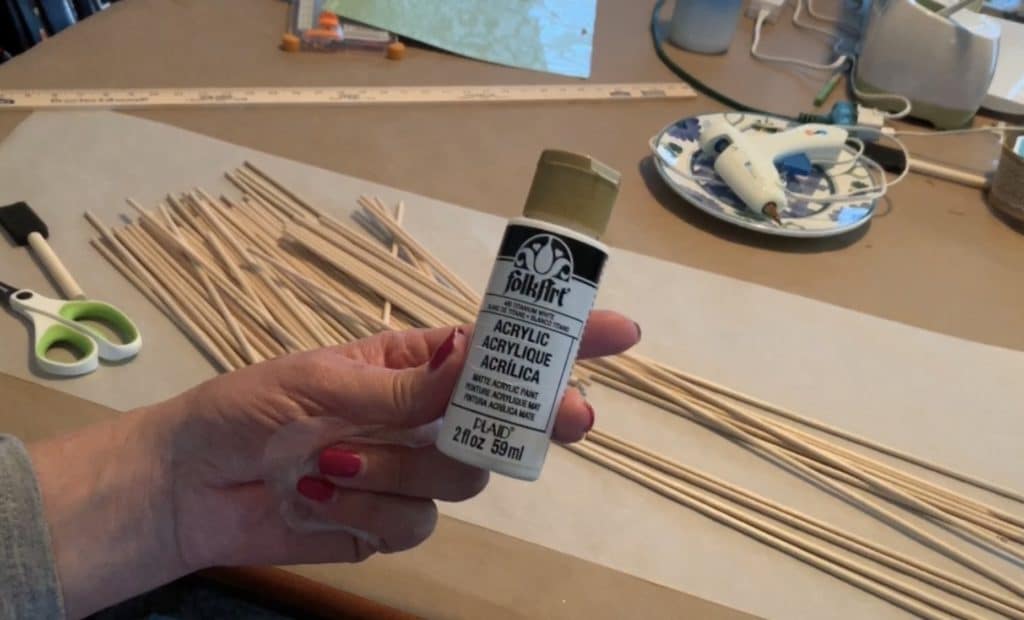
Here’s what I used to make this graduation table decor really stand out:
- Tall mason jar (different sizes depending on pom count). Available here on Amazon.
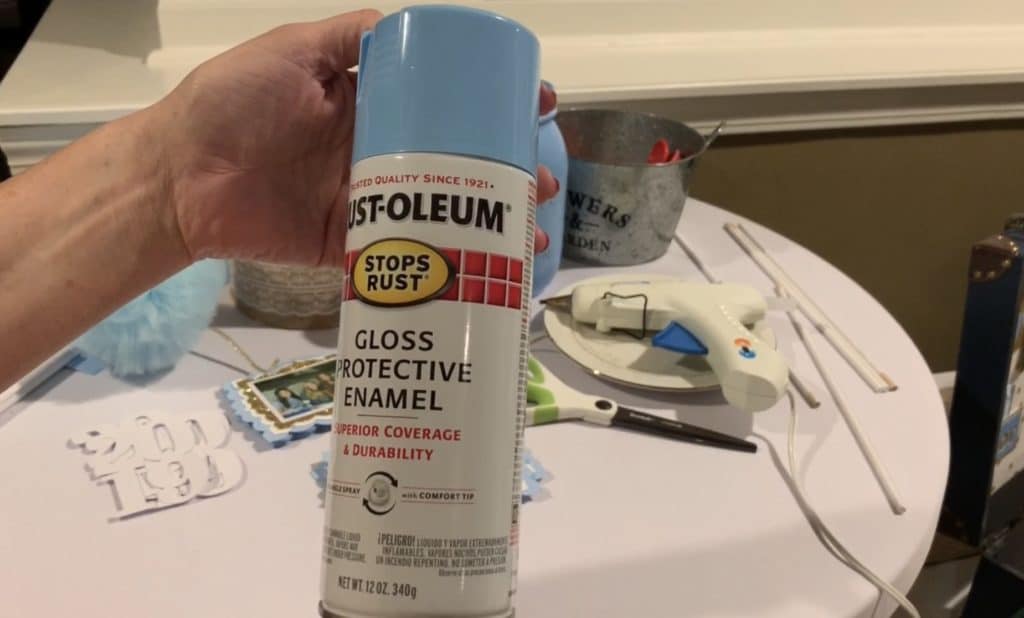
- Spray paint (I used this one)
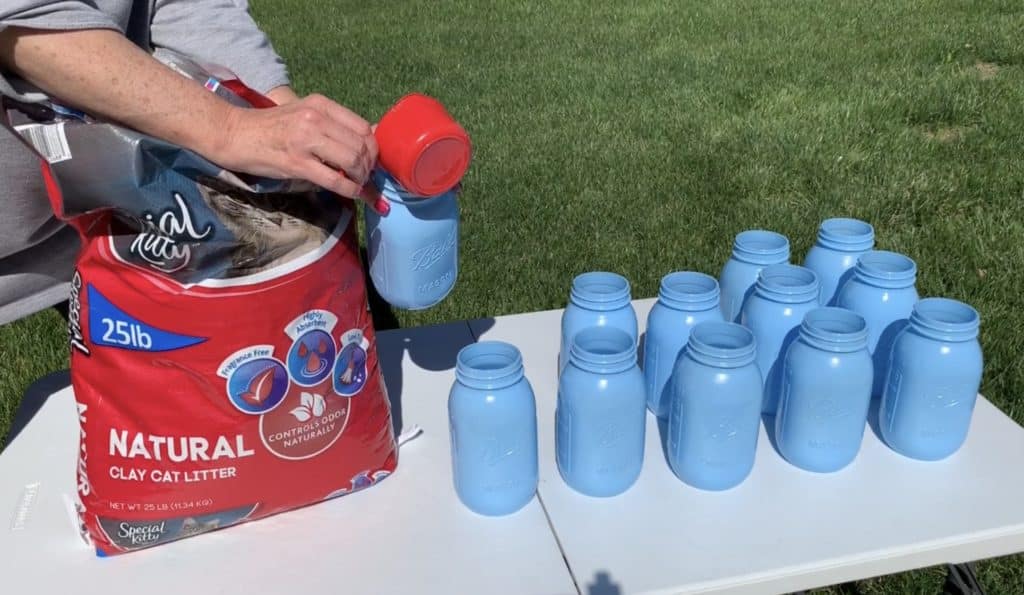
- Kitty litter (unscented – perfect for weight and stability). This is a good option on Amazon.
- Dowel rods
- Foam brush
- Acrylic paint (optional, for dowels)
- Tulle (1 spool – about two 4.5″ pom poms)
- Thin ribbon (for tying pom poms)
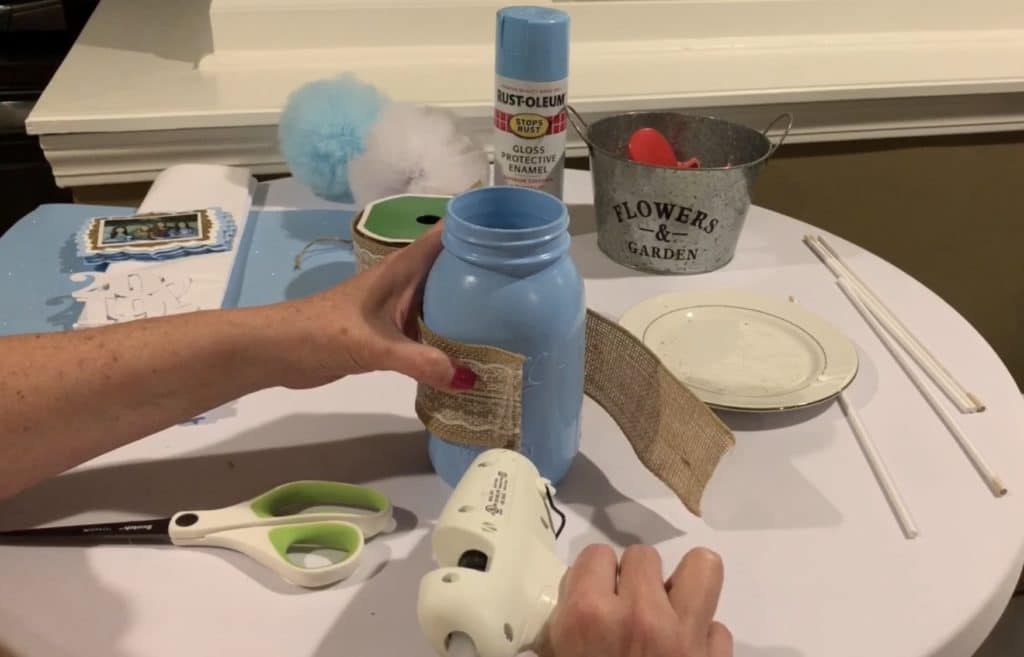
- Burlap ribbon and jute twine (to wrap the jar)
- Card stock in coordinating colors
- Tissue paper (for DIY shred topper)
- Glue gun and glue sticks
- Glue dots
- Scissors
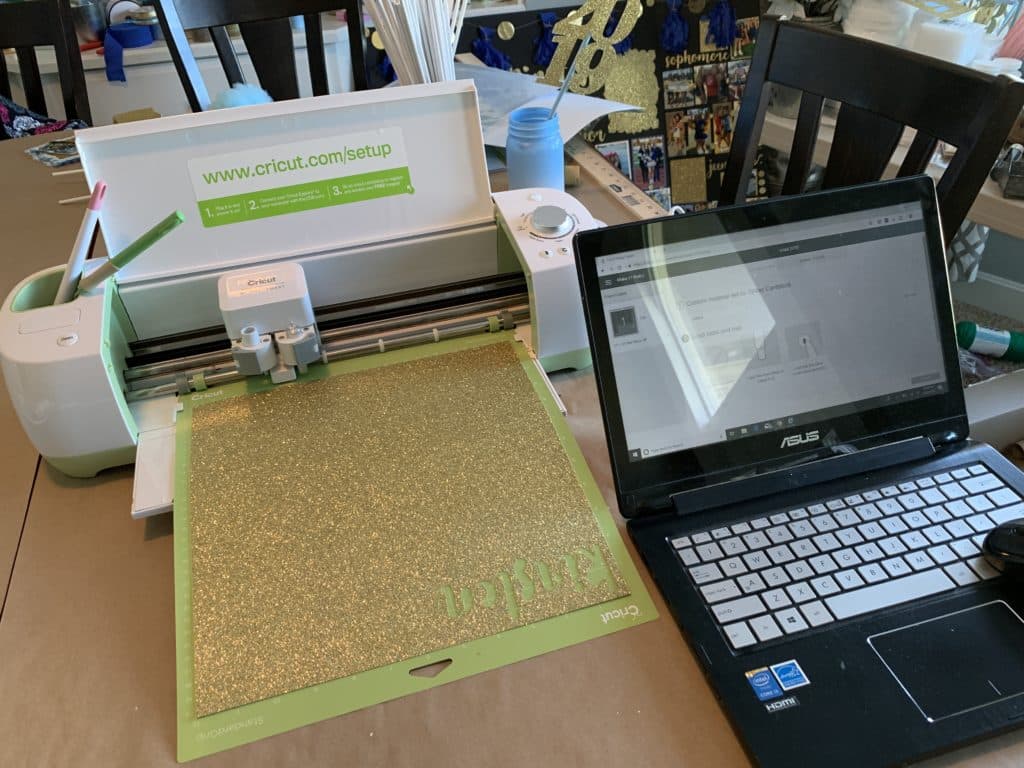
- Paper trimmer (to cut rectangular photo frames) or Cricut machine to cut shaped frames)
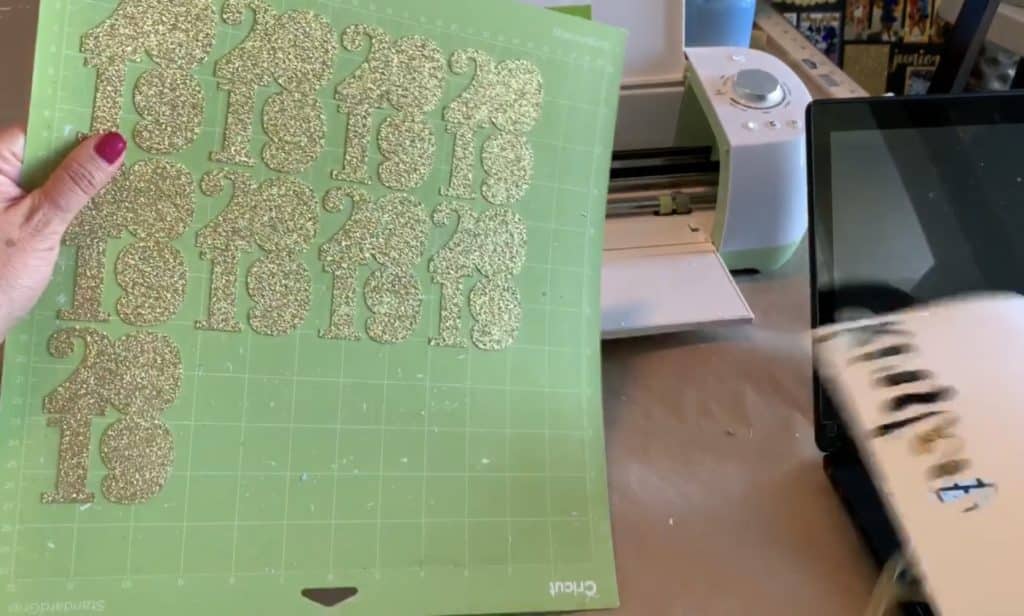
- Graduation year cutout – I cut mine using my Cricut machine.
Steps to Create Your Graduation Party Centerpiece
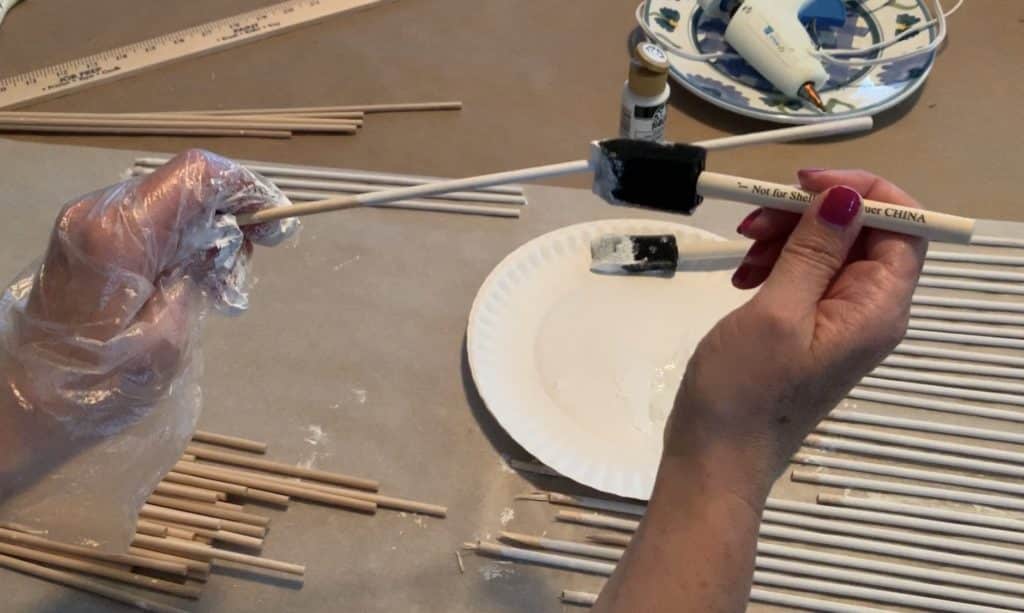
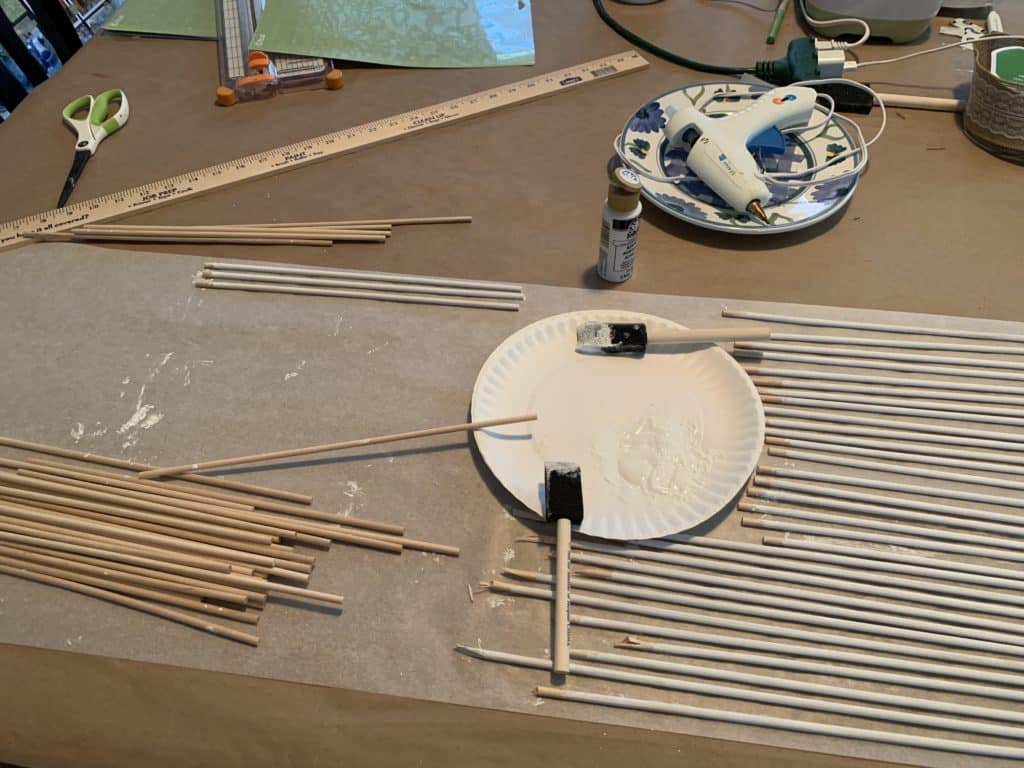
1. Prep the Jar & Dowels
Spray paint your mason jar and let dry according to instructions. Then paint your dowel rods (if desired) using acrylic paint and a foam brush. Don’t worry about painting the bottom inch—they’ll be hidden inside the jar.
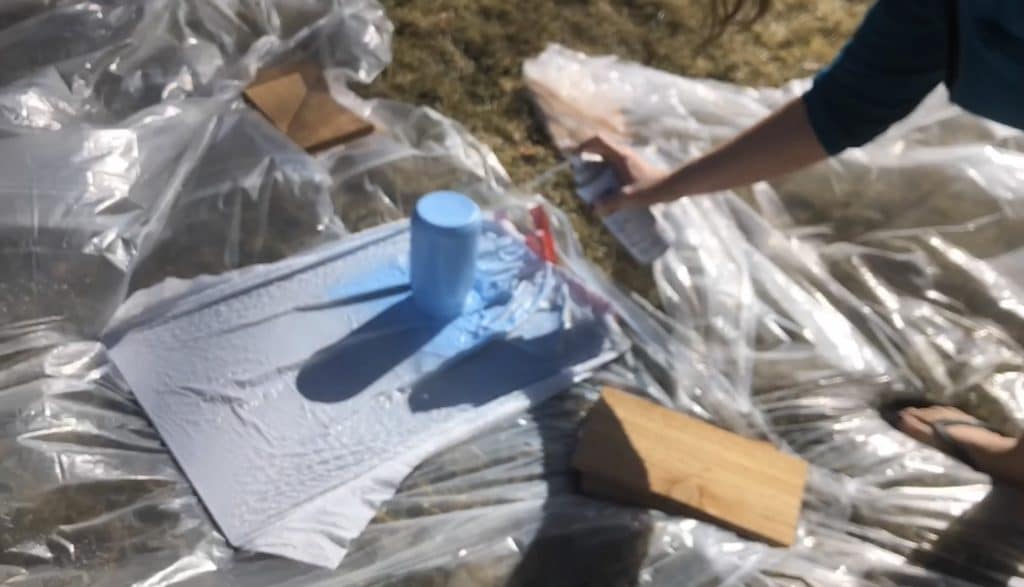
It’s fine to leave the inch where you’re holding the stick without paint. It will be in the jar (not visible) anyway. I typically only do one coat of paint.
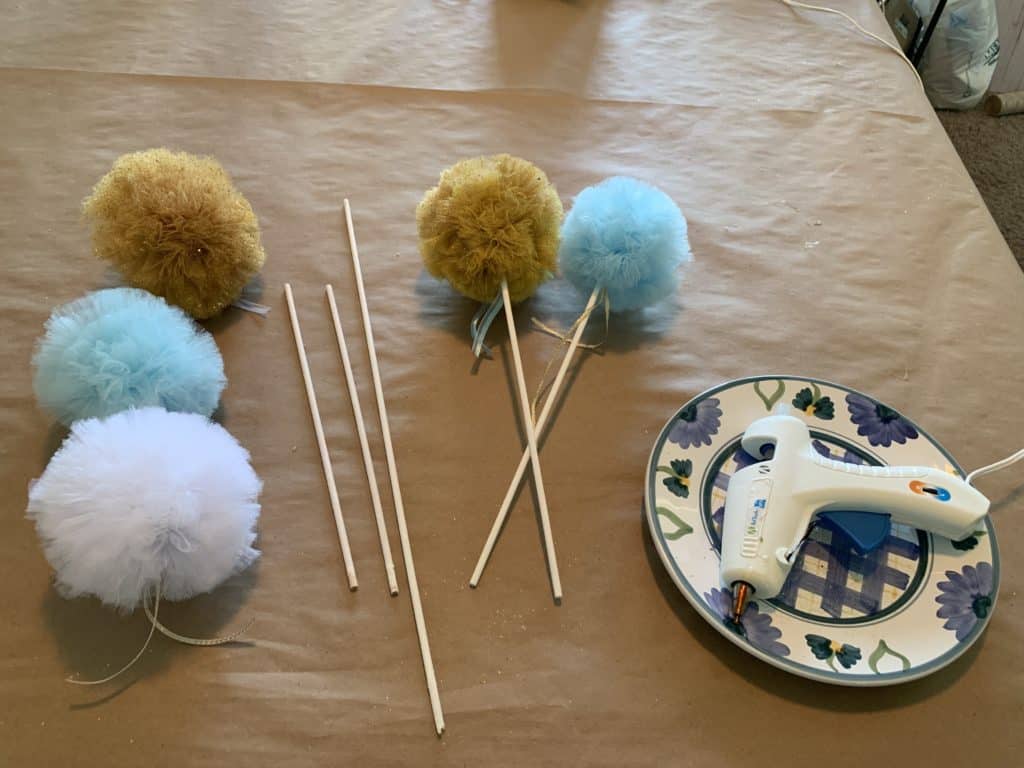
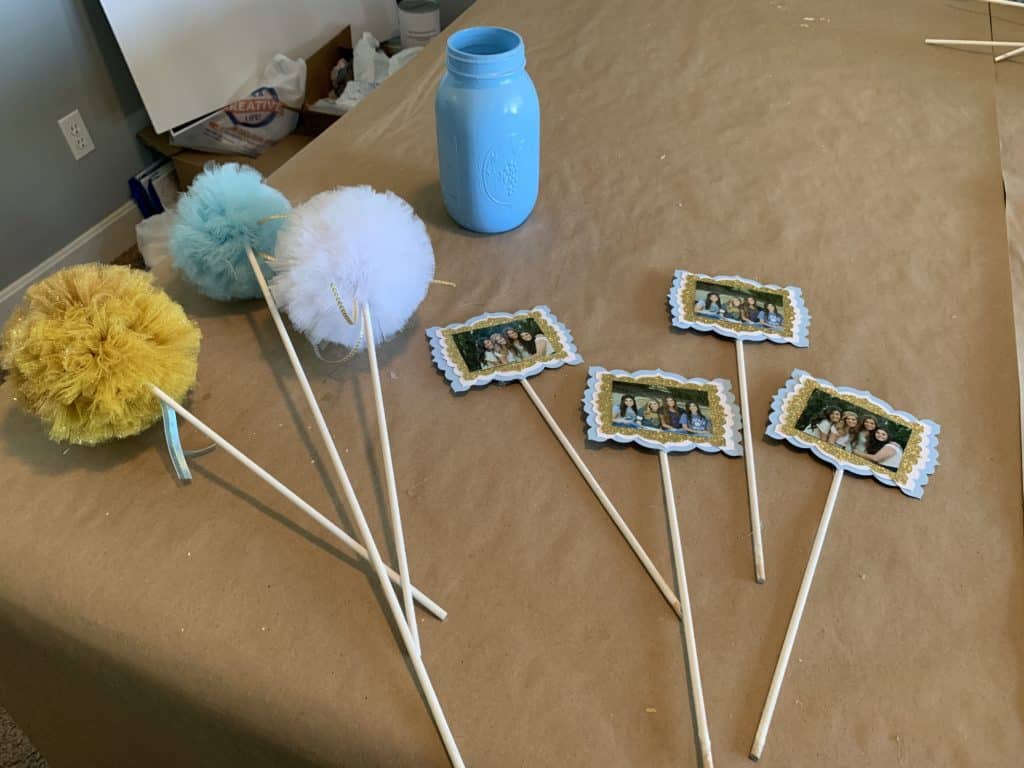
2. Make the Pom Poms
For this pom pom graduation centerpiece, you can create tulle pom poms with either a cardboard template or a pom pom maker. I highly recommend using a pom pom maker—it ensures uniform size and saves time. Each regular-sized spool of tulle typically yields two pom poms.

The first way is to create a cardboard cut-out to use as your template. I have a different blog post where I explained this approach, so read through the post to learn more if you want to take that approach. You’ll also see in that post that I didn’t make the pom poms very full. More tulle (more wrap around the template/pom pom maker) make fuller pom poms.
The second way to make pom poms is by using a pom pom maker. I resisted this for far too long and finally bought one because I knew I was making a lot of pom poms at once and I wanted them to be a consistent size. I LOVE, LOVE, LOVE my pom pom maker! The best part is that the pom pom is fully fluffed for you when you do your cut. I wished I would have bought this a long time ago. Anyway, here is the size of pom pom maker that I used. I mistakenly originally bought a combo pack and the largest one in that pack was too small. See my YouTube video on making the pom pom using the pom pom maker below. Eventually, I’ll do a blog post on it as well.

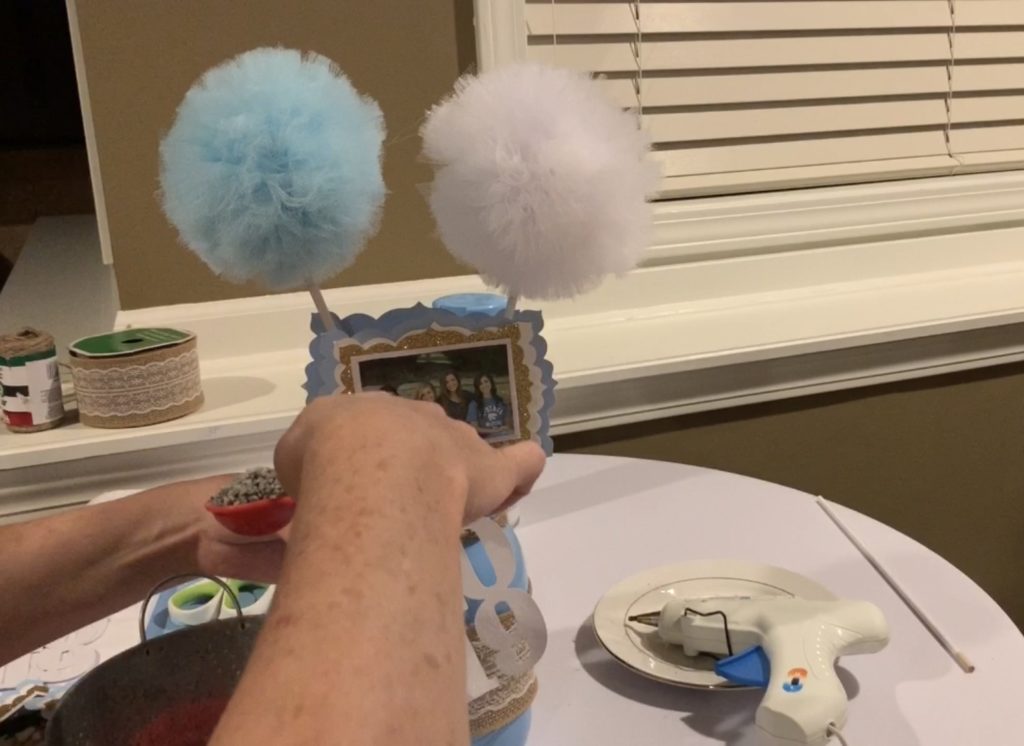
3. Attach Pom Poms to Dowels
Hot glue the dowel directly to the knot of the pom pom, pressing the tulle around the stick carefully (it’s hot!). Let them dry completely before inserting into the jar.
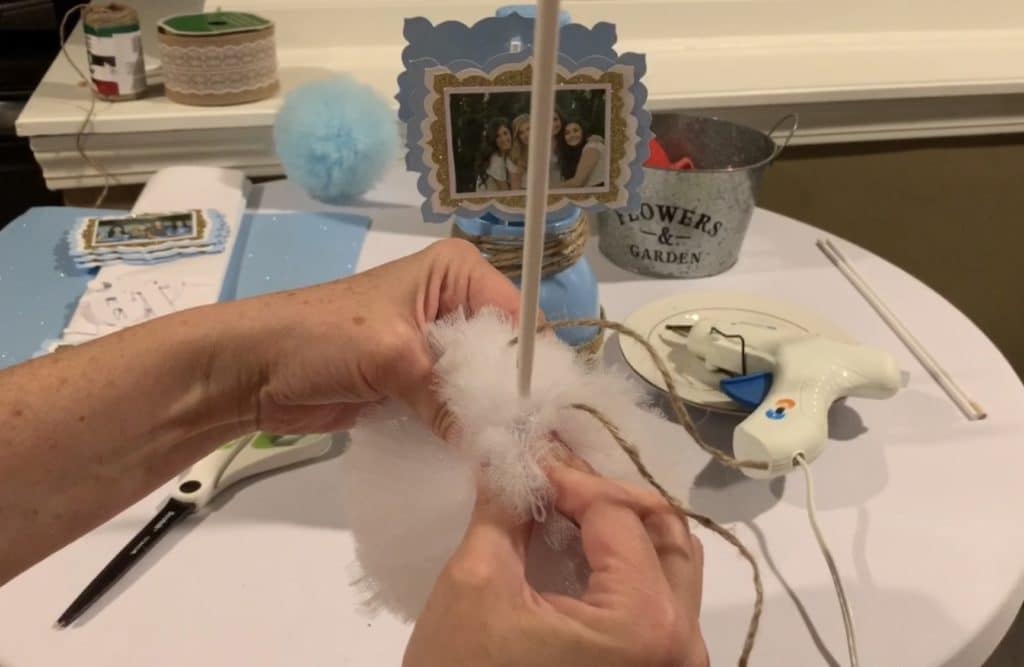
Keep squeezing the tulle into the dowel rod all the way around the dowel rod. Let glue dry before putting pom poms into the centerpiece. I only waited about 15 minutes.
You’ll end up with sticks like those shown below.
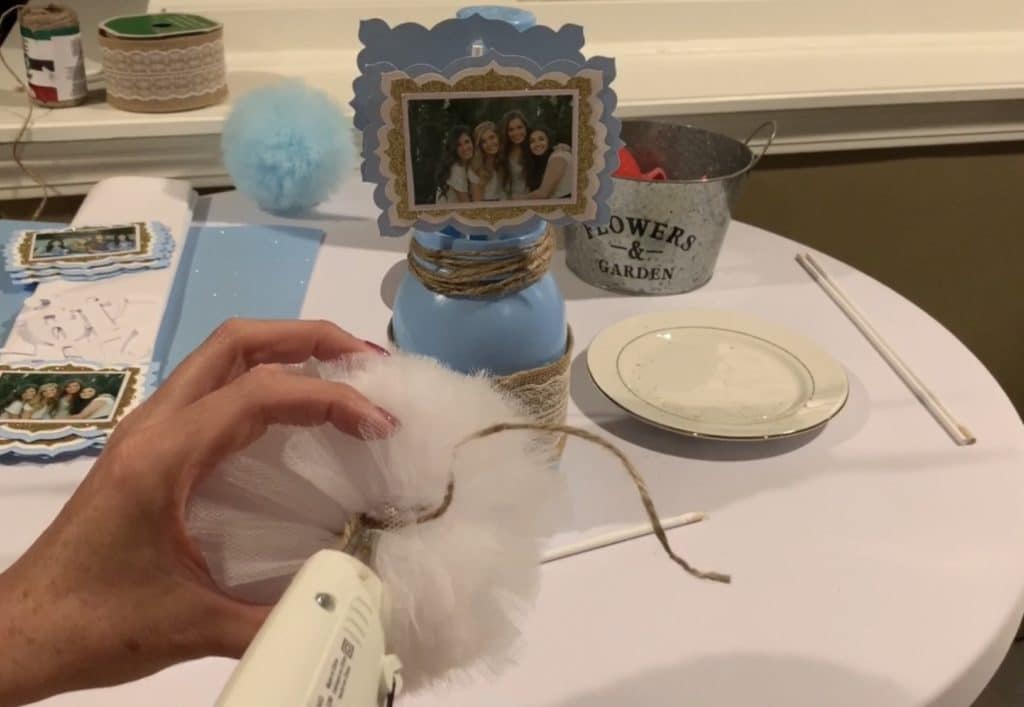
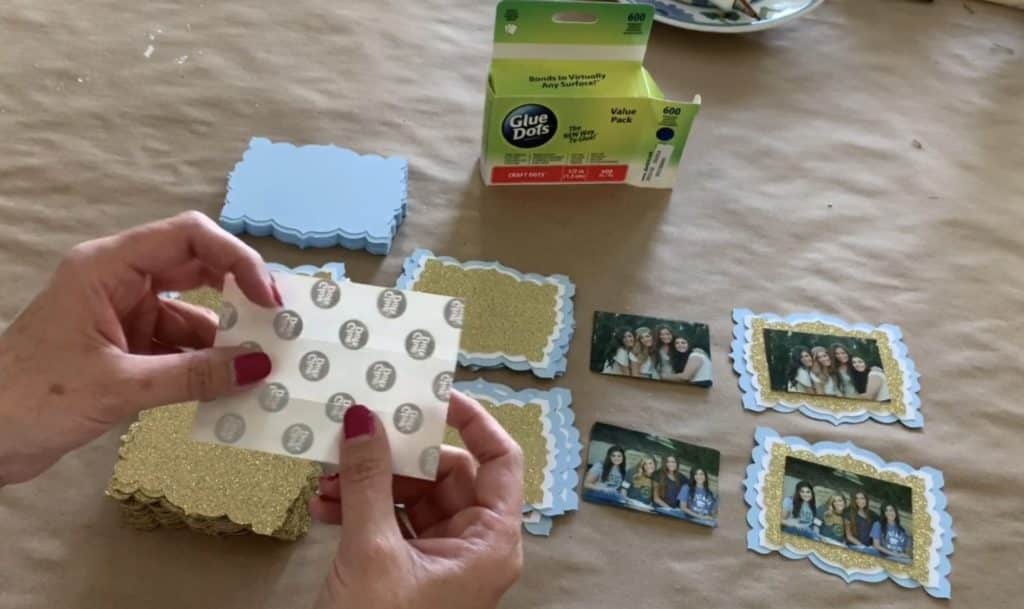
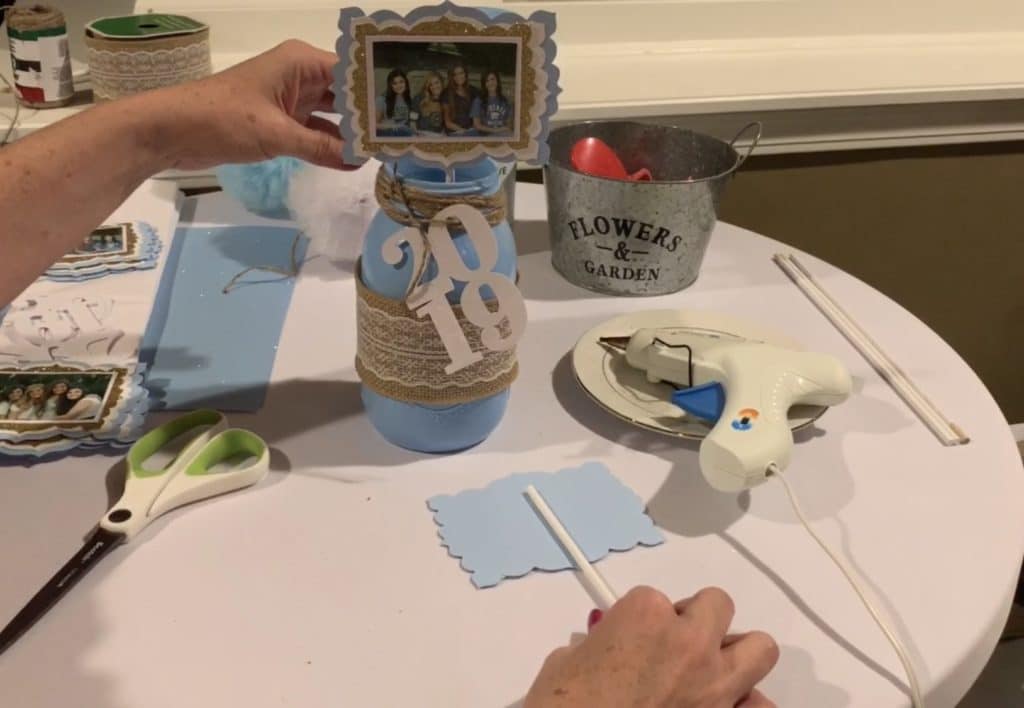
4. Assemble the Photo Frames
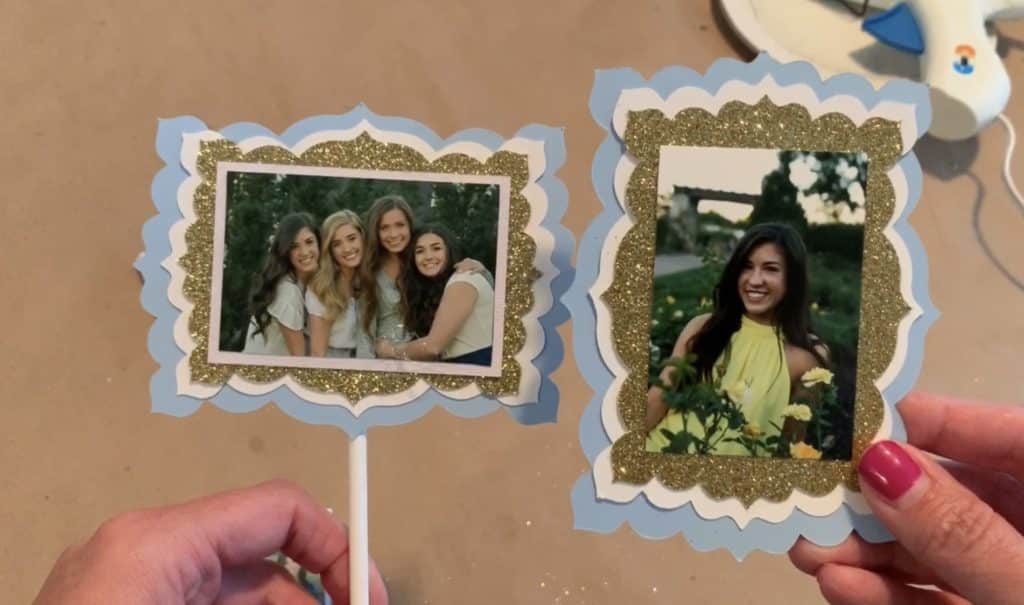
Cut photo frames from cardstock using a Cricut or paper trimmer. I layered three pieces, then added a small white backing (2.2″ x 3.2″) to help the photo pop. Use glue dots for strong adhesion.
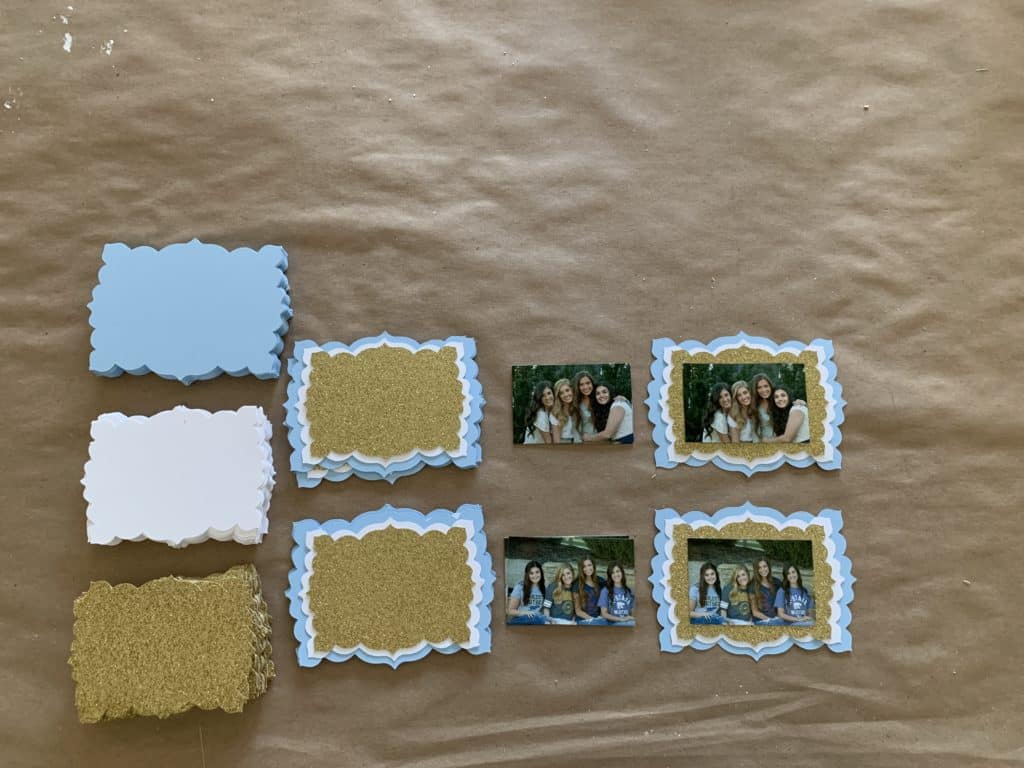
Decide the card stock colors that you will use to create photo frames. You’ll see above that I used 3 different colors. You can either cut rectangles for your photo frames or use a Cricut machine to cut a shape to your photo frame.
I glued the photo frames together with glue dots. Tape runners are definitely easier, but glue dots hold really well. When I’ve used tape runners before for projects like this, the weight is too much and the pieces fall apart. Using glue dots is kind of a pain, but worth it when I need the pieces to hold together.
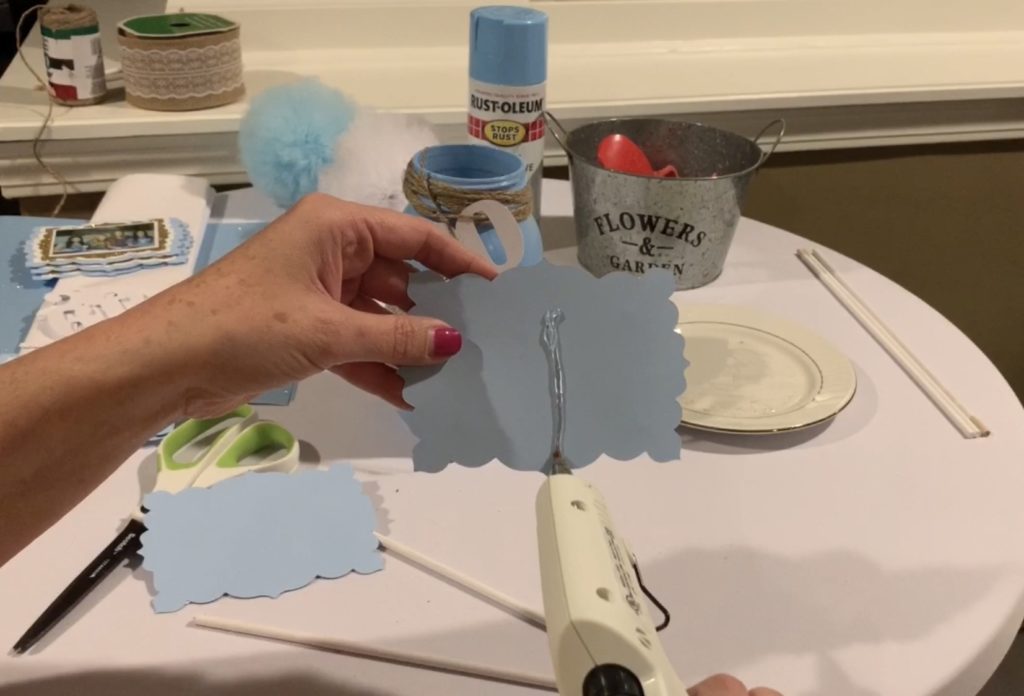
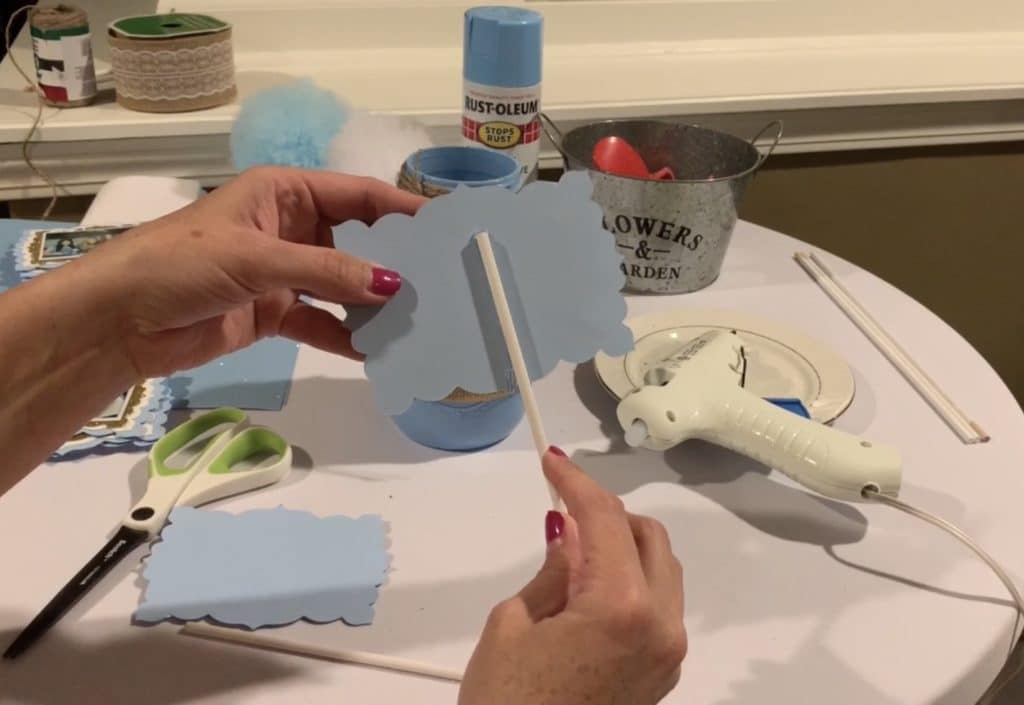
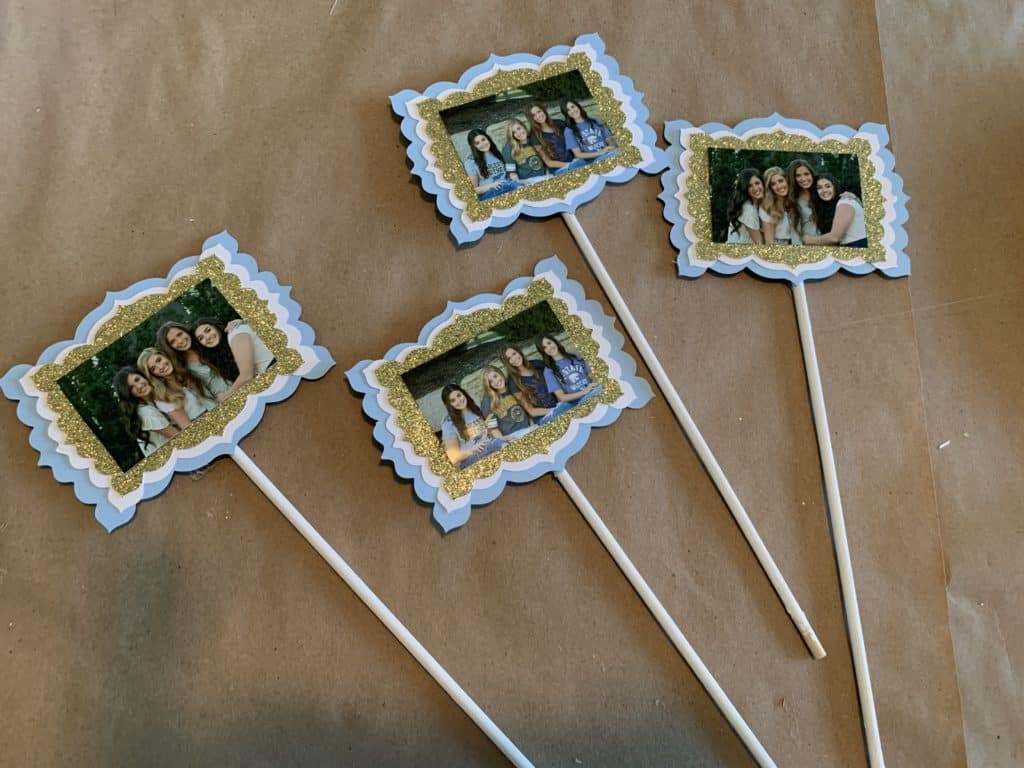
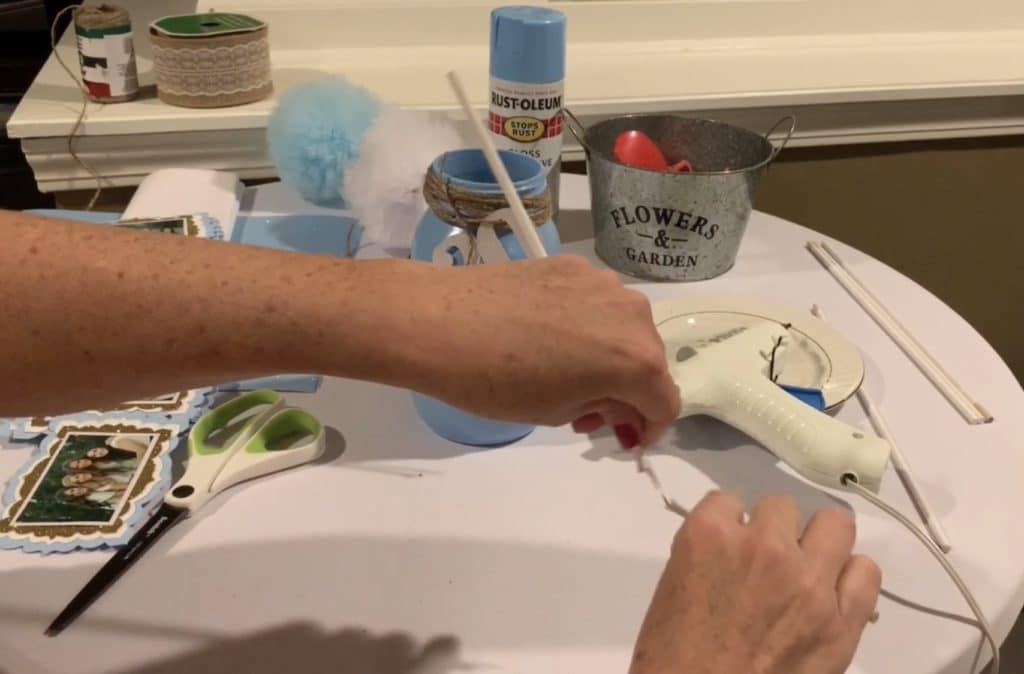
Place a generous strip of hot glue in the center on the back of each photo frame/picture and press a dowel rod into the glue.
I ended up adding a fourth layer to my photo frames because I felt like the photo wasn’t popping on the gold glitter card stock (example photo on right). By adding, a 2.2″ x 3.2″ white card stock rectangle behind the photo (at left in photo below), the photo shows up so much better.
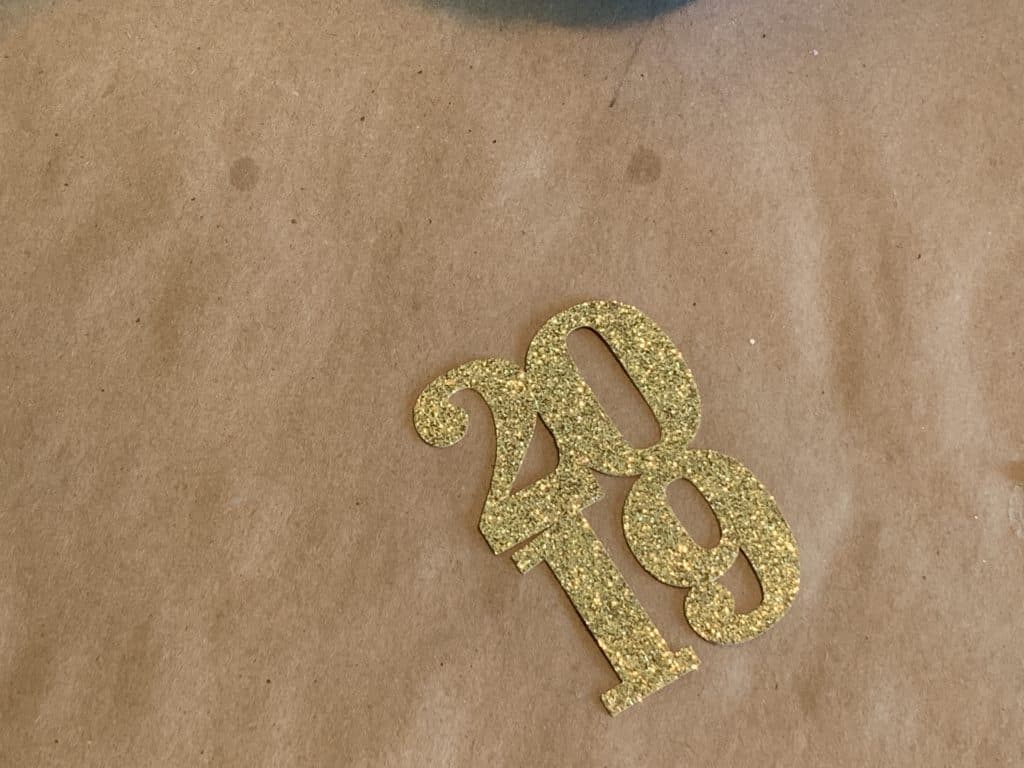
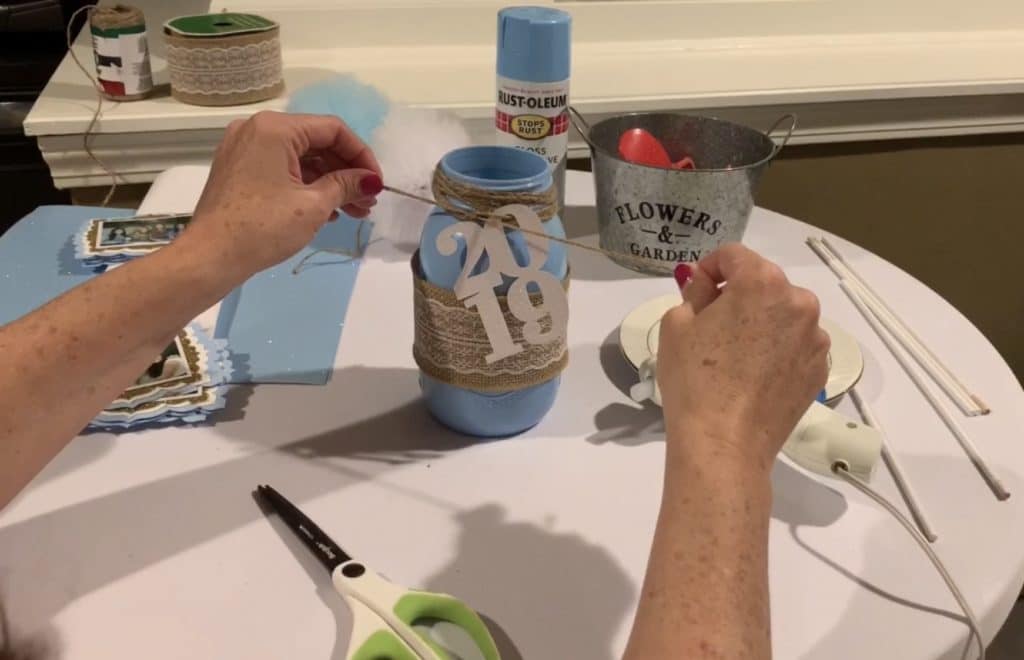
6. Add the Graduation Year
I used my Cricut to cut my graduation year cutout. However, you could simply print a graphic or image from the internet and cut it out to use around the neck of your mason jar or order the cutouts.
7. Fill the Jar
Start by filling the jar ¾ of the way with kitty litter. It’s a great, budget-friendly filler that adds weight for windy outdoor parties. It also gives structure to your graduation party centerpiece so everything stays in place.
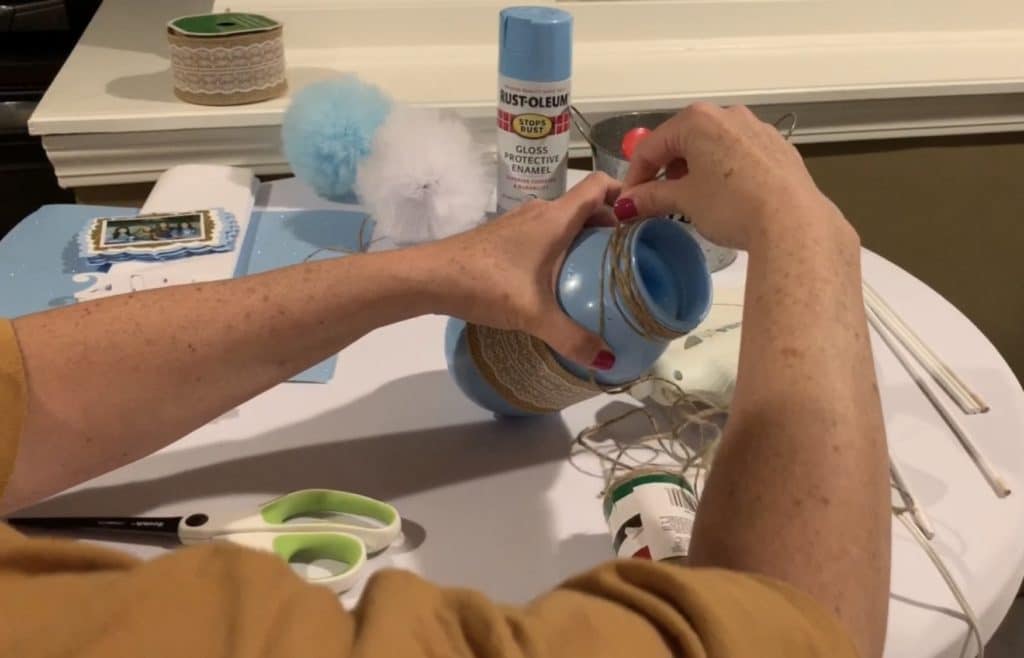
8. Add Ribbon and Finishing Touches
Wrap the jar with burlap ribbon and secure with glue. Tie jute twine around the mouth of the jar and use it to attach the graduation year label.

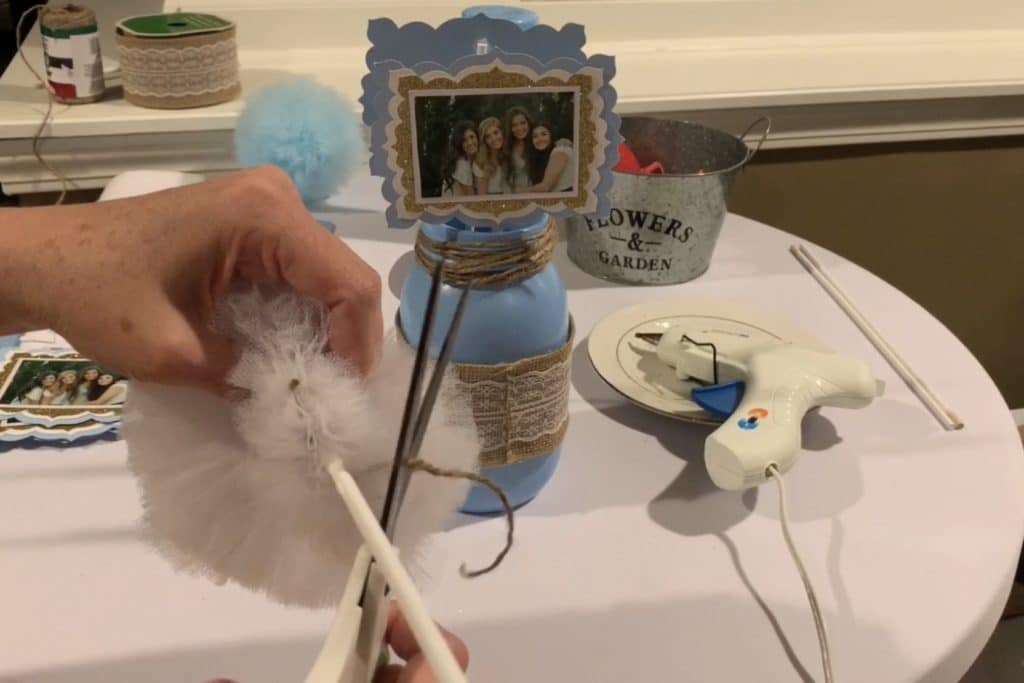
9. Insert the Photo and Pom Pom Sticks
Break the dowels as needed to position your elements—photos slightly above the jar mouth and pom poms at fun angles. Once placed, add more kitty litter to stabilize.
Place one in the jar facing the front.
And place the other on the opposite side, facing the opposite direction. Both sticks should be placed very close to the side.
Place the pom pom sticks in the centerpiece at angles.

Add kitty litter.
Now that all the sticks are place, fill up the jar with kitty litter, leaving a little bit of room for tissue paper shred at the very top.
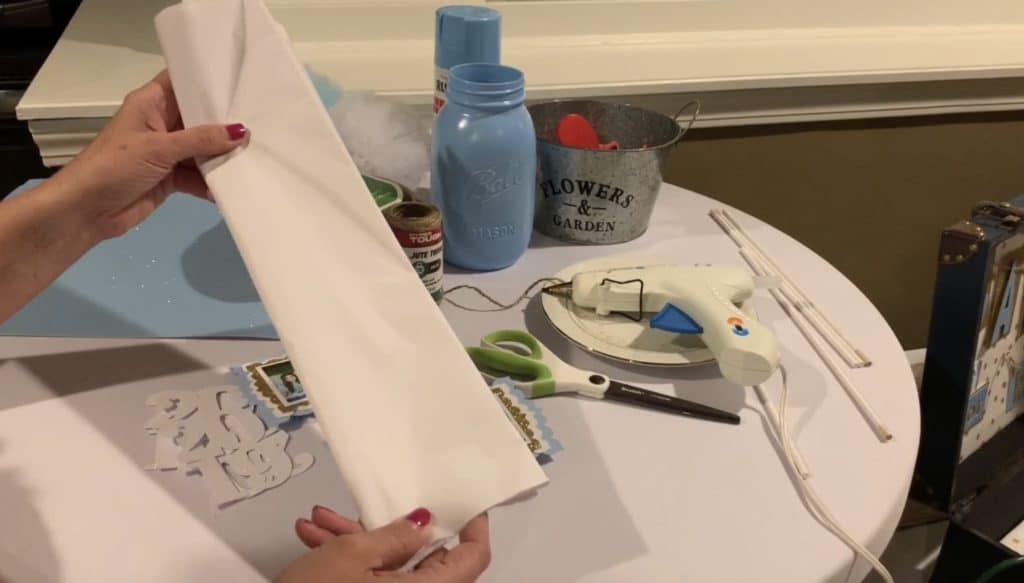
10. Top with Tissue Paper Shred
Cut your own tissue shred or use store-bought filler to cover the top layer of kitty litter and complete the look. See my tissue paper shred blog post.
Watch this project by checking out my YouTube video.
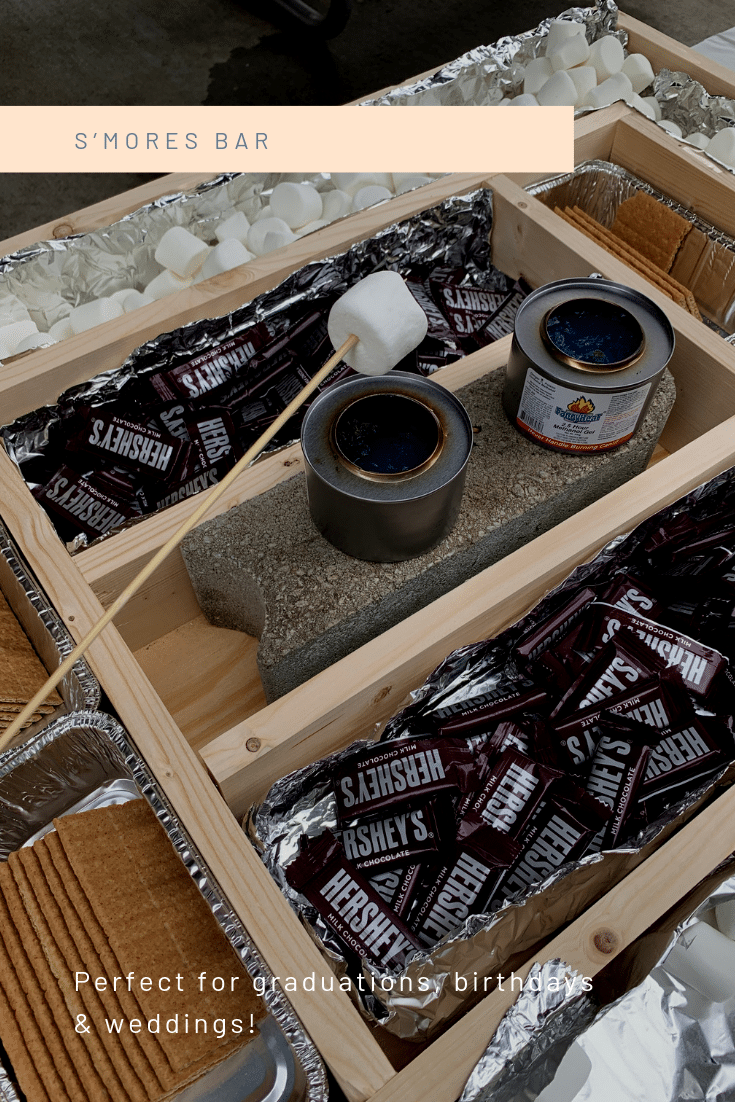
This graduation party centerpiece was a hit—affordable, personal, and completely customizable. Whether you’re decorating food tables, the senior table, or seating areas, this mason jar graduation decor adds thoughtful flair that celebrates your graduate in style.
Planning a graduation? See my other graduation posts below: