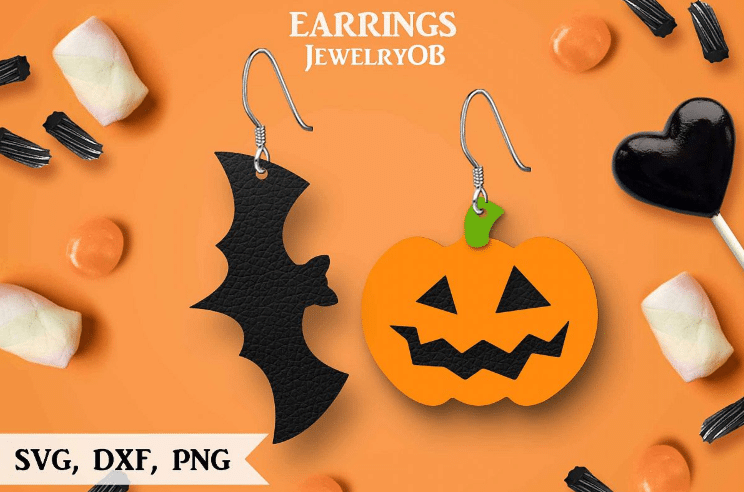
Bat Earrings DIY
These bat leather Halloween earrings are perfectly eerie!
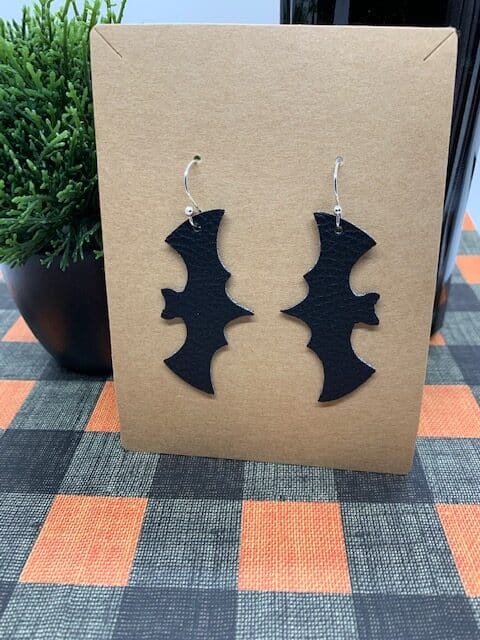
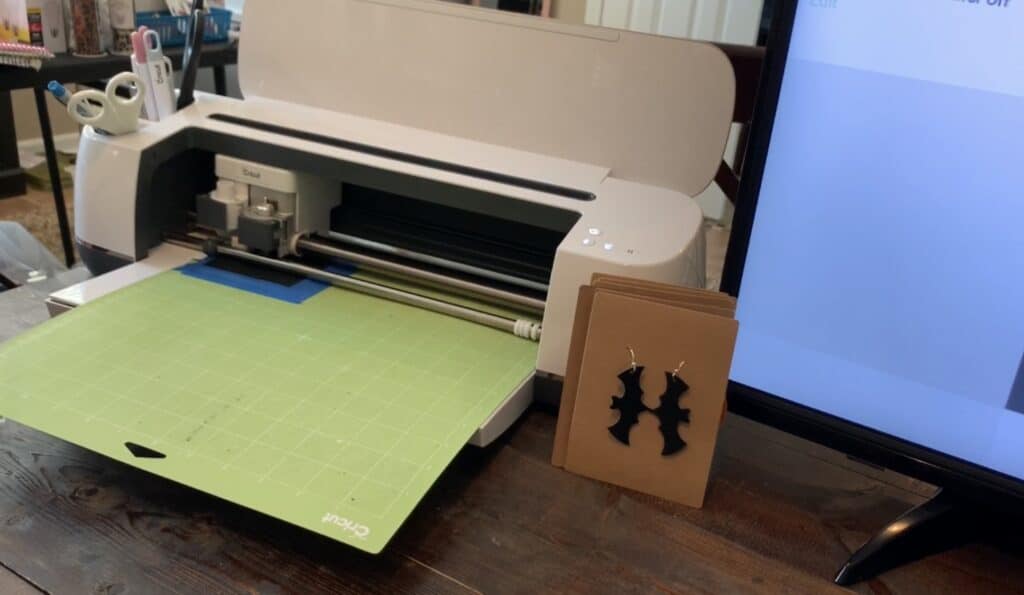
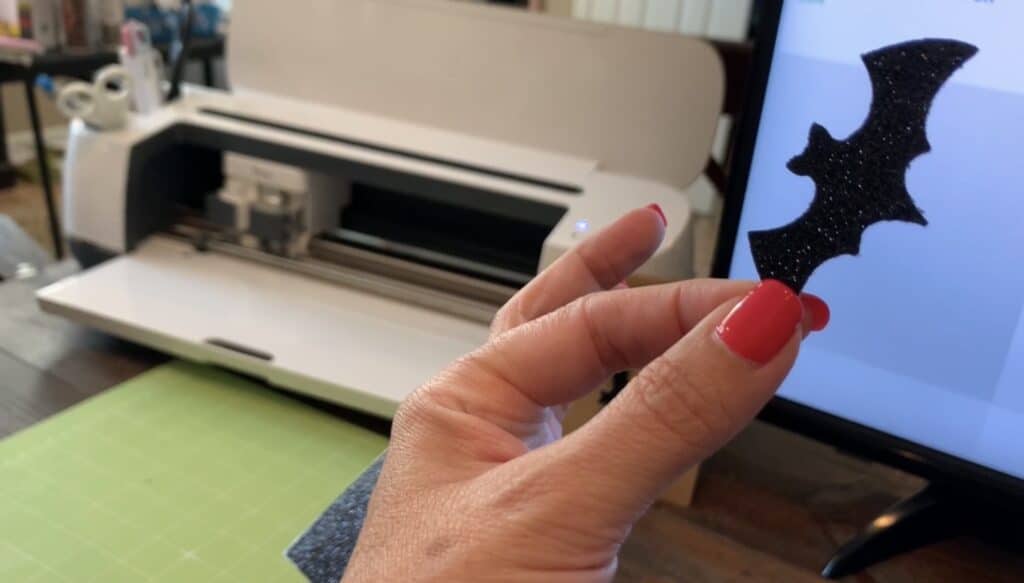
It’s easy to make this bat earrings DIY with the help of a Cricut machine. In this post, I’ll link the items I used to help you repeat the project with the same materials. I’ll also share how-to basics for creating faux leather earrings with a Cricut machine. You can easily cut faux leather and genuine leather on a Cricut Explore Air or Cricut Maker. Cut the leather materials and add hooks and you’re ready to go.
Disclosure: This page may contain affiliate links. If you purchase through these links, I may earn a commission at no extra cost to you.
Check out my favorite earring essentials on Amazon here!
Check out my favorite earring materials on Amazon here!
Watch my bat faux leather earrings diy video below for details on this project. In the video I focus on how to cut Hobby Lobby faux leather ribbon from Ribbon Boutique.
My Favorite Cricut Machine Options


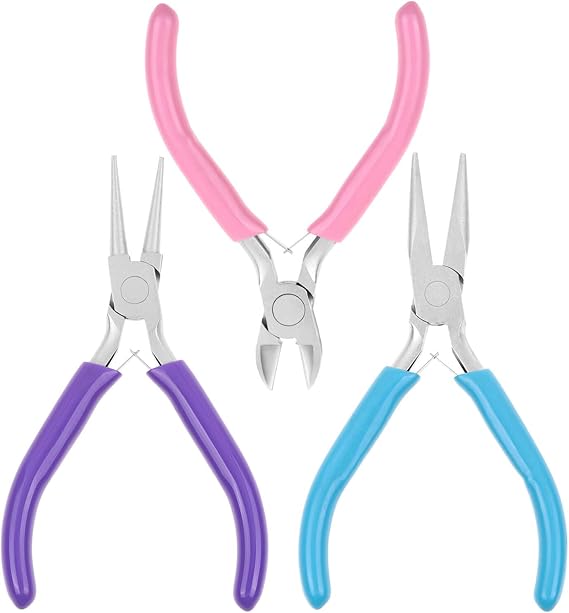
Cutting Tool and Accessory Essentials


Must Have Earring Tools


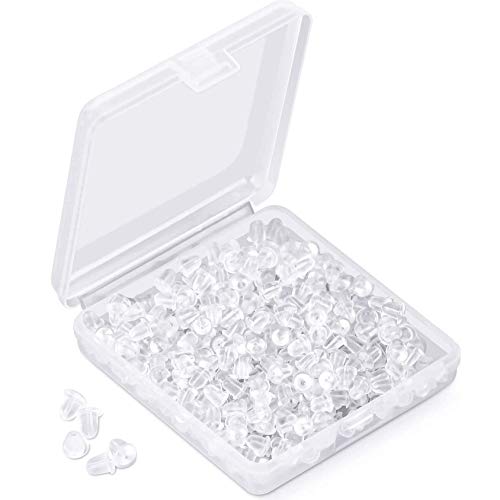
Must-Have Earring Findings

Heat Press Essentials


Heat Transfer Vinyl
I used to only purchase Cricut brand HTV; however, the colors are very limited. I know enjoy the large range of HTV colors available on Amazon. Check them out here.
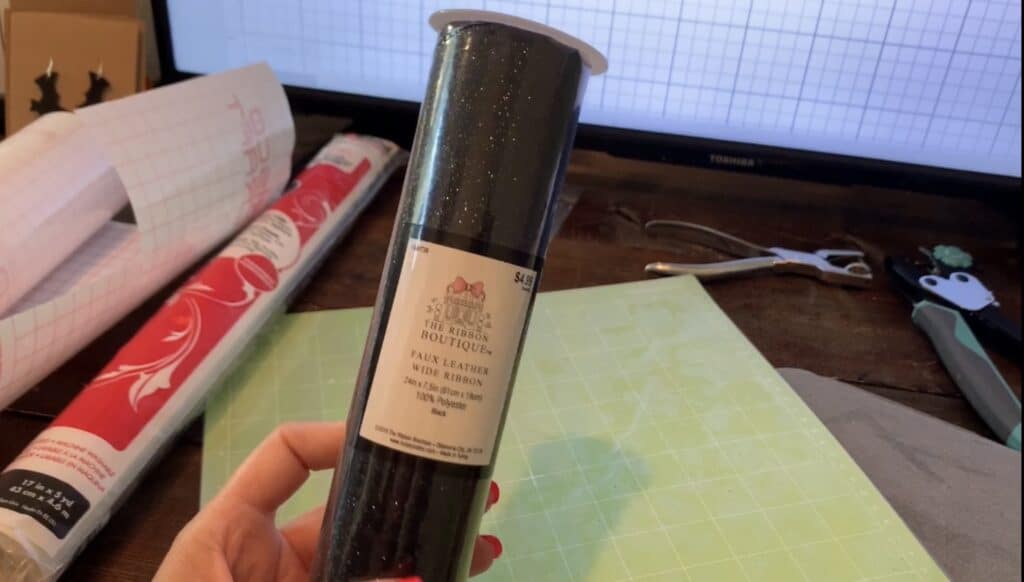
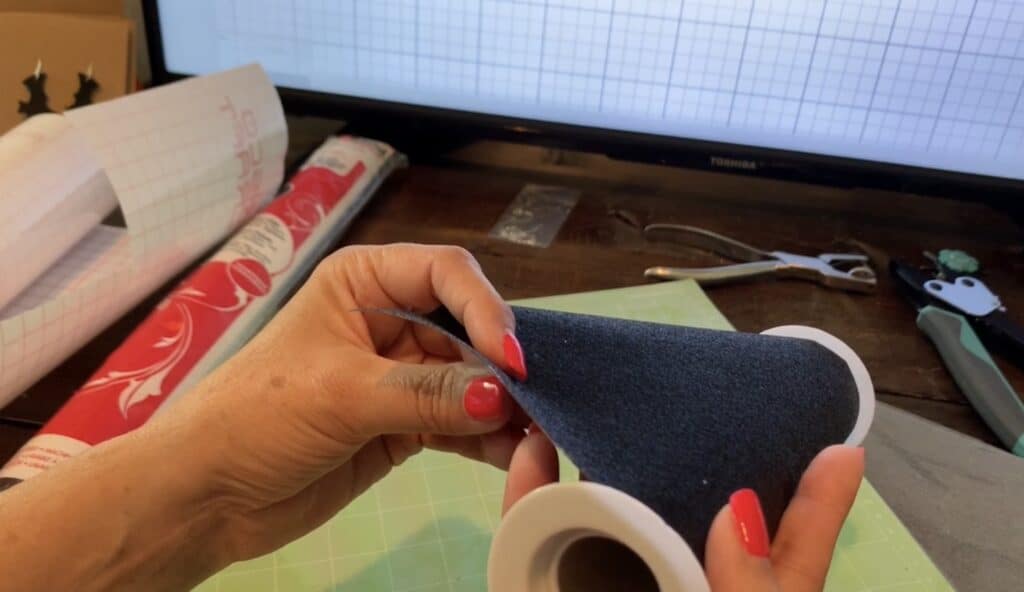
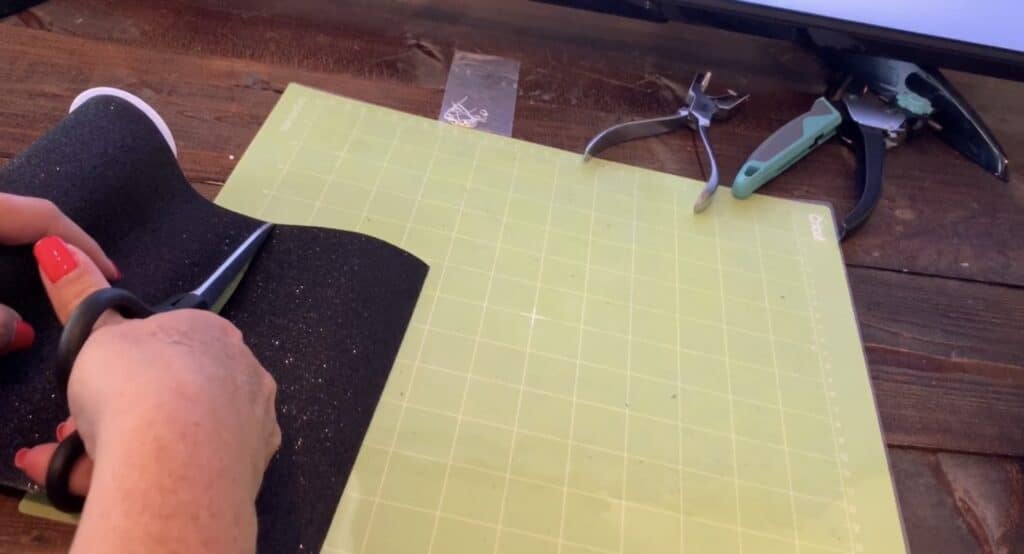
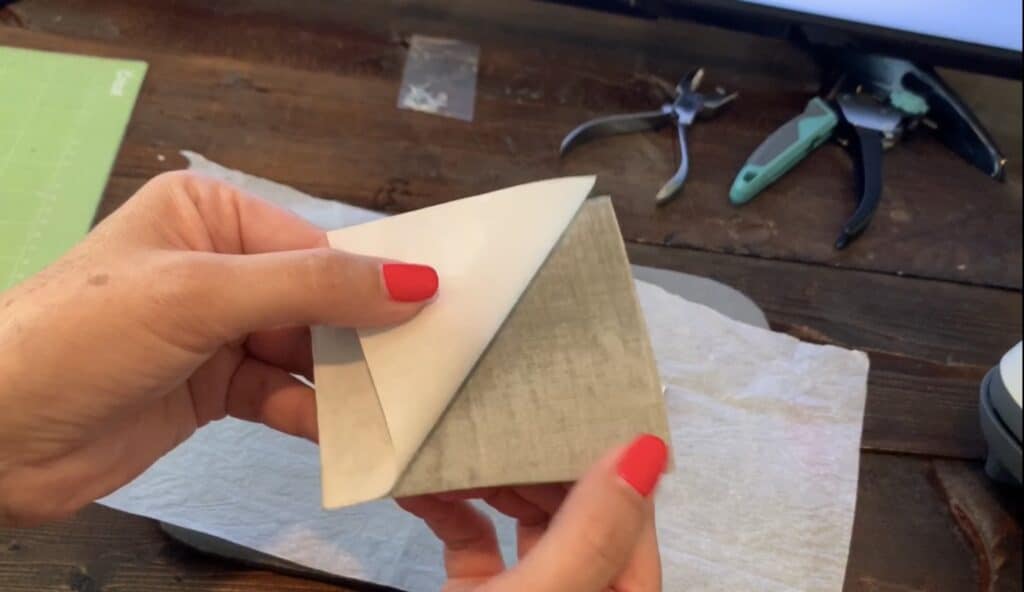
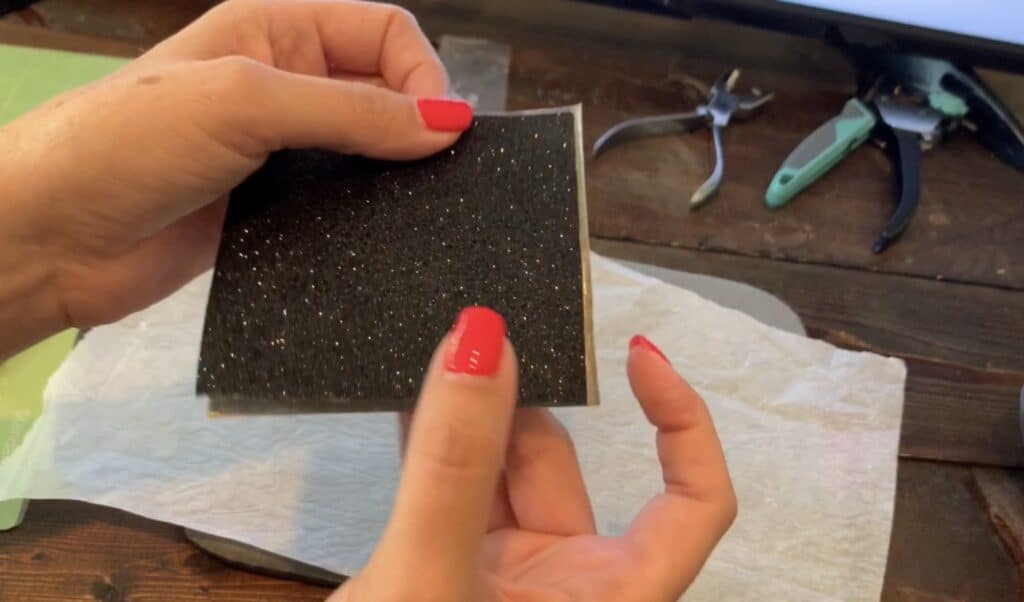
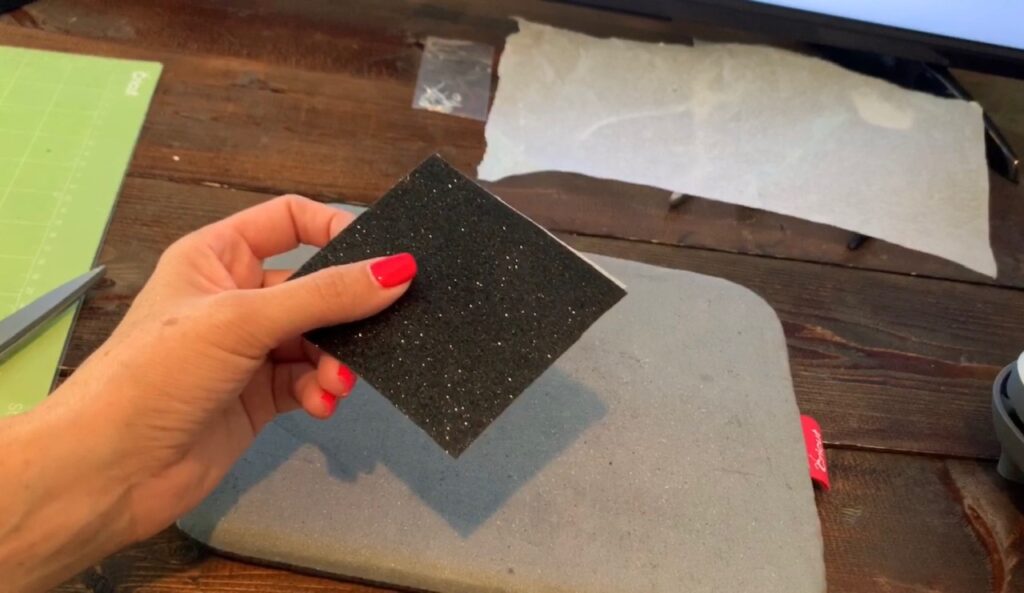
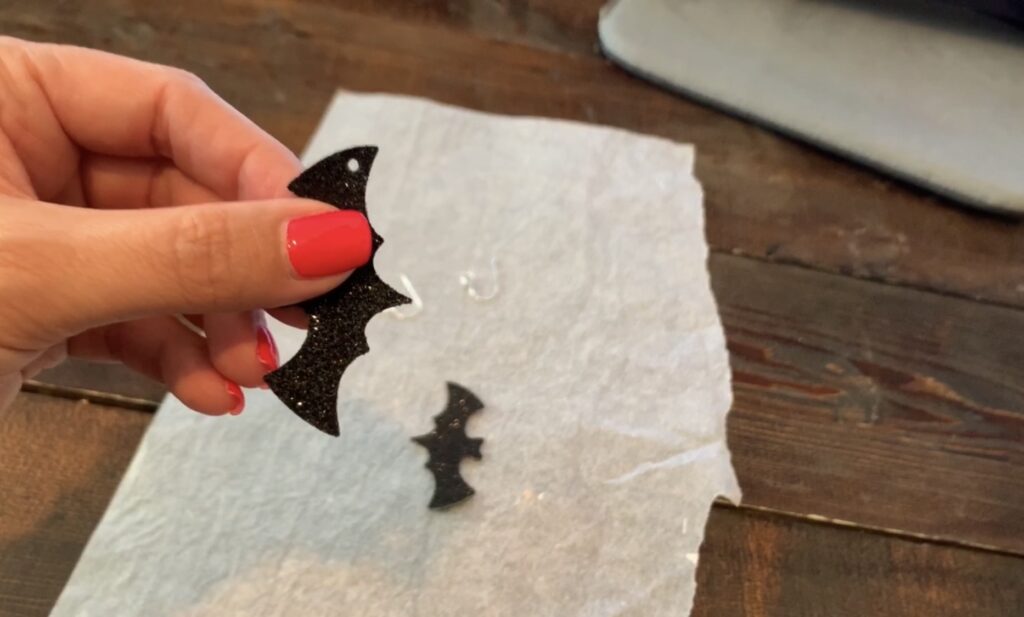
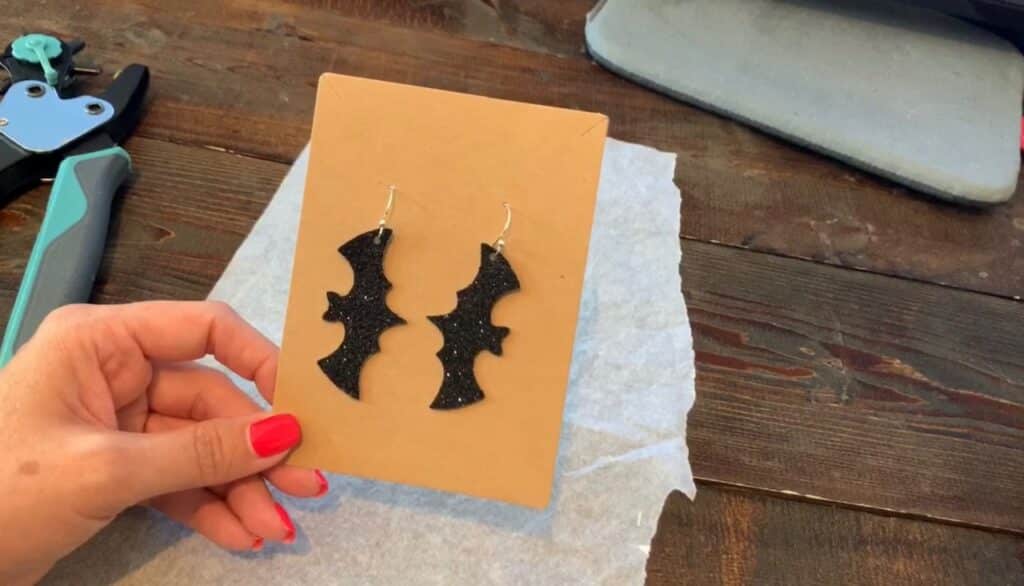
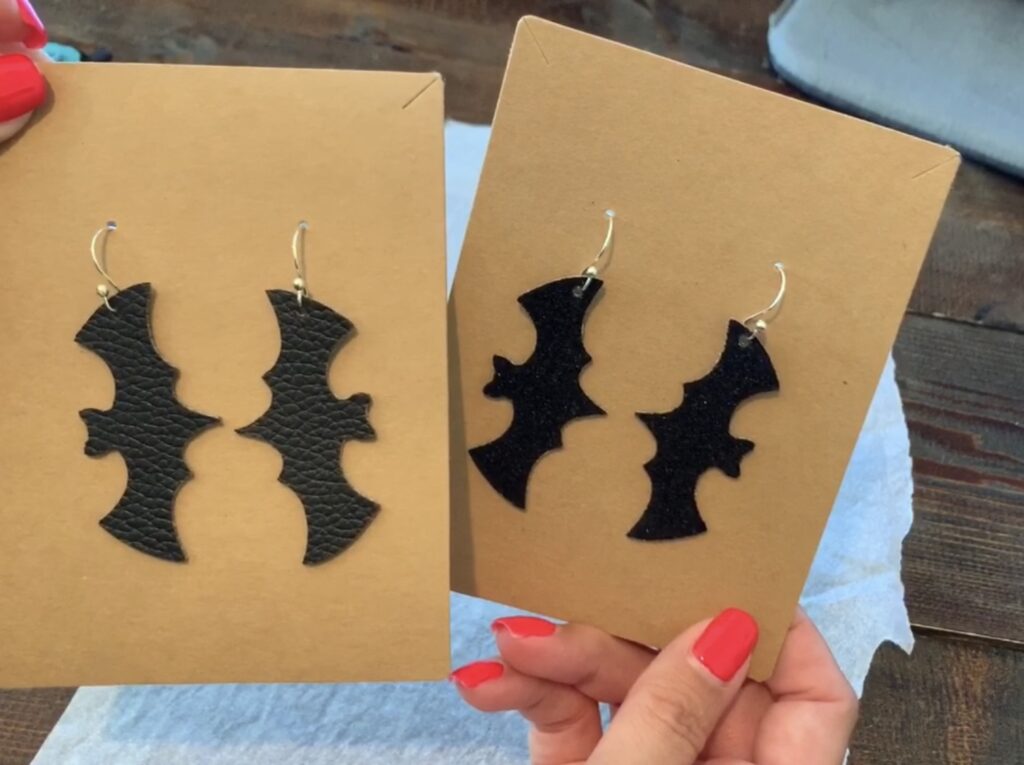
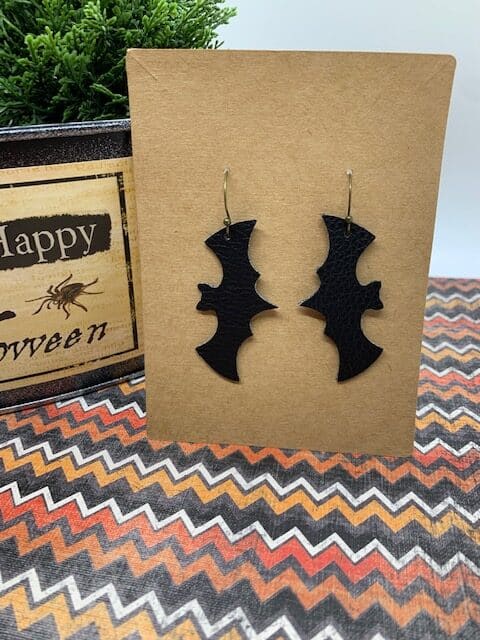
I made a couple versions of these earrings. One pair was made with a double-sided black faux leather. Another was made with the Hobby Lobby fine glitter faux leather from Ribbon Boutique.
SVG File
You can find many templates for your earrings on Design Bundles, Pinterest and Etsy. Some bloggers offer them for free and others are available for sale on various websites.
I used this Halloween svg set file for this project. I completed another project with the pumpkins from this same svg set. The pumpkin earrings turned out so cute!
Materials Cricut Settings
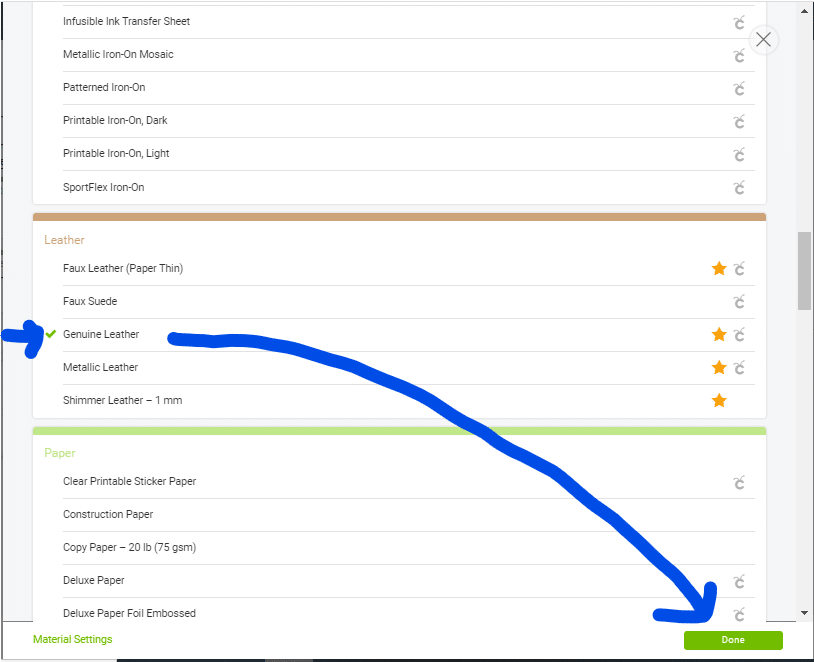
Click on the Browse All Materials link to see the menu of materials options on your Cricut.
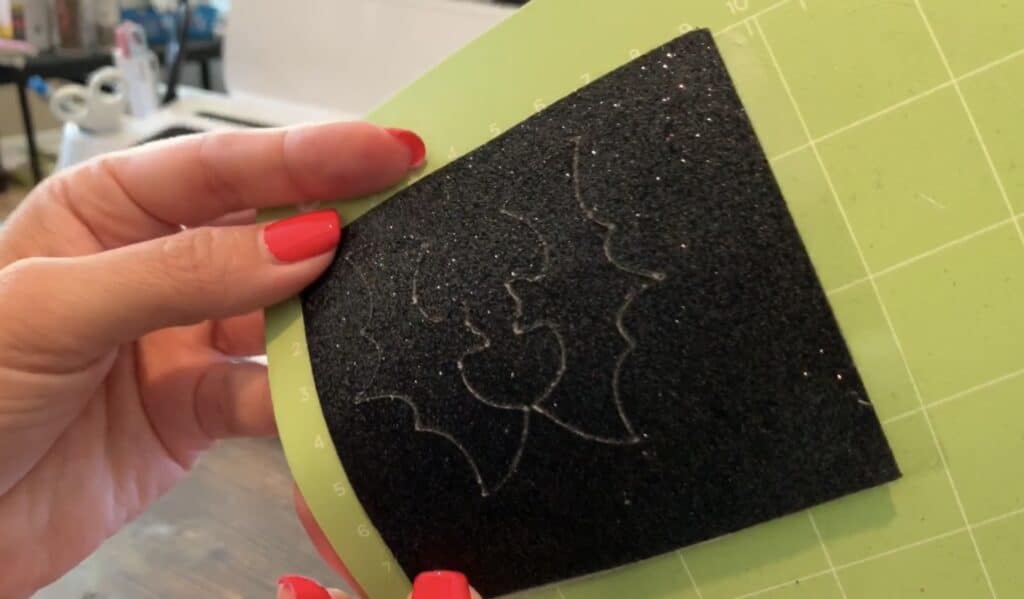
When I use non-Cricut faux leather, the Shimmer Leather option normally works best for me. For this bat earrings diy, I used this setting when I cut my double-sided fine glitter faux leather.
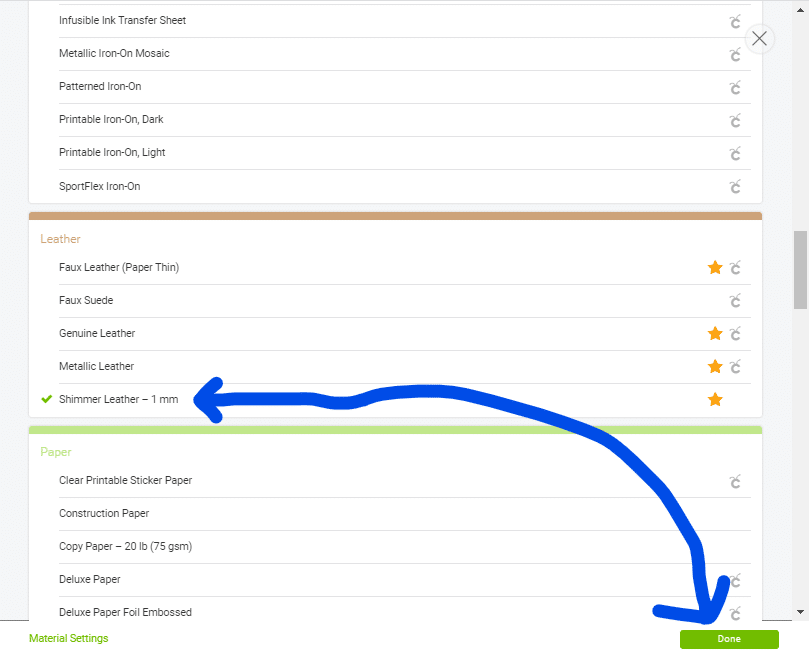
For the double-sided black faux leather, I used the Genuine Leather setting. If you’re using a double-sided leather and don’t have a deep cut blade, you won’t be able to use this genuine leather setting. In these cases, my recommendation would be to use the Shimmered Leather (more presure), but you’ll probably have to cut the leather as it likely won’t cut all the way through.
I often use the genuine leather setting when I use Heat n Bond to adhere two thicker pieces of faux leather together (making double-sided faux leather) before I make my cuts.
Star Wheels
The Cricut machine has star wheels to keep materials from shifting during cutting. However, when cutting thicker materials, the star wheels can leave track marks. When you select a material from the browse menu that is thicker, the Cricut machine will prompt you to move the star wheels to the right. Be sure to move the star wheels when cutting genuine leather so that you don’t get track marks on your genuine leather.

Placing material on the cutting mat(s)
The approach you use to place the material on your mat plays a big role in your material cutting success.
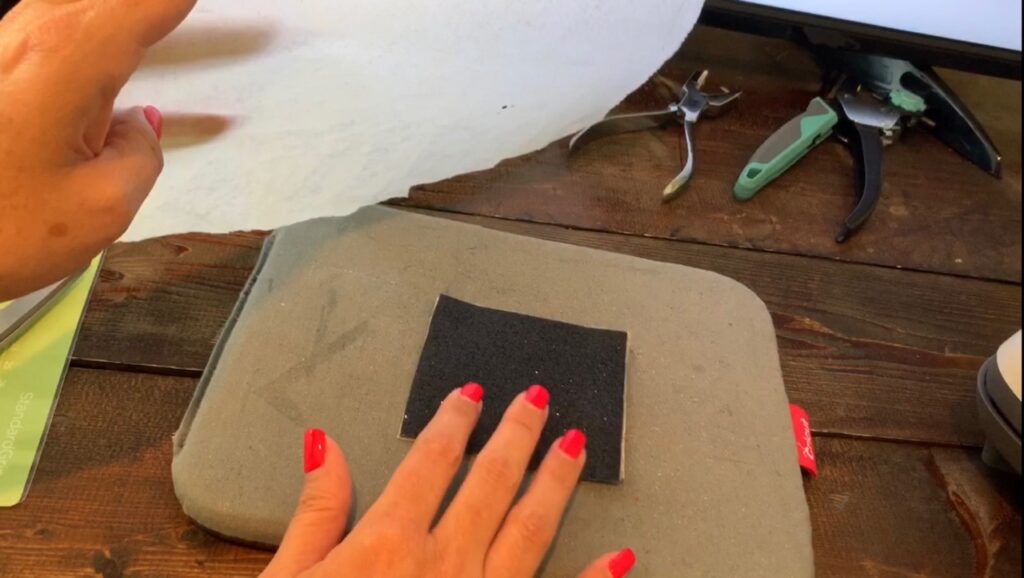
Getting material to sick to the mat
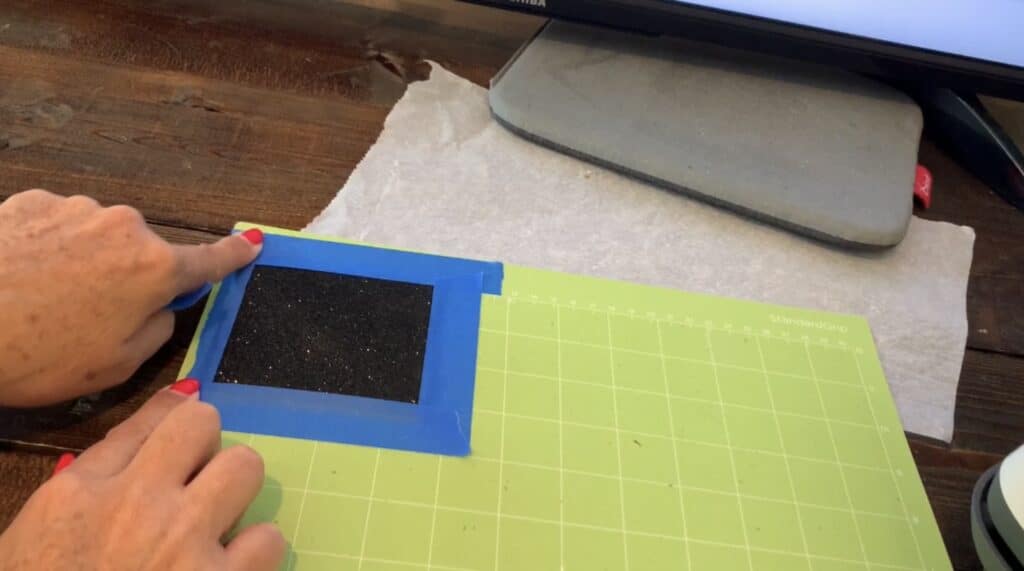
Using an extremely sticky mat is one of the most important keys to get a good cut in the material. Some people attach the material to the mat with tape. I’m not a big fan of this because while it keeps the leather down on the edges, this approach doesn’t help the hold on other parts of the leather. For this reason, you won’t see me use tape very often.
That said, I always use tape any time I am cutting chunky glitter faux leather and fine glitter faux leather. I do this because the chunky glitter faux leather will not stick to the mat, regardless of how sticky the mat is.
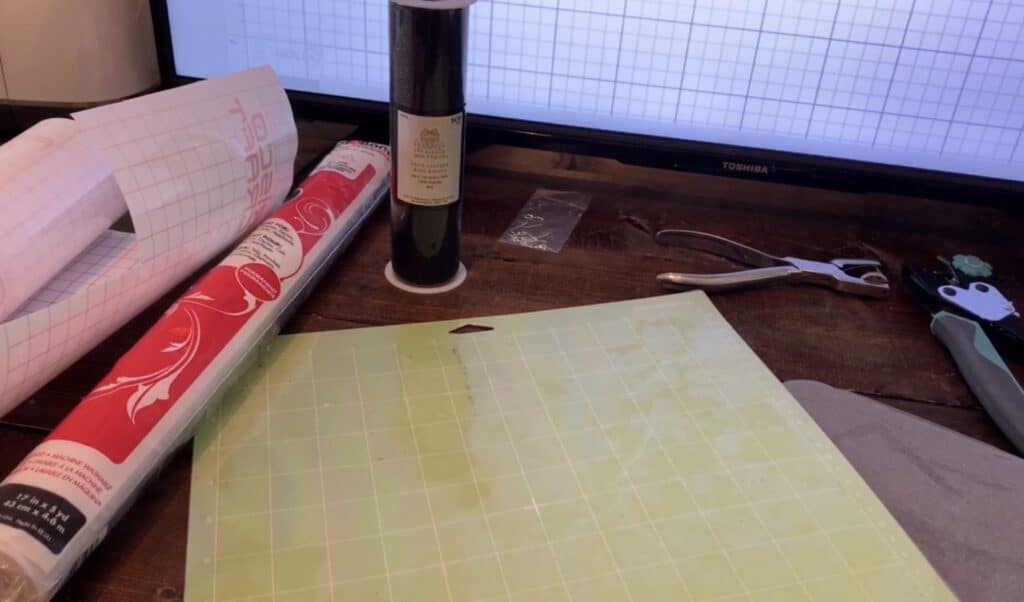
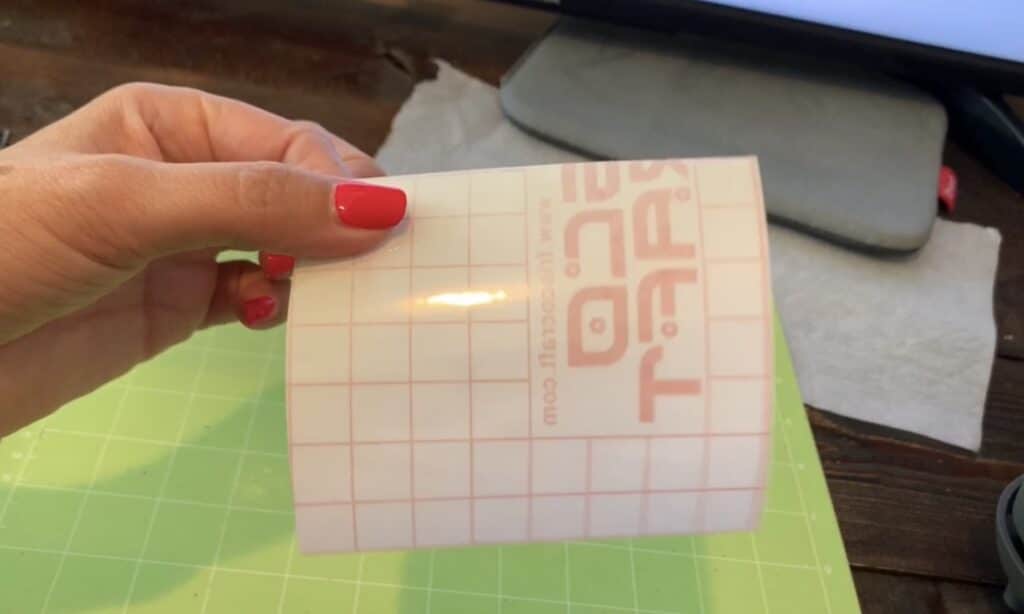
Regardless of the material type, I always start by putting transfer tape on my mat. This approach keeps my mat clean and it also holds the material down really well (with the exception of glitter sheets which doesn’t stick, even with new transfer tape) because it’s super sticky.
I used this bulk transfer paper tape to hold my leather down onto my mat. I often use strong grip transfer tape for more challenging cuts and standard grip for other cuts.
How to place material onto the mat – good side up or down?
I used to always face my materials on the mat with the good side facing down. But a lot has changed for me over the years, and more specifically recently as I’ve begun to cut more printed and soft textured leathers.
There is nothing worse than buying beautiful printed leather and pulling it up from your mat to find that some of the print has pulled off. For this reason, I’ve begun to place these items (printed leathers) onto my mat with the good side facing up. But beware, if you don’t have transfer tape on your mat you will leave a BIG mess behind.
For chunky glitter, I place my faux leather glitter sheet onto the mat with the glitter side facing down and then tape the piece onto the mat.
I normally place my faux leather onto the mat with the good side facing down. And when cutting cork sheets, I most often put the material onto my mat with the good side facing up. I’ve cut it with the good side facing down as well, and it works that way too. Often, my material is adhered back to back prior to my cut (with Heat n Bond), so a good side has to be facing down.
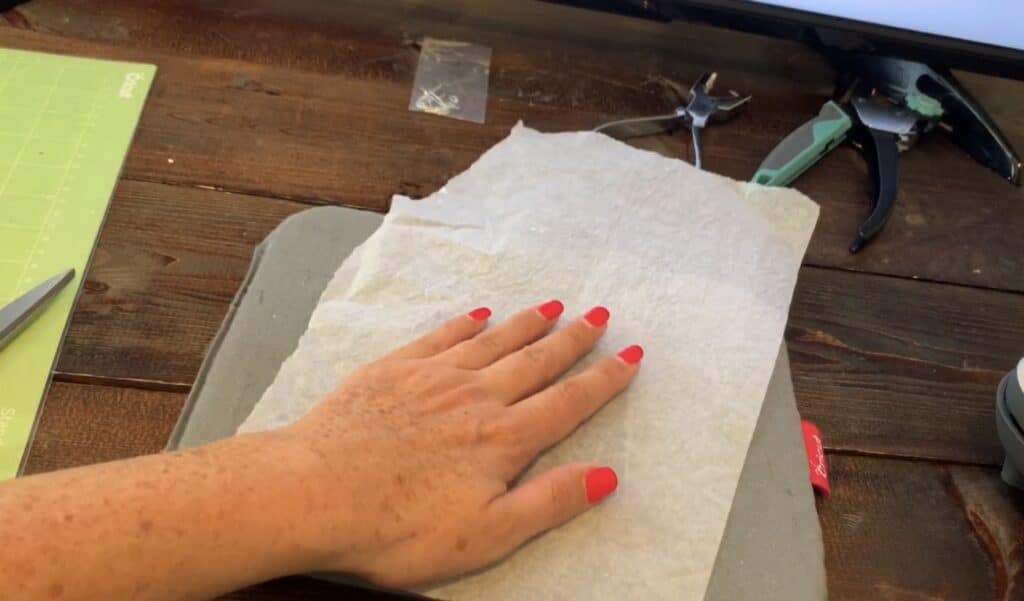
Using a Cricut Brayer
Size of Earrings
The size of earrings is a matter of preference.
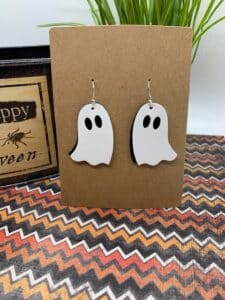
For this project, I made the front ghost 1.75″ long and the back ghost 1.8″ long. The great thing about diy faux leather earrings is that you can make them as big or as small as you like!
Making Earrings Two Sided
The back of some faux leather and faux suede earrings aren’t very attractive because they are often canvas or felt. I often cut an extra faux leather or faux suede piece for the back of the earring and I glue a second piece to the back of it. This way if the earring turns, the felt or canvas isn’t exposed.
Be sure to check out this double-sided faux leather and this double-sided glitter faux leather. It makes it super easy to cut earrings that look great on both sides. I have ordered each of these sets more than once because they cut nicely on my Cricut. And calculate the cost per sheet and it’s awesome! Below I’ve turn the bat earring so that you can see the back of it in the photo below.

No worries if you don’t have double-sided leather, you can create earrings that look good on both sides by taking one of the approaches outlined below.
- Sometimes I cut the earrings and then glue them back to back. To do this, I glue two earrings together using either Crafter’s Pick Fabric glue or Aleene’s Glue. Don’t forget if you’re cutting the backs, you need to duplicate the bat and click on the Flip button to reverse the image.
- I adhere two pieces of faux leather or cork sheets together using Heat n Bond BEFORE I cut the leather. This is my new FAVORITE way to work. By gluing them together before I cut, my cuts are beautiful and it saves me a ton of time.
Steps to Make Double Sided Faux leather
Cut the size of faux leather needed. I first reference the size of the cut on the mat and make sure I have enough for two pieces that size.
I cut a piece of Heat N Bond the same size of the piece of faux leather.
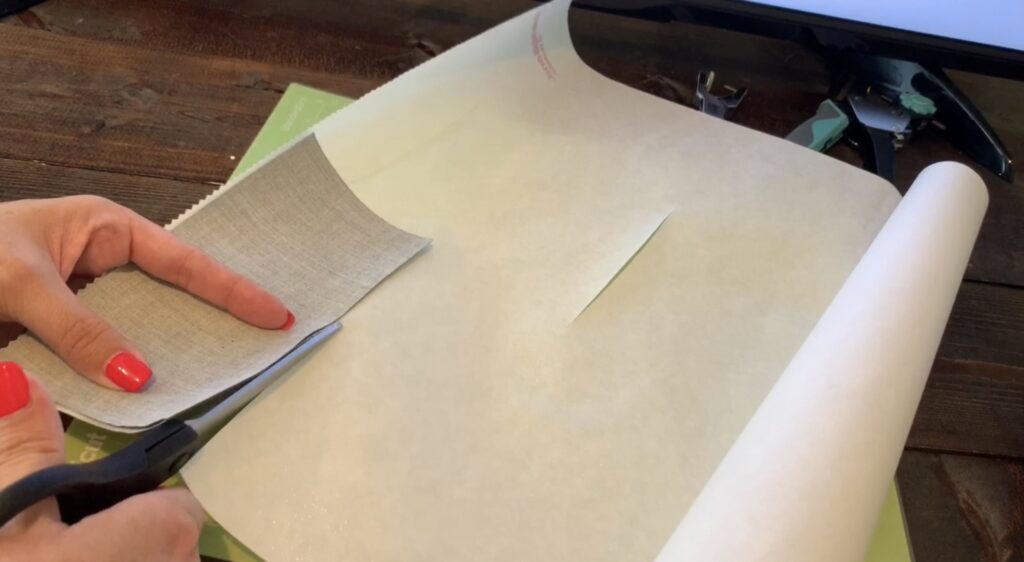
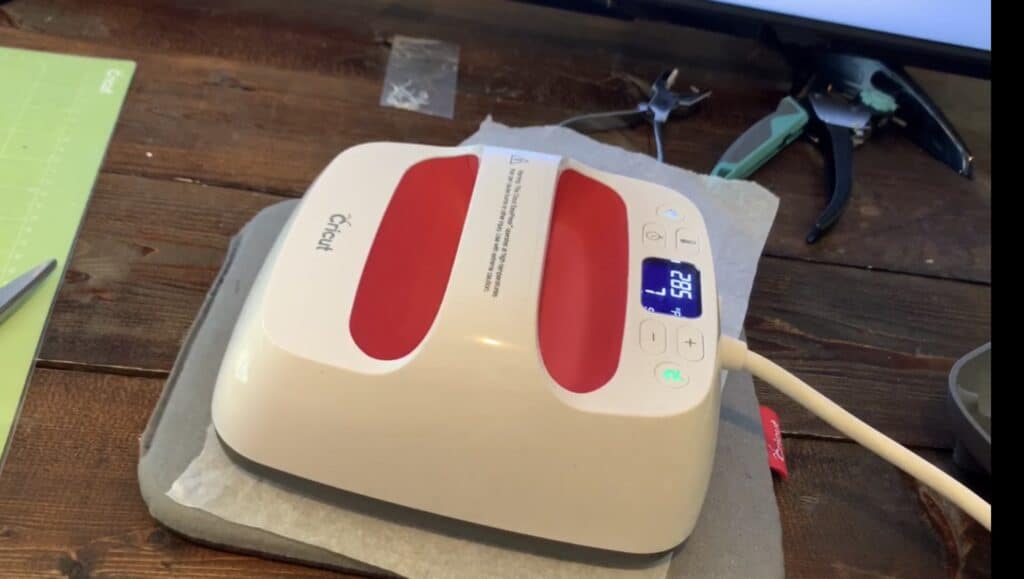
Put the Heat N Bond onto the piece of faux leather with the textured side facing the back side of the material.

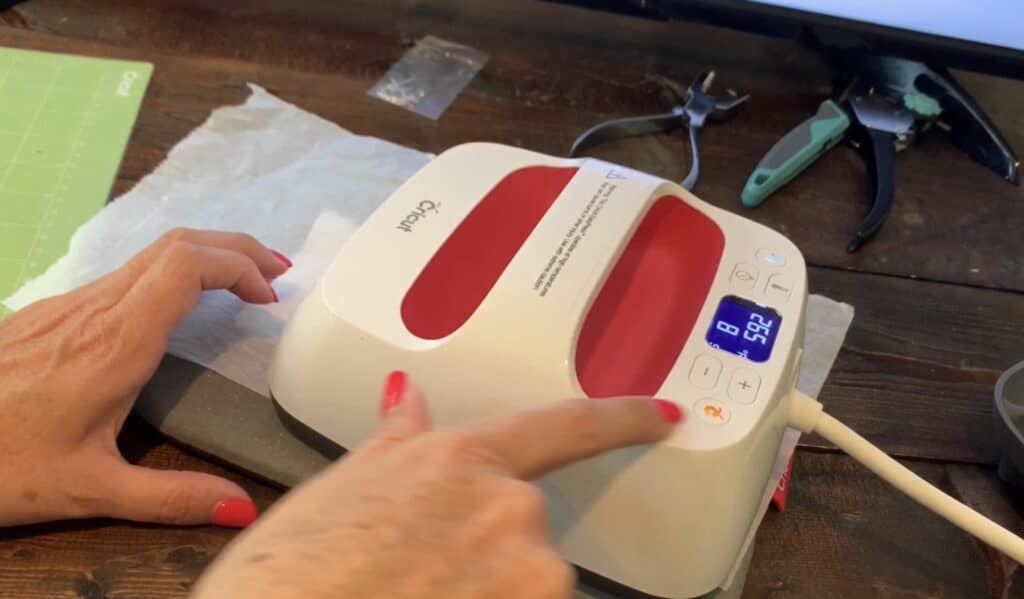
I then used my Cricut Press to adhere the Heat N Bond to the material. It only takes about 10 seconds or less (at about 280 degrees).
Then, I cut the piece into two.
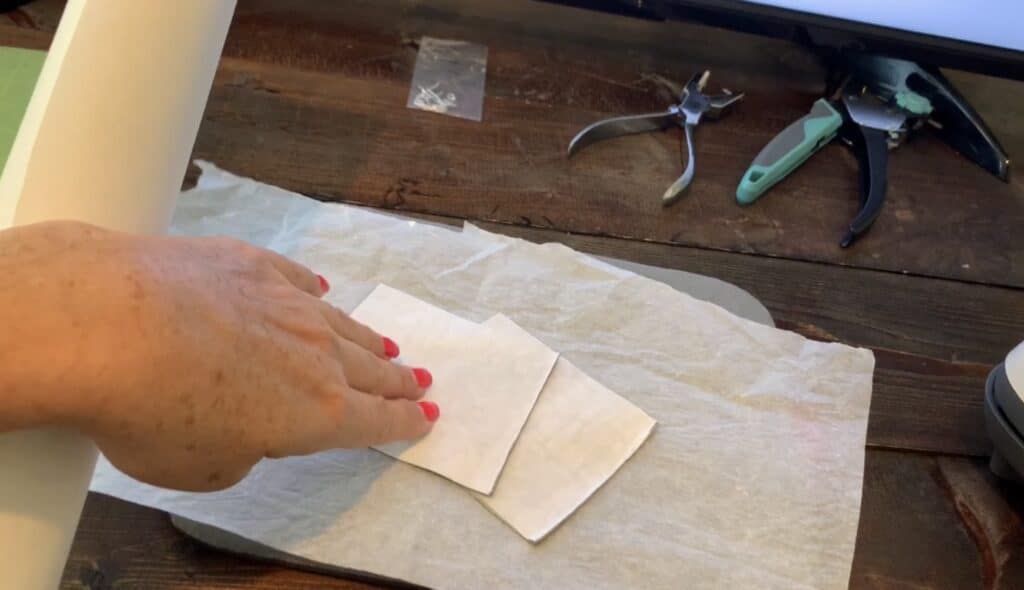
One the material has cooled, I pulled the backing off of each piece of material.
Then I put the two pieces together with the glitter sides facing out.
Then, I covered the fine glitter faux leather with parchment paper.
Once covered, I put the Cricut Easy Press on the project for about ten seconds.
Once the two pieces are adhered together, let the material completely cool before putting it onto the mat to cut.
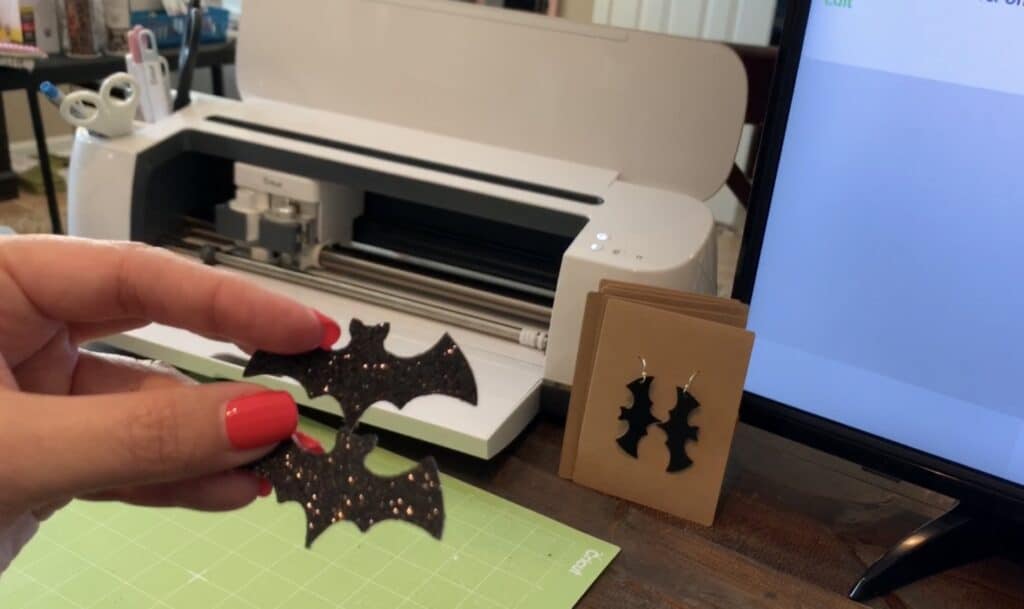
Cutting the Material on a Cricut Explore Air or Cricut Maker
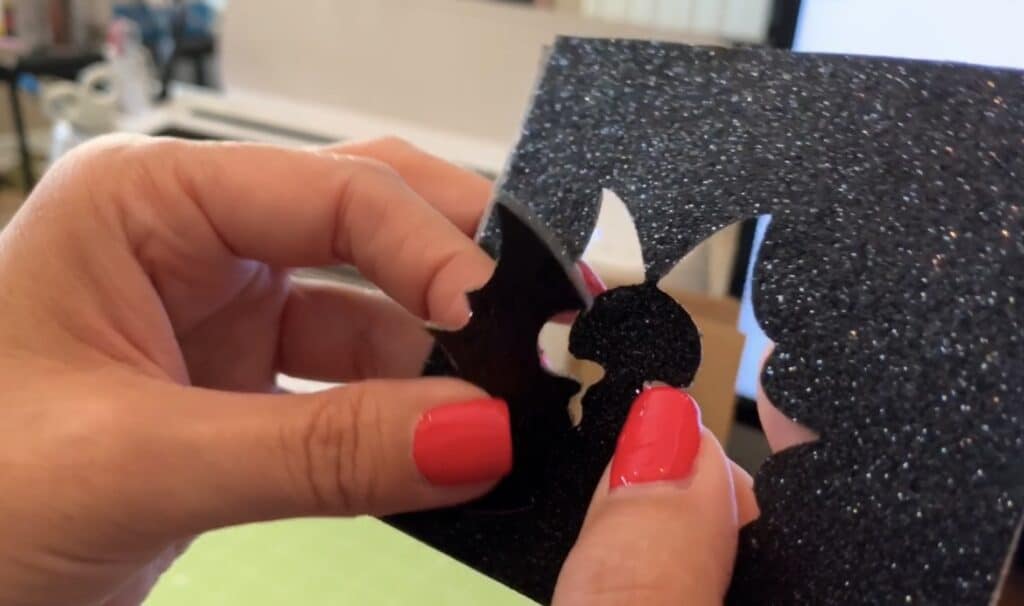
Trim any felt, fuzz, or glue from the earrings.
Using a pair of leather scissors, trim fuzz from around the earrings. Be very careful not to cut any of the earring, you’re only cutting the fuzz off of your leather earrings.
You can also smooth the earring by using a burnishing agent. I apply it with a toothpick along the edges. It’s great because it smooths the leather and helps better define the edges.
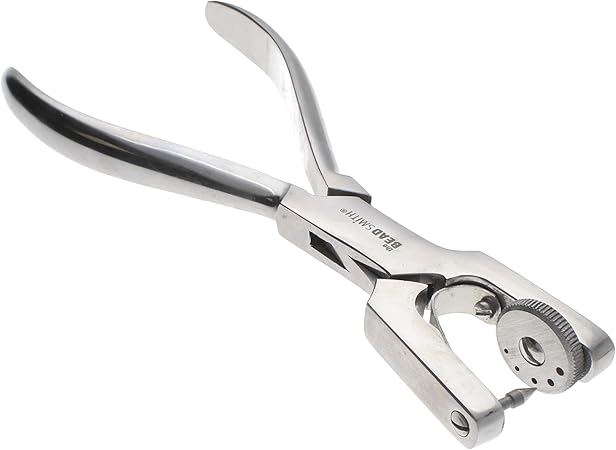
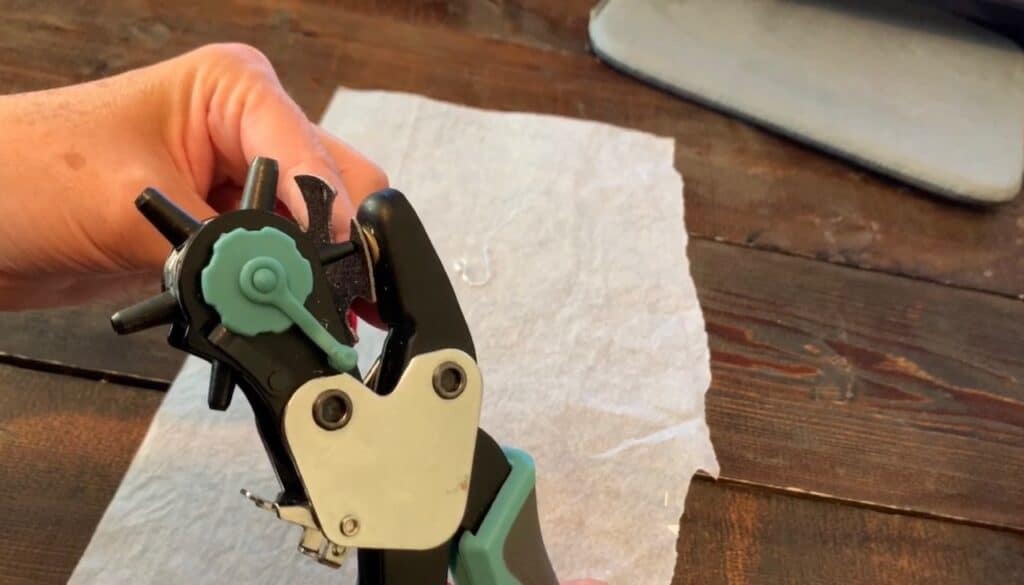
Place a hole in the top of the earring.
I use a leather punch to put the holes in my diy leather earrings. The tool linked above cuts through multiple layers of the earring at the same time and punches larger holes (2mm is the smallest).
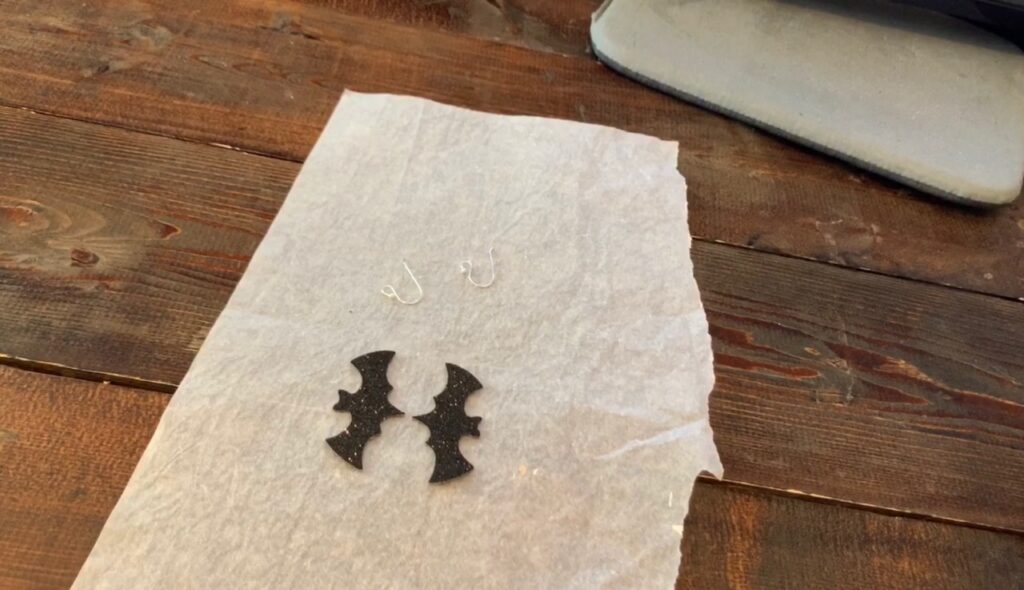
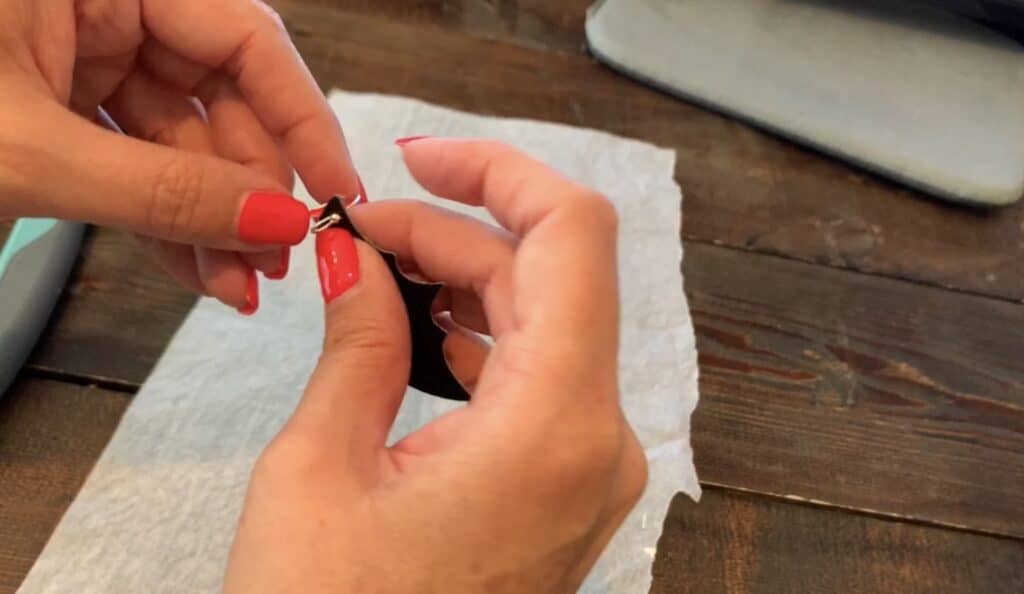
Add ball wire hooks to earrings
For this bat earrings DIY, I chose to use ball wire earrings. These are super easy to use because you simply pull the earring onto the hook. I normally don’t even need pliers to work with these kinds of hooks.
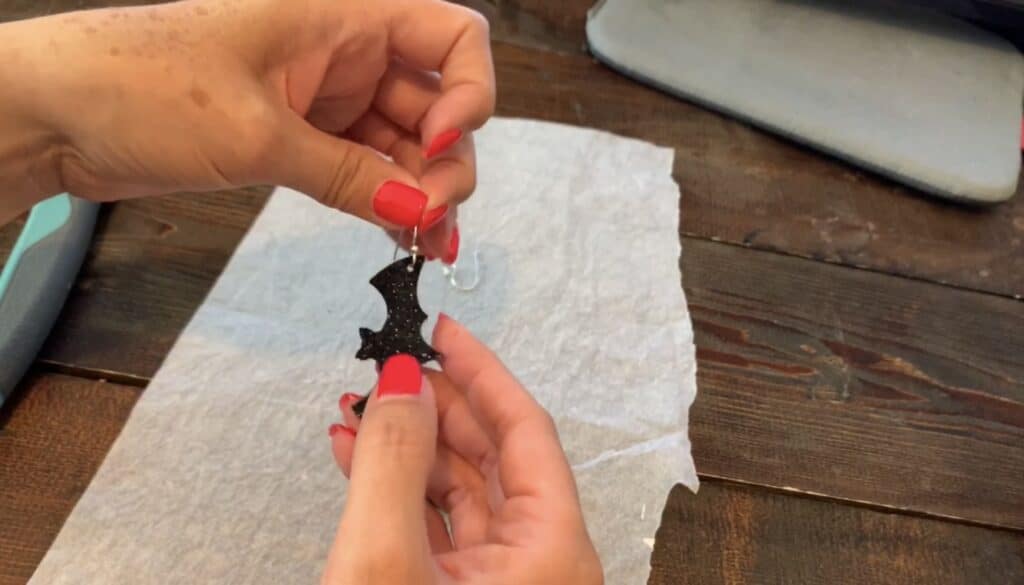
And that’s it! This bat earrings DIY is finished!
Check out other DIY Earrings Below
Everyday Earrings DIY
- Pinched Leather Earrings DIY (Narrow)
- Painted Feather Leather Earrings
- Leather Hoops
- Disney Inspired Mouse Earrings DIY
- Leather Earrings with Chains
- Circle Cut Out Earrings with Strap
- Leather Bar Earrings DIY
- How to Emboss Leather Earrings
- DIY Angled Fringe Earrings
- Leather Circle Earrings
- DIY Fringe Leaf-Shaped Earrings
- Cross leather earrings
- FRI-YAY Leather Earring DIY
- Leather Bar Earrings DIY (with metal charm)
- How to Make Genuine Leather Earrings
- Statement Earrings
- Teardrop Cork Earrings
- Hollow Faux Leather Earrings – Teardrop and Leaf Shaped
- Faux Leather Tall Stacked Earrings
- Faux Leather Circle Earrings
- Split Teardrop Faux Leather Earrings
- Faux Leather Stacked Marquise Earrings
- Stacked, wavy earrings – KSU
- Faux leather leaf cutout earrings
- Faux Leather earrings with fringe
- Faux Leather Teardrop Earrings
- Faux Leather Bar Earrings
- Faux Leather Leaf Earrings
Sports Earrings DIY
- Football Earrings – Teardrop with football cut out
- Stacked Football earrings
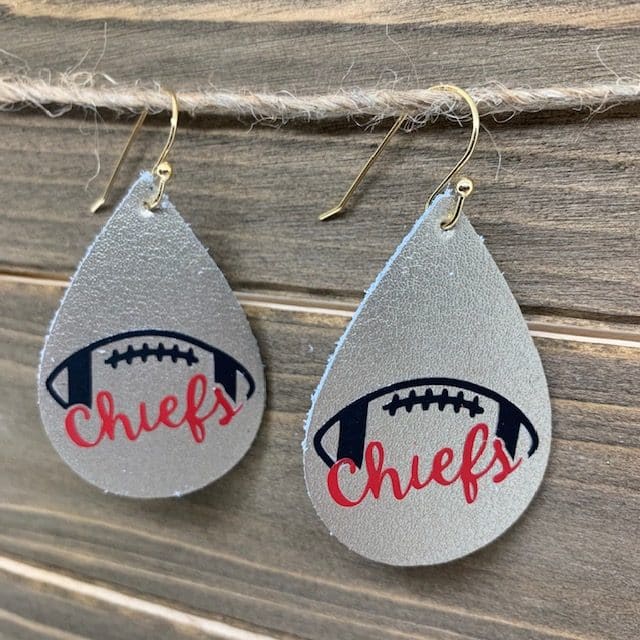
- Chiefs Football Teardrop Earrings
- Chiefs Heart Teardrop Earrings
- Chiefs Arrowhead Earrings
- Chiefs Arrowhead on Teardrop Earrings
My Favorite Leather
My Favorite Faux Leather
Valentine’s Day Earrings DIY
- 40 Great Valentine’s Day DIY Earrings
- LOVE Leather Earrings DIY
- Valentine’s Day earrings DIY (heart shape)
- Heart Earrings DIY (Iron On)
- Heart Earrings DIY (with heart cutout)
- DIY Valentine’s Day Earrings
St. Patrick’s Day Earrings DIY
Easter Earrings DIY
4th of July Earrings DIY
Halloween Earrings DIY
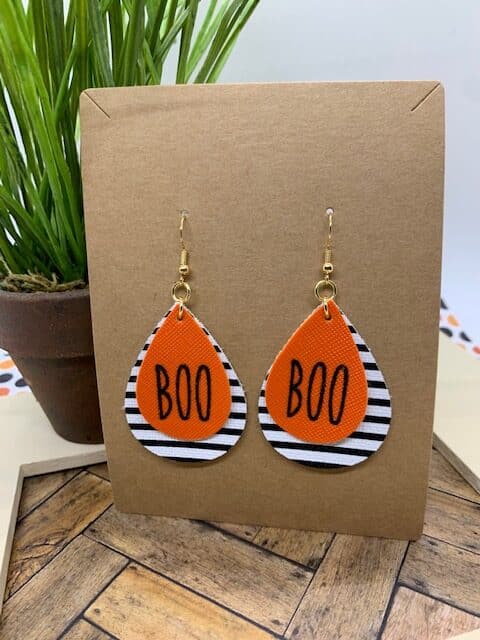
- Boo Teardrop Halloween Earrings DIY
- Halloween Bat Earrings
- Halloween Faux Leather Earrings (Pinched Earrings)
- Halloween Faux Leather Earrings Skulls
- Halloween Faux Leather Earrings Pumpkins
- Halloween Leather Earrings Ghosts
Winter Earrings DIY
- Snowflake Cutout Teardrop Faux Leather Earrings
- Snowman Leather Iron On Earrings
- Buffalo Check Snowman Cutout Earrings