How to Transfer Images Onto Tape
For this Classic Bear Baby Shower, I needed the wine bottles for our Mom‑osa bar to match the rest of the décor — and ordering custom labels wasn’t even an option. Learning how to transfer images onto tape became the perfect workaround, giving me a simple, affordable way to create matching labels using nothing more than printed designs and clear shipping tape.
Disclosure: This page may contain affiliate links. If you purchase through these links, I may earn a commission at no extra cost to you.
Video: How to Transfer Images Onto Tape
If you prefer to watch the process, this quick video shows exactly how I create the tape transfers—from printing the images to applying them onto the bottle. It’s a simple method you can follow in real time.
Step‑by‑Step Instructions
1. Print your image on regular paper
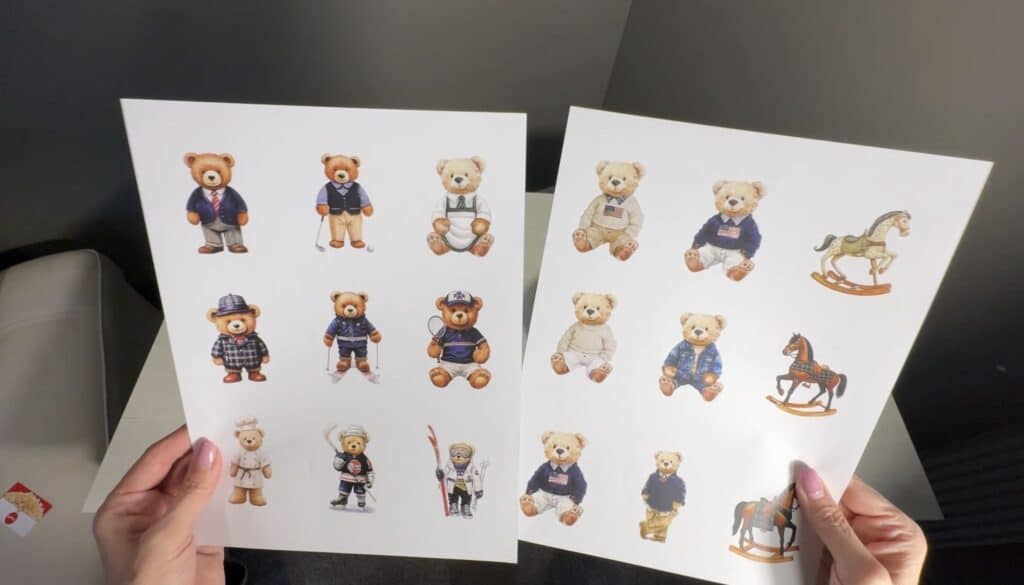
Print your designs on regular printer paper using either an inkjet or laser printer. If you’re using an inkjet, be sure the ink is completely dry before applying the tape — fresh ink can smudge or transfer unevenly. You can print at home or at a local print shop like FedEx Office or Staples if you need higher-quality prints or don’t have a printer available.
2. Cut out the image you want to transfer

Rough‑cut around each design, leaving a small border of paper. You don’t need to cut precisely at this stage — you just want to separate the images so they’re easier to work with. Make sure to leave enough extra paper around the edges so you can make a cleaner, final cut after the tape is applied.
3. Cover the printed image with clear shipping tape
Place a strip of tape over the printed side and smooth it down. If the image is wider than the tape, overlap two pieces slightly to create one continuous sheet.
4. Cut around the taped image again
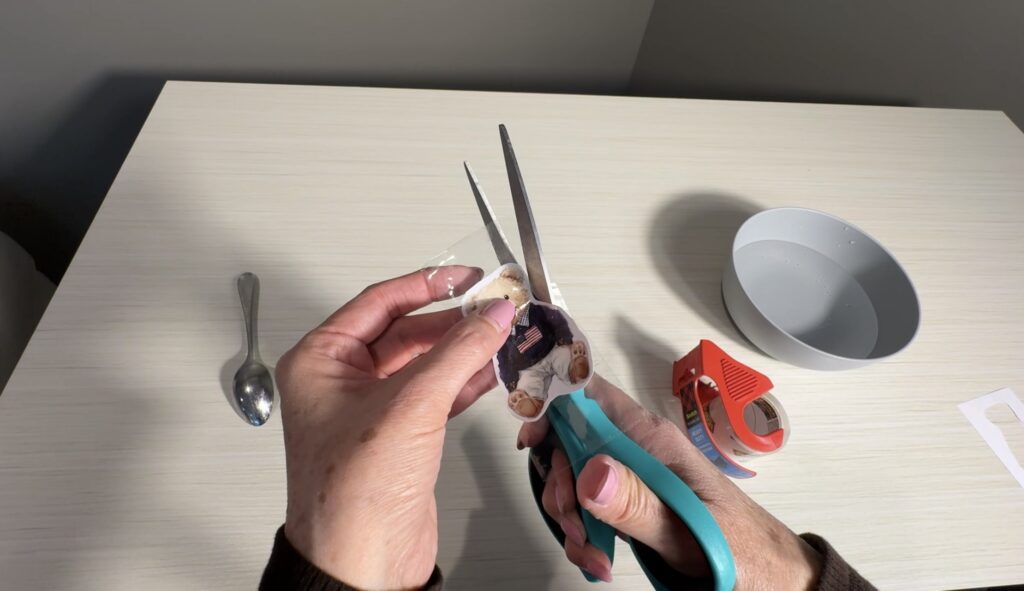
Trim the edges so the tape sits cleanly around your design. This helps the transfer look neat and reduces extra adhesive around the sides.
5. Burnish the tape to help the image transfer
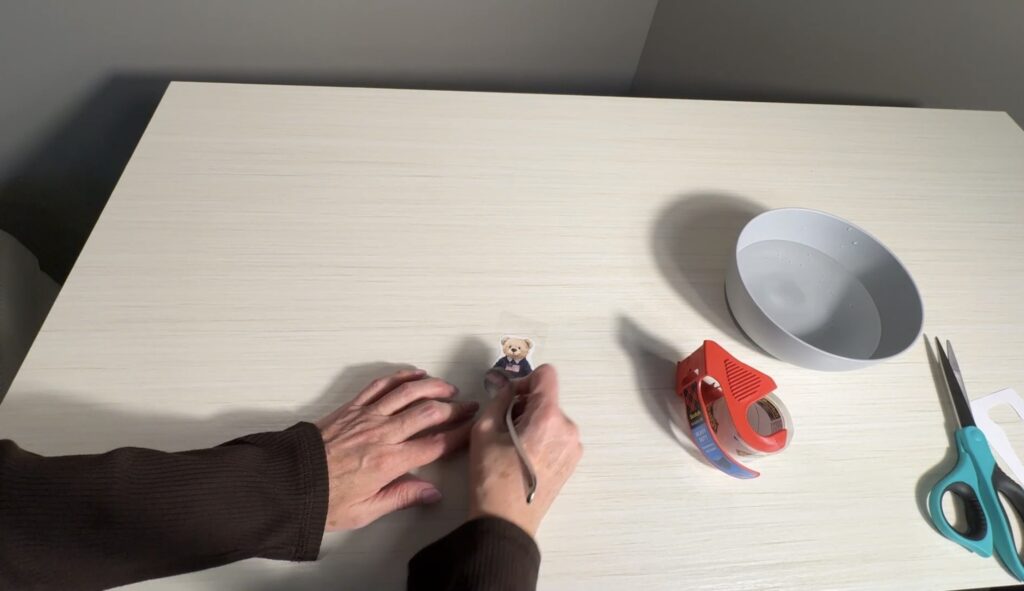
Rub the tape firmly using a spoon, credit card, gift card, or your fingernail. Steady pressure helps the ink bond to the adhesive.
6. Soak the taped image in warm water
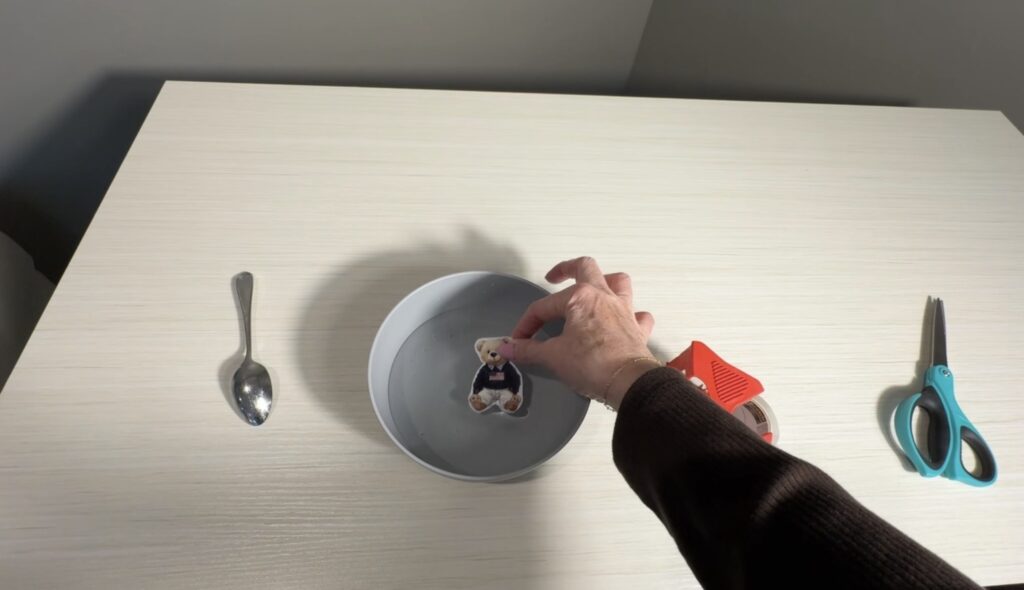
Place the taped designs into a bowl of warm water and let it sit for 5–10 minutes. This softens the paper backing so it can be rubbed away easily in the next step.
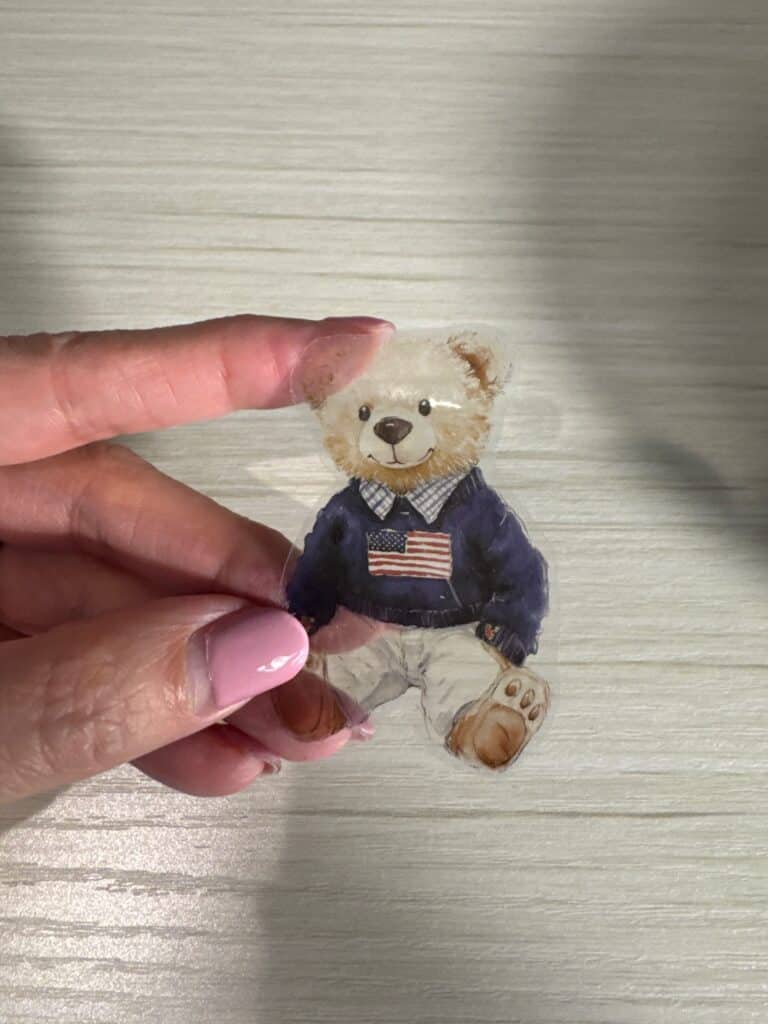
7. Gently rub away the paper backing
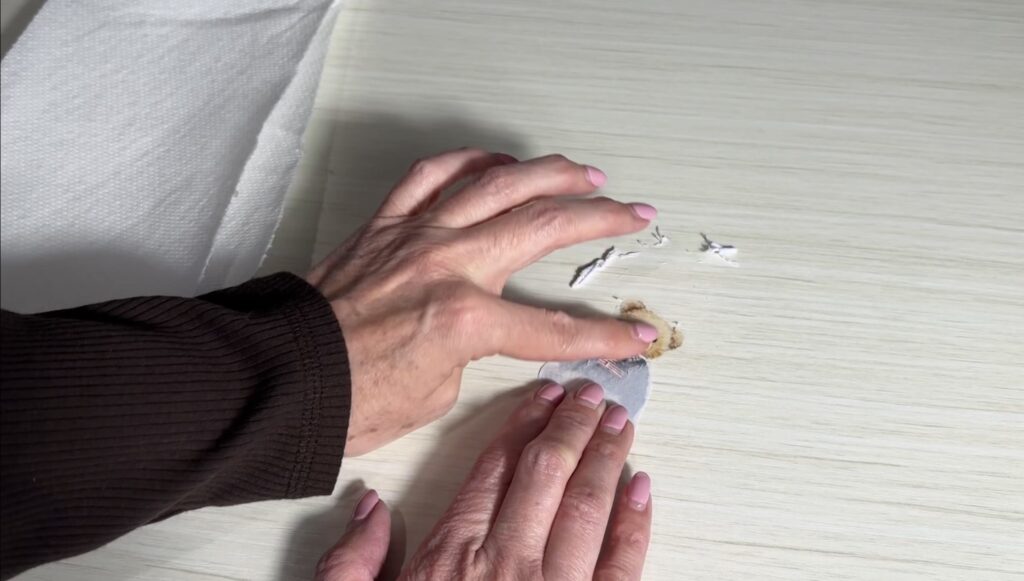
Once the tape has soaked, gently rub the paper backing with your fingers until it starts to roll off and the design shows through. Use light pressure — pressing too hard can tear or lift parts of the image. (I actually lost two bear heads by rubbing too aggressively, so go slow and let the water do most of the work.)
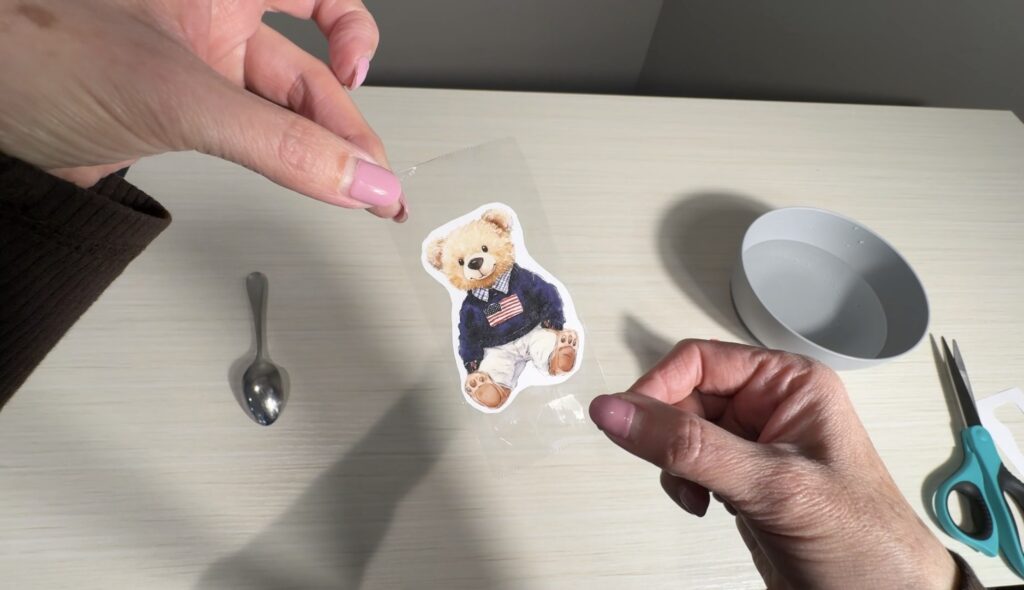
8. Let the tape dry completely

Lay your finished transfers on a smooth surface and let them dry sticky‑side up until the adhesive becomes tacky again. This step is important — the tape won’t grip your surface if any moisture remains. If you notice cloudy spots or a thin layer of paper still clinging to the back, simply soak the tape again and gently rub away the remaining fibers. The adhesive won’t fully reactivate unless the tape is completely clean and dry.
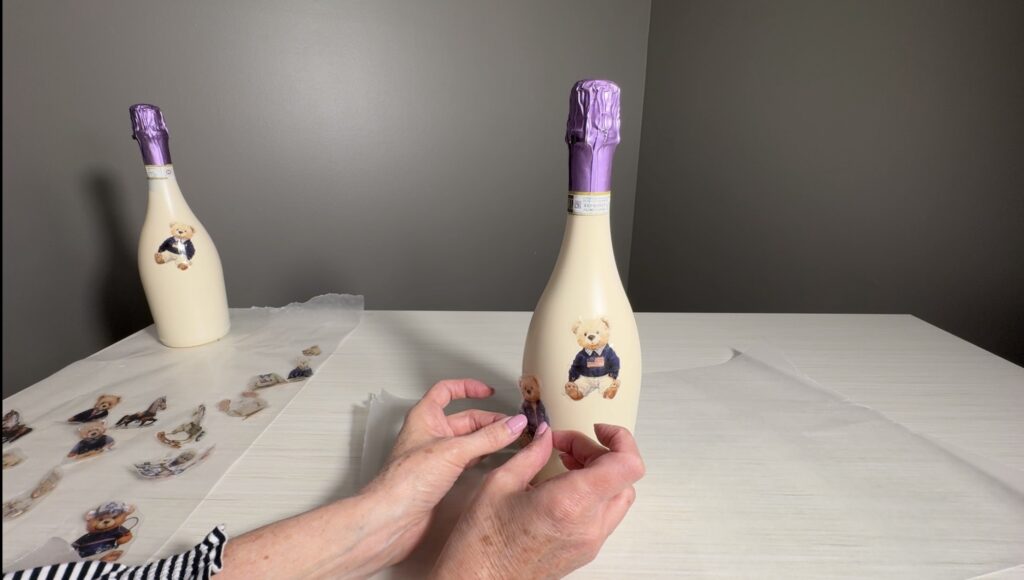
9. Apply your tape label to whatever you’re decorating
Once your tape design is fully dry, place it onto whatever surface you’re decorating. Start by pressing firmly in the center, then smooth outward toward the edges. This pushes out any air bubbles or wrinkles and helps the design wrap cleanly around curved surfaces like wine bottles, jars, or vases. Take your time with this step — a slow, even press gives you the crisp, seamless look you want.
Final Thoughts
Learning how to transfer images onto tape is an easy way to create custom labels without special tools. It works on wine bottles, jars, vases, candle holders, and other smooth surfaces. This simple method helps you match your theme, personalize your décor, and add small details that feel intentional. It’s quick, affordable, and perfect for party projects — including the wine bottles I’ll be sharing in an upcoming post.
Want to decorate a wine bottle as a gift or for an upcoming event? Check out my full blog here to see just how easy it is!