Leather Hoop Earrings DIY
Make fun leather earrings with the circle shape in Cricut design space.
This leather hoop earrings DIY was especially cool to make because I used a circle shape to create the earrings. In this post, I’ll share highlights about how I completed this project. For full details, see my YouTube video below.
Disclosure: This page may contain affiliate links. If you purchase through these links, I may earn a commission at no extra cost to you.
Details for making this leather hoop earrings DIY can be seen in my YouTube video below.
Example Leather Hoop Earrings DIY Projects
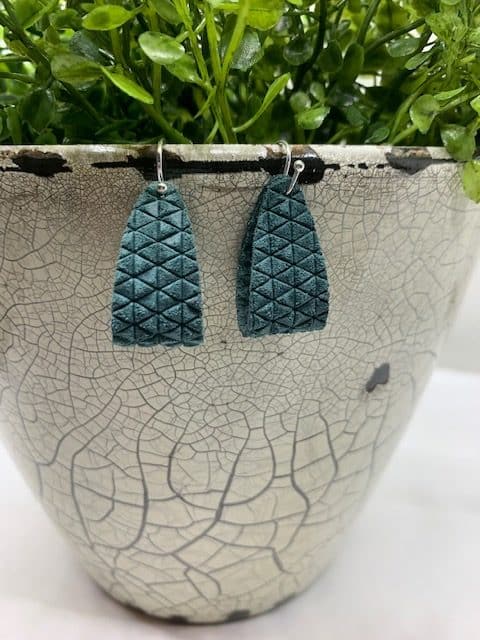
Triangle Geometric Leather
Palm Leaf Embossed Leather
Fishtail braided leather
Saffiano leather
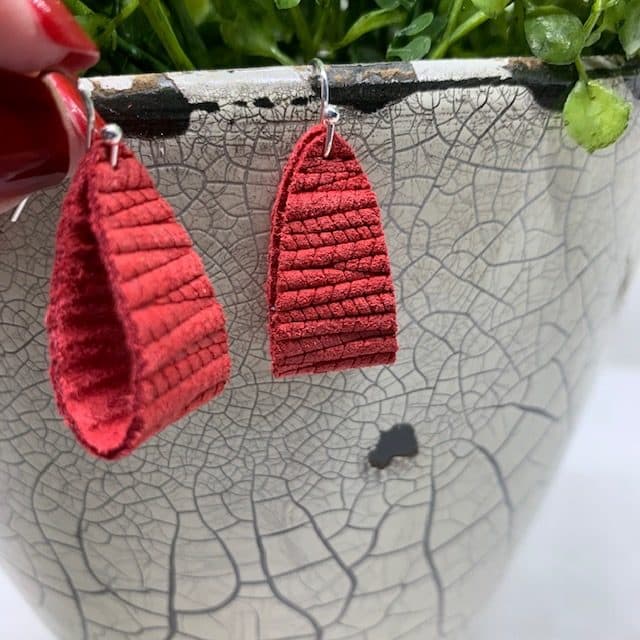
Palm Leaf Embossed Leather

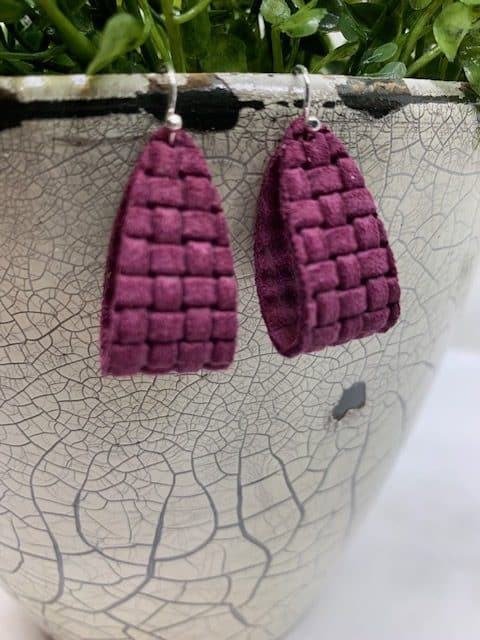
Basket weave leather
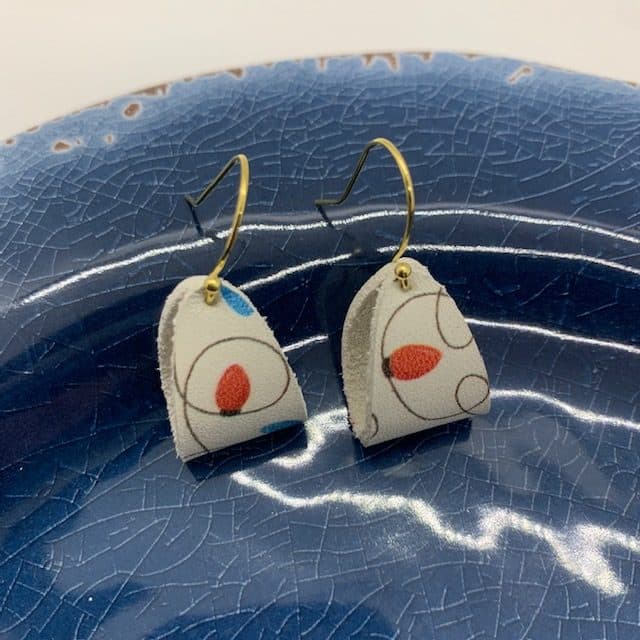
Holiday Lights Genuine Leather
What You’ll Need to make this Leather Hoop Earrings DIY
Cricut Machine Options


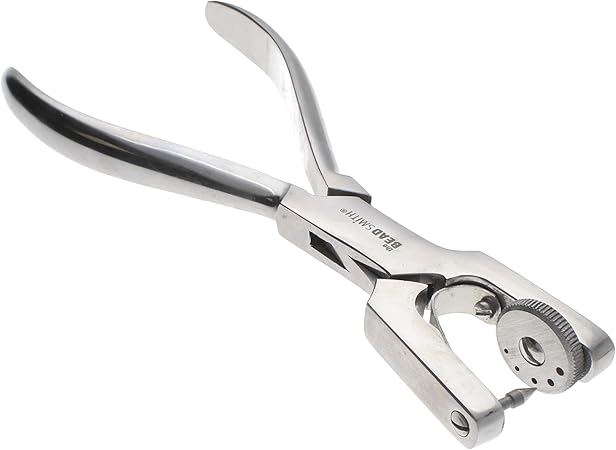
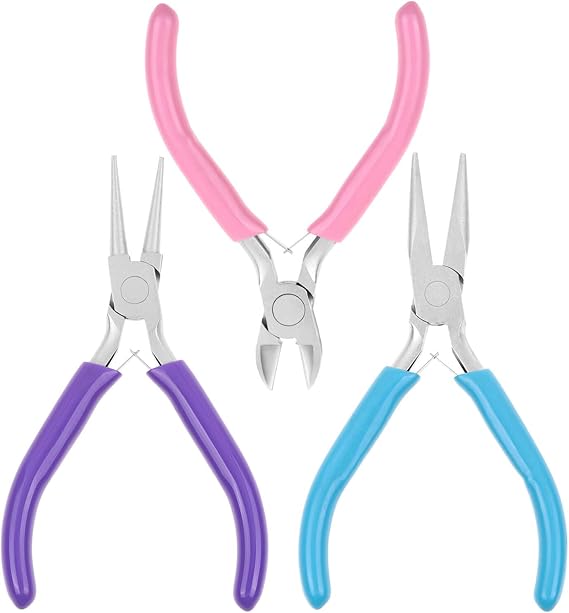
Earring Tools


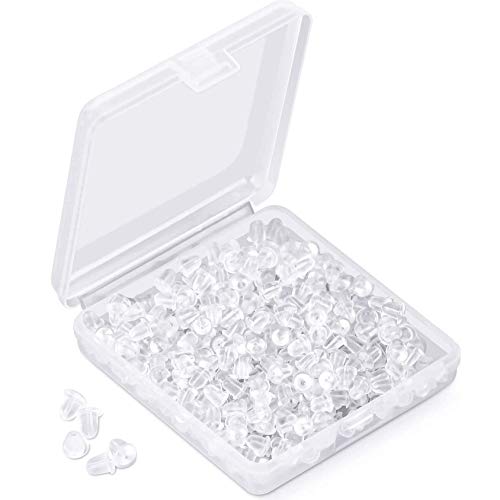
Earring Findings and Backs

Cricut Tools and Accessories


Heat Press
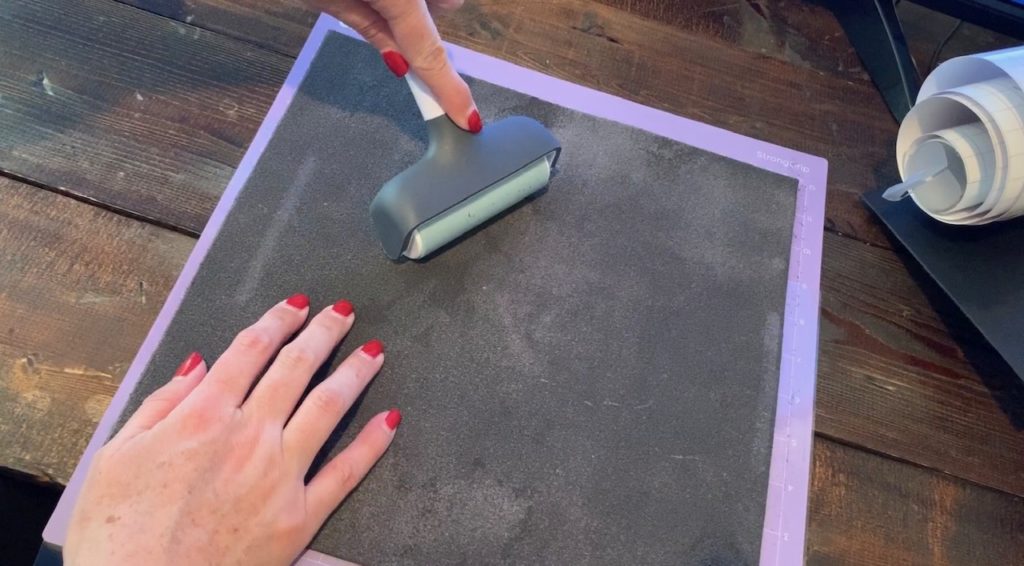
This also helps ensure my material is nicely attached to the mat when I’m not using a brand new mat that may not be as sticky.
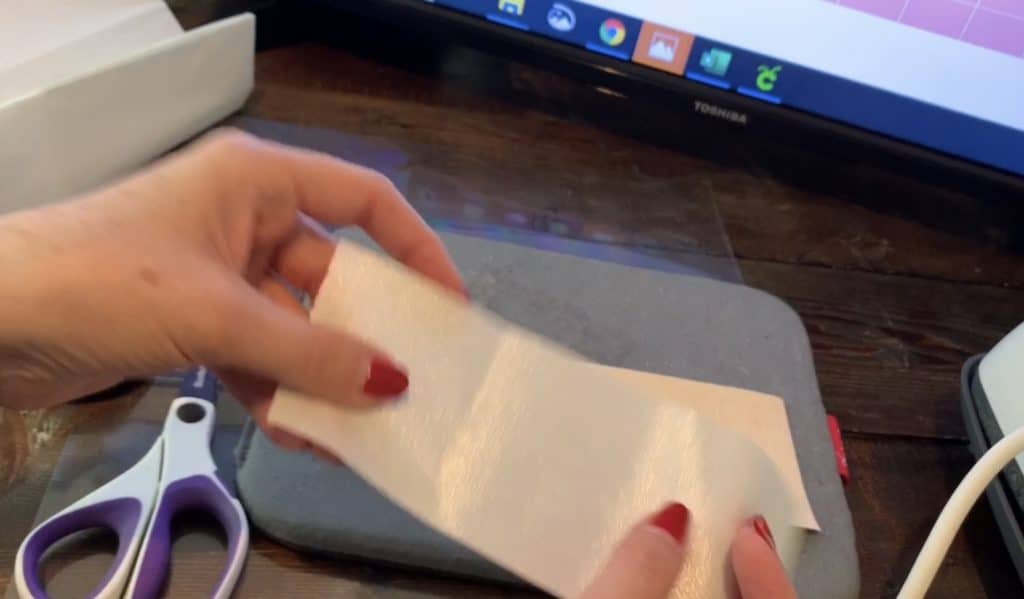
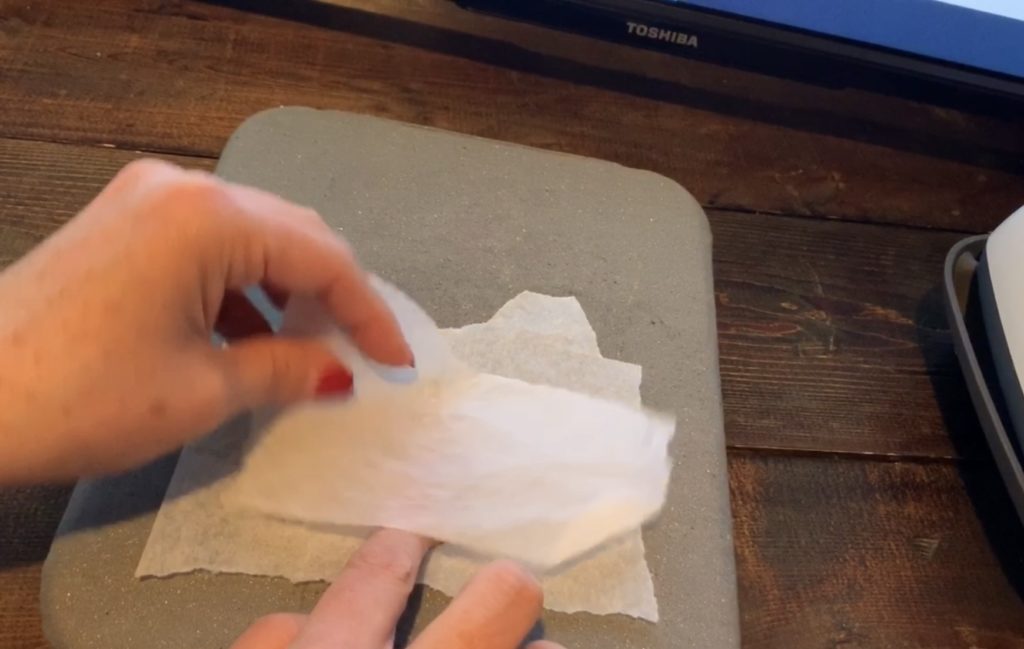
I put the transfer tape down onto the mat, sticky side up.
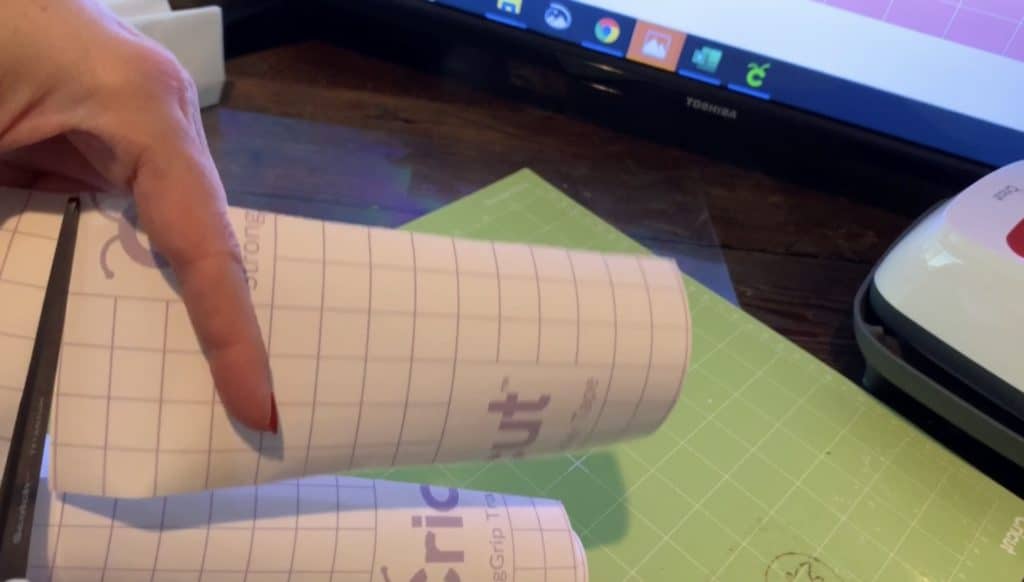
Remove the backing of the transfer tape or contact paper.
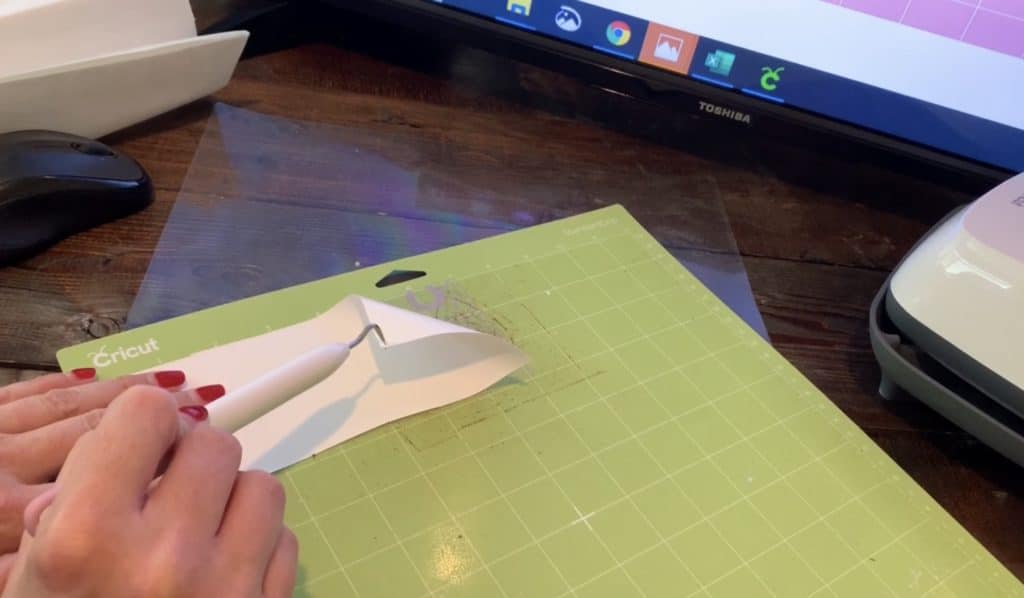
Then I put my material onto the transfer tape or contact paper, with the good side facing down onto the transfer tape or contact paper.
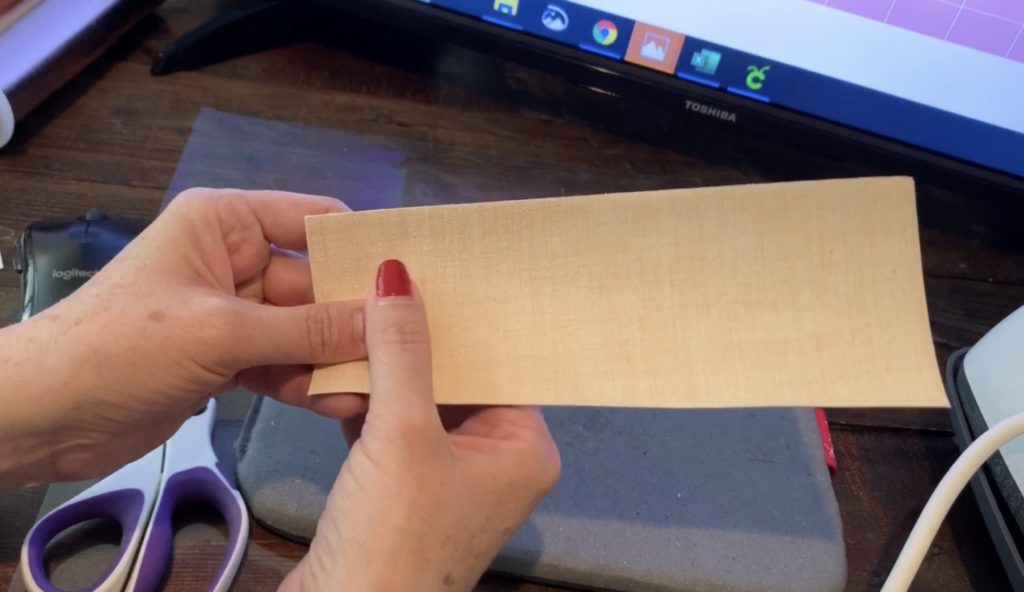
After placing the material on the mat, you can use a Cricut Brayer roller to press it nicely onto your mat.
Use the Cricut Easy Press to Apply Heat n Bond
When using faux leather, I often glue earrings back to back. My favorite way to use that is by using a product called Heat n Bond. There are a lot of kinds of it, and I prefer the one below.
Note that the earrings in the pictures are above are made with genuine leather that is so cute on both sides, so I didn’t need to cut and glue another piece back to back. But I’ll include in the instructions for using Heat N Bond here in case you’re using faux leather for this project.
When using Heat n Bond, I apply it to the material before I put my material onto my mat (before I cut the earrings).
I cut a piece of Heat n Bond the same size as my faux leather.
Then I place the Heat n Bond on the back side of the faux leather. The textured side of the Heat n Bond should be facing/touching the back of the faux leather.
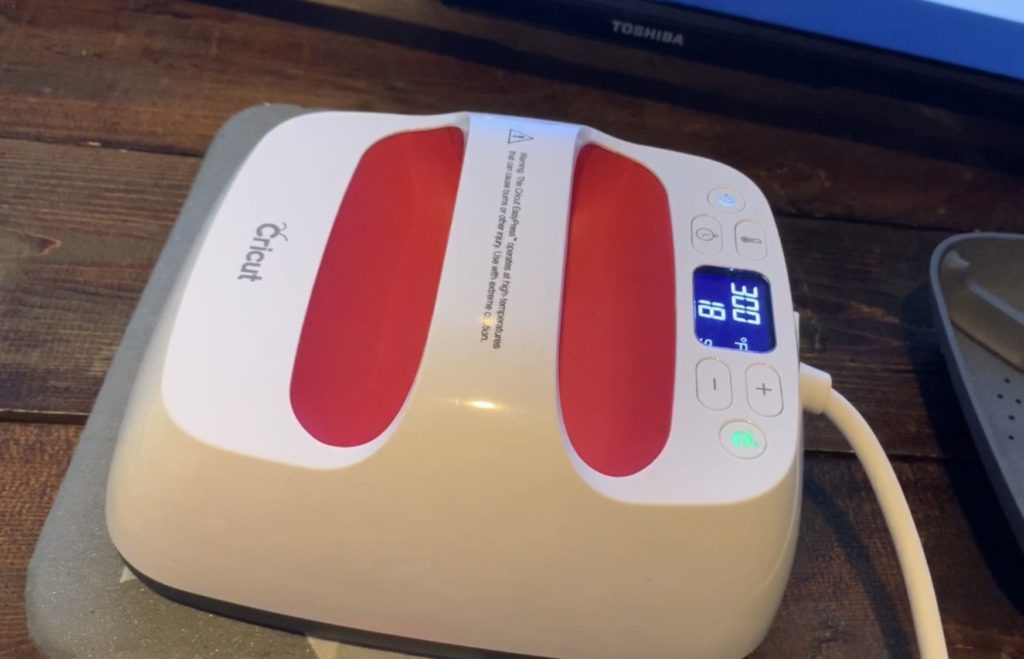
You can use an iron to apply the Heat n Bond; however I use my Cricut Easy Press. It’s super easy to use and it’s always on my craft desk.
Pre-heat the Cricut Easy Press
When you’re ready to use your Cricut Easy Press, turn it on and set the temperature.
I usually set my Easy Press to 300 degrees when applying my Heat N Bond and I leave it on my material for about 10 seconds.
I place parchment paper onto my Cricut Easy Press mat (to protect it from any adhesive). Then, I place my faux leather on top of it, with the good side facing down, with the Heat N Bond on top of that. I then place my Cricut Easy Press on top of that.

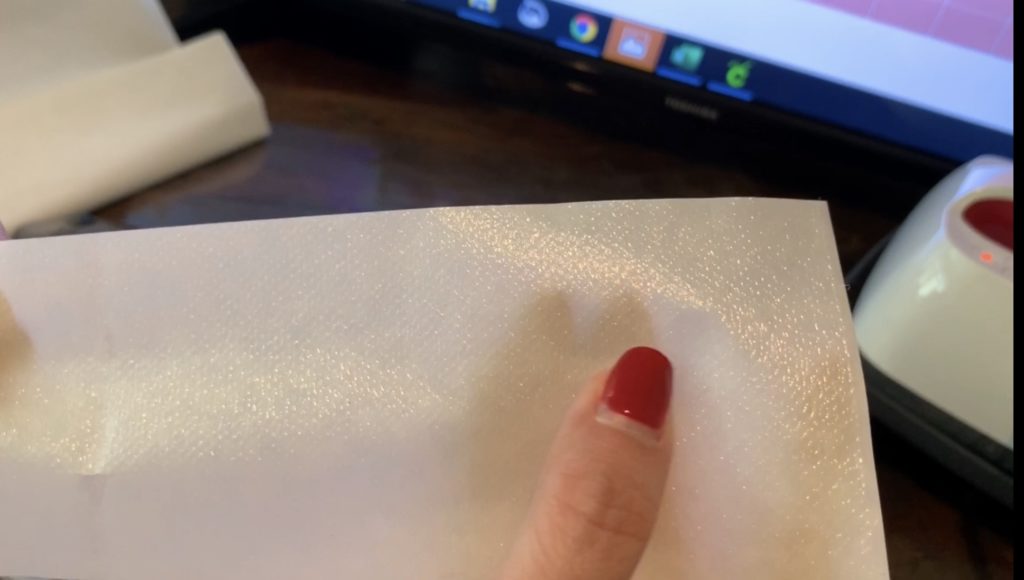
After cutting the earring pieces, remove the white backing of the Heat and Bond.
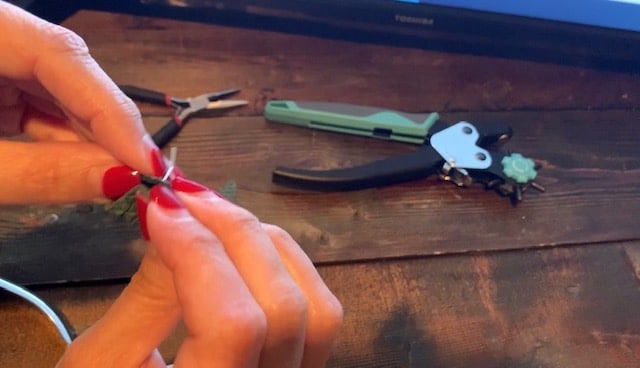
Put the earrings back to back, lining up the two pieces.
The Cricut Easy Press shouldn’t be set directly onto the faux leather. Place parchment paper on the Easy Press mat. Then place the earrings on top of the parchment paper. Then, place another piece of parchment paper on top of the earring.
Set the Easy Press on the parchment paper for about 10 seconds.
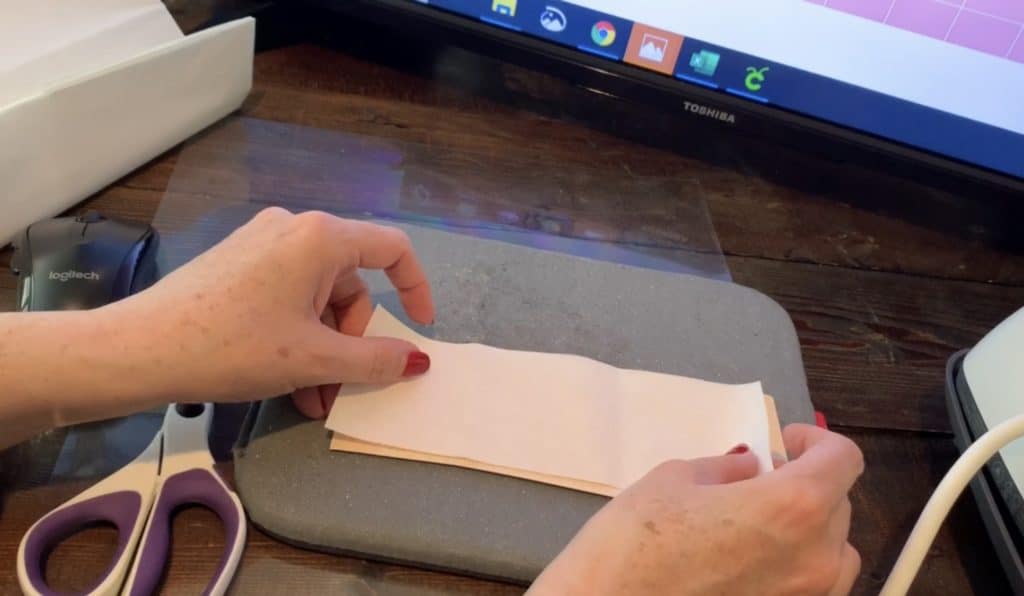
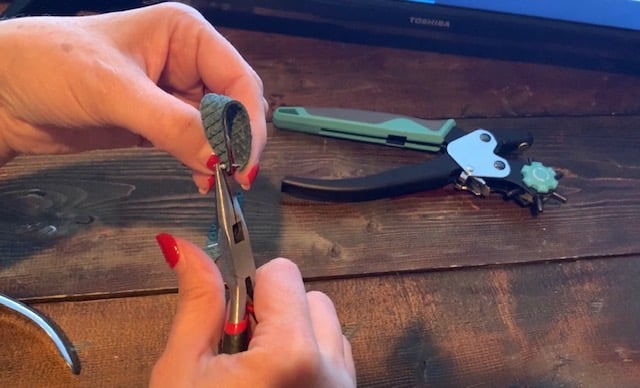
Trim any felt, fuzz, or glue from the earrings.
Using a pair of sharp scissors, trim fuzz from around the earrings. Be very careful not to cut any of the earring, you’re only cutting the fuzz off of your leather earrings.
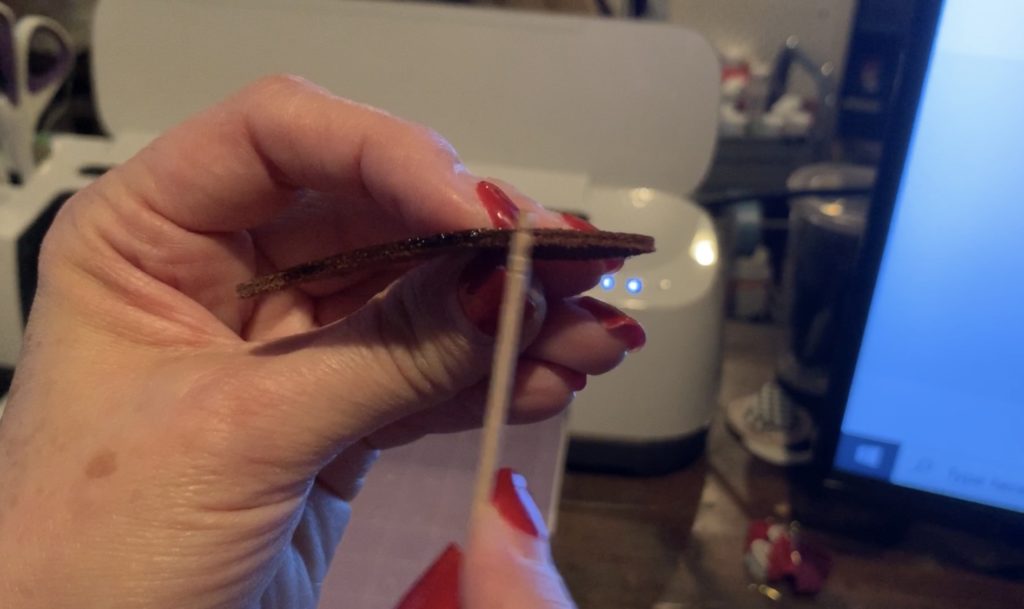
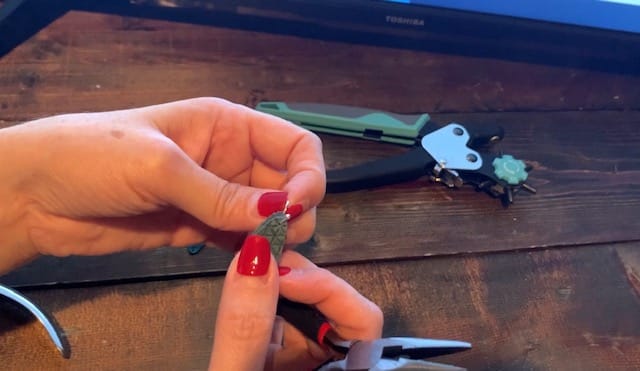
You can also smooth the earring by using a burnishing agent (shown below). I apply it with a tooth pick along the edges. It’s great because it smooths the leather and helps better define the edges.
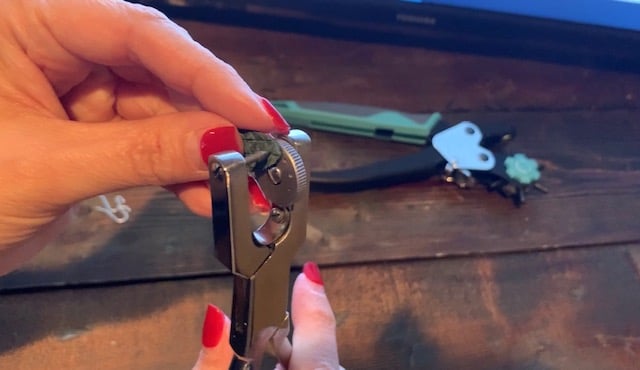
Place a hole in the top of the earring.
I use a leather punch to put the holes in my diy faux leather earrings. The tool linked above cuts through multiple layers of the earring at the same time.
Decide which type of hooks you’ll use.
I am using wire ball hooks for these earrings. They’re so easy to use and don’t require any jump rings.
Sometimes I do need to pull wire ball hook out a little bit with pliers so the earring will fit/slide down into the hook.
Check out my other Earring DIY Projects
Everyday Earrings DIY
- Leather Earrings with Chains
- Leather Bar Earrings DIY
- How to Emboss Leather Earrings
- DIY Angled Fringe Earrings
- Leather Circle Earrings
- DIY Fringe Leaf-Shaped Earrings
- Cross leather earrings
- FRI-YAY Leather Earring DIY
- Leather Bar Earrings DIY (with metal charm)
- How to Make Genuine Leather Earrings
- Statement Earrings
- Teardrop Cork Earrings
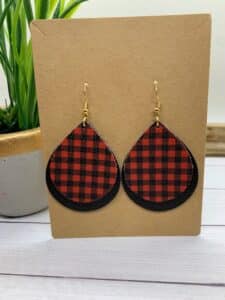
- Hollow Faux Leather Earrings – Teardrop and Leaf Shaped
- Faux Leather Tall Stacked Earrings
- Faux Leather Circle Earrings
- Split Teardrop Faux Leather Earrings
- Faux Leather Stacked Marquise Earrings
- Stacked, wavy earrings – KSU
- Faux leather leaf cutout earrings
- Faux Leather earrings with fringe
- Faux Leather Teardrop Earrings
- Faux Leather Bar Earrings
- Faux Leather Leaf Earrings
Sports
- Football Earrings – Teardrop with football cut out
- Stacked Football earrings
- Chiefs Football Teardrop Earrings
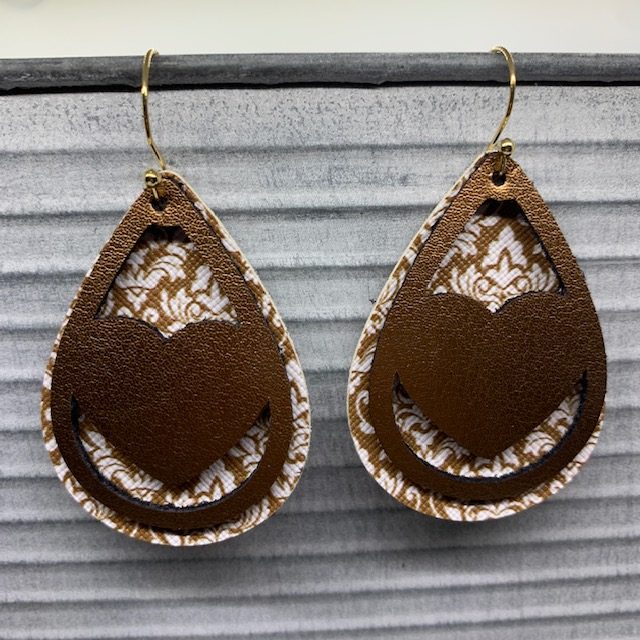
- Chiefs Heart Teardrop Earrings
- Chiefs Arrowhead Earrings
- Chiefs Arrowhead on Teardrop Earrings
My Favorite Leather
My Favorite Faux Leather
Valentine’s Day Earrings
- 40 Great Valentine’s Day DIY Earrings
- LOVE Leather Earrings DIY
- Valentine’s Day earrings DIY (heart shape)
- Heart Earrings DIY (Iron On)
- Heart Earrings DIY (with heart cutout)
- DIY Valentine’s Day Earrings
St. Patrick’s Day Earrings
Easter Earrings
Winter-Themed Earrings DIY
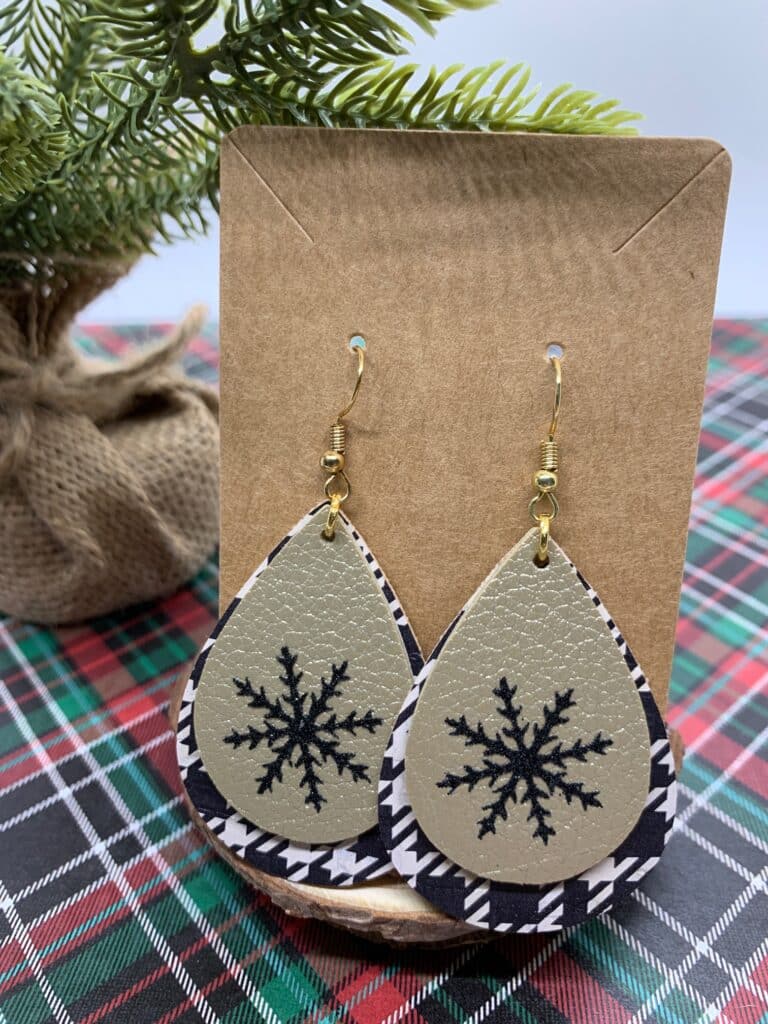
- Snowflake Cutout Teardrop Faux Leather Earrings
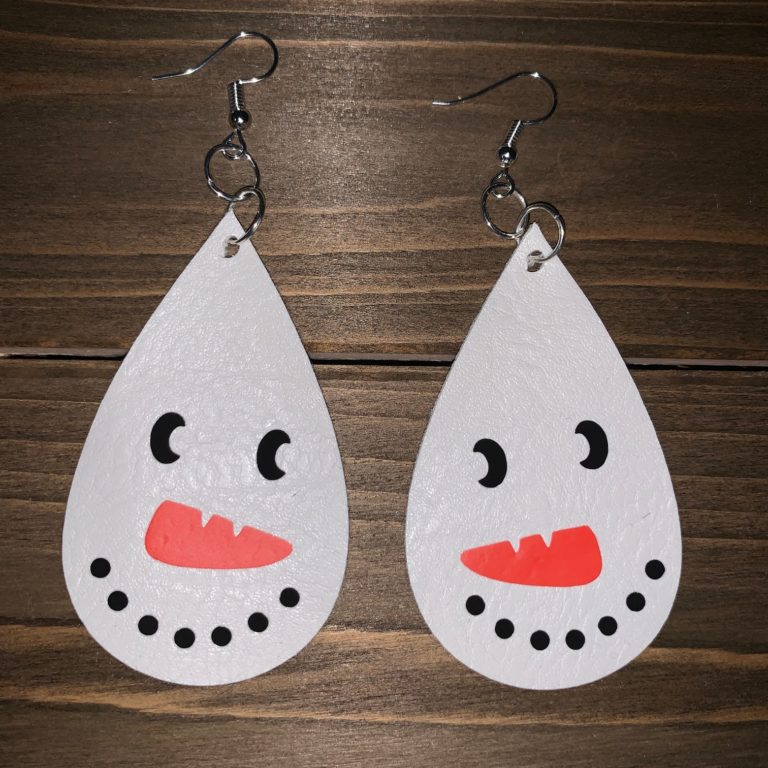
- Snowman Leather Iron On Earrings
- Buffalo Check Snowman Cutout Earrings
Christmas -Themed Earrings DIY