Revolving Snack Tray: A great dorm room idea
This tiered Lazy Susan snack tray turned out so cute and is perfect for my daughter’s dorm room!
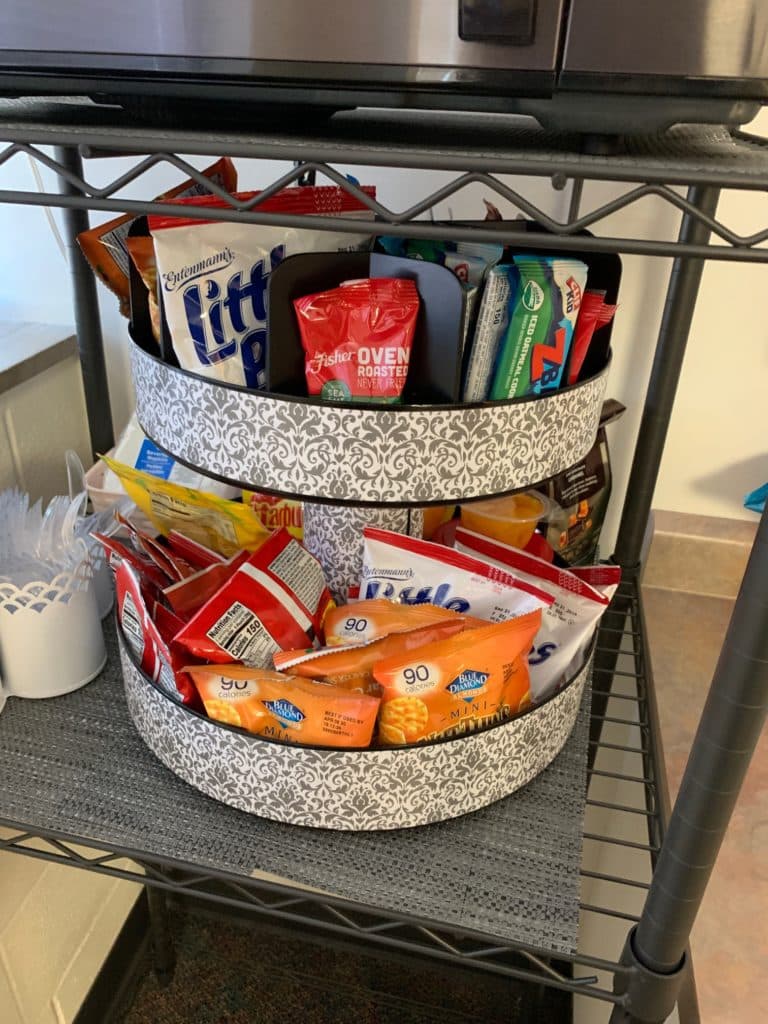
I had so much fun decorating this cute revolving snack tray with scrapbook paper that matches my daughter’s dorm room decor. It was so easy to DIY this great dorm room idea.
Disclosure: This page may contain affiliate links. If you purchase through these links, I may earn a commission at no extra cost to you.
My website contains affiliate links which means that I may earn a small commission for items purchased when you click on my links, which doesn’t change the price you pay.
What you’ll need:
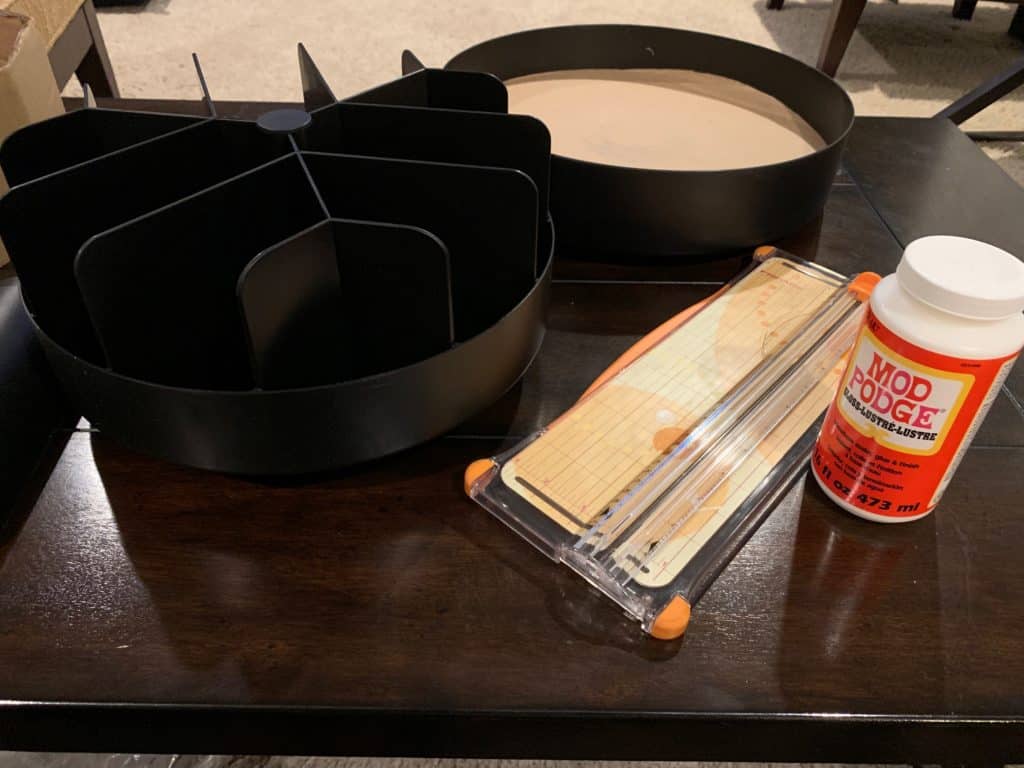
- Scissors or paper trimmer
- 12-inch x 12-inch scrapbook paper (3 sheets)
- Foam brush
- Mod Podge
- Lazy Susan, click here or on image below

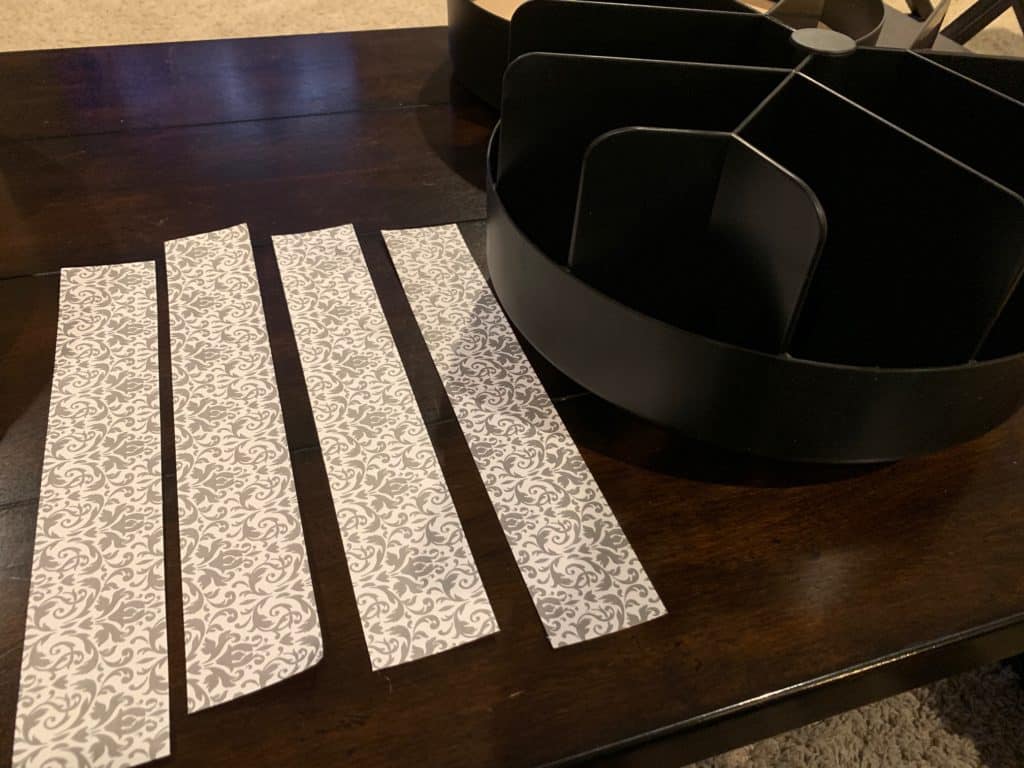
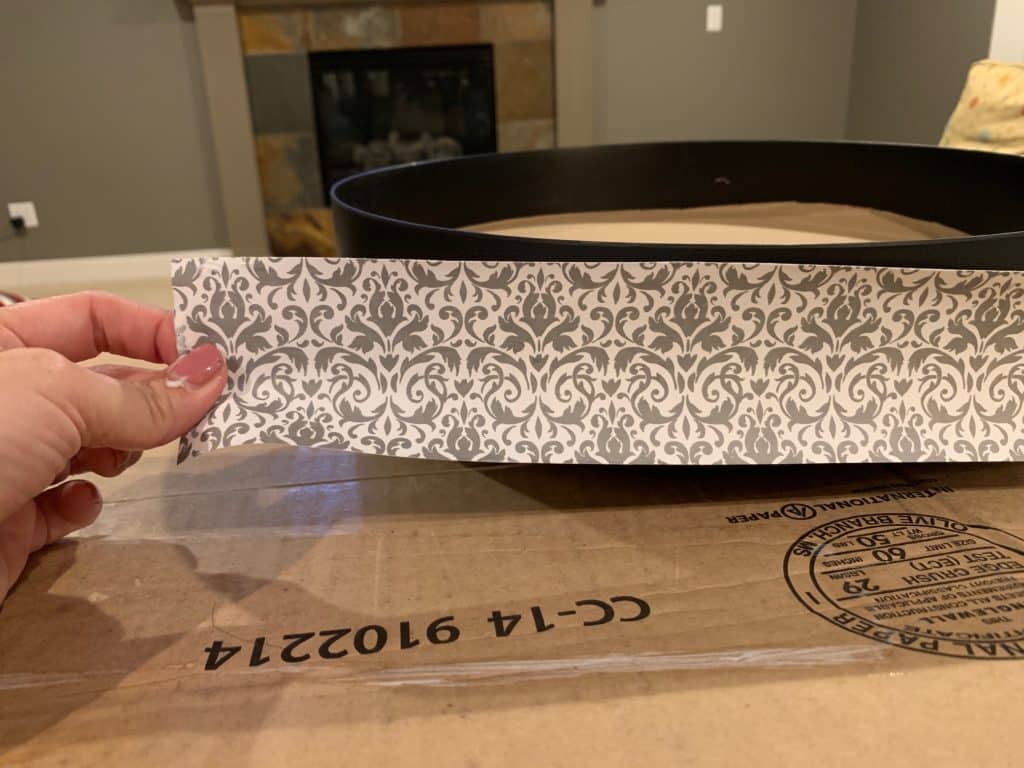
Cut strips of paper for each tray.
Measure the height of each of the trays, using a ruler or paper trimmer.
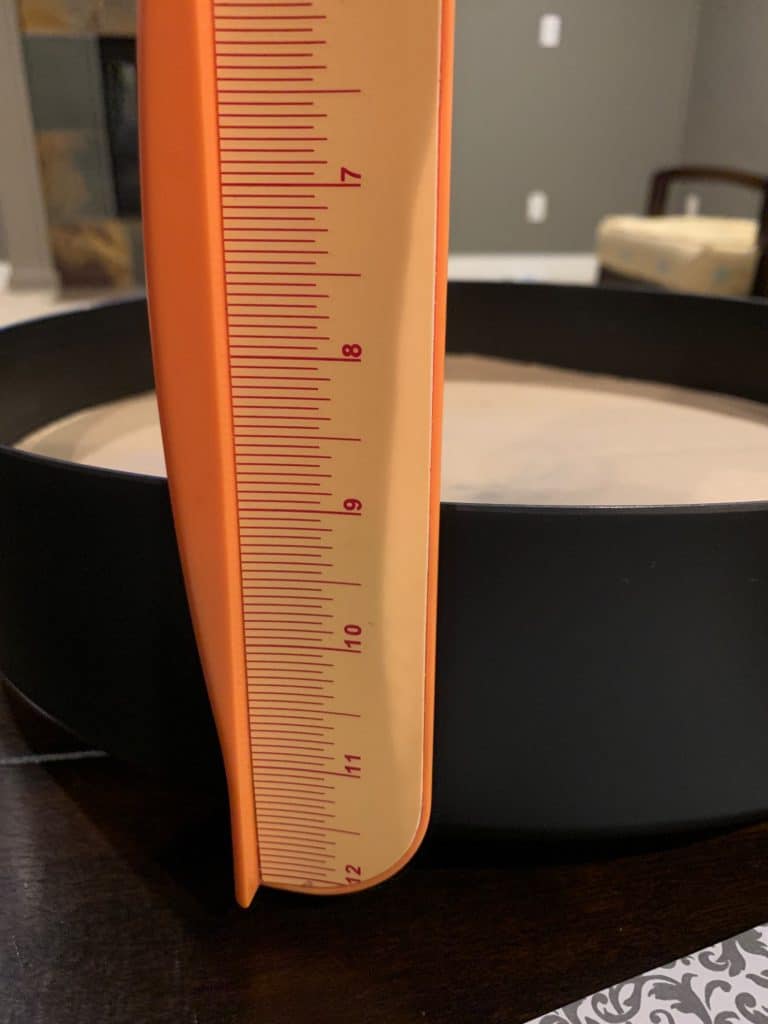
Cut 4-5 strips of paper equal to the height of the tray.
I like to subtract just a little bit from the height of the tray because it is hard to be exact when gluing on the paper. By making it a little bit shorter than the height you can plan for a little black on the top and bottom, giving forgiveness when you glue the paper onto the Lazy Susan.
You’ll need 4-5 strips for each tray. The height of the two trays is different!
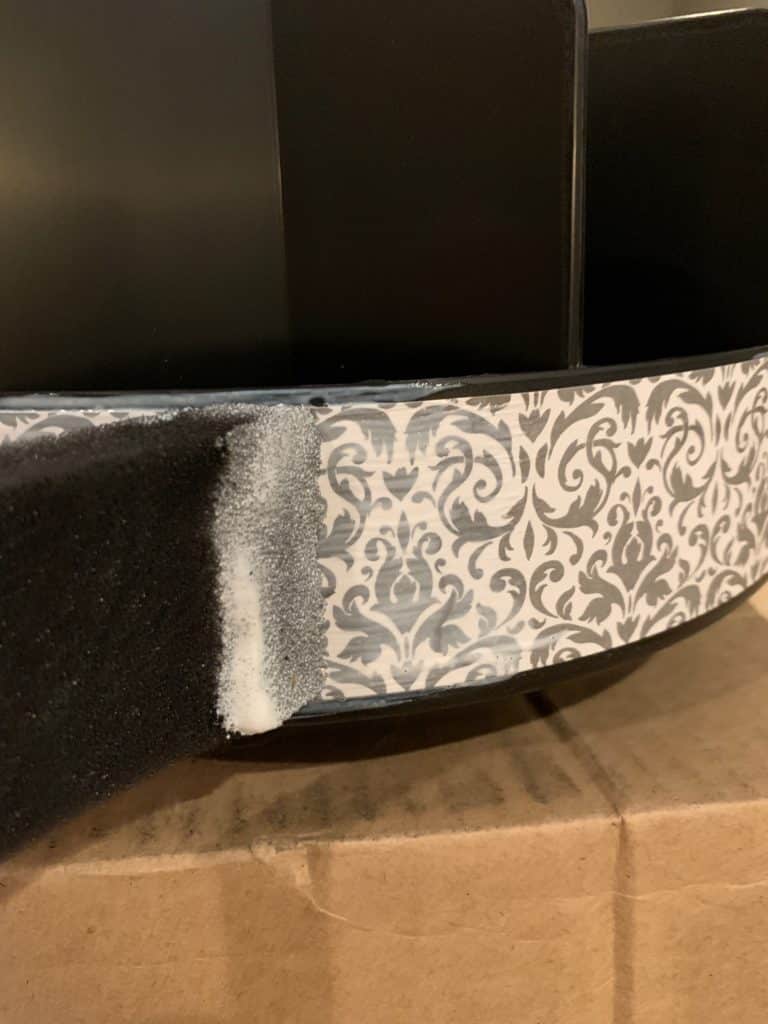
Glue the paper on the trays with Mod Podge.
Dip foam brush in Mod Podge and spread on the back of the paper.
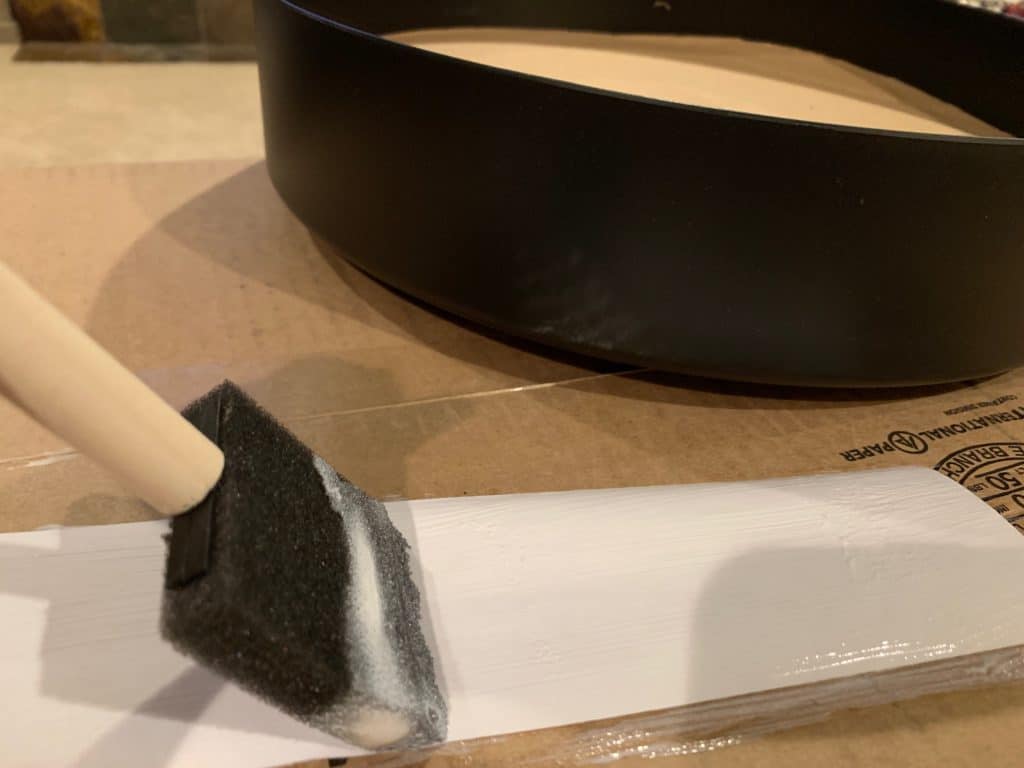
Place the paper around the edge of the tray.
Gently press out the wrinkles as you press the paper onto the side of the tray. Continue to add strips of paper until paper is glued all the way around the tray.

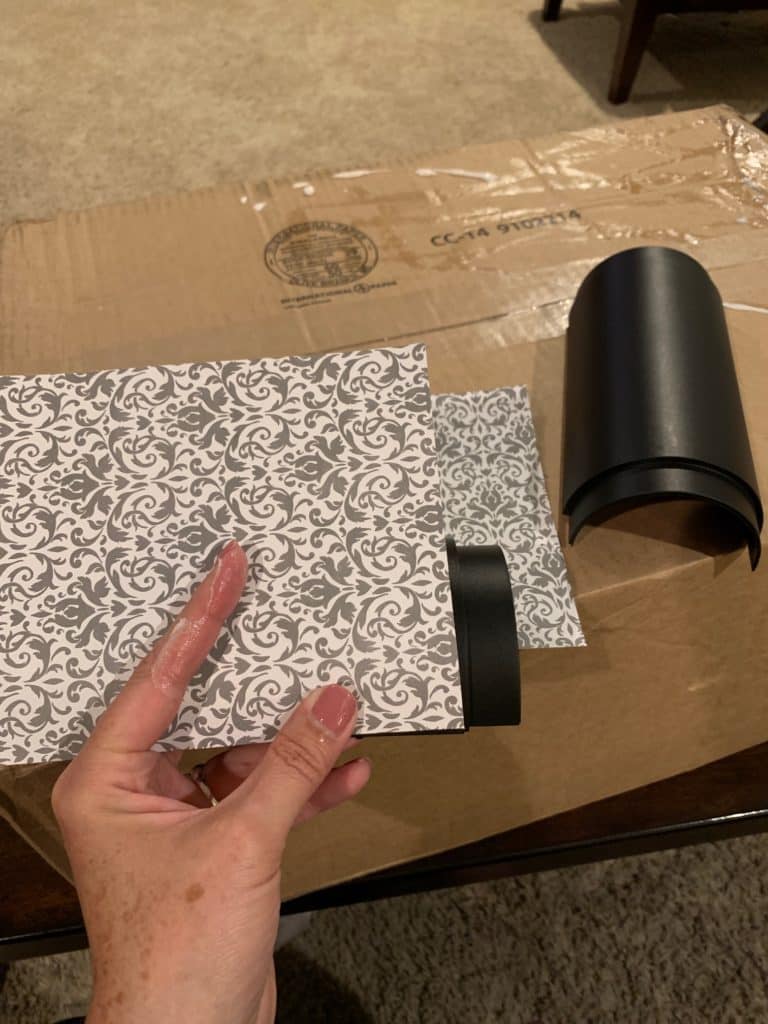
Apply Mod Podge to the top of the scrapbook paper.
Use a foam brush to generously apply Mod Podge all over the top of the paper. You will see the glue and it will look messy, but no worries, as it will dry clear.
Cut and glue 2 rectangular pieces to cover the center pieces that will connect the two trays.
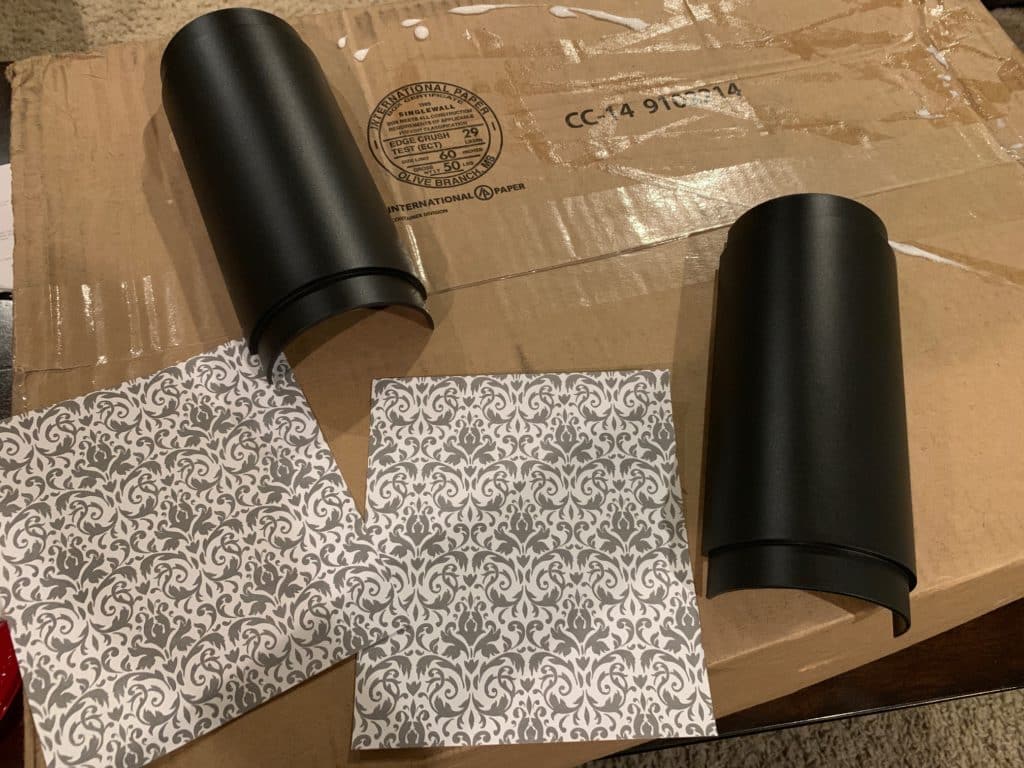
Let all components dry and then assemble, following instructions on the package.
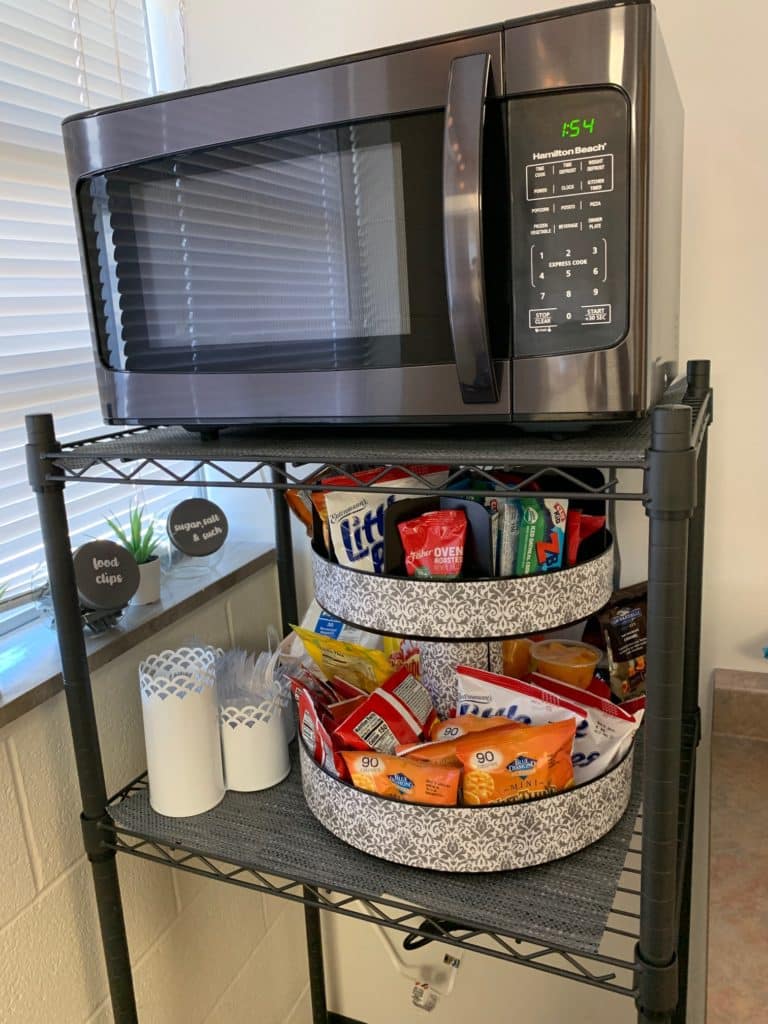
This revolving snack tray worked perfectly on the shelf between her microwave and refrigerator (which will go on the bottom in the empty space). There are so many cubbies to keep all the snacks organized and easy to find.
See other great dorm ideas below: