How to hang an IKEA pegboard with command strips
Dorm rooms come with strict rules—especially when it comes to drilling holes in the walls. But that doesn’t mean you have to sacrifice organization! Instead of struggling with nails and screws, Command Strips offer a damage-free solution that lets you securely hang an IKEA pegboard while keeping your walls intact. Whether you’re looking for a stylish way to store everyday essentials or add a personal touch to your space, this method is perfect for dorms, rentals, and temporary setups. Let’s dive into the step-by-step process for a sturdy, hassle-free installation!
Disclosure: This page may contain affiliate links. If you purchase through these links, I may earn a commission at no extra cost to you.
What I used:
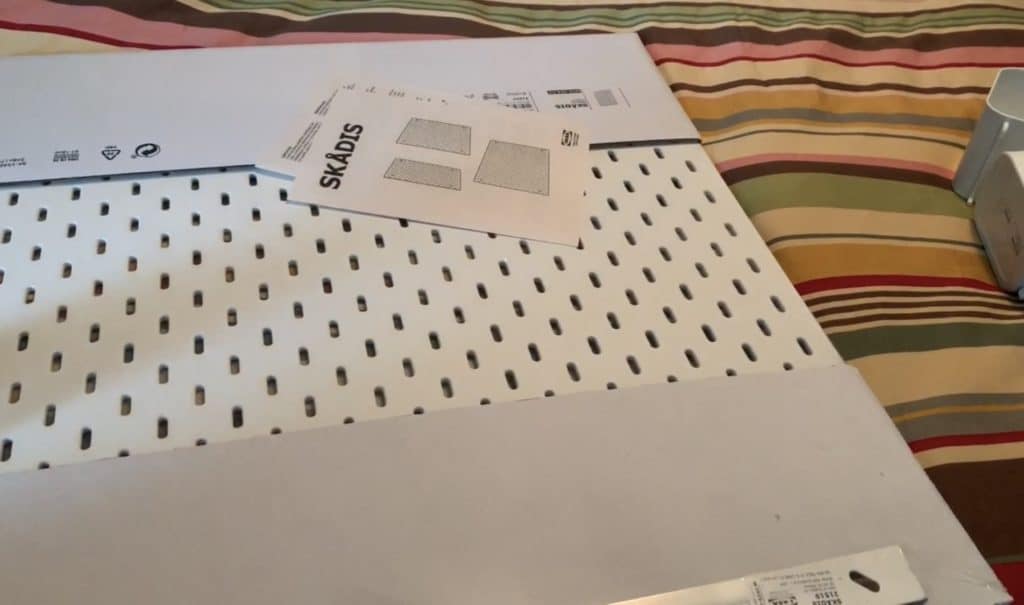
- IKEA SKADIS pegboard, 22″ x 22″ (003.208.03)
- IKEA SKADIS shelves, (003.207.99)
- IKEA SKADIS containers, (203.207.98)
- IKEA SKADIS hooks, (503.356.18)
- Level, to make sure you hang it straight
- painter’s tape, to mark the location of the board
- Command Strips, these are the ones I recommend
- Alcohol, for prepping the wall
At the bottom of this blog post, I’ve added a link to the video of this project.
Setting Up Your IKEA Pegboard for Installation
Before diving into the hanging process, it’s essential to prep your pegboard and all the necessary components. This ensures a smooth setup and helps avoid surprises along the way.
Step 1: Unpack and Inspect Your Supplies
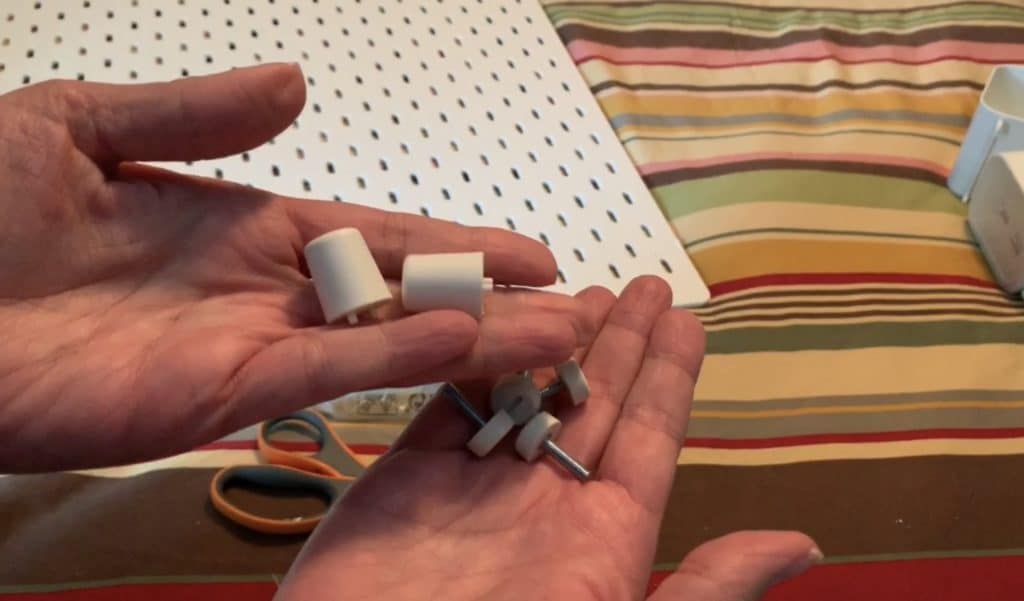
Start by removing all packaging from the pegboard (1), bar (1), screws (4), and spacers (2). Keep everything organized so nothing gets misplaced.
Take a moment to inspect your pegboard—each board from IKEA tends to have slight imperfections, and some may be more noticeable on one side. Choose the best-looking side to face forward, ensuring any blemishes stay hidden.
You’ll also need a pair of scissors to cut the screws and spacers free from their packaging, making them easily accessible for assembly.
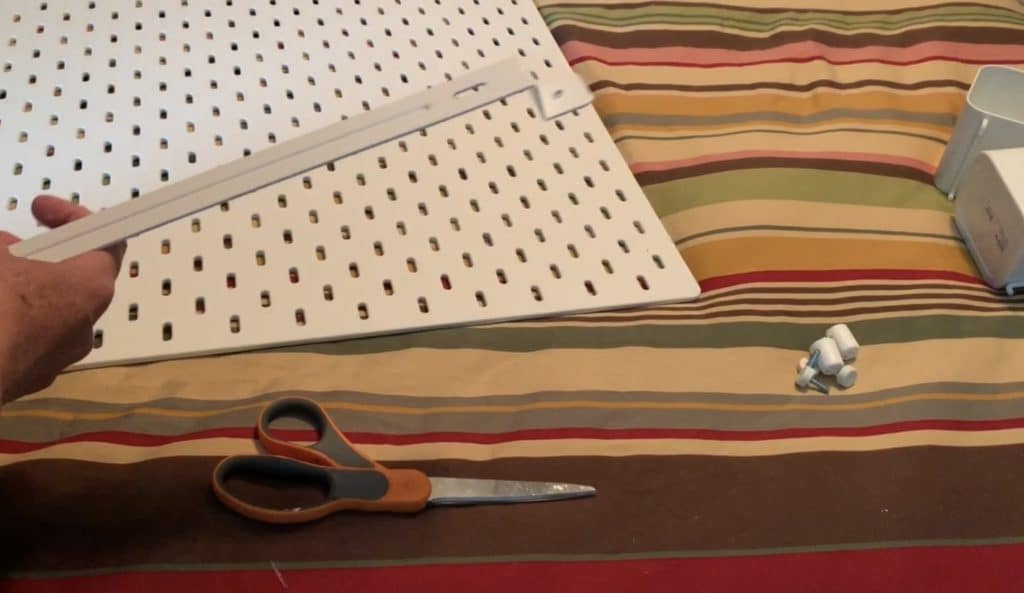
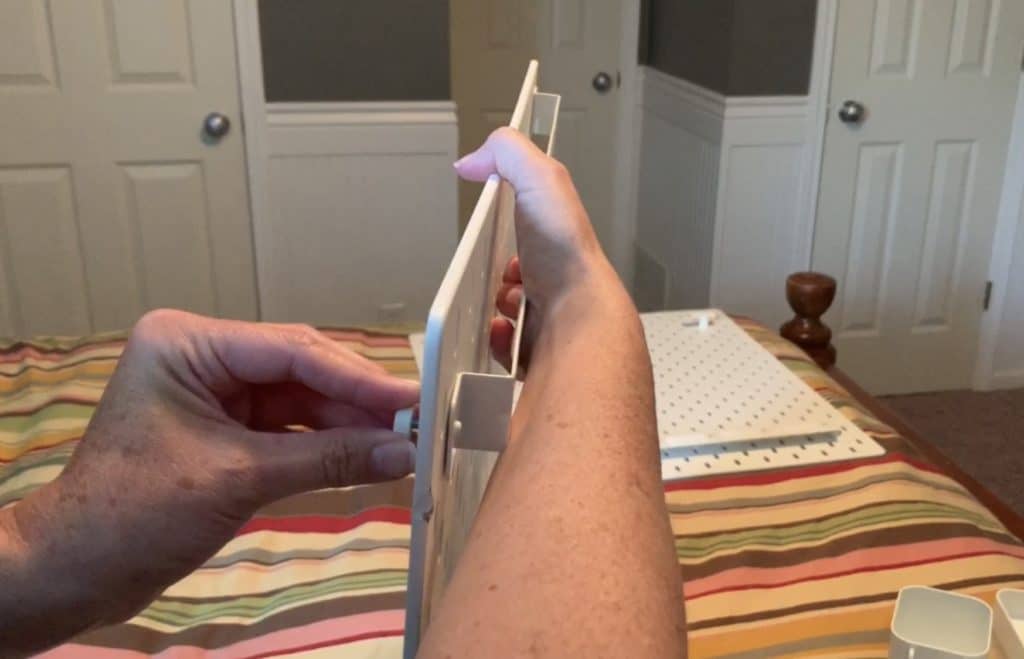
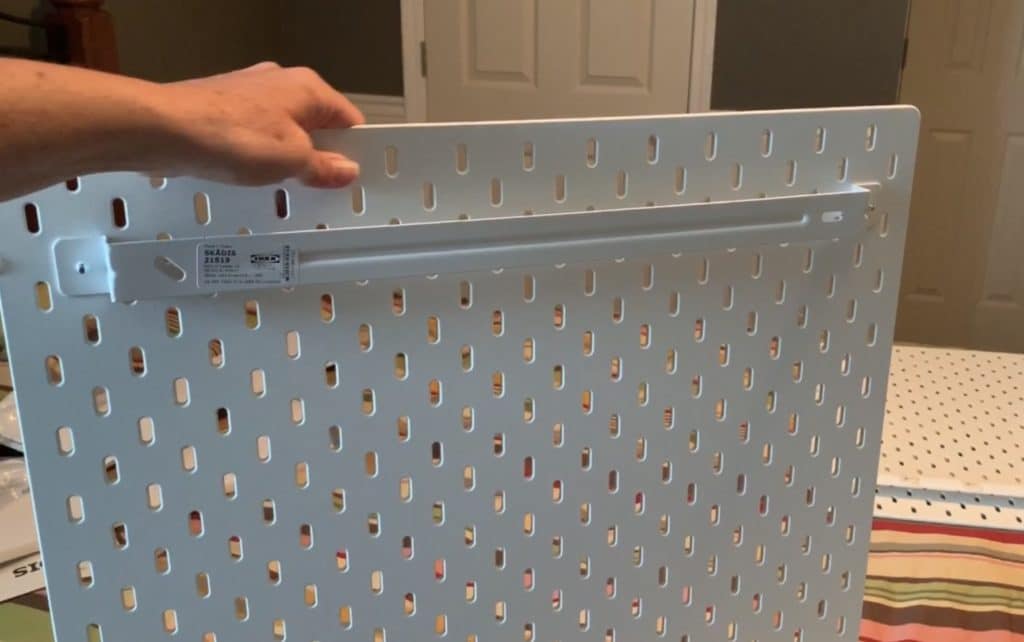
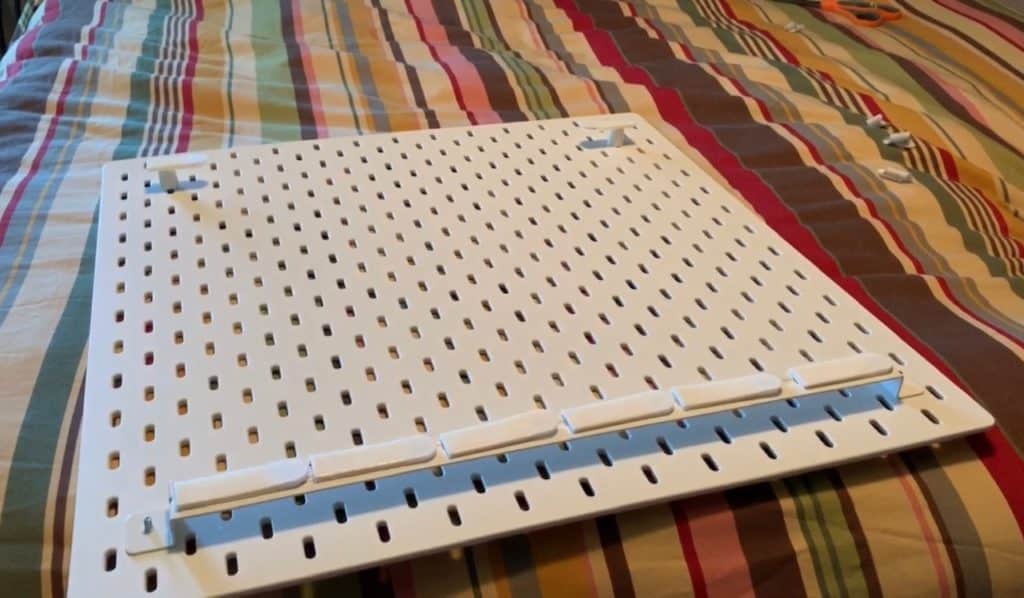
Step 2: Attach the Bar to the Back of the Pegboard
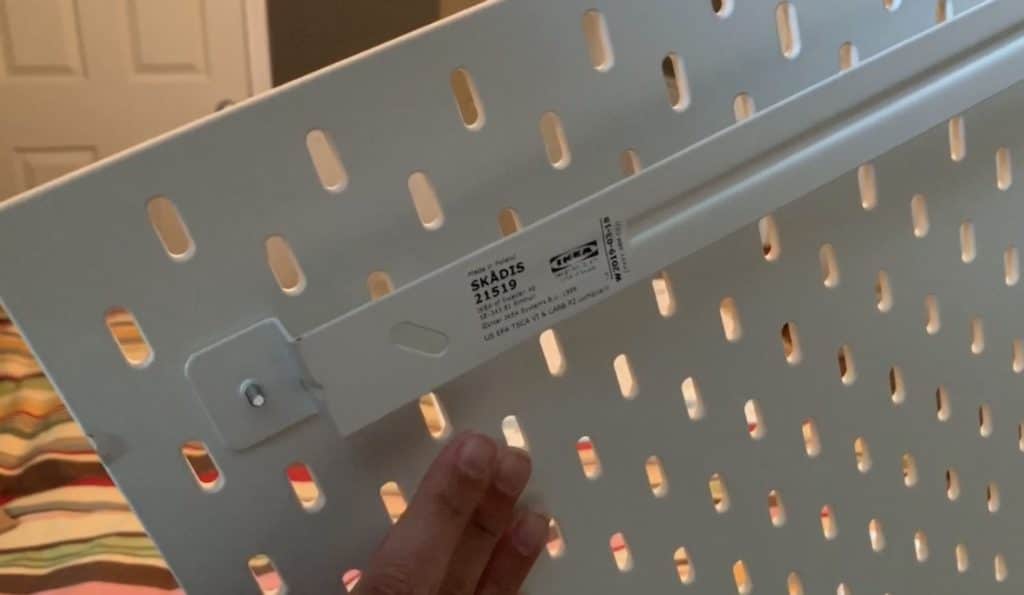
Position the bar near the top of the backside of the pegboard, ensuring it’s aligned properly for secure mounting.
Using your hand, carefully insert one screw through a pegboard hole and into the hole on the bar, twisting it in until snug. Repeat this process on the opposite side, threading the second screw through the front of the pegboard into the bar’s hole on the back.
Make sure both screws are tightened evenly to keep the bar stable—this will be the foundation for securely hanging the pegboard.
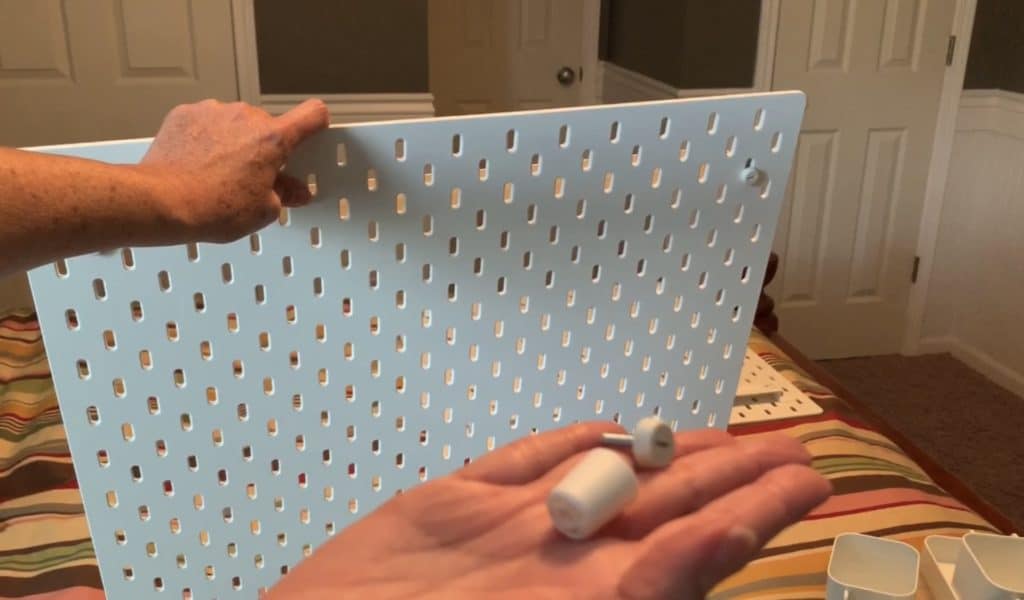
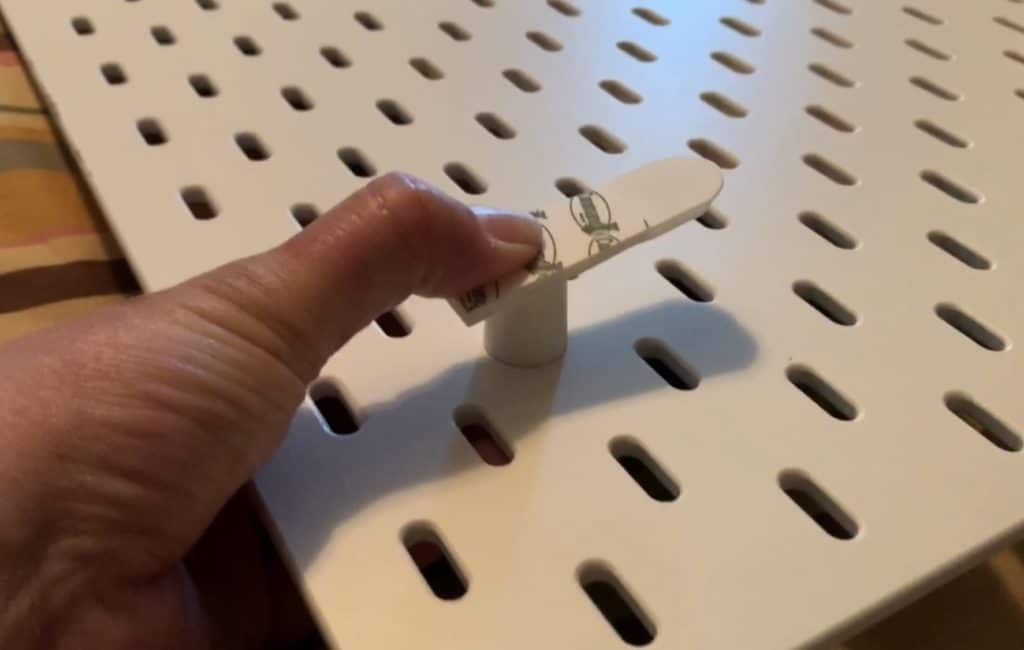
Step 3: Secure the Spacers to the Bottom Corners
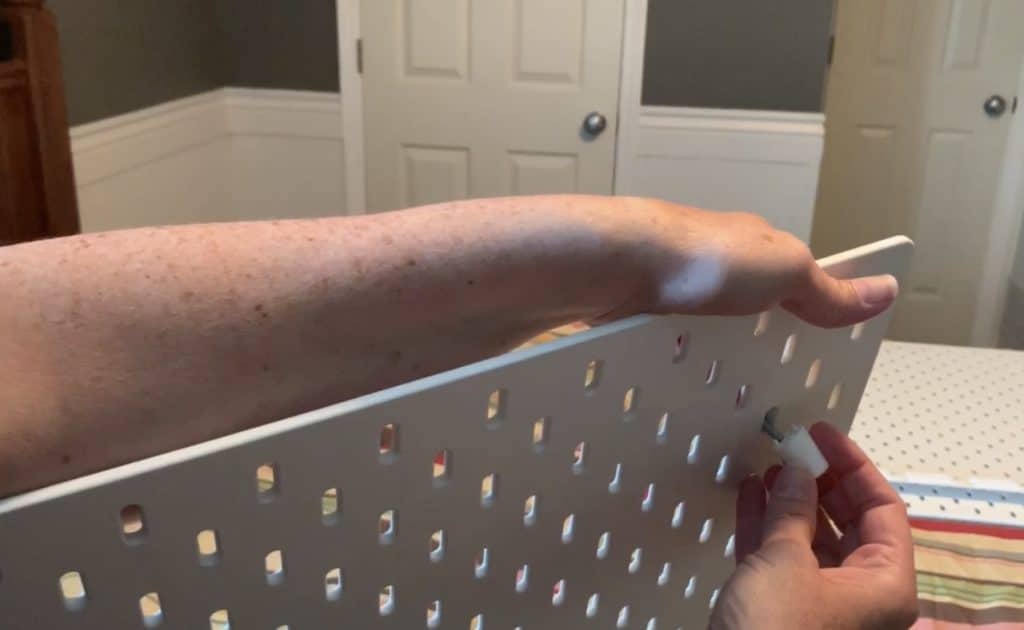
To ensure stability and proper spacing from the wall, attach the two spacers to the lower corners of the pegboard.
Start by positioning a spacer behind one of the bottom pegboard holes. From the front side of the pegboard, insert a screw through the hole, threading it securely into the spacer on the backside.
Repeat this process on the opposite bottom corner, ensuring both spacers are firmly attached. This step helps maintain proper clearance when mounting the pegboard with Command Strips.

Step 4: Prepare the Command Strips
For a secure hold, use 16 lb Command Strips to hang your IKEA pegboard.
Carefully separate each strip by tearing them apart—avoid folding, as this can weaken the adhesive. These strips will provide a strong, damage-free way to mount the pegboard while keeping your walls intact.
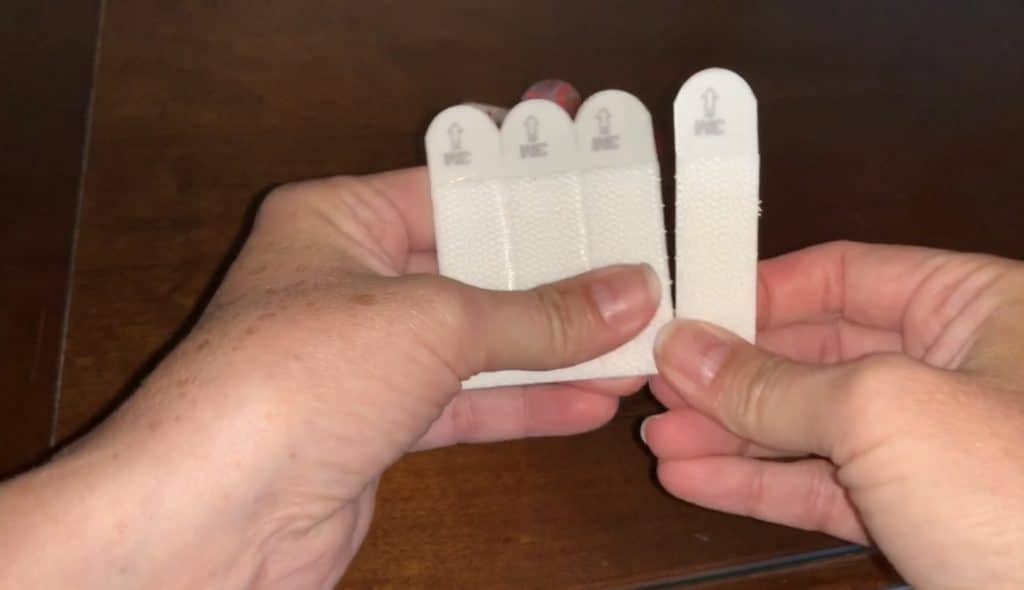
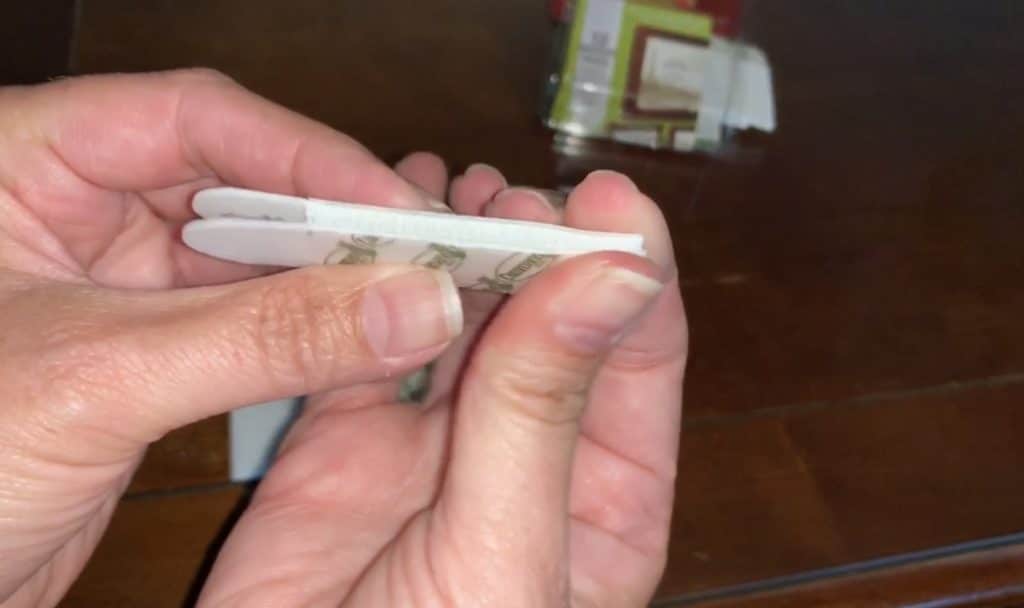
Step 5: Assemble the Command Strip Sets
To ensure strong adhesion, pair up two Command Strips and firmly click them together. You’ll need six sets for the bar and one set per spacer, bringing the total to eight sets.
Repeat the process until all sets are fully secured and ready for installation. This step is crucial for creating a sturdy hold when mounting your pegboard.
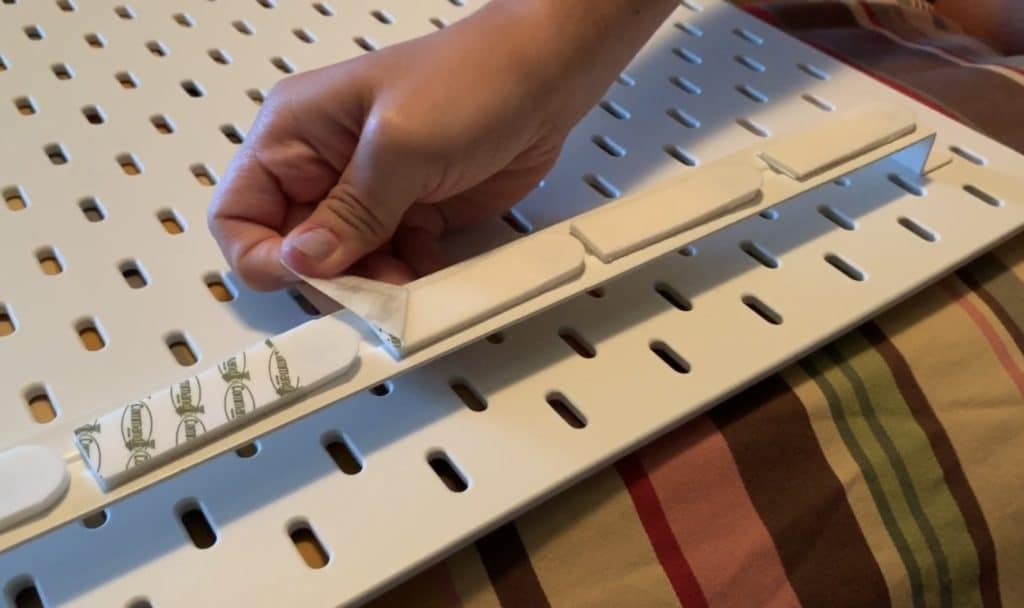
Step 6: Attach the Command Strips to the Bar
Start by removing the liner from one side of a Command Strip set.
Firmly press it onto the bar, ensuring proper alignment. Continue peeling the liners from each set and adhering them side by side along the length of the bar. This setup will provide strong support when mounting the pegboard.
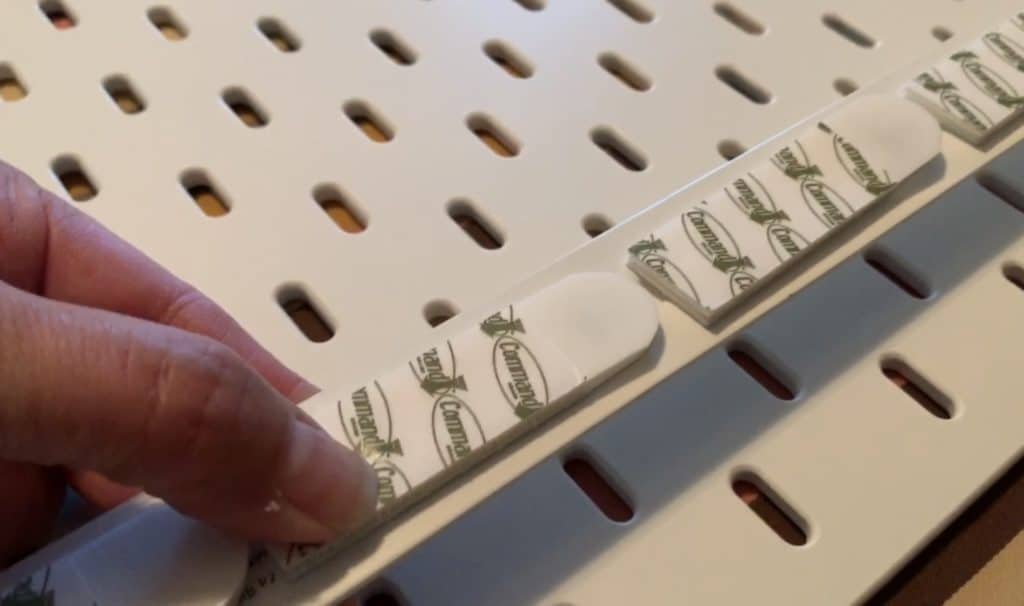
Press firmly for 30 seconds on each command strip.
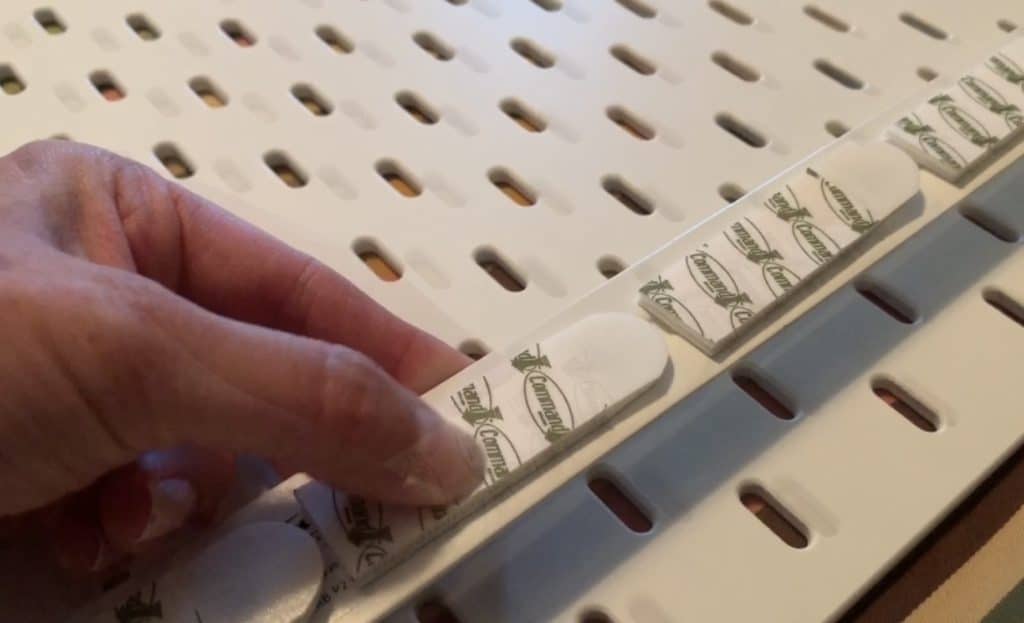
Cut down a Command Strip to fit on the spacers.
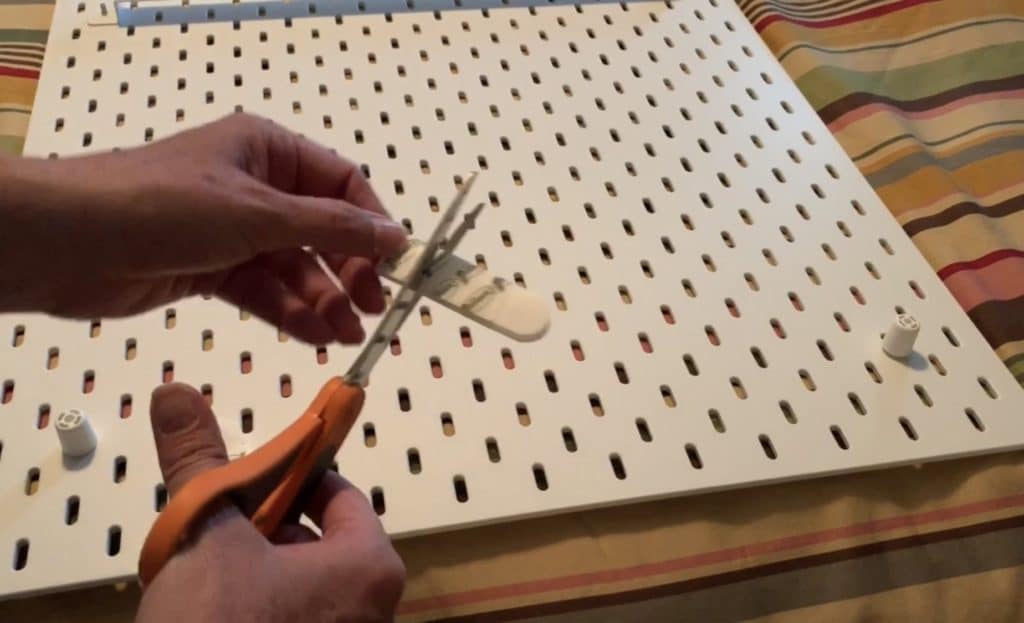
Step 7: Cut and Apply Command Strips to the Spacers
To ensure a secure hold, trim a Command Strip to fit onto each spacer. This helps maintain strong adhesion without excess bulk.
Once cut, remove the liner from one side of each strip and firmly press it onto the spacer. Repeat for the second spacer, ensuring both strips are evenly placed and ready for wall mounting.
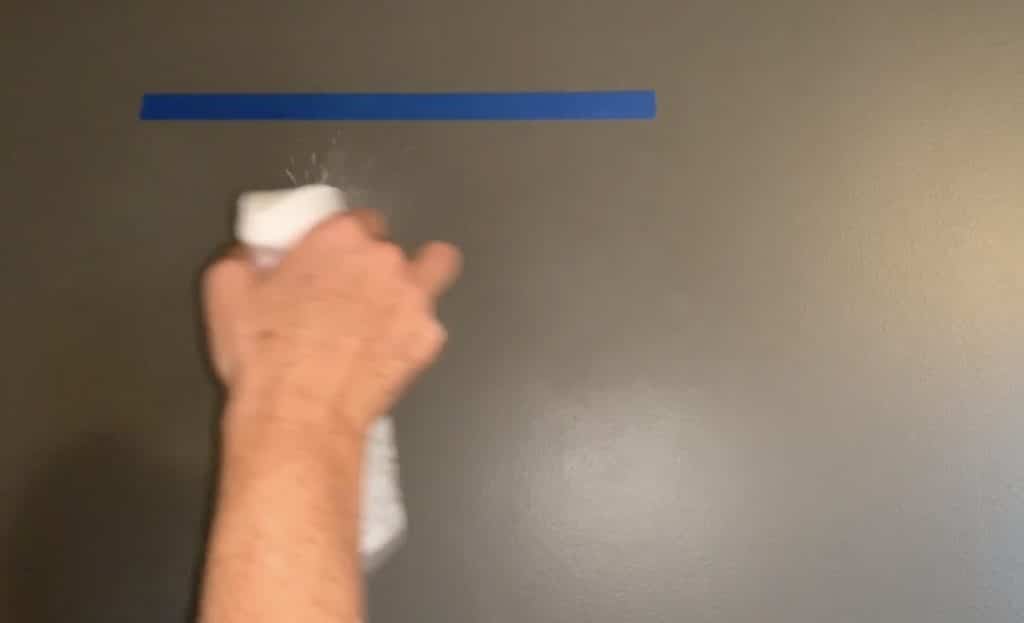
Step 8: Prep the Wall for Installation
Before mounting the pegboard, clean the wall surface with rubbing alcohol to remove dust, oils, and any residues that could weaken the adhesive bond.
Avoid using household cleaners or water, as they tend to leave behind a film that can prevent the Command Strips from sticking properly. A thorough wipe-down ensures maximum adhesion for a secure, long-lasting setup.
Remove remaining liners. Pull the remaining liners off of all command strips on the back of the pegboard.

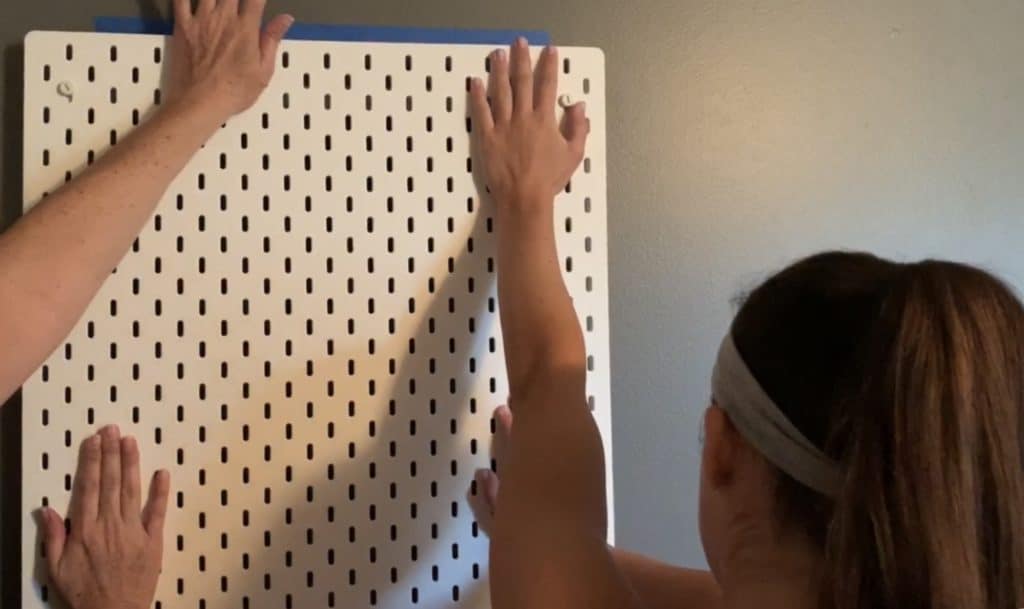
Press the pegboard onto the wall.
Firmly press the pegboard onto the board where wall is marked for 30 seconds. Start by pressing along the top where the bar backs the pegboard. Once you’ve pressed every section of the bar for 30 seconds, move onto the spacers. Press each one for 30 seconds.
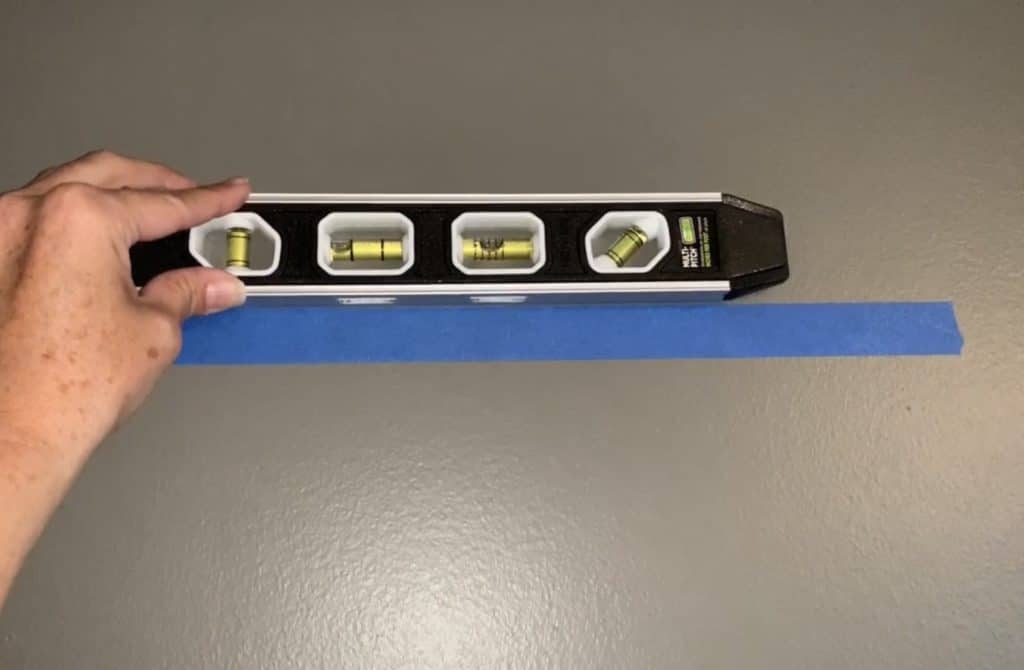
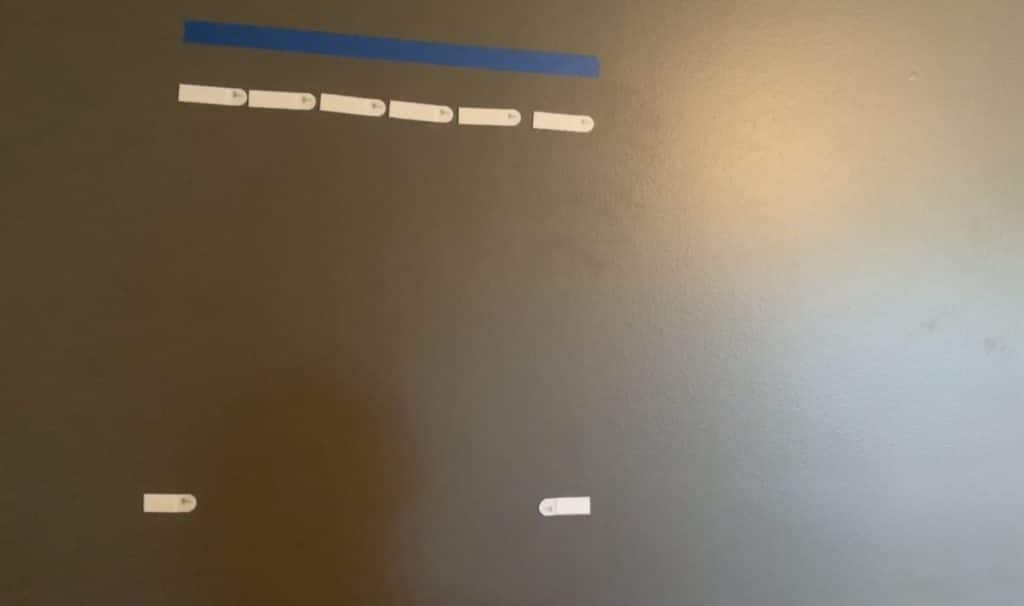
Step 9: Mark the Wall for Placement
Before mounting the pegboard, use painter’s tape and a level to mark the exact spot where it will hang.
Position the tape at the top edge of where the pegboard will sit, ensuring it’s straight and aligned properly. This step helps you visualize the placement and prevents any guesswork during installation.
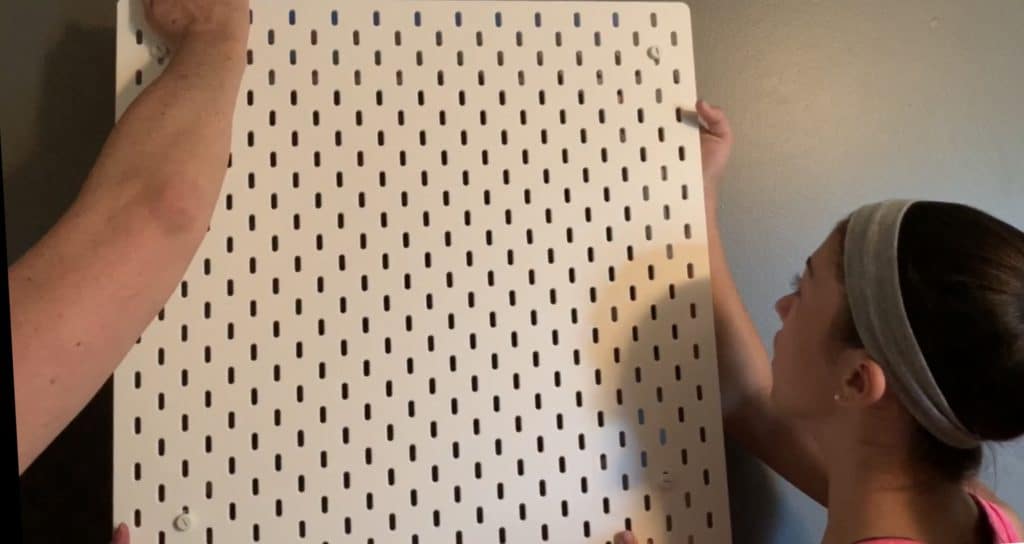
Step 10: Reinforce Adhesion by Temporarily Removing the Pegboard
To ensure a strong bond, gently peel the pegboard off from the bottom, separating it from the wall. This allows you to firmly press each Command Strip onto the wall for optimal adhesion.
Carefully pull the pegboard away, ensuring that one side of the strip remains attached to the wall while the other stays secured to the bar or spacer. Press down on each strip for 30 seconds to strengthen the hold before reattaching the pegboard.
Step 11: Secure the Command Strips with Firm Pressure
Take 30 seconds per strip to firmly press each Command Strip against the wall. This ensures a strong bond between the adhesive and the surface, preventing any shifting over time.
Be thorough—applying steady pressure across each strip will maximize adhesion, keeping your pegboard securely in place.
Step 12: Allow the Adhesive to Fully Bond
To ensure maximum strength, wait one hour before proceeding. This bonding time allows the Command Strips to fully adhere to the wall for a secure hold.
Once the hour has passed, use a flat-head screwdriver to carefully remove the bar from the pegboard, ensuring the strips remain intact on the wall. This step preps the bar for final installation.

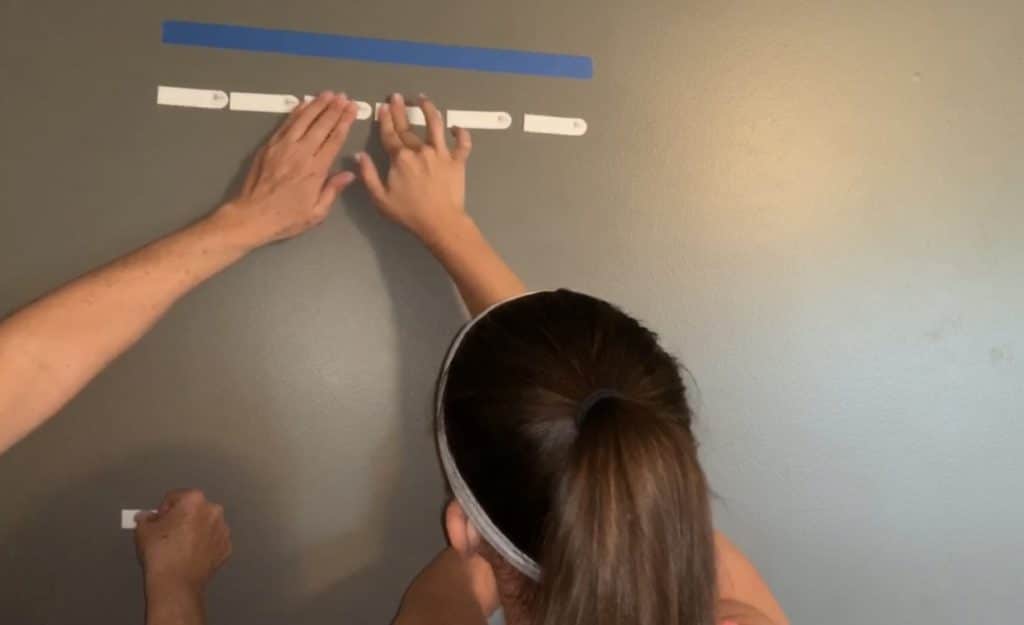
Step 13: Attach the Bar to the Wall
Align the Command Strips on the bar with the Command Strips on the wall, ensuring each set lines up correctly.
Firmly press the bar onto the wall, moving steadily along its length to secure the connection. You’ll hear a snapping and clicking sound as the Velcro strips lock in place.
For extra reinforcement, press across the bar multiple times, making sure the strips are fully engaged all the way across. This ensures a sturdy, long-lasting hold.

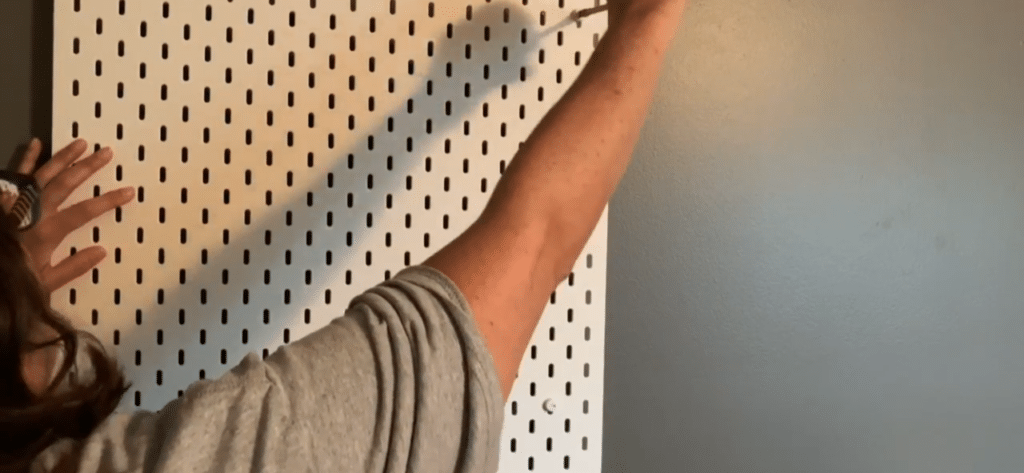
Step 14: Secure the Pegboard to the Mounted Bar
Attaching the pegboard to the bar can be a bit tricky solo, so having an extra set of hands makes the process much smoother.
Carefully align the holes on the bar with the holes on the pegboard, ensuring proper placement. While holding the pegboard steady, insert a screw through the front of the pegboard into the bar, threading it securely into place. Repeat this step for the remaining screws, keeping the pegboard level as you work.
Take your time with this step—it’s the final attachment that ensures a sturdy, reliable setup!
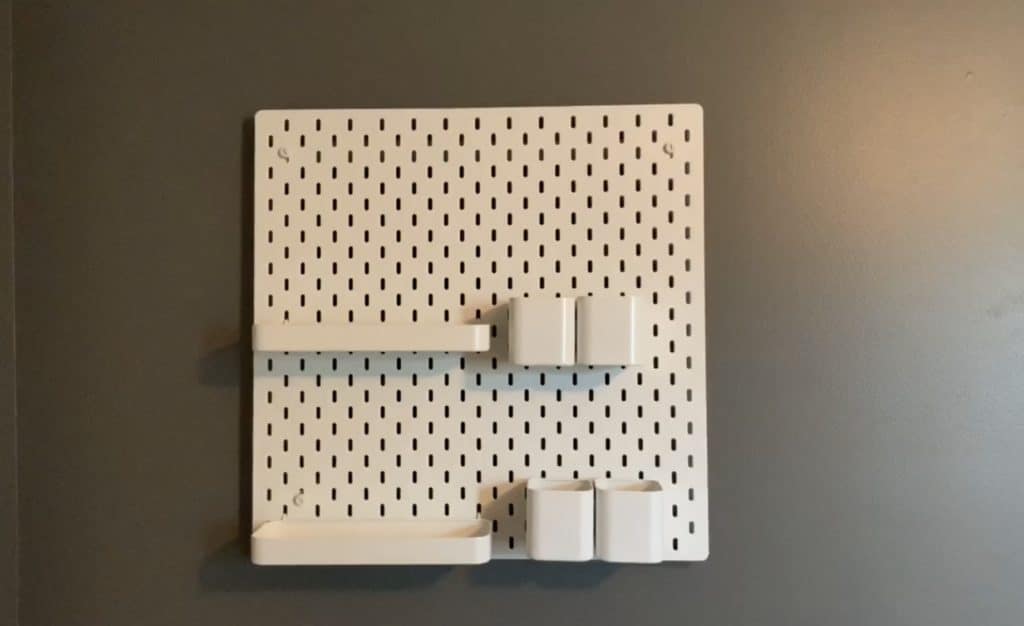
Step 15: Customize with IKEA SKADIS Accessories
Now comes the fun part—personalizing your pegboard!
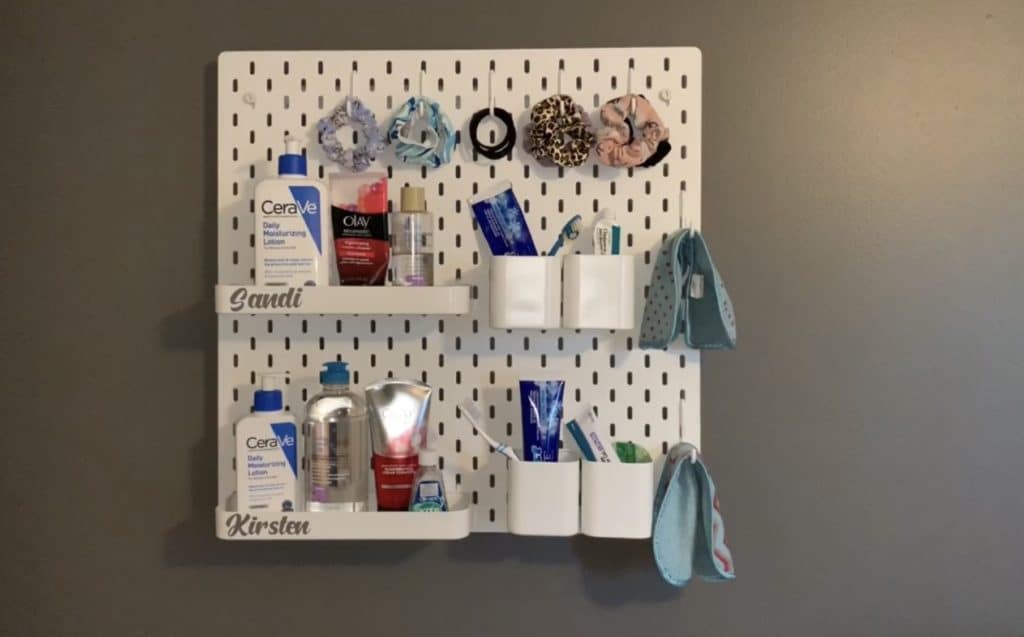
The IKEA SKADIS system offers a variety of accessories, including containers, hooks, and shelves, allowing you to tailor the setup to fit your needs. Whether you’re organizing beauty essentials, crafting supplies, or everyday dorm essentials, pick the accessories that best suit your space and purpose.
Arrange them in a way that maximizes functionality while complementing your style. With everything securely in place, your pegboard is ready to bring effortless organization to your room!
This pegboard is set up right next to the vanity in my daughter’s dorm. She and her roommate each have their own section to keep their essentials organized—functional and stylish!
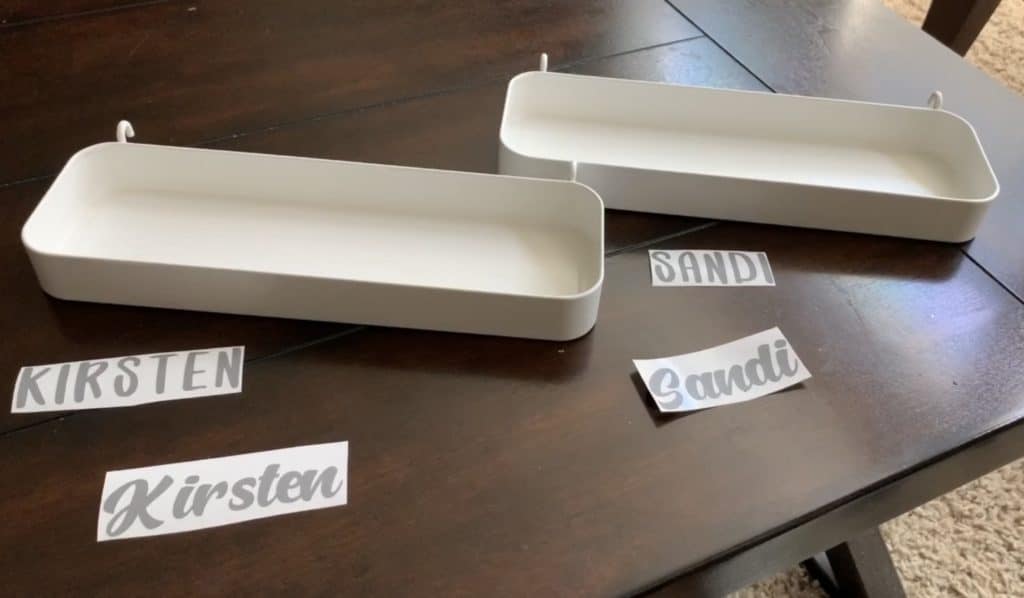
Step 16: Personalize Your Pegboard Setup
Most people keep the IKEA SKADIS accessories as they are, but adding a personal touch can make the space feel even more customized.
To make it uniquely theirs, I added the girls’ names to the shelves, ensuring they each have a dedicated section. Their organizers sit by the sink, making it easy to grab morning essentials. Whether you add labels, decorative accents, or a pop of color, small details can enhance both style and functionality!
Step 17: Organize and Fill Your Pegboard
Now for the most satisfying part—putting everything in place!
Start adding your essentials to the pegboard, whether it’s school supplies, beauty products, accessories, or decor. The SKADIS system makes it easy to customize with hooks, containers, and shelves, allowing you to arrange everything just the way you like.
Take a step back and admire your setup—your space is now more functional, stylish, and perfectly organized!
Final Thoughts: A Simple, Damage-Free Way to Hang Your Pegboard
With this easy Command Strip method, you can securely hang your IKEA pegboard without drilling holes or damaging dorm walls. This setup is perfect for organizing essentials while keeping your space functional and stylish. Whether you’re storing beauty products, school supplies, or accessories, your pegboard is now ready to make daily life more efficient!
Looking for more dorm-friendly solutions? Check out my other posts for creative organization ideas, space-saving hacks, and must-have dorm essentials:
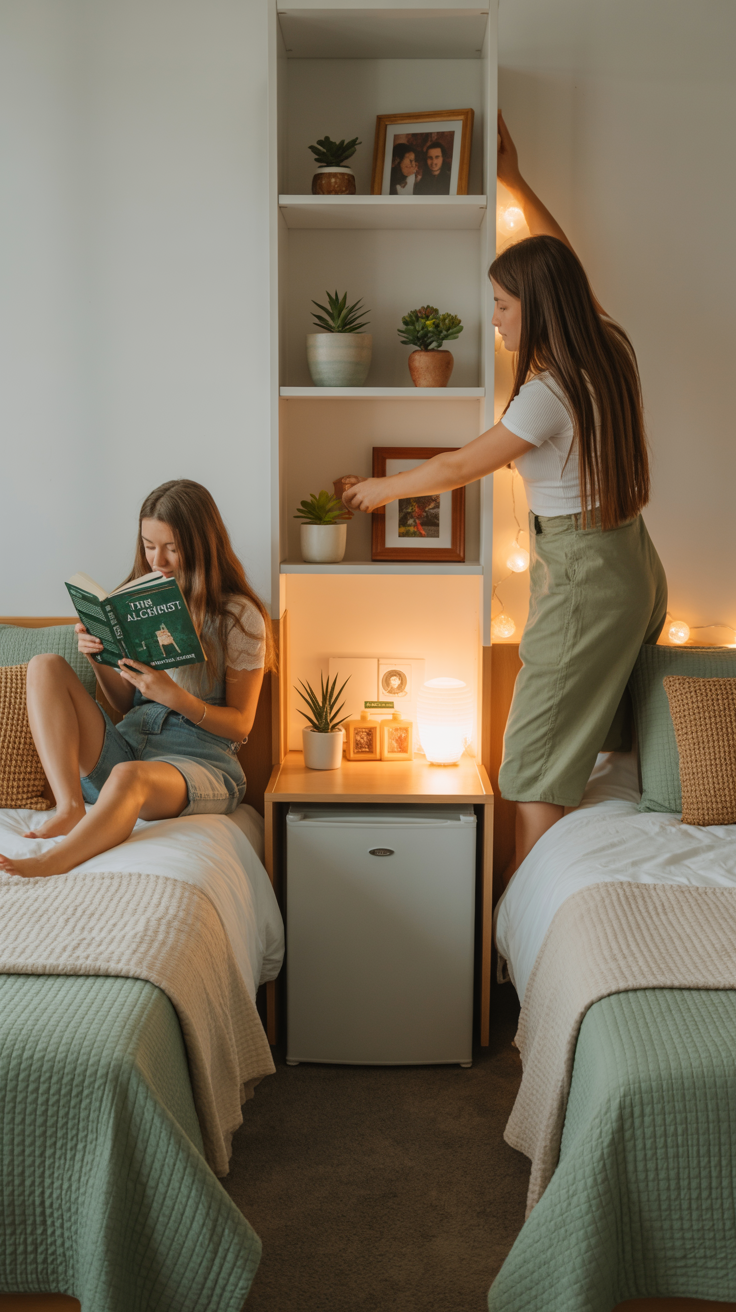
- Dorm Tour – Before and After
- Revolving Snack Tray: A great Dorm Room Idea
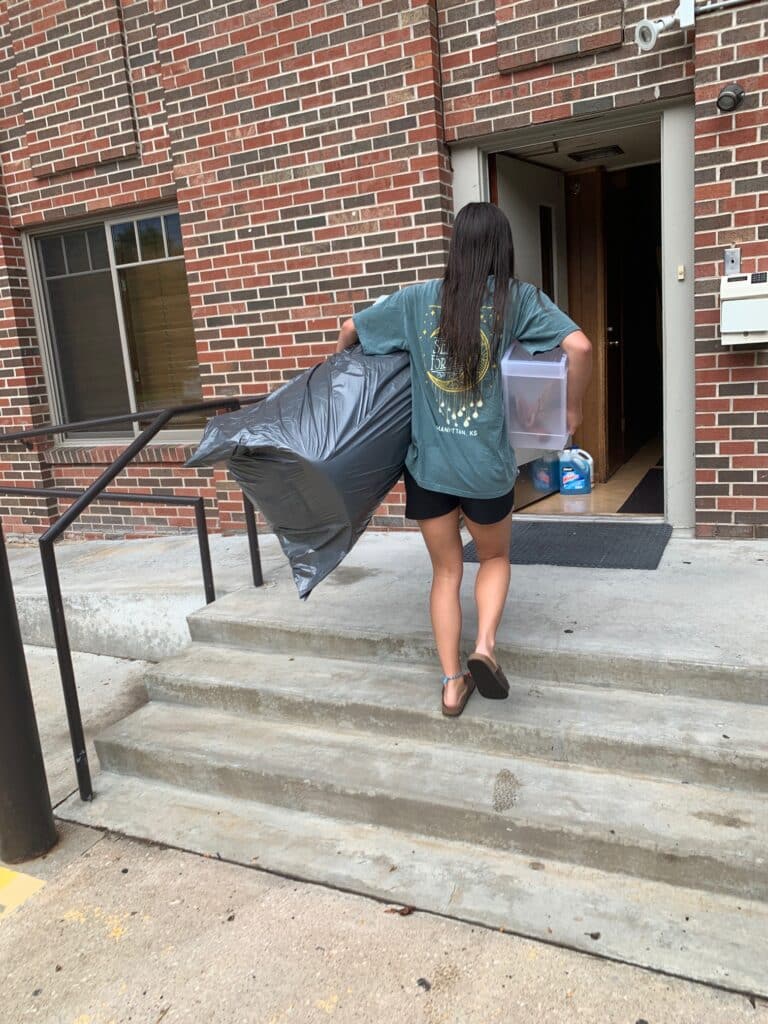
- Dorm Haul
- Dollar Tree Bathroom Organization
- How to hang IKEA pegboard with Command Strips
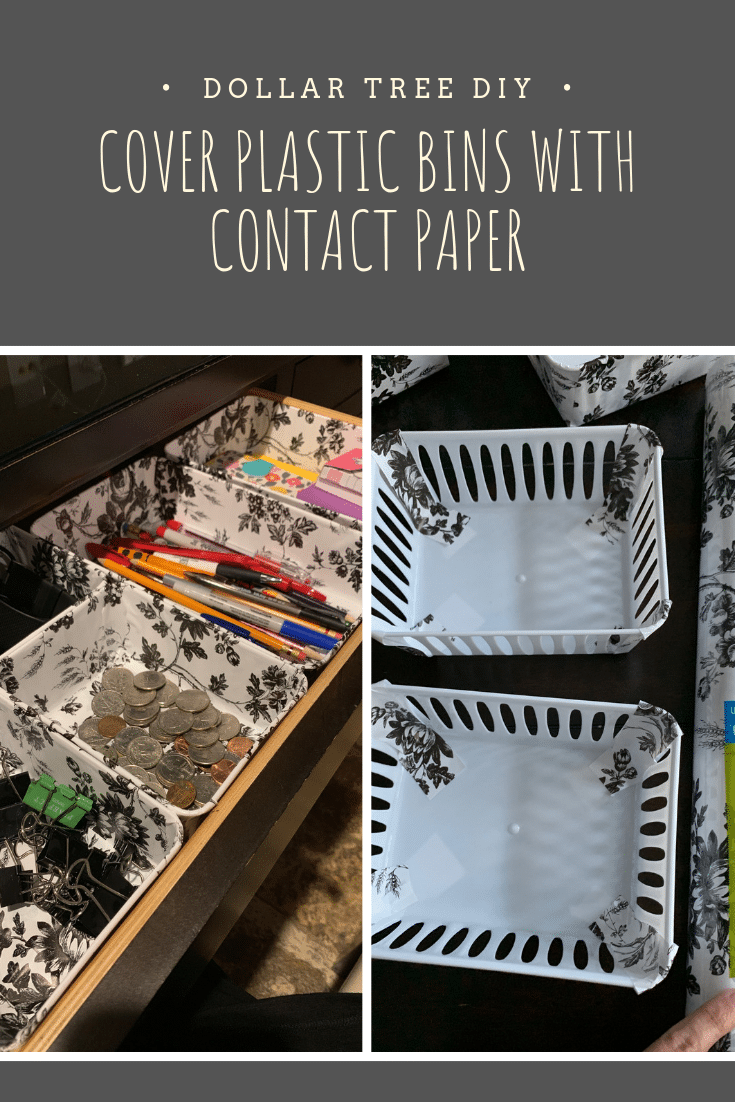
- Dollar Tree Bins – decorated
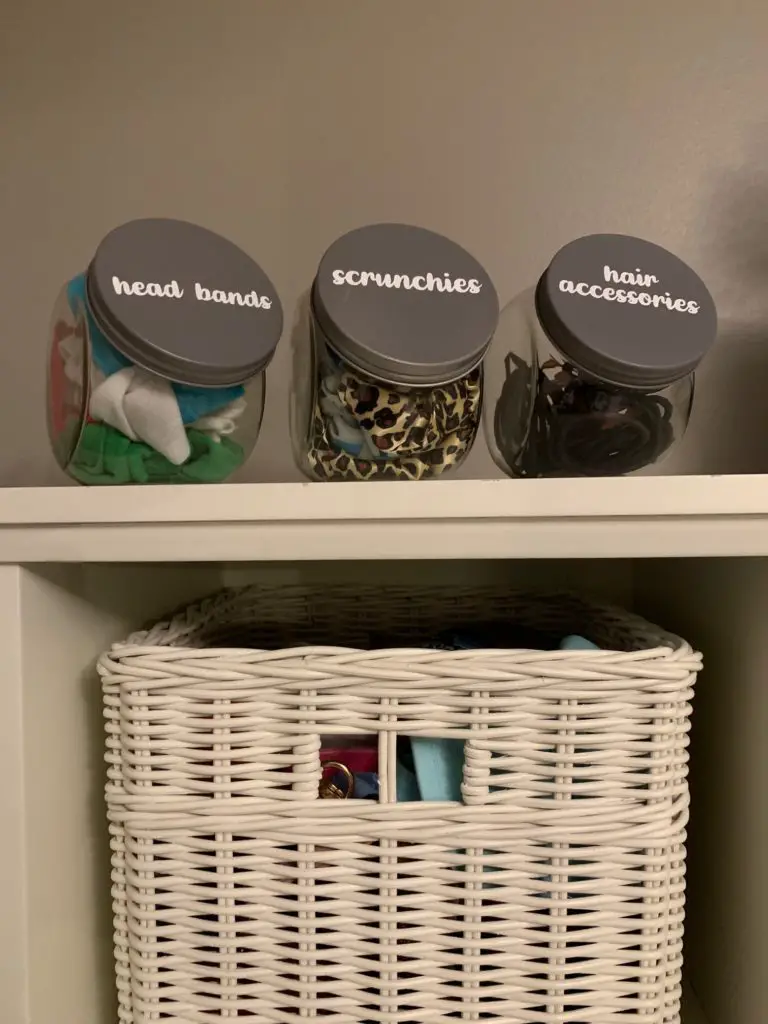
- Dollar Tree Organization Jars
- 5 Must-have Dorm Items
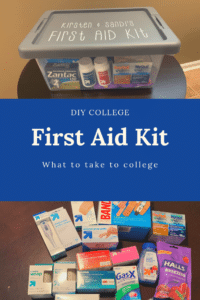
- College First Aid Kit
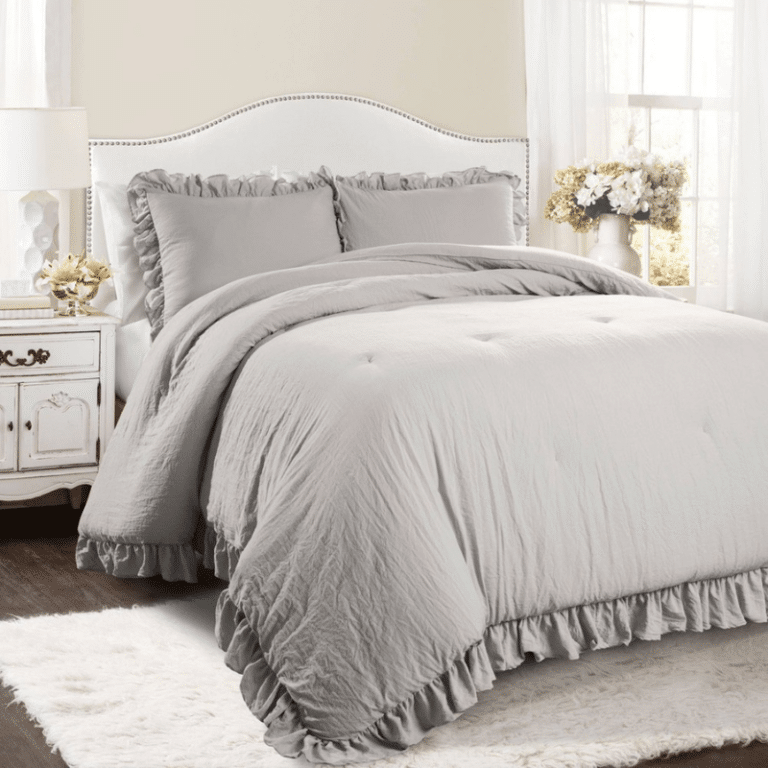
- Gray Dorm Bedding
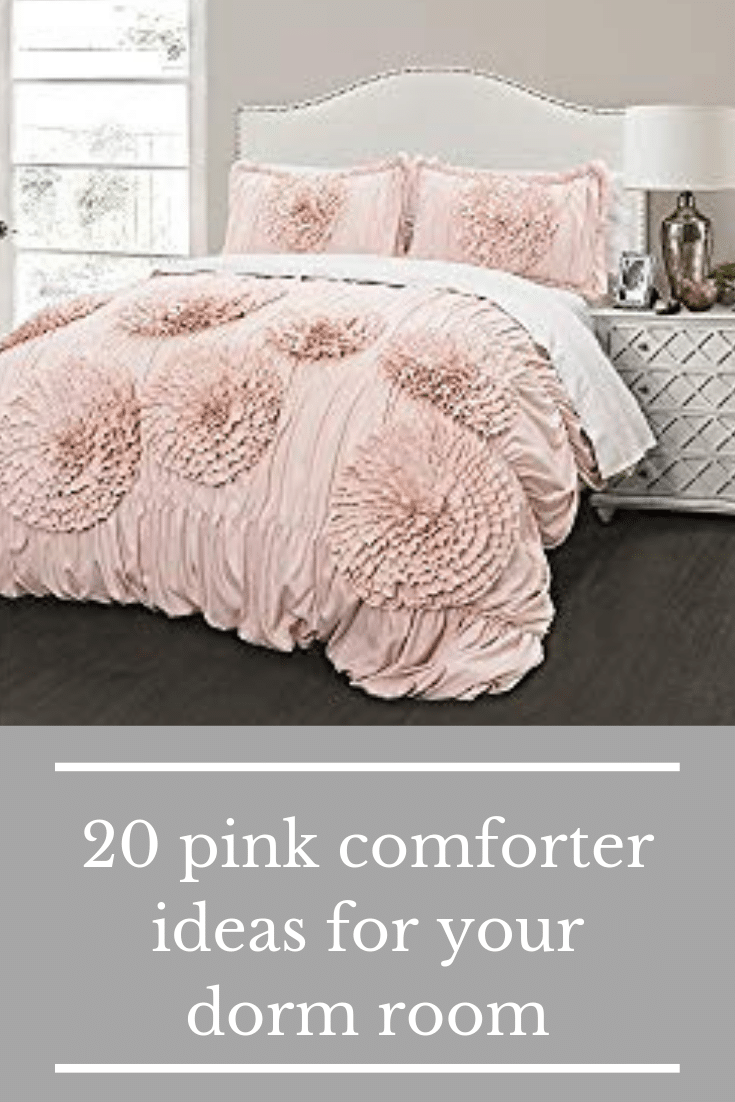
- Pink Dorm Bedding
- Boho yarn tassel garland