Photo Guest Book for Graduation Parties: A Fun & Memorable Keepsake
A photo guest book is a fantastic way to capture memories at a graduation party! Instead of a traditional guest book filled with signatures, guests can snap a photo, leave a message, and create a keepsake that the graduate will cherish forever.
Disclosure: This page may contain affiliate links. If you purchase through these links, I may earn a commission at no extra cost to you.
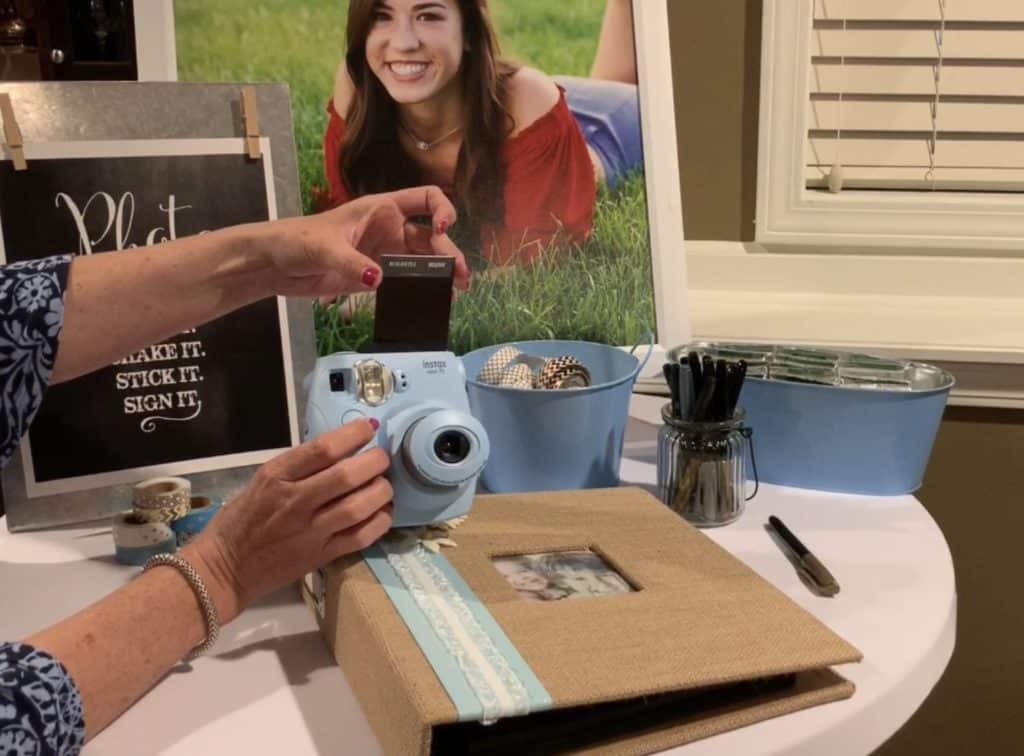
How to Set Up a Photo Guest Book Table
Creating a photo guest book station is simple and adds a personal touch to your celebration.
Essential Supplies
Here’s what you need:
- Fujifilm Instax Mini Camera – Instant prints make it easy for guests to capture the moment.
- Instax Mini Film Value Pack – Stock up so no one misses out!
- Sharpie Metallic Markers – Perfect for writing heartfelt messages on black guest book pages.
- Double-Sided Tape or Washi Tape – Helps guests secure their photos neatly.
- Guest Book – Choose from several stylish options.
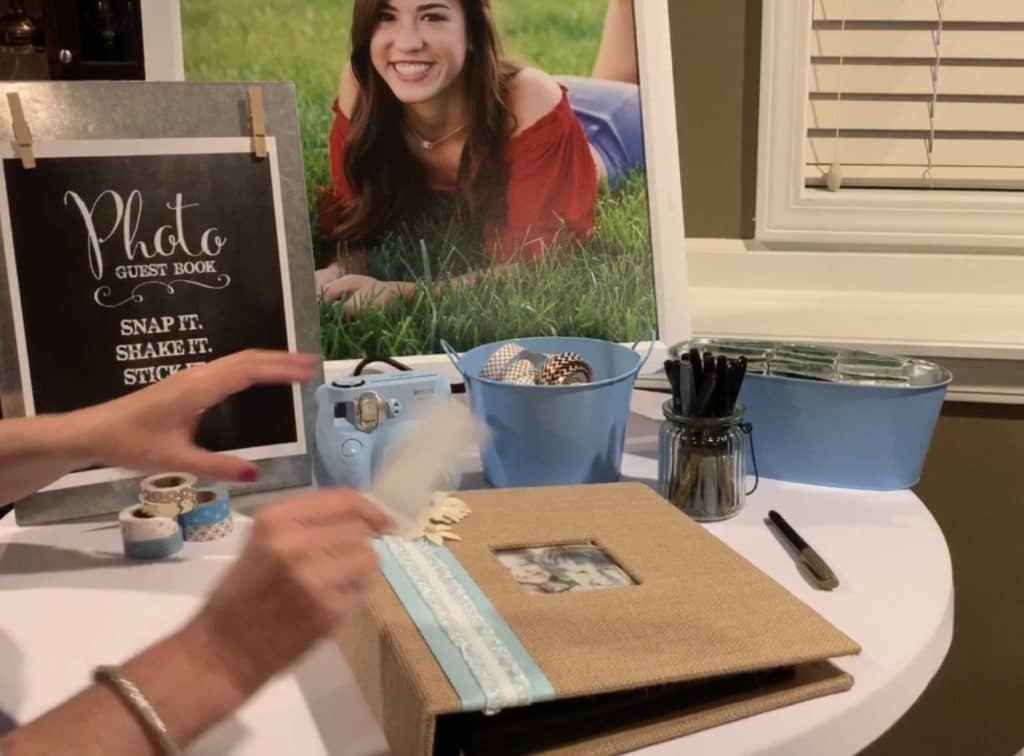
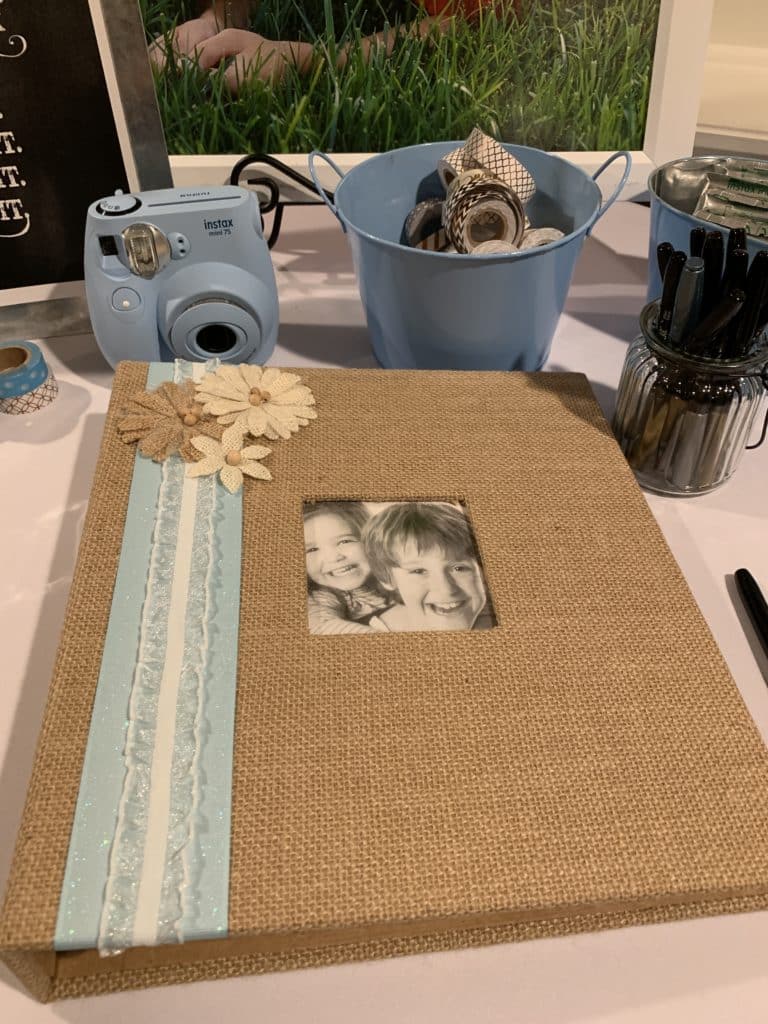
Styling Your Guest Book Table
To make your setup even more inviting:
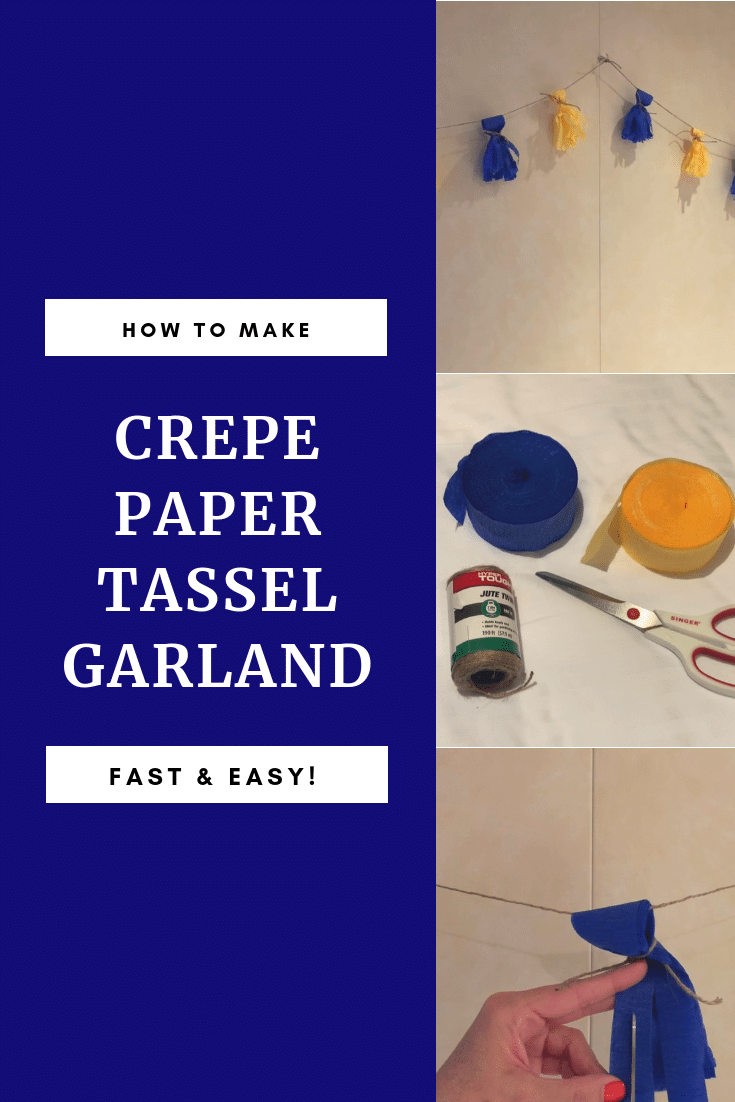
- Hang decorative pom-poms to create a festive look.
- Place a small bucket for film storage—keeps everything organized and easy to access.
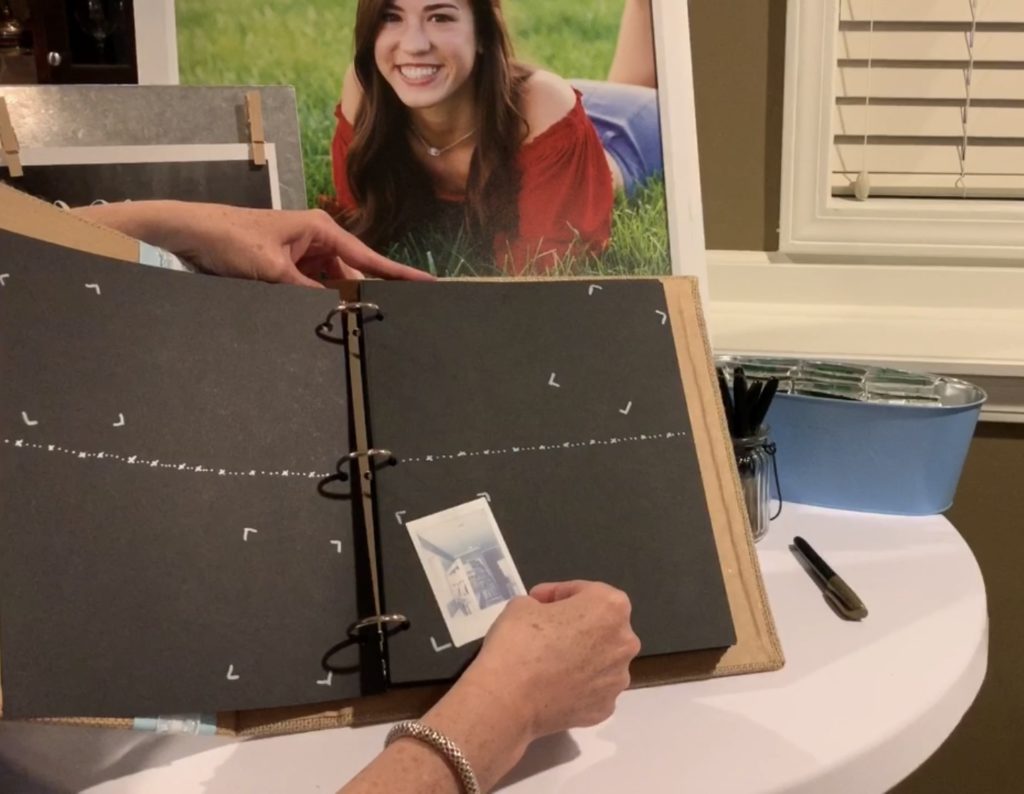
- Include a frame featuring pictures of the graduate to personalize the display.
Guests—young and old—will have fun snapping photos, leaving messages, and adding their special touch to the guest book. It’s a fun and interactive way to document the day while creating a keepsake that lasts forever.
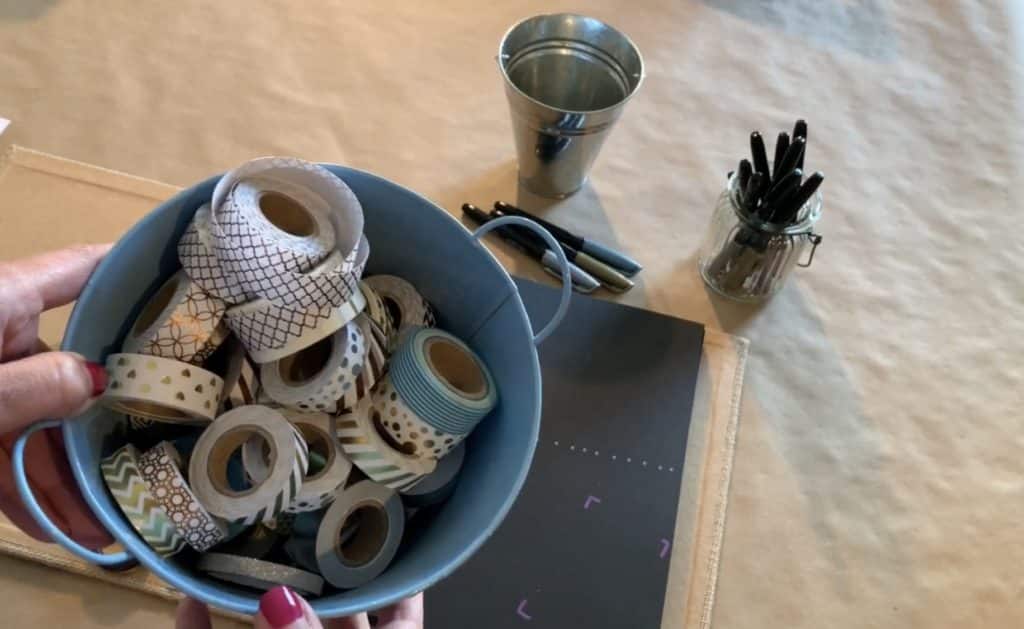
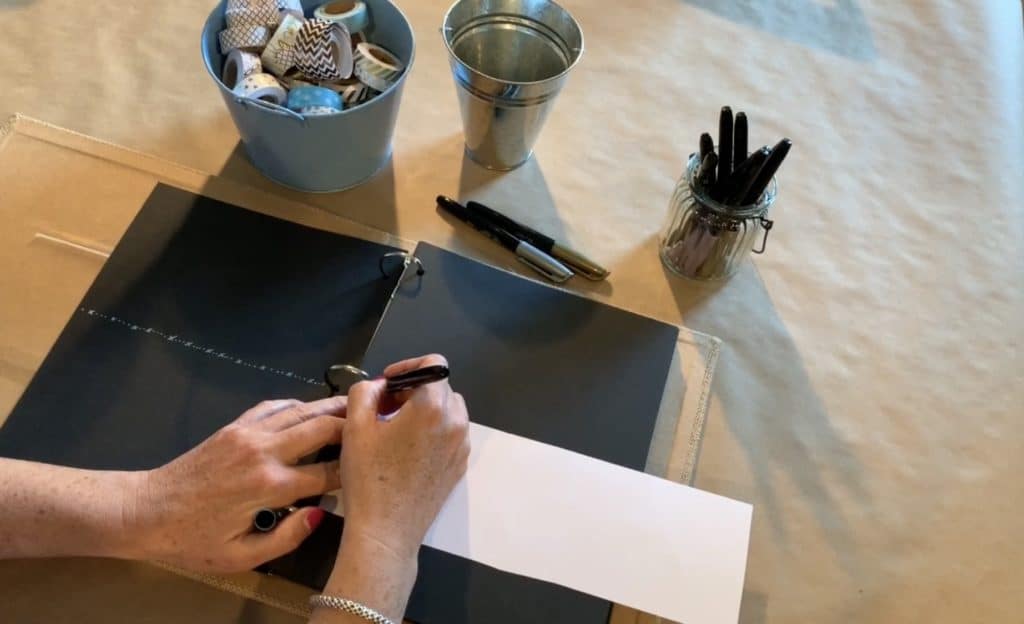
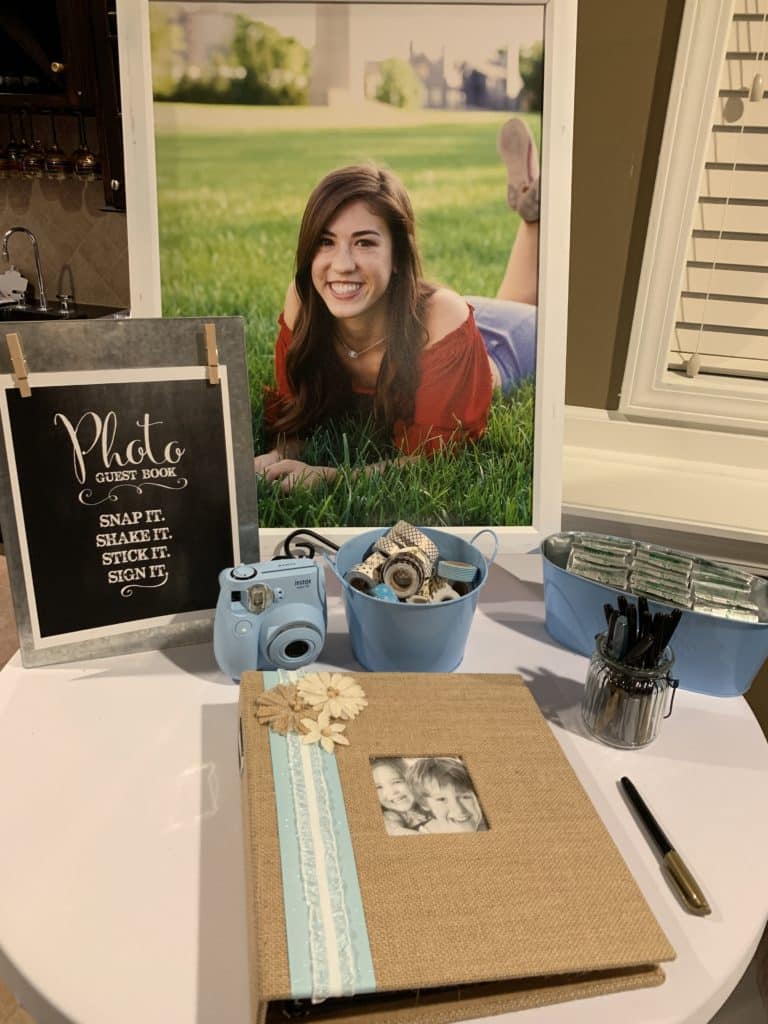
Once the picture has developed, your guest will stick it into a guest book. You can provide double sided tape runners or some designed Washi tapes like the ones you see in the bucket above. This bucket includes this set of great gold patterned Washi tapes.
The bucket of Washi tape options shown above and scissors were at my photo guest book table.
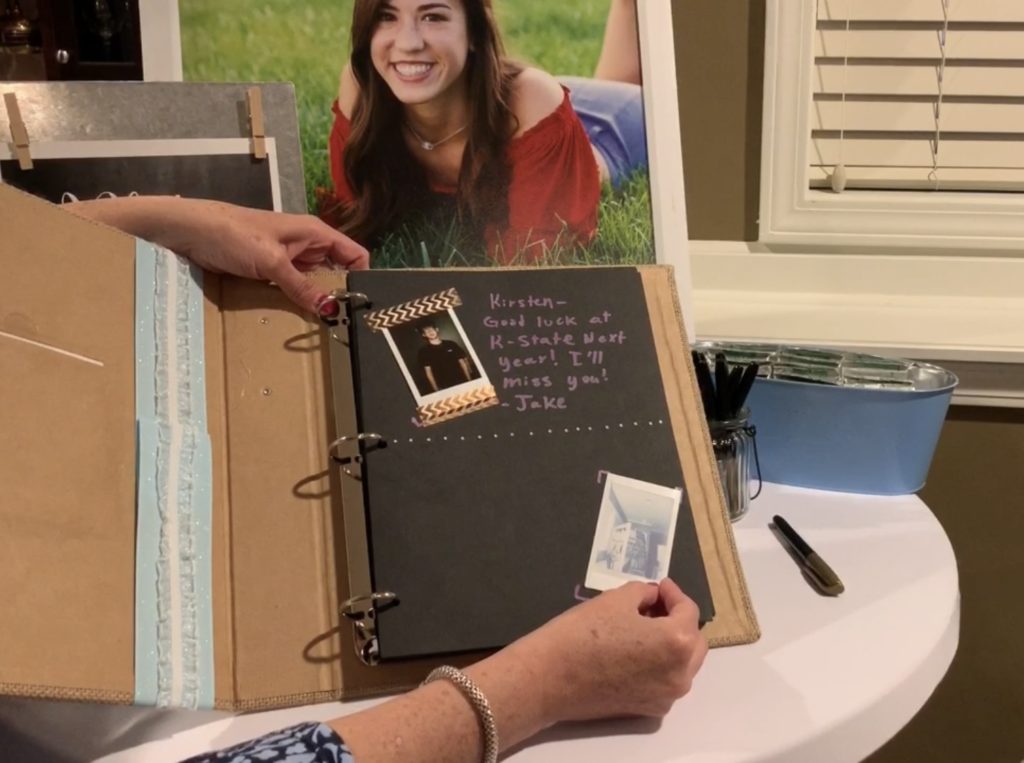
4. Sign it!
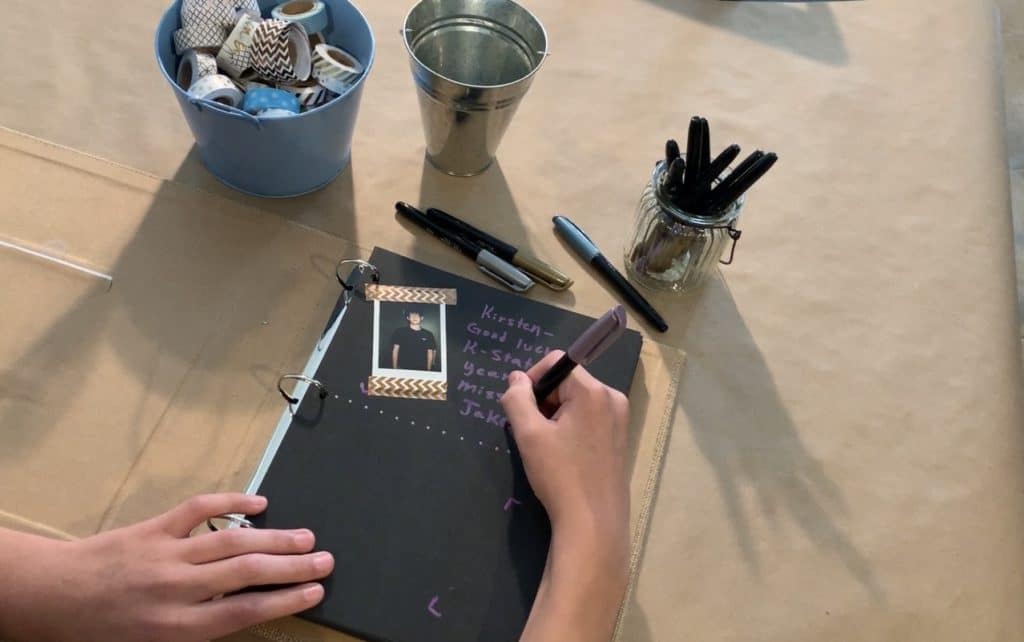
Your guest can sign your guest book and write a note next to the picture they’ve taken. These notes can be about past memories, future wishes, tips and advice, etc.
I recommend having a container of fine-tip markers at your table. Since my paper was black, I used metallic markers similar to these Sharpie metallic markers on Amazon.
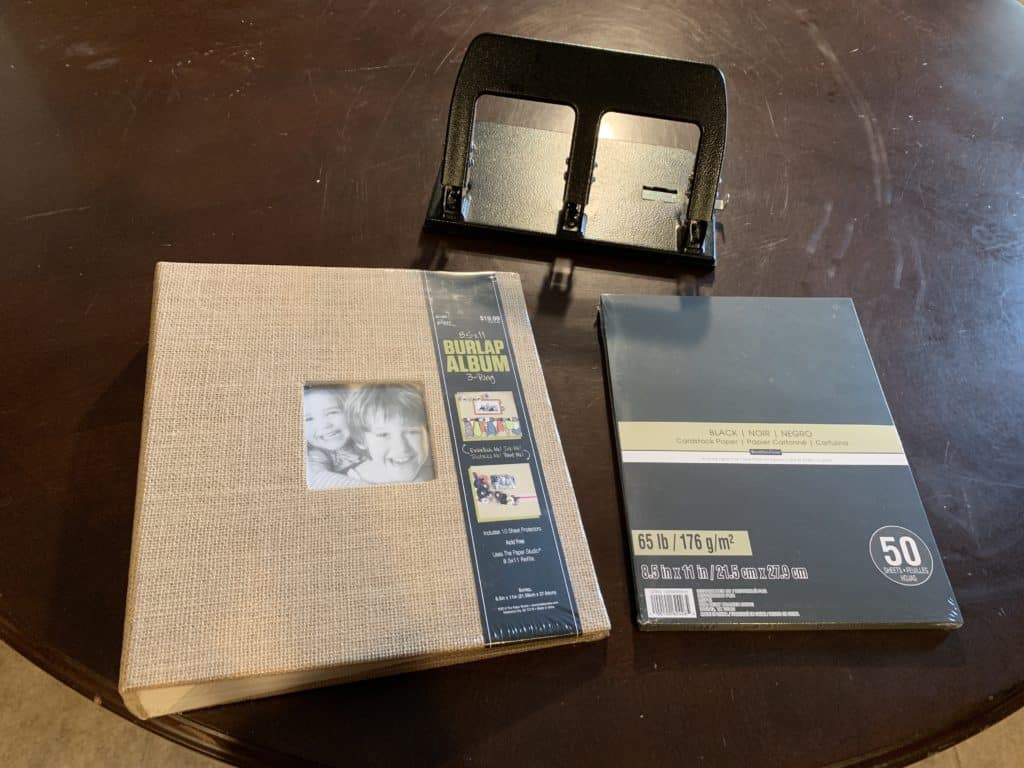
Supplies I used for my album:
- 3 ring burlap album from Hobby Lobby (this line is regular promoted at 50% off).
- Black Card stock – I ended up buying a 200 sheet value pack (was regularly around $16, but promoted at 50% off)
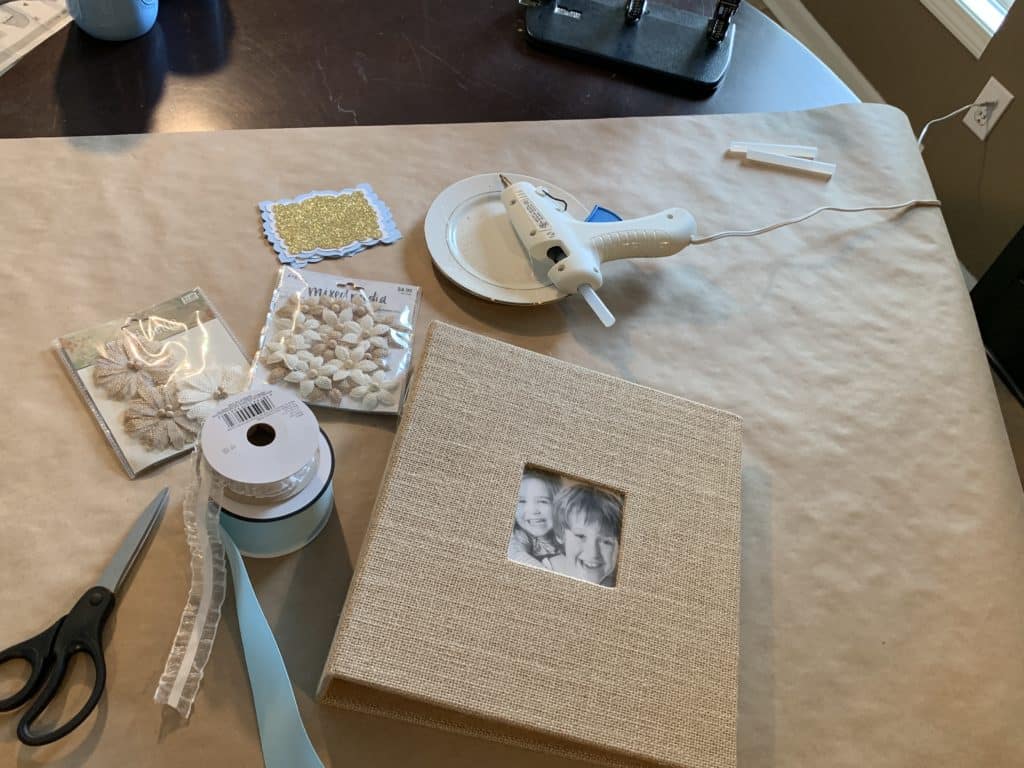
- Ribbon for embellishing the album
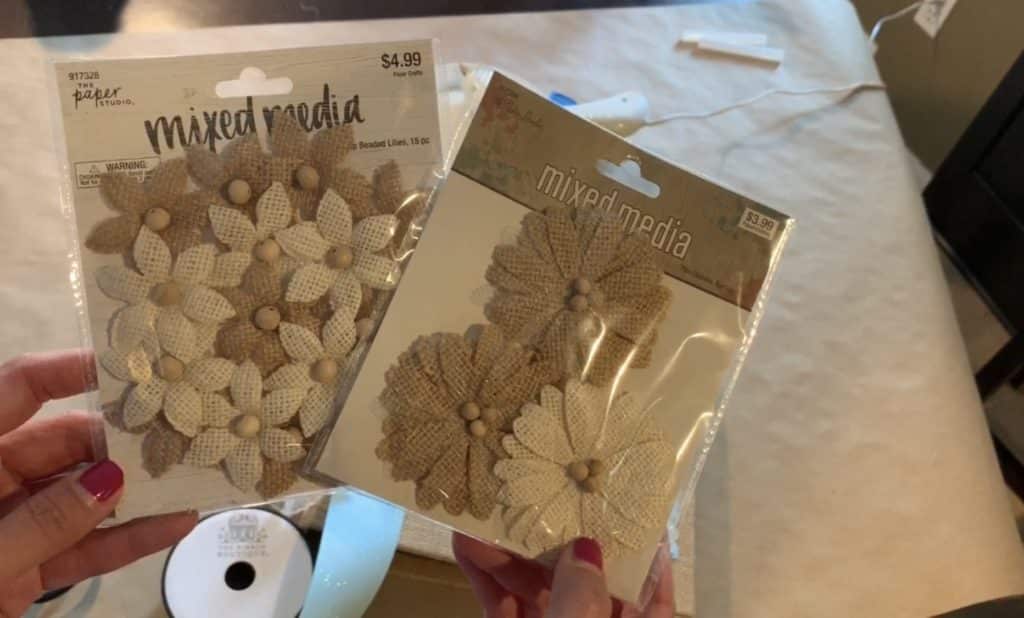
- Decorative burlap flowers for embellishing the album
- 3-hole punch
- glue gun and glue sticks
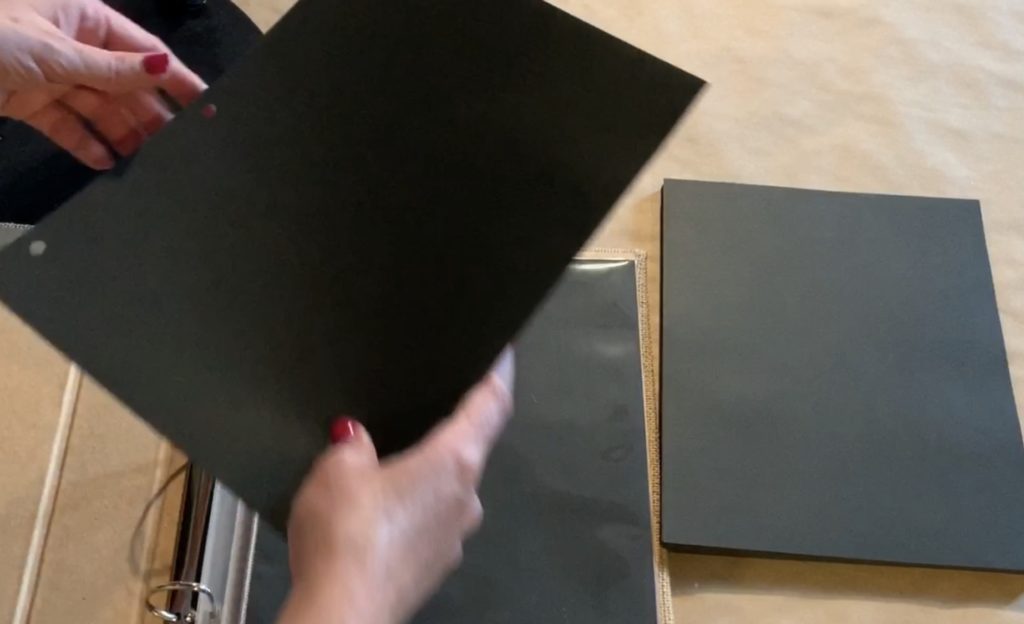
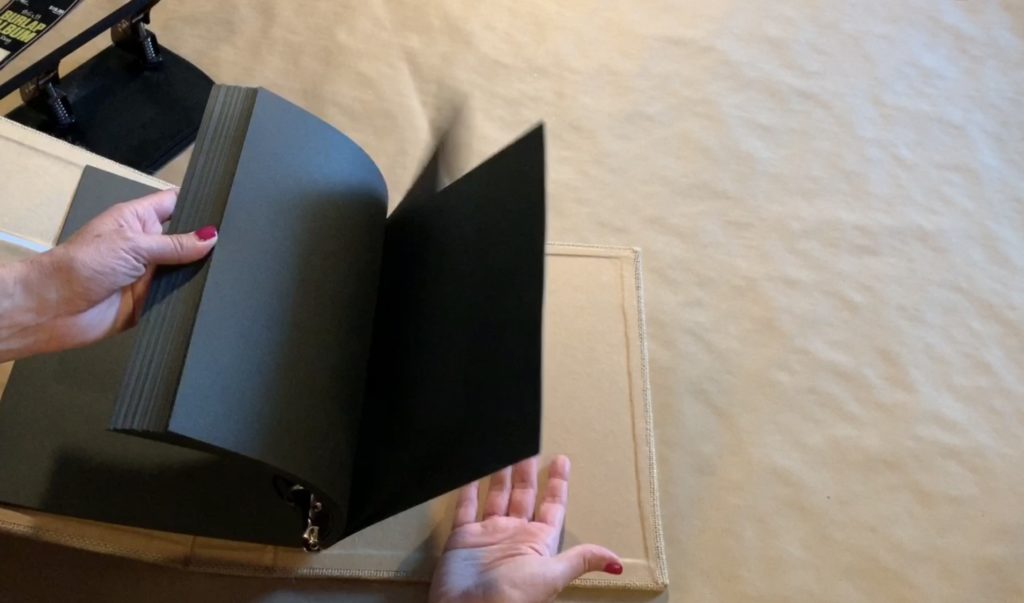
Filling the 3-ring Photo Album
I chose a 3-ring album because of the simple flexibility. 3-hole punching card stock only took a few minutes. Being able to use the card stock for pages also made my album very economical. I filled my album with black card stock pages because I love how metallic markers look on black paper. You could insert white card stock or another color if preferred.
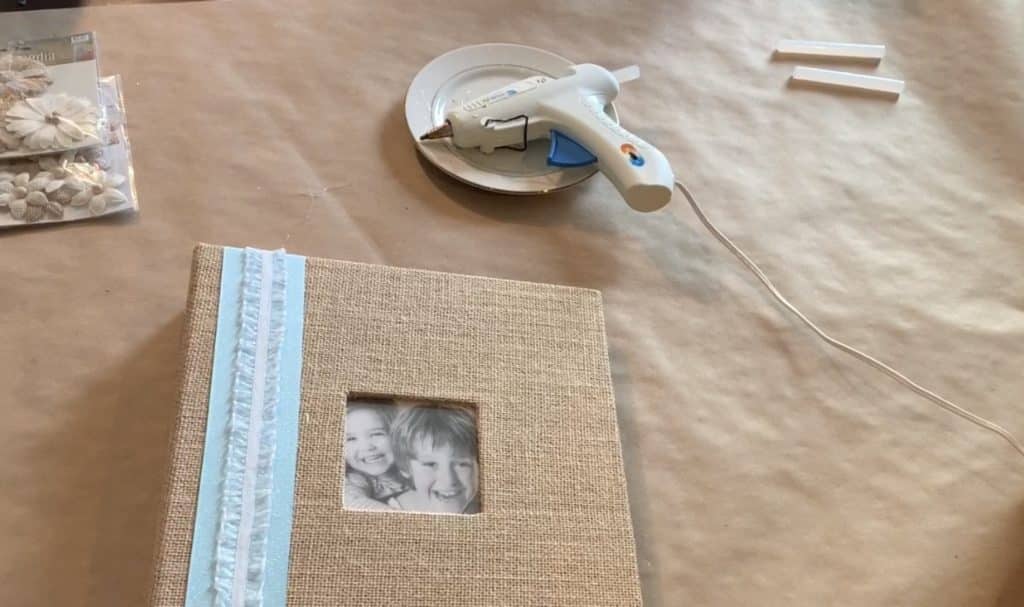
Embellishing the album cover
I used two ribbons, one wider than the other, so that I could layer them. I used the wider one to plan ribbon placement.
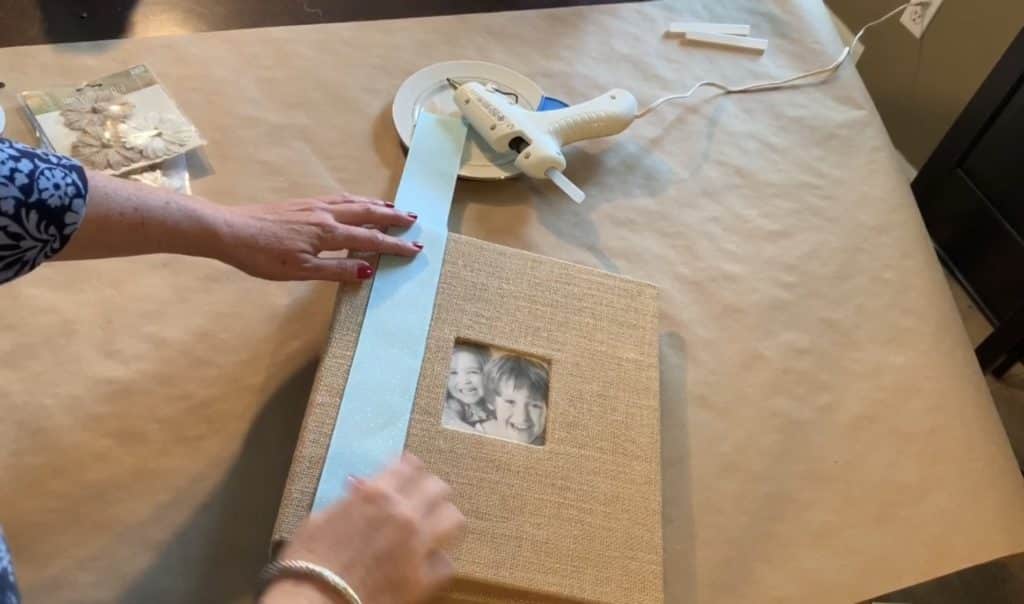
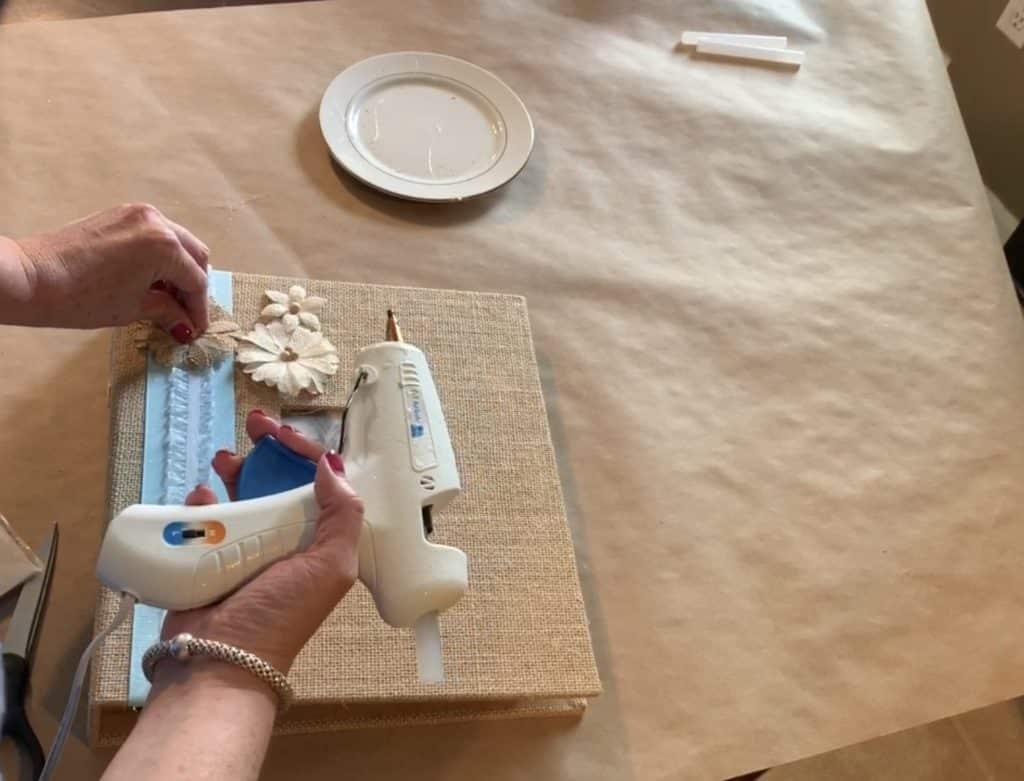
I started gluing the ribbon onto the cover on the inside of the album, starting with the wider piece of ribbon.
I then glued the narrow ribbon on top of the wide ribbon.
I wrapped it around the front of the album, gluing the ribbon down a little bit at a time. Once the front was glued down, I wrapped it back around to the inside, matched it up to the other ribbon, and glued it down.

When gluing ribbon to the album, be sure to pull tightly so that there aren’t wrinkles in the ribbon. Here is the pic of my album (still without our photo in the center).
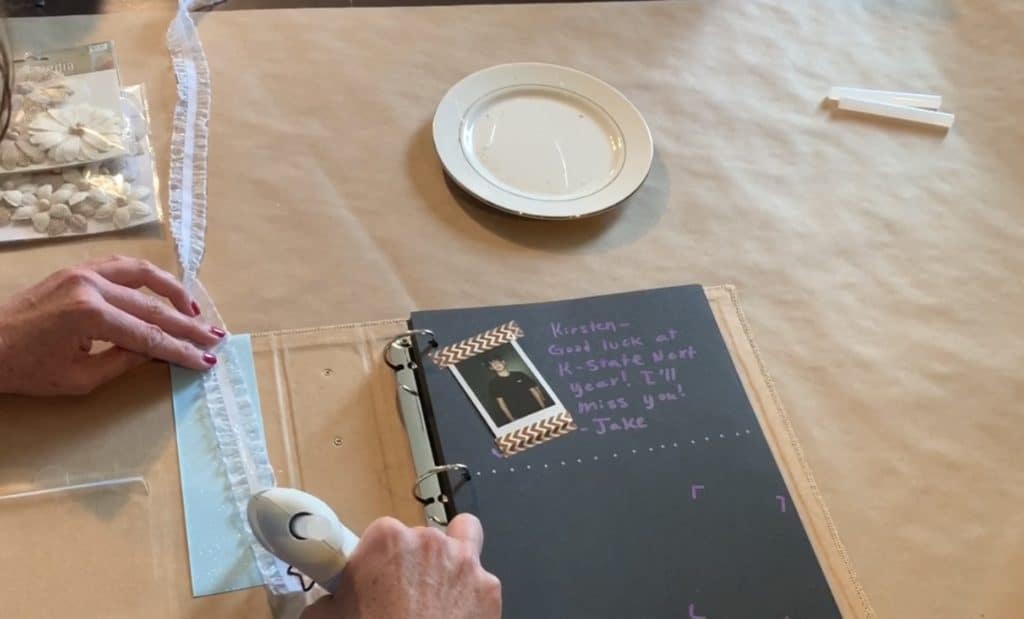
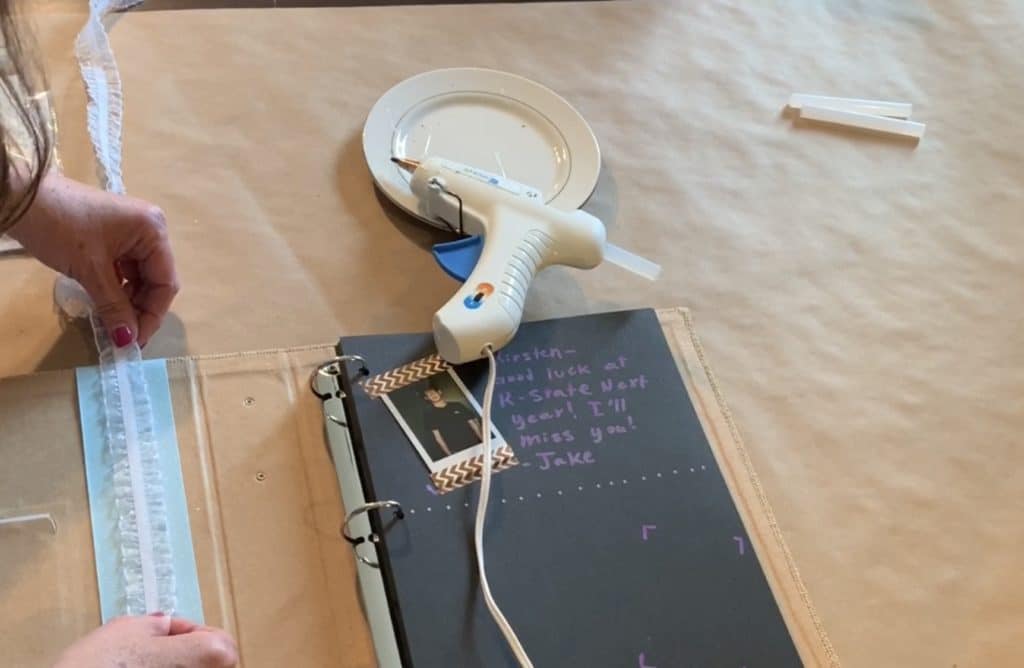
I used a hot glue gun to attach the burlap flowers. I only used a few of these and will use the remaining for other projects.
Decorating the album pages
I did a few things to help guide our guests with the photo guest book.
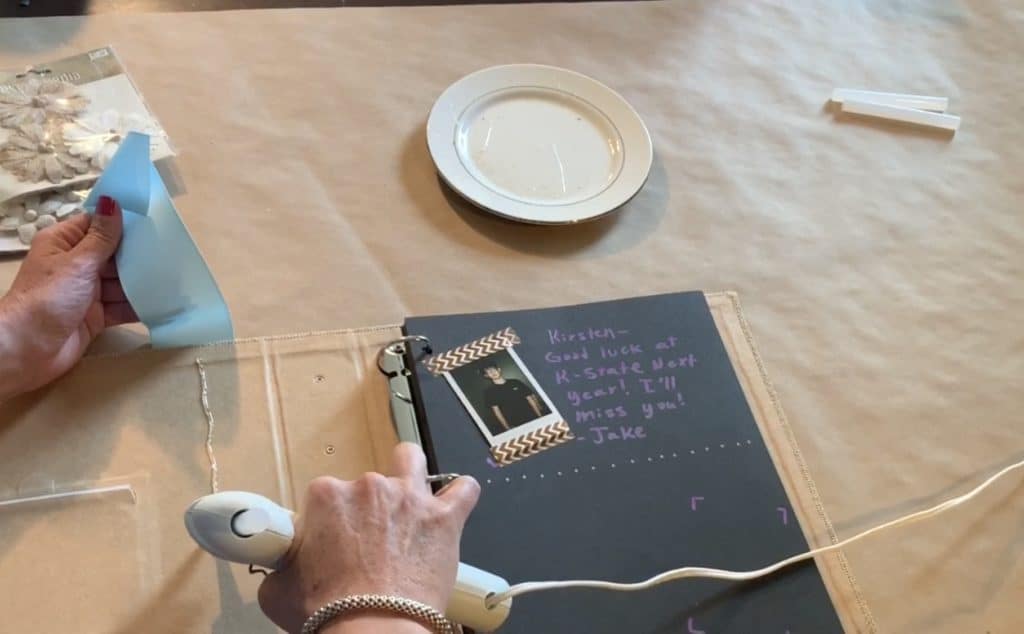
First, I quickly made dots and other marks along the half page mark on each of the pages to encourage guests to take a full half of the page to write a note. I want this album to be a keepsake so want to encourage writing.
Second, I made some markings for a photo. It will take a few minutes for the picture to dry and most guests won’t tape it in until it is dry. By providing marks, our guests can write their notes while they’re waiting for the photo to develop/dry.
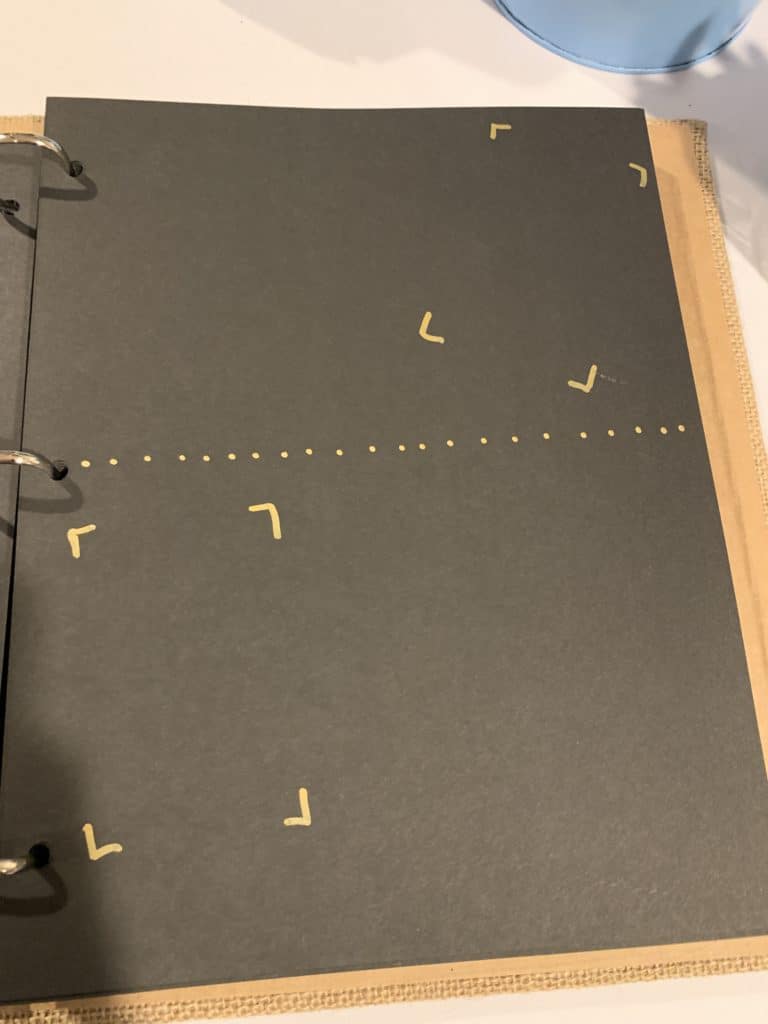
I also like this because I alternated the markings for the photos so that they will lay out very nicely in the book. Our guests don’t have to follow it, but it helps take the guess-work out of it.
Third, I recommend completing a few pages as examples before your party begins. Have mom, dad, and a couple of good friends write theirs early. This will help people understand how it works.
And that’s it! A photo guest book is a great way to capture photos and memories from guests attending your big event.
Why a Photo Guest Book is a Must-Have for Graduation Parties
Unlike a traditional guest book filled with signatures, a photo guest book captures faces, smiles, and heartfelt messages. This makes it:
- More personal – Guests can visually remember the celebration.
- Engaging – Everyone gets involved in taking photos and leaving notes.
- A lifetime keepsake – Something the graduate can look back on for years.
Related Graduation Party Ideas
Planning your celebration? Check out these creative ideas:
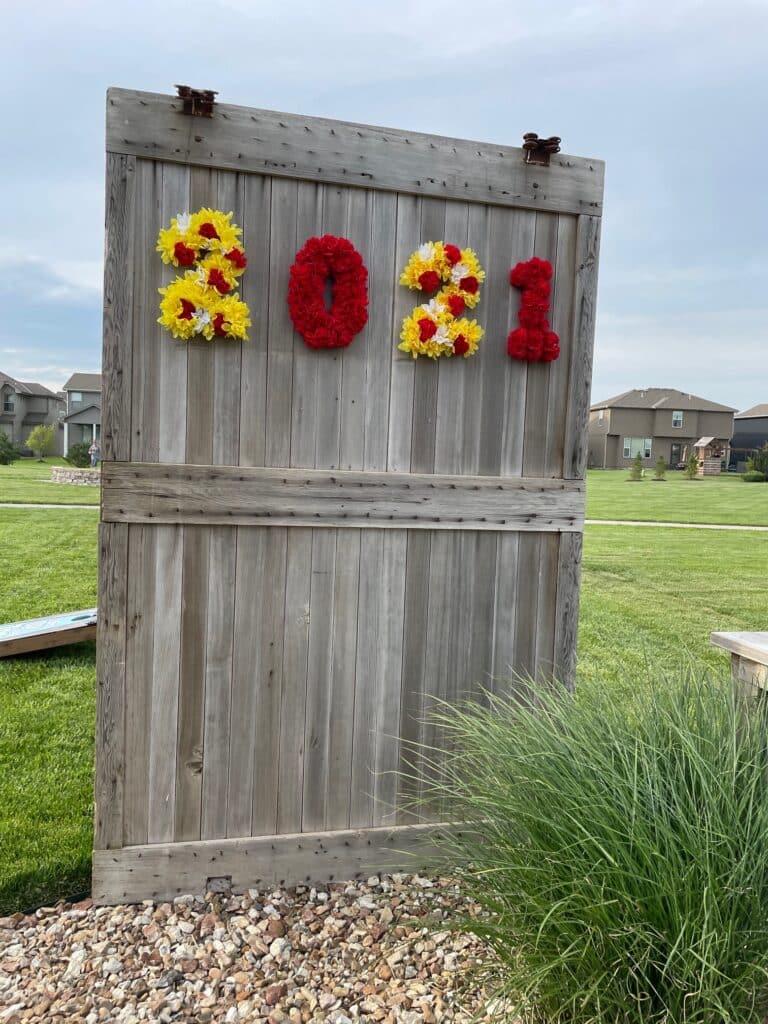
- Graduation Photo Booth Backdrop
- Cotton Candy Station
- S’mores Bar Setup
- Graduation Senior Table Photo Poster
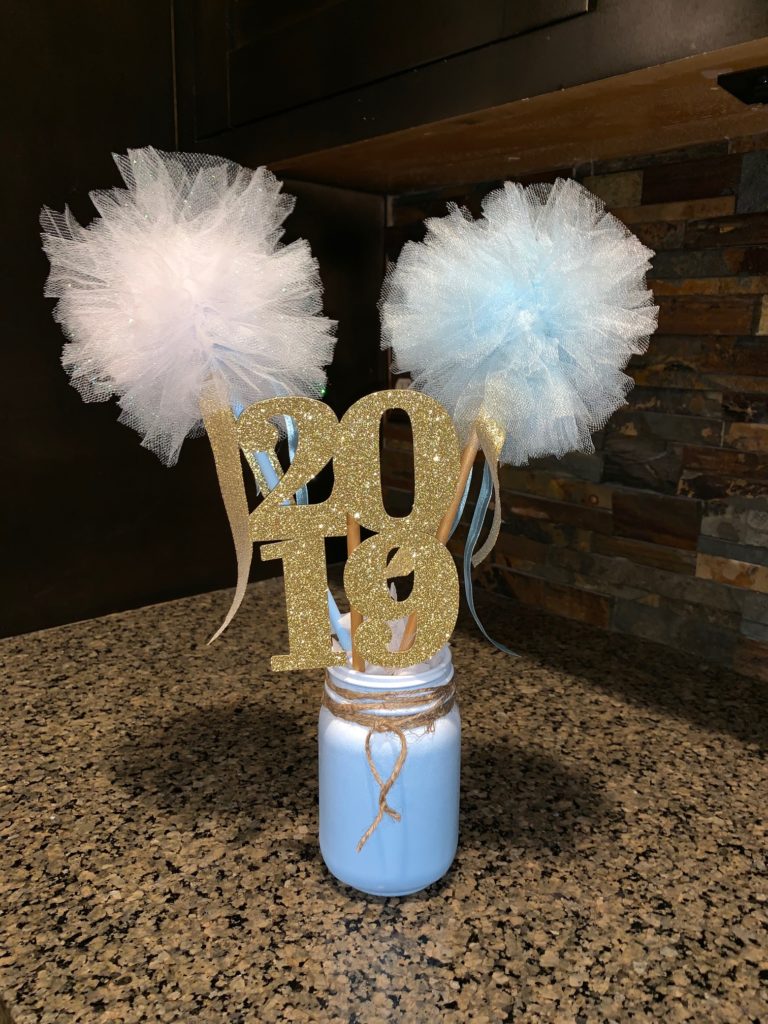
- Graduation Party Centerpiece (with pom poms and pictures)
- Graduation Photo Guest Book
- Graduation Card Box
- Graduation Centerpiece in galvanized tin
- Graduation Centerpiece in mason jar with pom poms
- Graduation senior board
- How to make a popcorn bar
- Frame Luminary
- How to make a Popcorn Bar
- Graduation Party Signs
- Senior Table Photo Poster