How to Make a Washcloth Bear
If you’re looking for a sweet, simple, budget‑friendly favor for a baby shower or kids’ birthday party, a washcloth bear is one of the cutest options you can make. These little no‑sew bears come together in minutes, use inexpensive supplies, and look adorable whether you display them in a basket on your favor table or place one at each guest’s seat. They’re soft, giftable, and perfectly on‑theme for anything teddy bear, “We Can Bearly Wait,” or classic baby shower décor.
Disclosure: This page may contain affiliate links. If you purchase through these links, I may earn a commission at no extra cost to you.
Below, I’ll walk you through what a washcloth bear is, what you need to make one, how to assemble it, and a few creative ways to style them for your event.
What Is a Washcloth Bear?
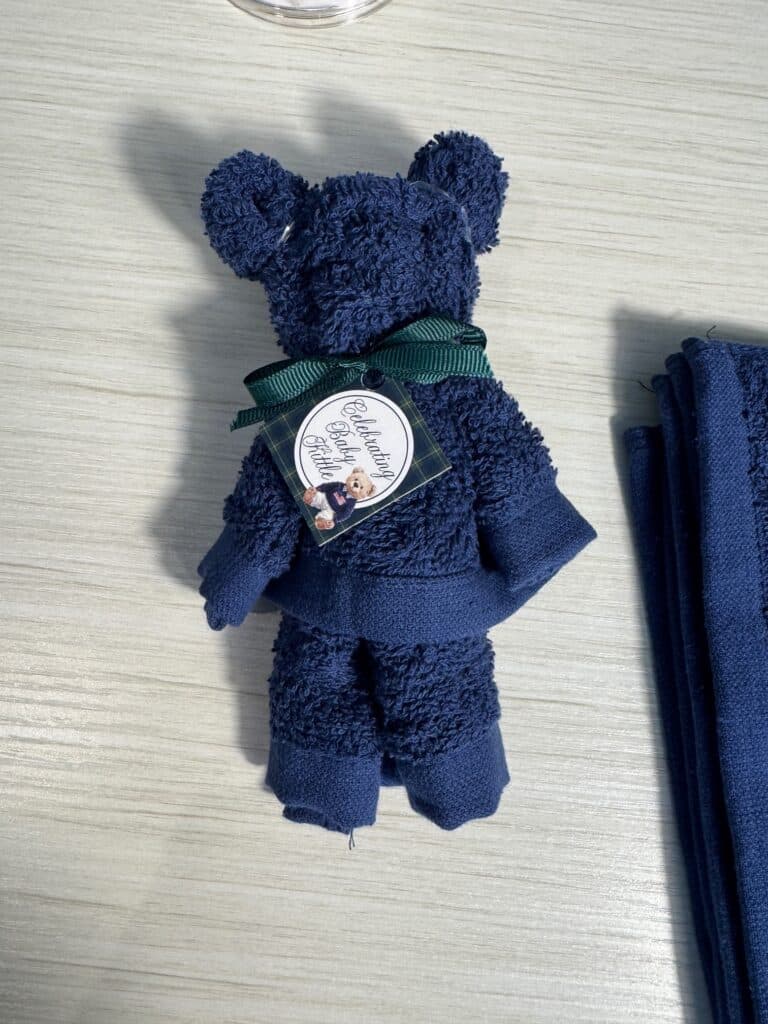
A washcloth bear is a small teddy‑bear‑shaped favor made by folding and securing a simple 12×12 washcloth. With a few rubber bands and a ribbon, the washcloth transforms into a tiny bear with a rounded head, little ears, and a soft, plush body. They’re practical (guests can actually use the washcloth later), but they also double as décor — which makes them perfect for baby showers, kids’ parties, or even craft fairs.
Watch How to Make a Washcloth Bear
If you prefer to follow along visually, here’s a quick step‑by‑step video showing exactly how I fold, twist, and shape each washcloth bear. It’s an easy walkthrough you can watch while you craft, and it pairs perfectly with the written instructions below.
What You Need
You only need a handful of inexpensive supplies:
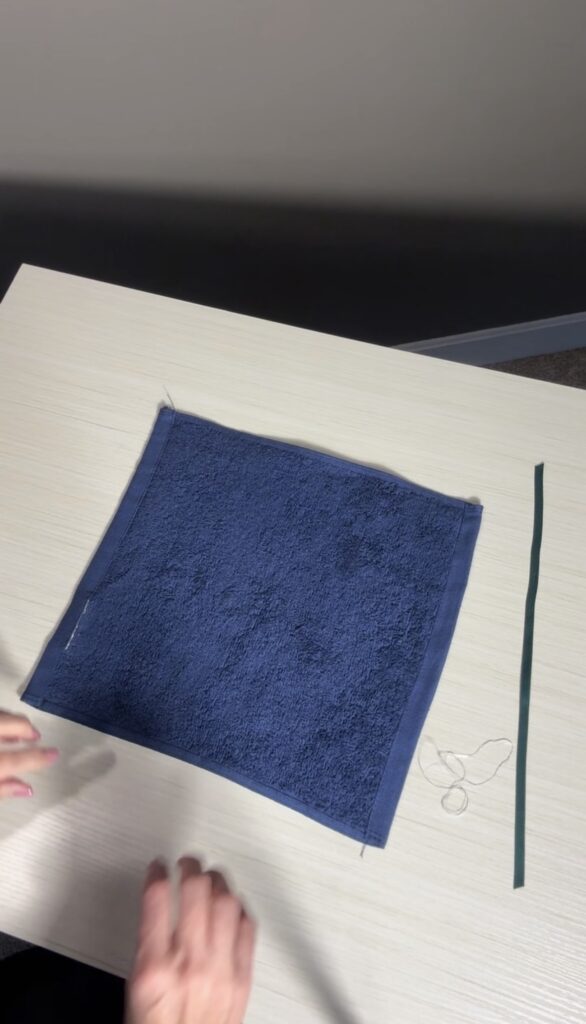
- 1 washcloth (12×12 works best, I use these wash cloths from Amazon because I love the hems and the price)
- Small rubber bands (I like the small clear ones here, from Amazon)
- Ribbon (⅛” or ¼” width looks cutest)
- Optional: a small tag — “Thank you,” “We Can Bearly Wait,” or the baby’s name. I used this classic bear printable template package from Etsy.
- Optional: small embellishments like a tiny bow or mini pacifier charm
That’s it — no sewing, no glue, no special tools.
How to Make a Washcloth Bear
- Lay the washcloth flat on your table.
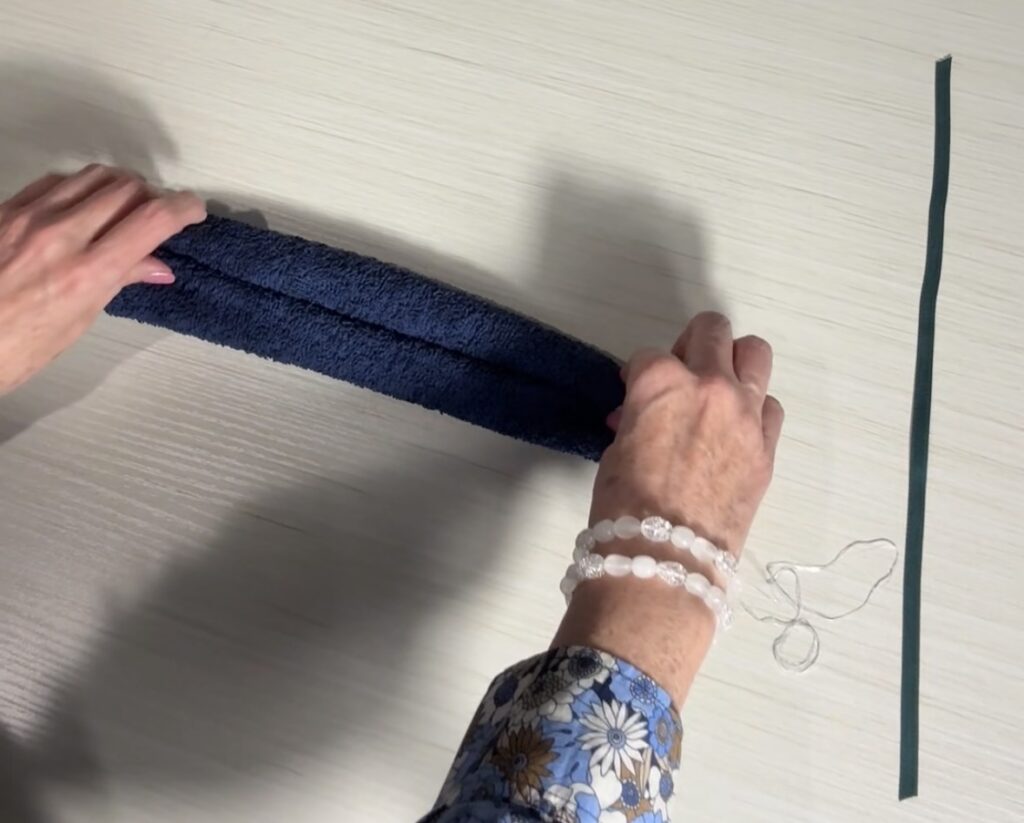
- Roll each side inward toward the center so the two rolls meet in the middle.
- Fold the rolled washcloth in half, bringing the ends together.
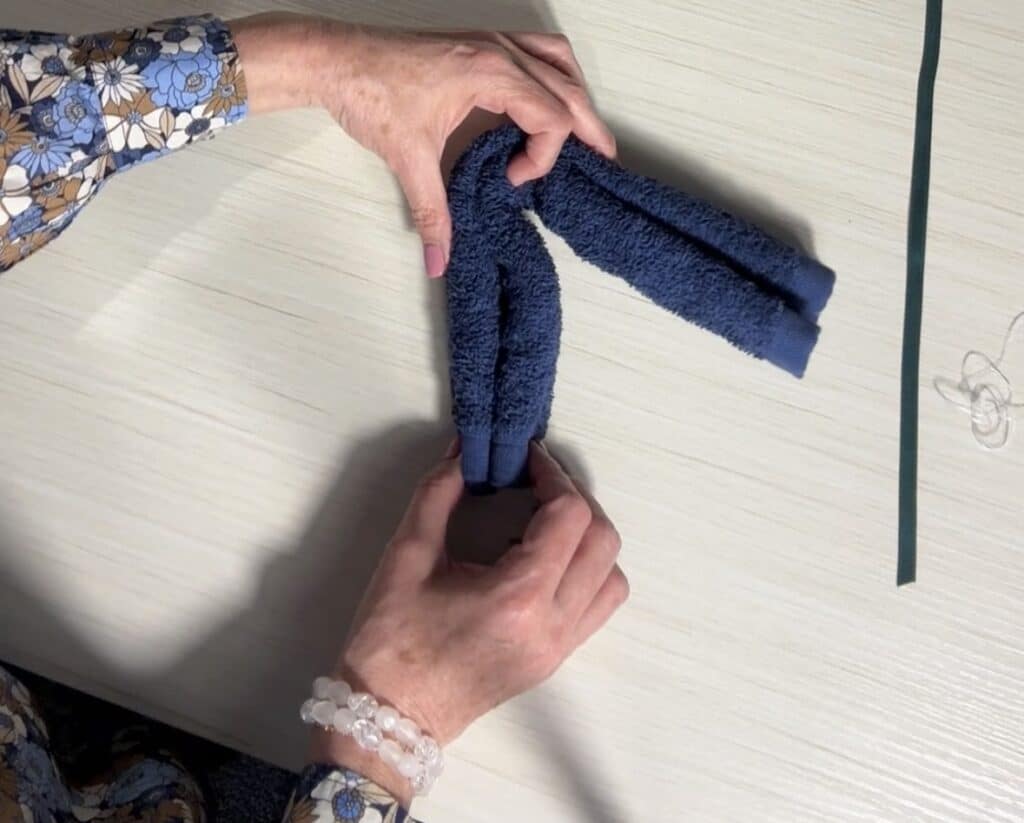
- Twist the folded section once — this creates the bear’s head and body.
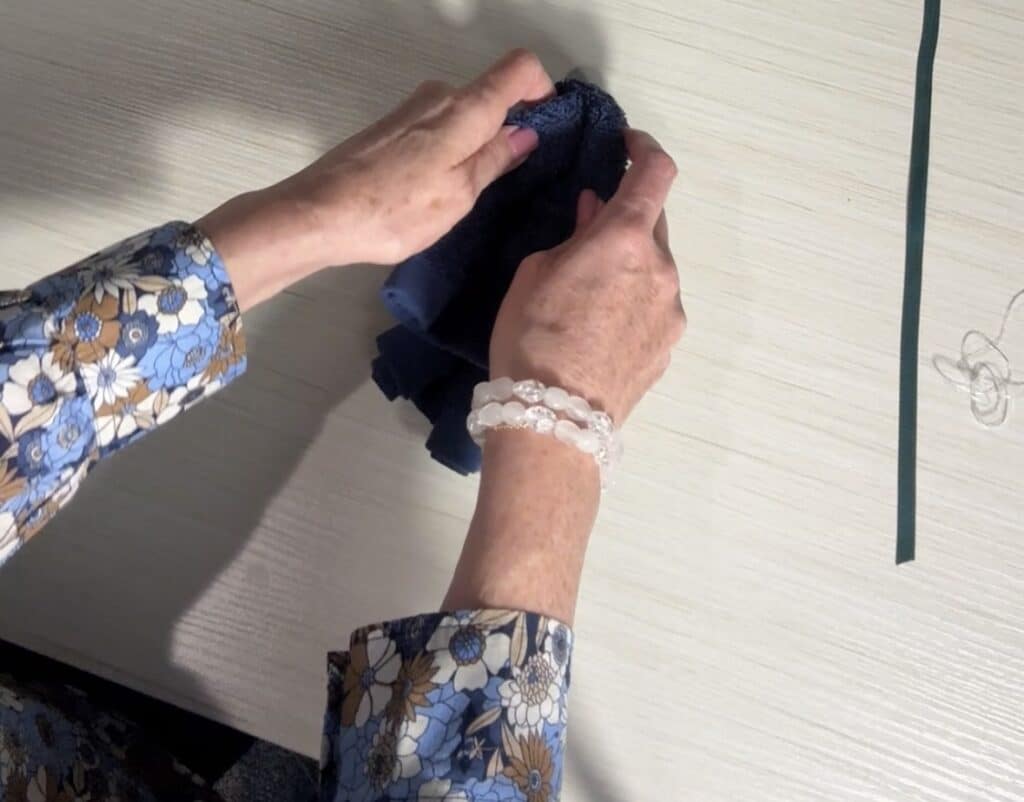
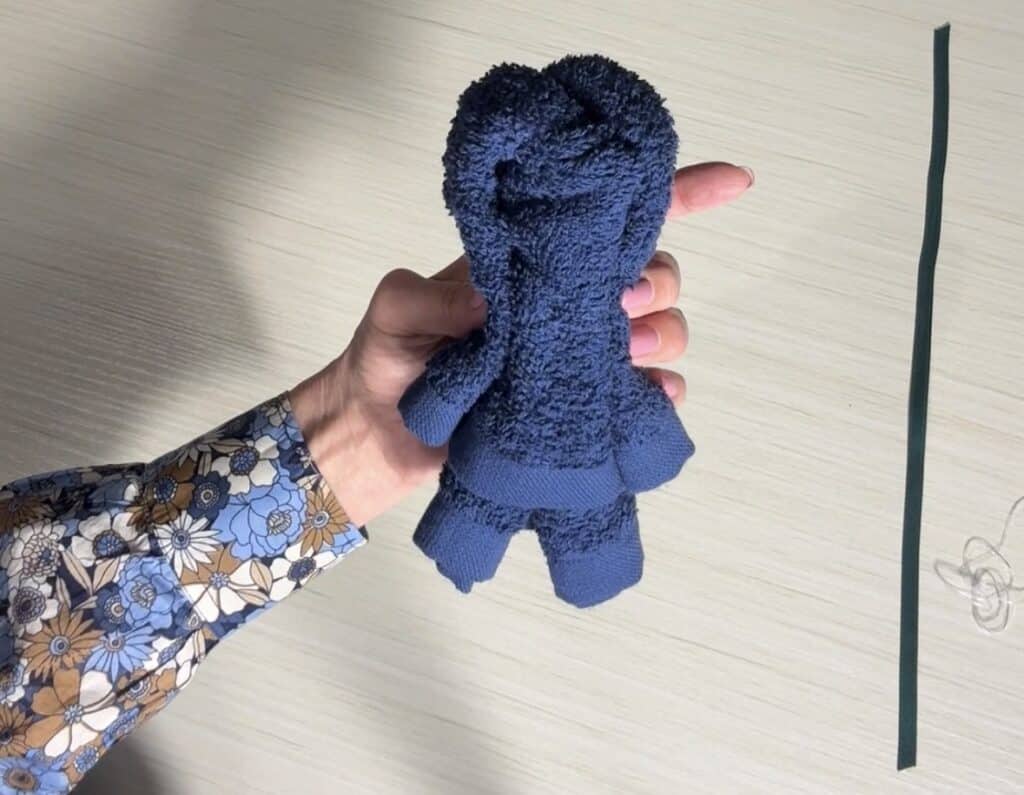
- Secure the head with a small rubber band.
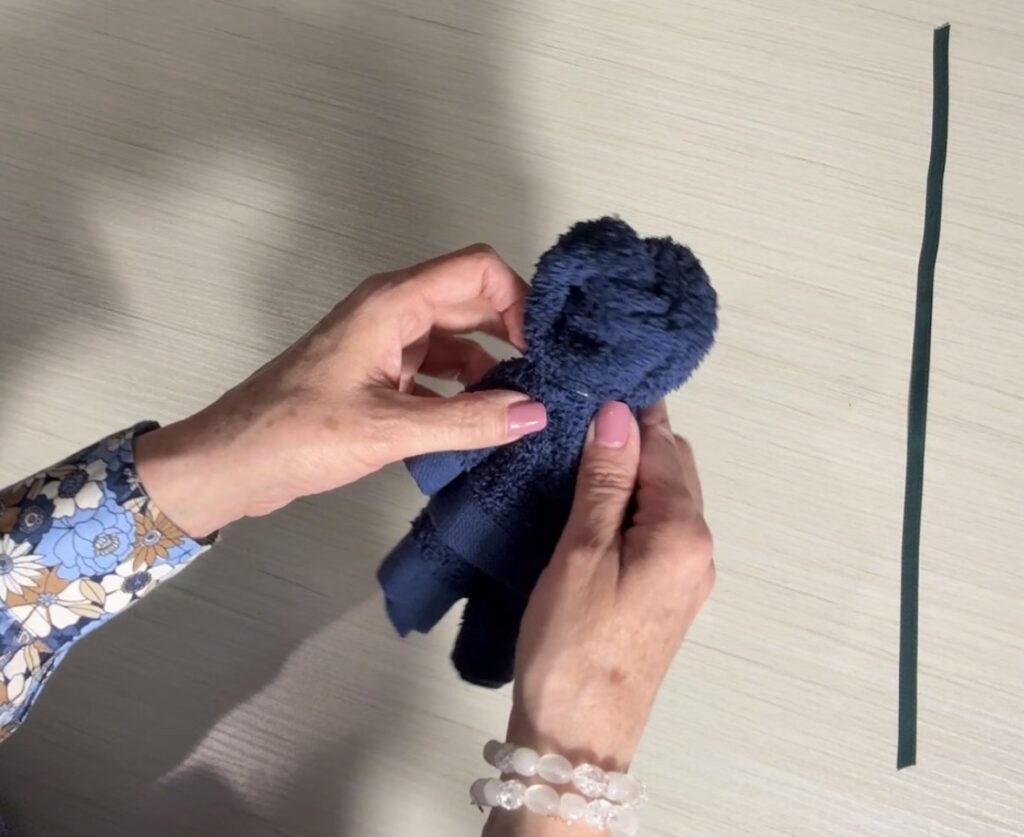
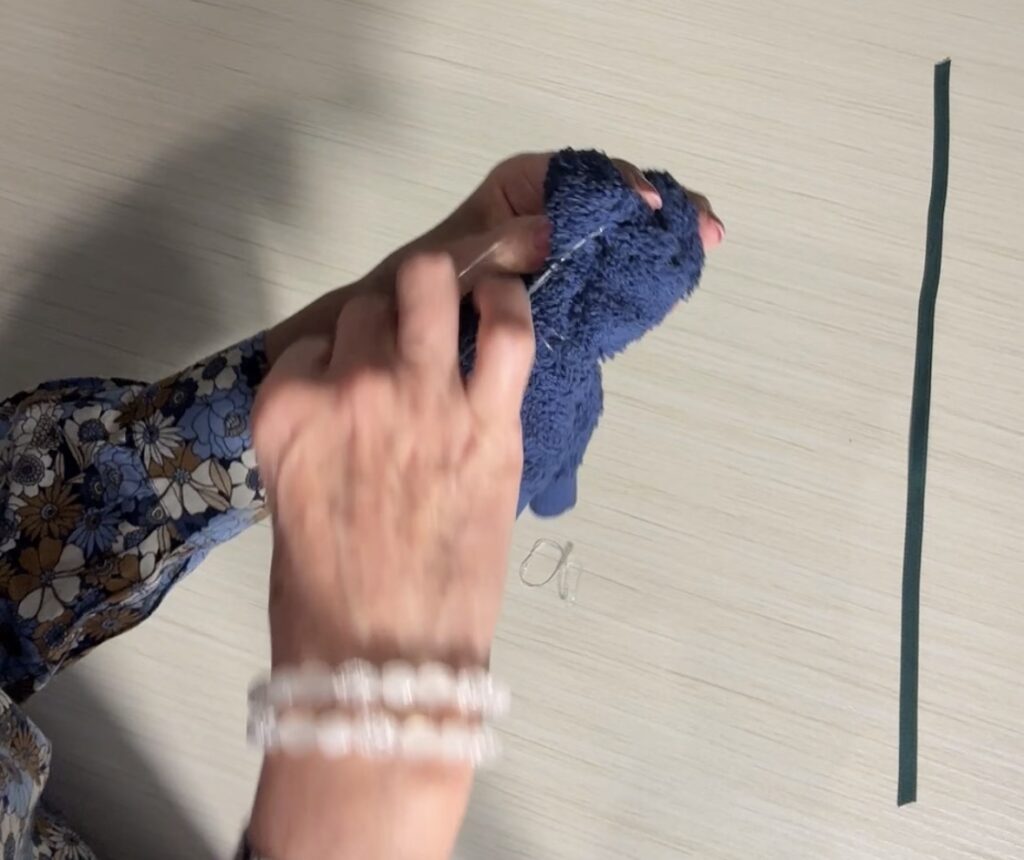
- Pinch two small sections at the top to form ears and secure each with a tiny rubber band.

- Tie a ribbon around the neck to hide the rubber band and add a finished look.
- Add a tag if you want to personalize it.
The entire process takes less than two minutes once you get the hang of it.
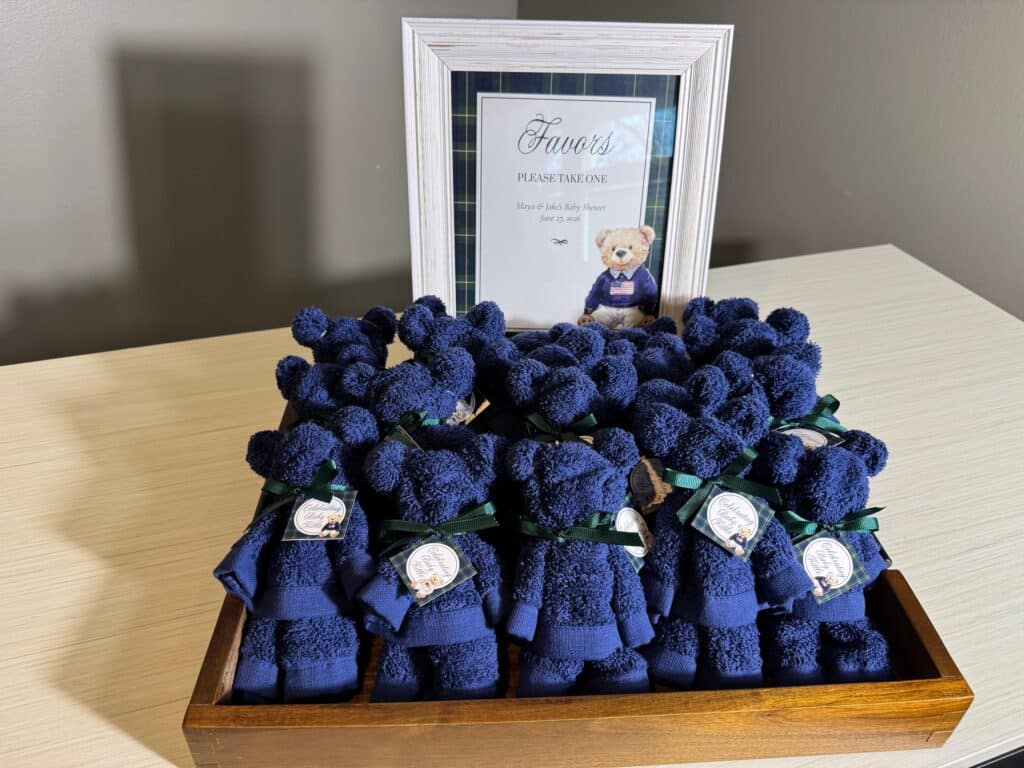
How to Style Washcloth Bears on a Favor Table
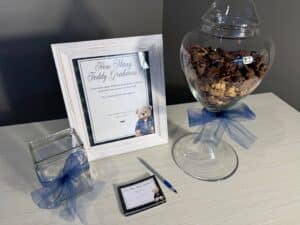
If you’re setting up a baby shower favor table, washcloth bears look especially charming when displayed in a basket. I styled mine in a shallow woven basket with a simple “Favors” sign propped behind them. The texture of the basket pairs beautifully with the soft washcloths, and the bears sit upright enough that guests can immediately see what they are.
A few styling ideas:
- Use a neutral basket for a classic teddy bear look.
- Add a small sign that matches your shower theme.
- Mix in a few greenery stems or soft florals for a polished touch.
- If your bears have tags, angle them forward so guests can read them easily.
This setup works especially well near the exit or next to your dessert table.
Place Setting Ideas
Another adorable option is to place a washcloth bear at each guest’s seat. They instantly elevate your tablescape and make every place setting feel thoughtful and personal.
Try placing them:
- On top of the napkin
- Leaning against the drinking glass
- Sitting on the plate with a small tag
- Next to a printed menu or name card
Because they’re soft and lightweight, they blend beautifully with disposable or formal place settings.
Other Ways to Use Washcloth Bears
If you want to go beyond favors, here are a few more ideas:
- Add one to a gift basket for the mom‑to‑be
- Use them as table décor around centerpieces
- Tuck one into a diaper cake
- Include them in kids’ party goodie bags
- Display them near your guestbook or welcome table
Final Thoughts
Washcloth bears are one of those rare DIY favors that check every box — adorable, affordable, practical, and surprisingly quick to make. Whether you display them in a basket on your favor table or place one at each guest’s seat, they add a soft, thoughtful touch that instantly elevates your baby shower or birthday party décor. With just a few simple supplies and a couple of minutes per bear, you can create a whole collection that feels custom, cohesive, and completely charming. It’s an easy project that delivers big visual impact, and your guests will love taking home a sweet little keepsake from your celebration.
See my We Can Bearly wait post for more ideas for decorating bear themed showers.