How to make a donut bar with donut bags
Donut bars are a big hit at parties right now, and adding personalized donut bags is a simple way to make your setup even cuter and more memorable.
Disclosure: This page may contain affiliate links. If you purchase through these links, I may earn a commission at no extra cost to you.
If you haven’t seen my donut bar post yet, you can see it here.
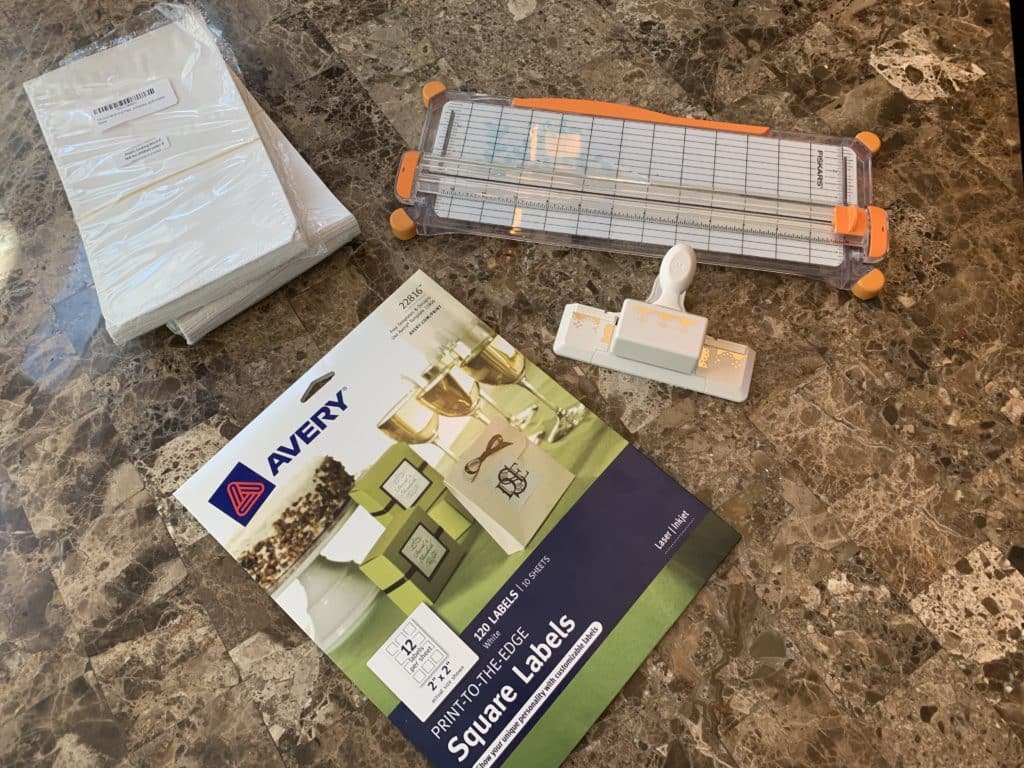
What You’ll Need to Make Donut Bags
- Donut bags – I got mine at Amazon for a great price.
- Avery labels – Several sizes work well. I used:
- 2×2 labels for some bags
- 2×4 labels for others
- Paper trimmer – To adjust the height of the bags.
- Border paper punch – Adds a decorative edge (here’s a similar one I used).
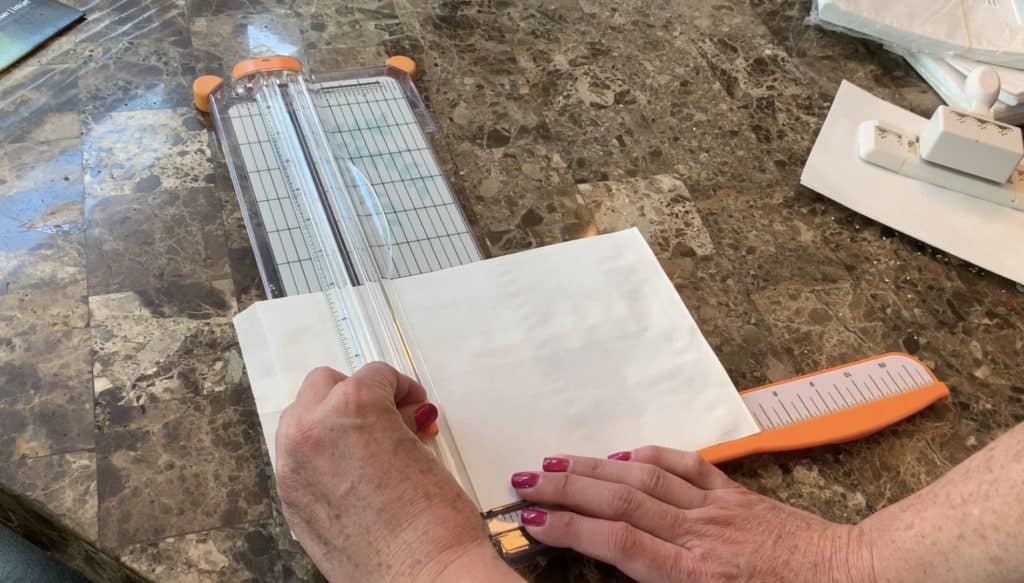
Step 1: Trim the Donut Bags
I used a paper trimmer to cut my 9-inch bags down to 7 inches. You can skip this if you like the original size, but I preferred a snugger fit for the donuts.
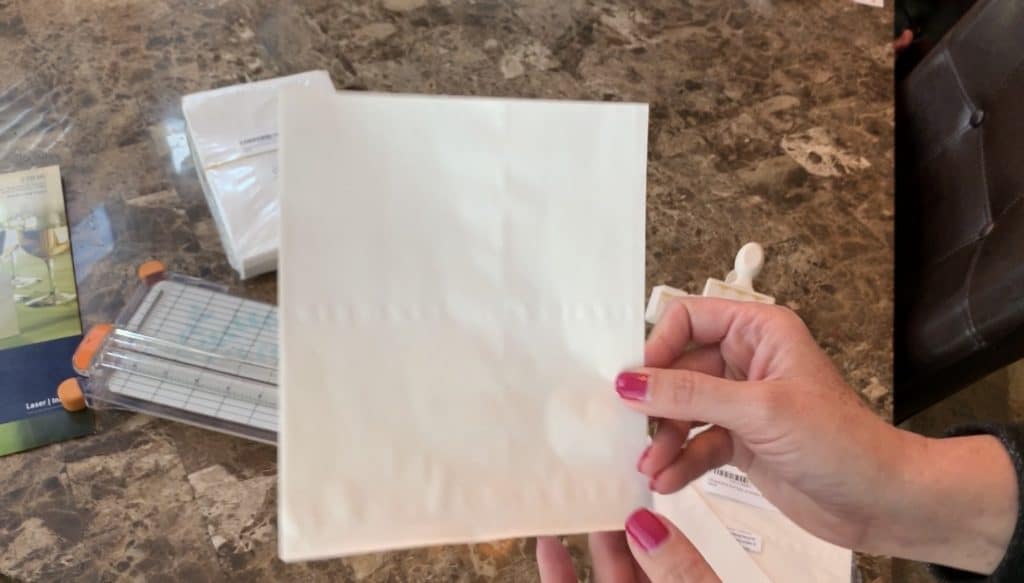
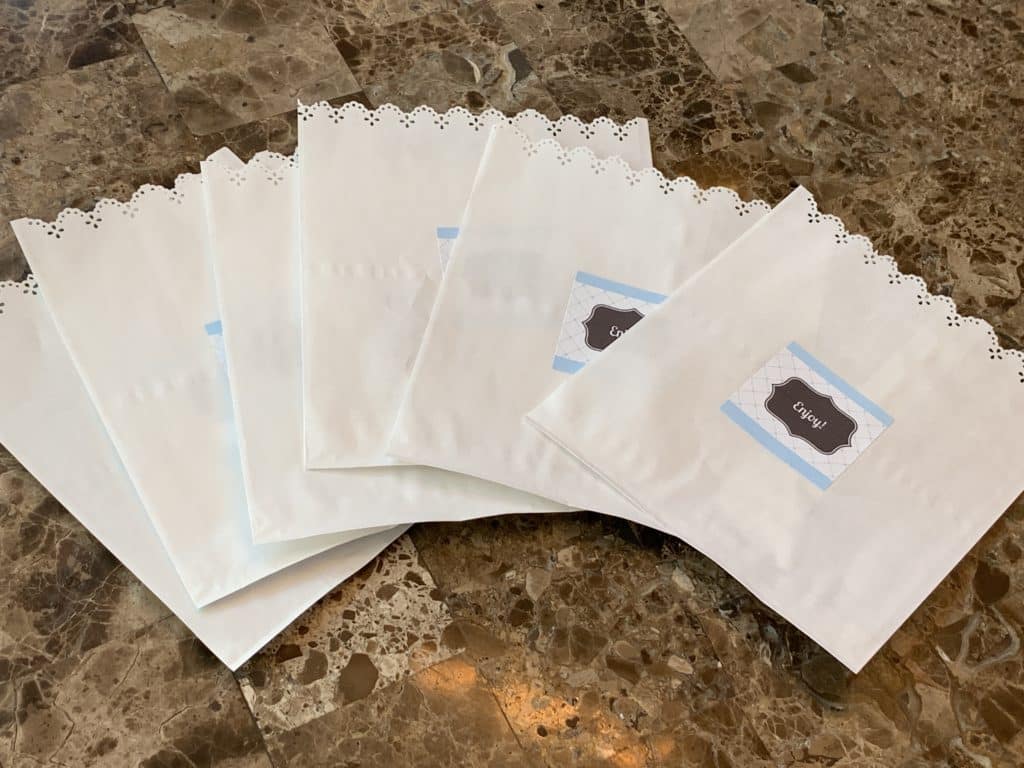
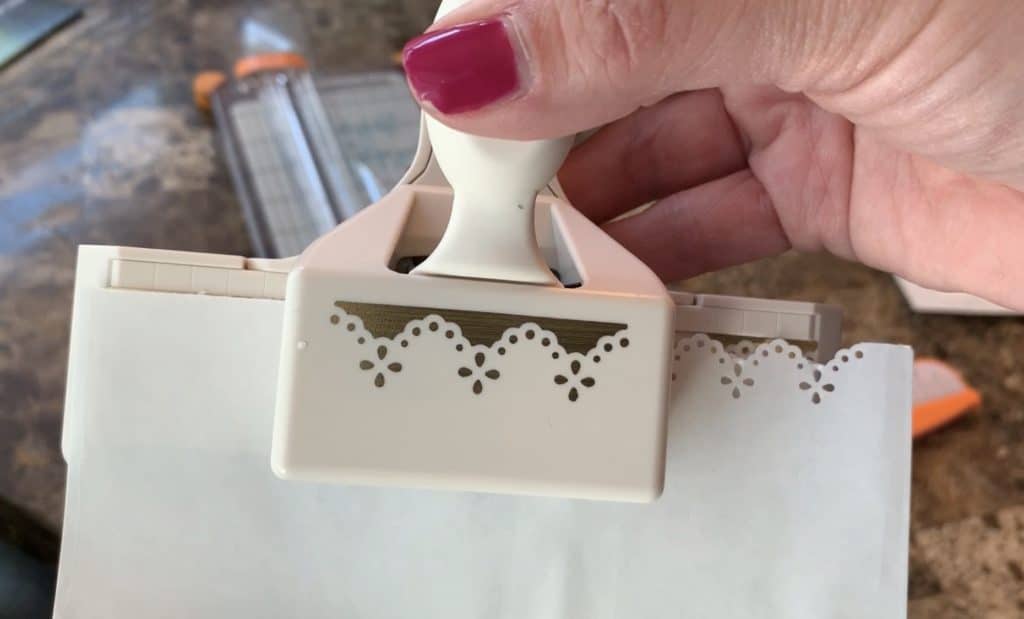
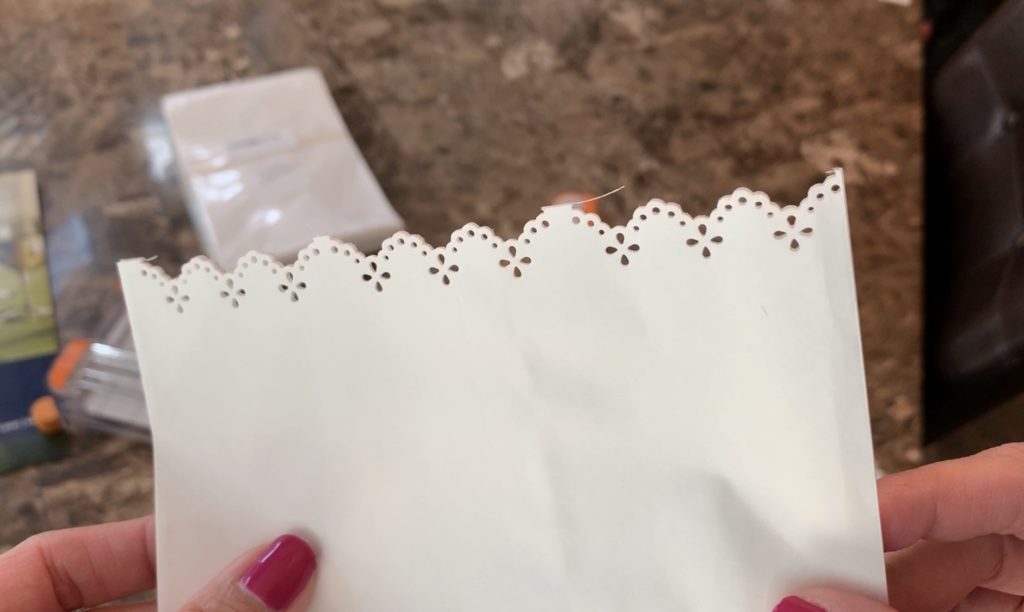
Step 2: Add a Decorative Edge
Using a border paper punch, I added a cute trim to the top of each bag.
Step 3: Design Your Avery Labels
Go to avery.com/print and enter the number from your Avery label packaging. Click Start Designing and browse through the templates.
You can:
- Change the text
- Adjust colors and fonts
- Add fun graphics
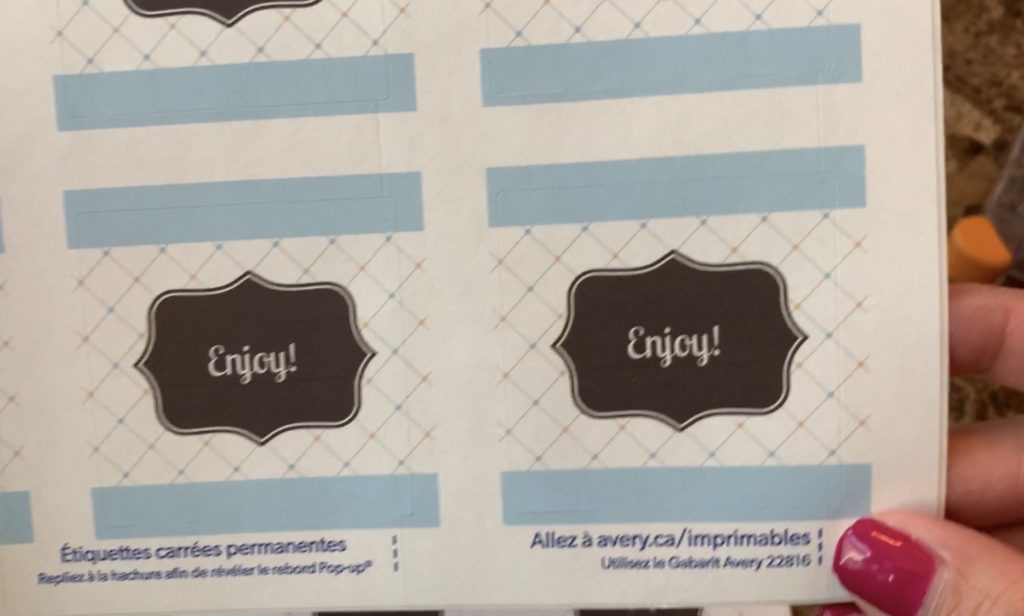
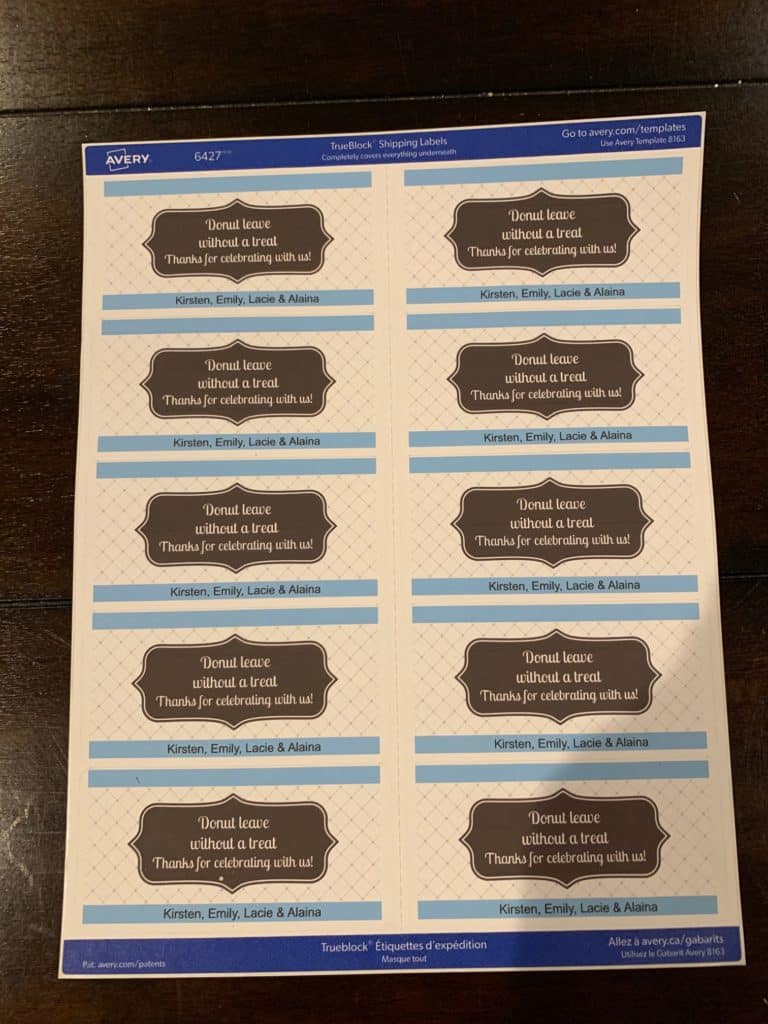
Here’s one of the templates I used.
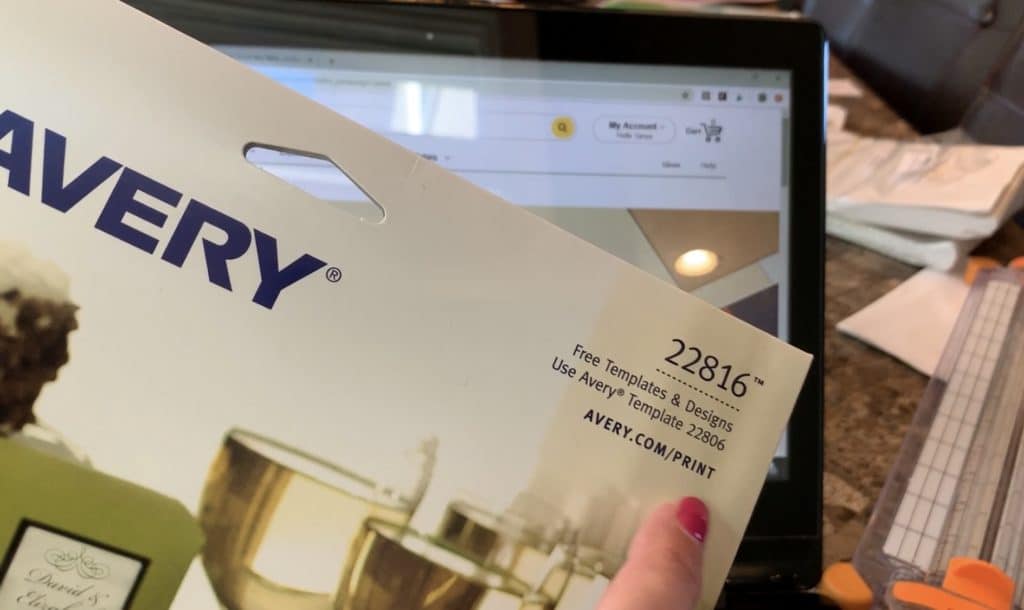
You simply type in the Avery label number shown on the packaging of your Avery labels
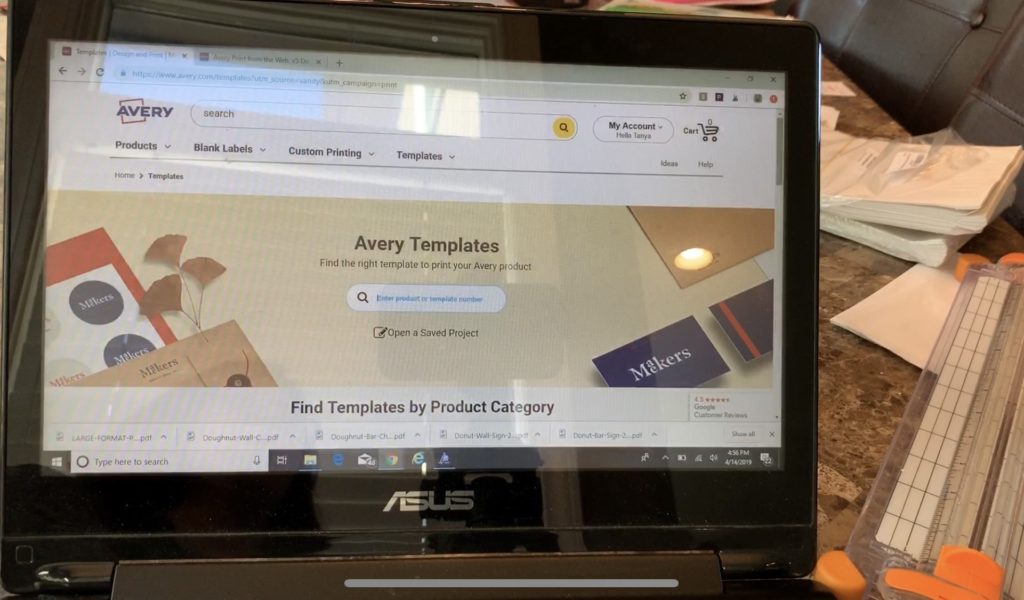
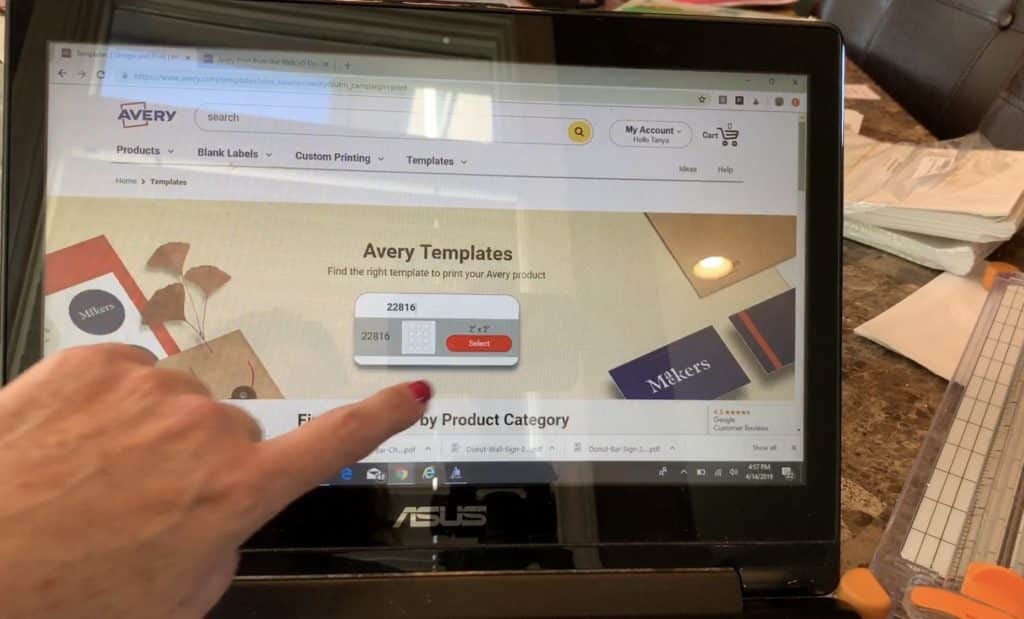
Select Start Designing.
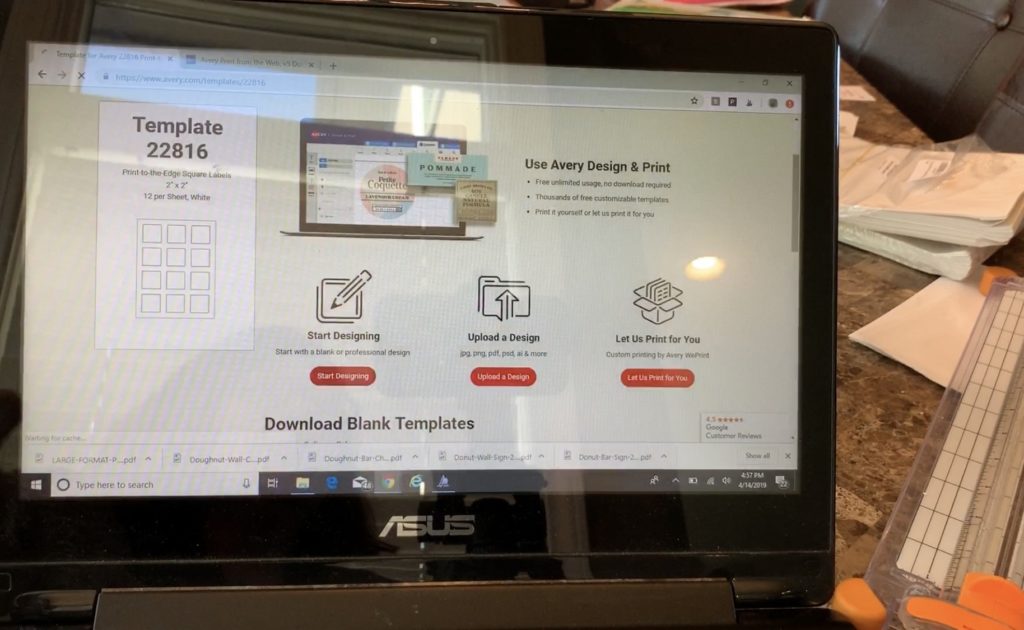
You’ll see dozens and dozen of designs you can pick from. And within the design you can modify the text and even change design aspects like colors.

This is one of the templates I chose.

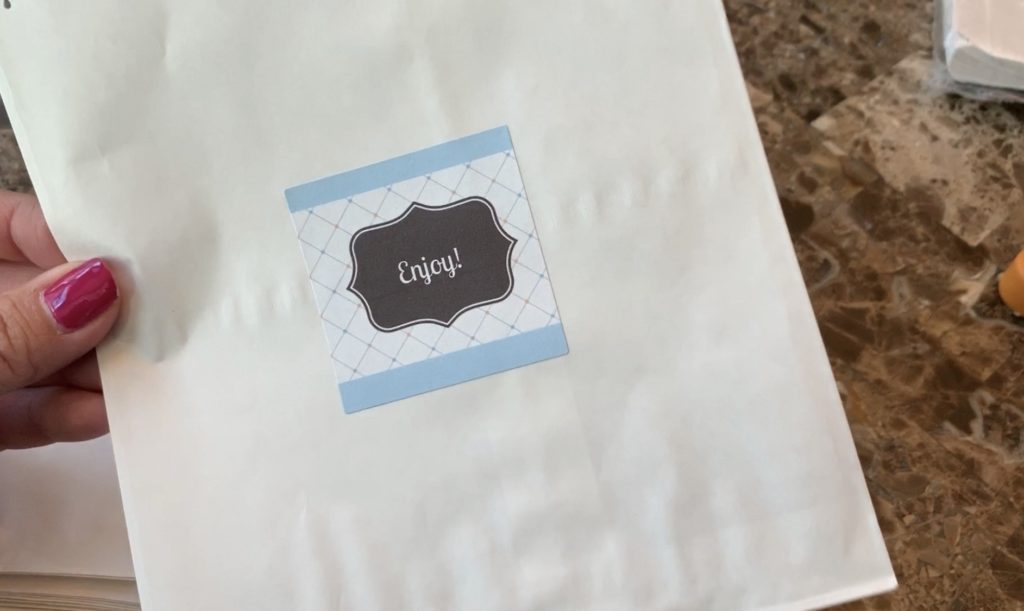
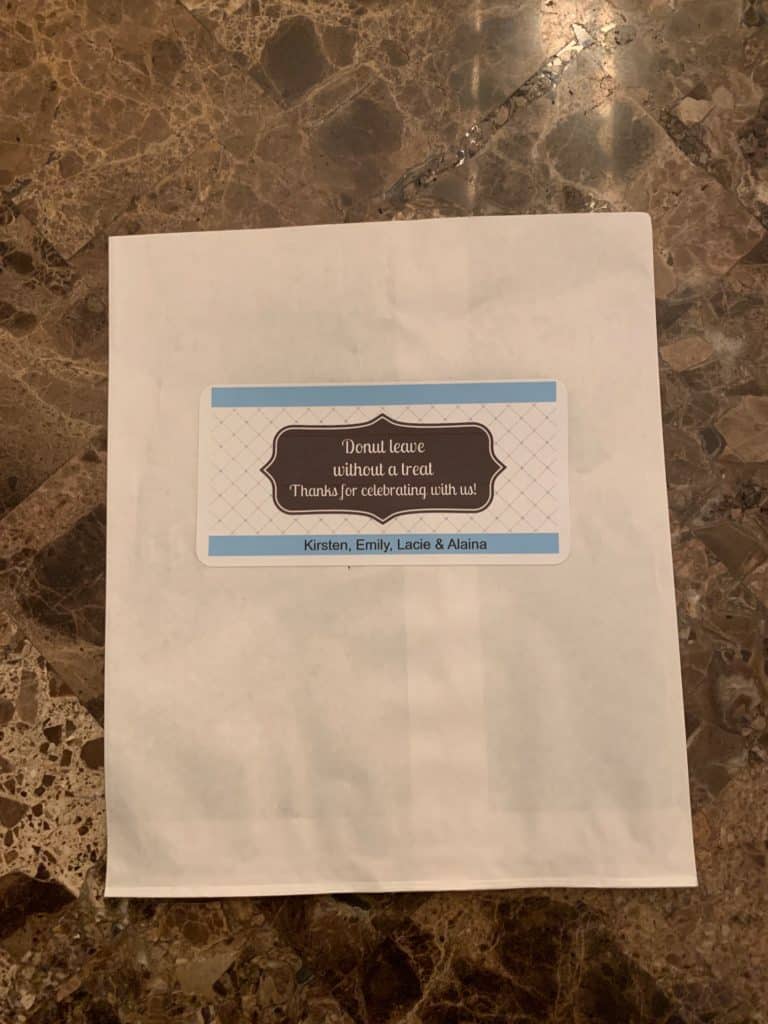
Step 4: Print & Apply Your Labels
Print the labels at home and stick them onto the bags. I made a few versions—some were more general, while others included the girls’ names to personalize them.
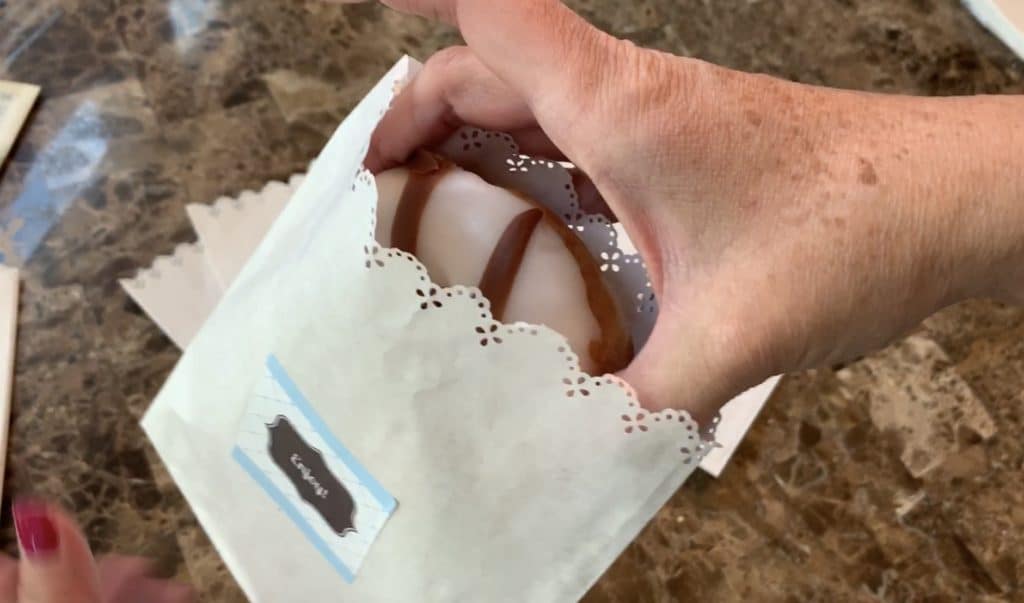
Step 5: Add the Donuts!
Slip a donut inside each bag, and you’re done! YUM.
Bonus: Watch the Project in Action
You can watch my full YouTube tutorial below 👇