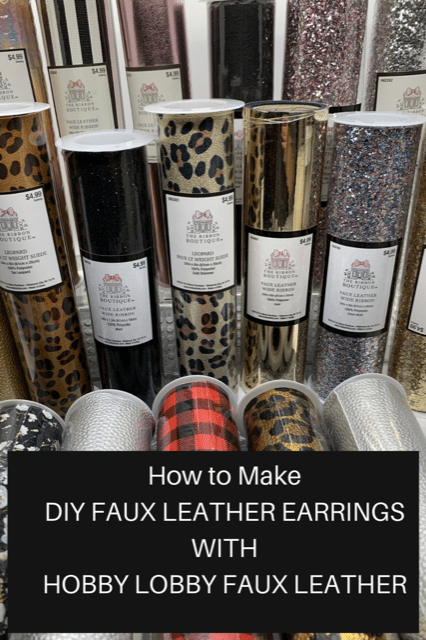
Hobby Lobby Faux Leather
If you love creating DIY faux leather earrings, Hobby Lobby’s faux leather ribbon is a fantastic material—but cutting it on a Cricut machine can sometimes be tricky. In this post, I’ll share my best tips and tricks for getting clean cuts, avoiding material mishaps, and making the most of your faux leather designs.
Disclosure: This page may contain affiliate links. If you purchase through these links, I may earn a commission at no extra cost to you.
While cutting genuine leather and faux leather with a Cricut is generally straightforward, Hobby Lobby’s faux leather ribbon presents unique challenges. After making countless earrings with this material (and experiencing a fair share of mistakes!), I’ve learned exactly how to adjust settings, secure materials, and refine techniques for perfect cuts every time.
Let’s dive into the details so you can create beautiful faux leather projects without frustration!
Key Tips for Cutting Hobby Lobby Faux Leather Ribbon on a Cricut
Cutting Hobby Lobby faux leather ribbon on a Cricut machine can be tricky due to variations in thickness, backing material, and texture. Here are the essential tips to ensure clean, precise cuts:
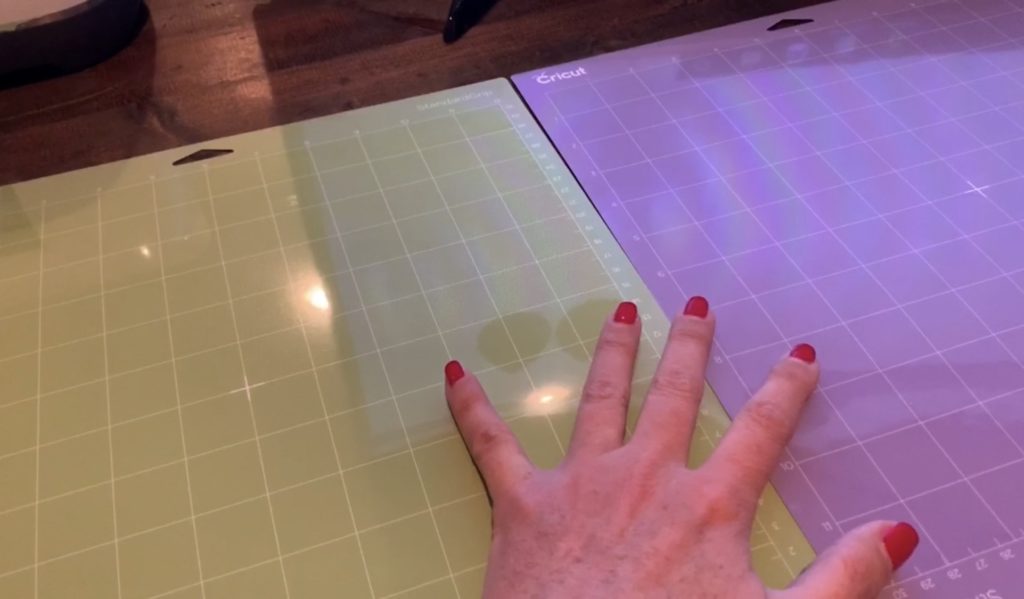
1. Use a Sticky Mat
- A Standard Grip (green) mat works best for Hobby Lobby faux leather.
- If your mat isn’t sticky enough, use transfer tape (sticky side up) to help hold the material in place.
2. Secure the Material Properly
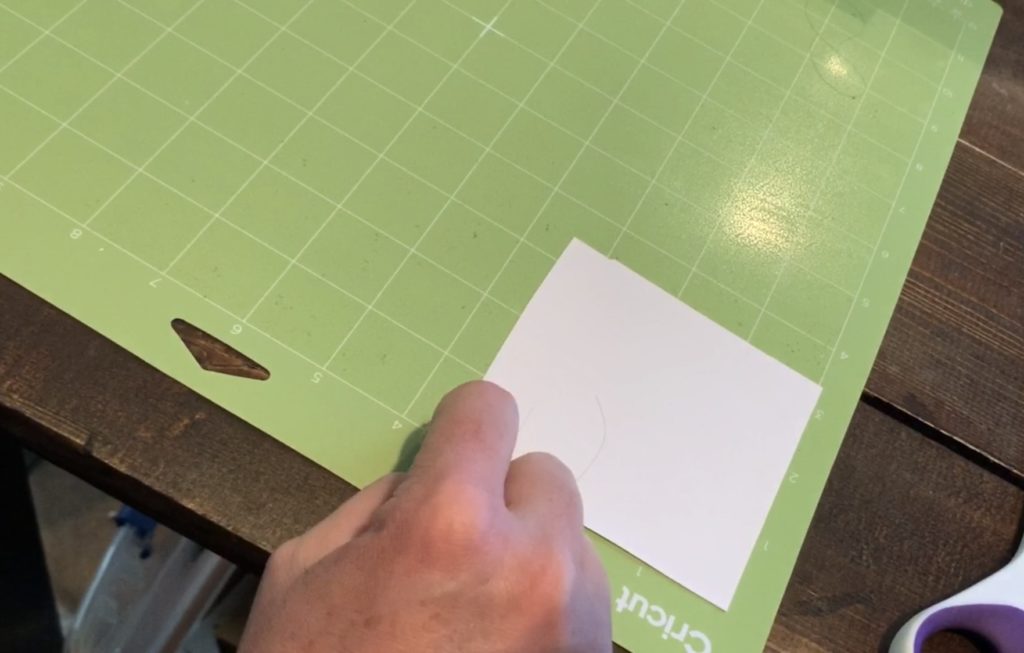
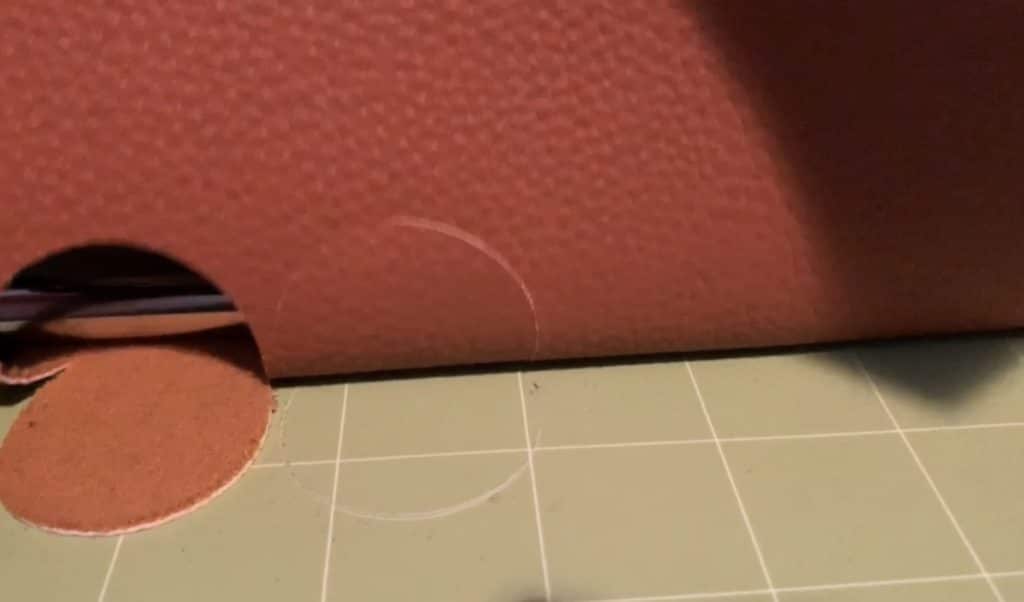
- Once the transfer tape is on the mat, place the faux leather good side down on the mat for cleaner cuts.
- Use painters tape or masking tape around the edges to prevent shifting.
- Hobby Lobby faux leather varies in thickness—some are paper-thin, while others are over 1mm thick.
- For thin materials, use the Faux Leather (Paper Thin) setting.
- For thicker materials, try the Shimmered Leather setting or a deep-cut blade if needed.
4. Handle Backing Variations
- Some faux leather has stretchy backing, which may lift during intricate cuts.
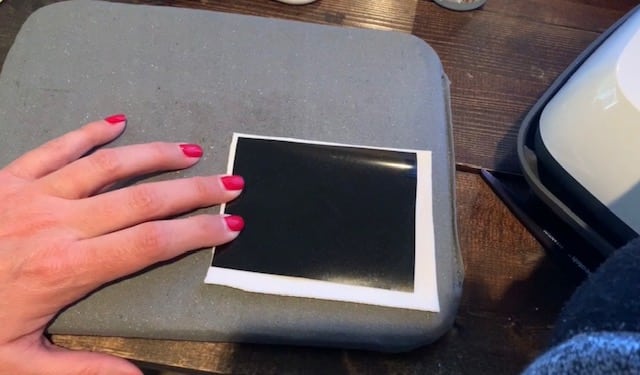
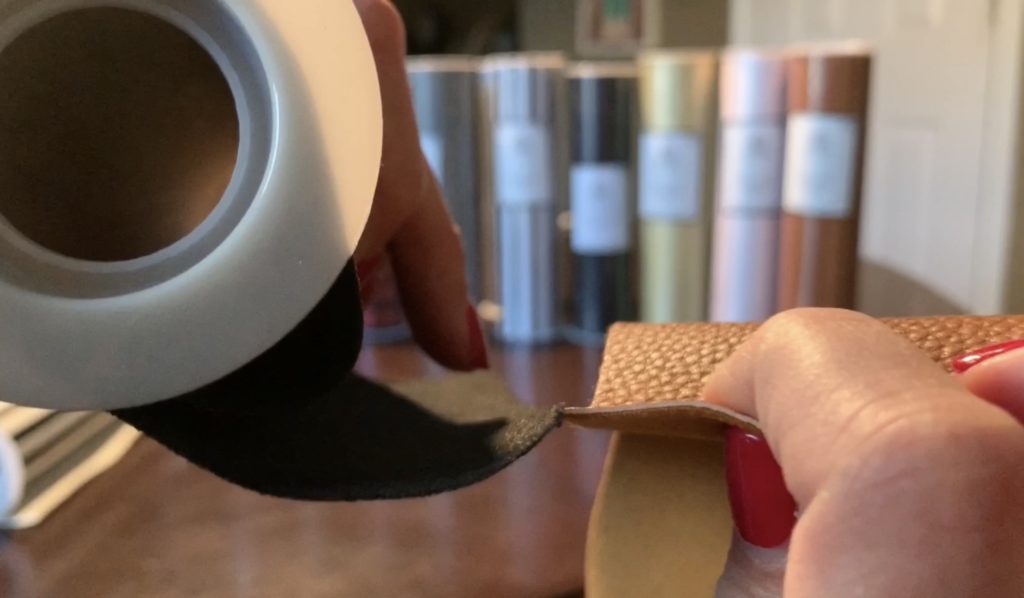
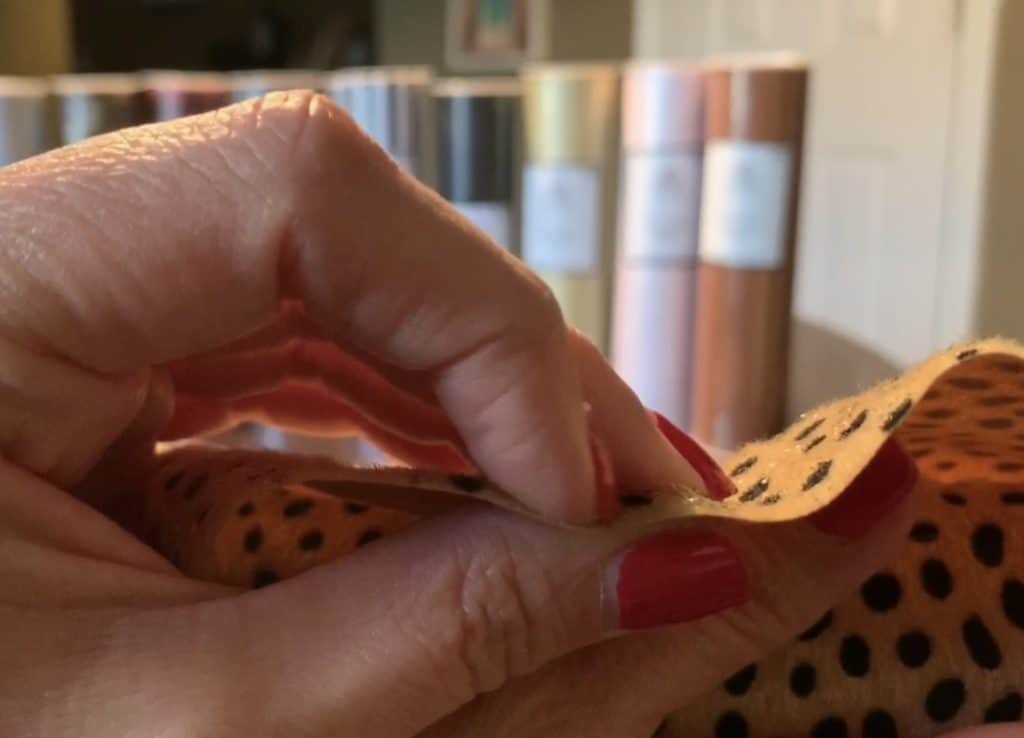
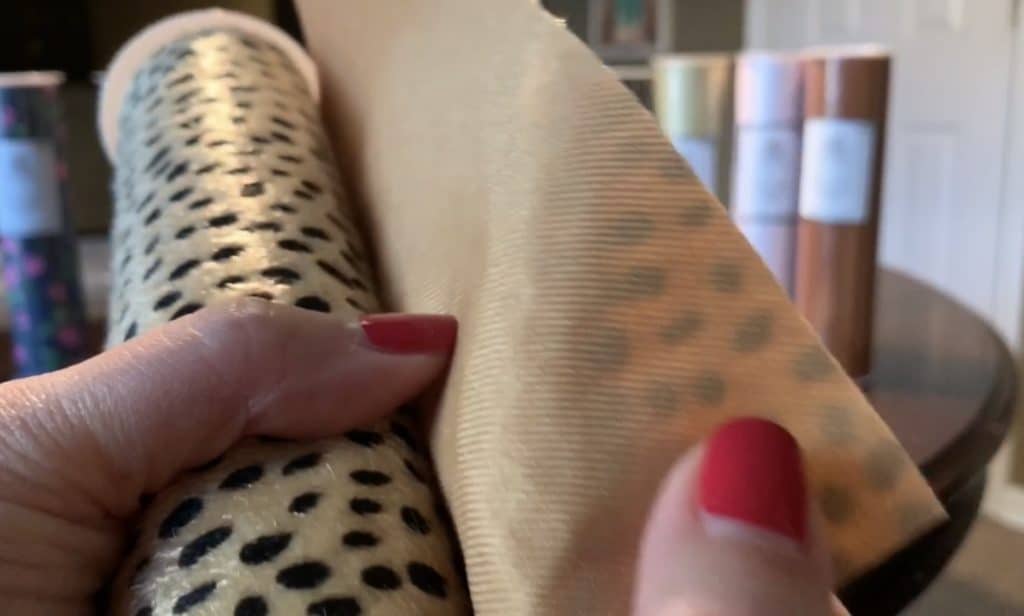
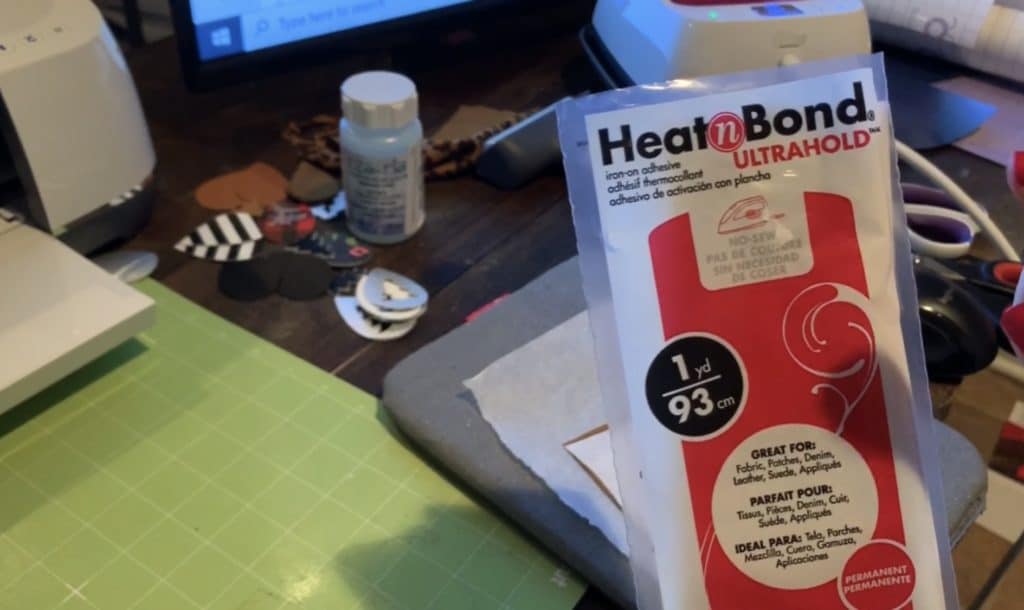
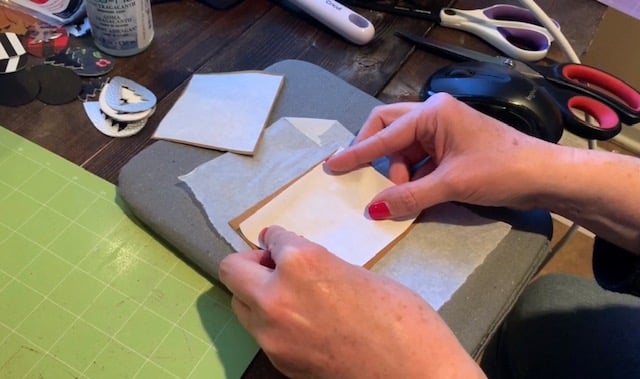
- If the backing is soft fleece, it may not cut cleanly—consider reinforcing it with HeatnBond Ultrahold or iron-on vinyl. In the images below, you’ll see vinyl being adhered to the back of a thin faux leather.
3. Adjust for Material Thickness
If you’re interested in learning how to use Heat and Bond, be sure to scroll down to learn more. It’s a great way to create a double-sided faux leather, creating a thicker/stronger material.
5. Use the Right Blade
- The fine-point blade is usually sufficient for cutting faux leather.
- If cutting double-sided faux leather, a deep-cut blade may be necessary.
6. Perform Multiple Passes
- Before ejecting the mat, check if the cut has gone through.
- If needed, press the Go button again to send the cut through another pass.
7. Optimize Cutting Placement
- Use the center of the mat for tricky materials—it’s often stickier and avoids interference from the white star wheels.
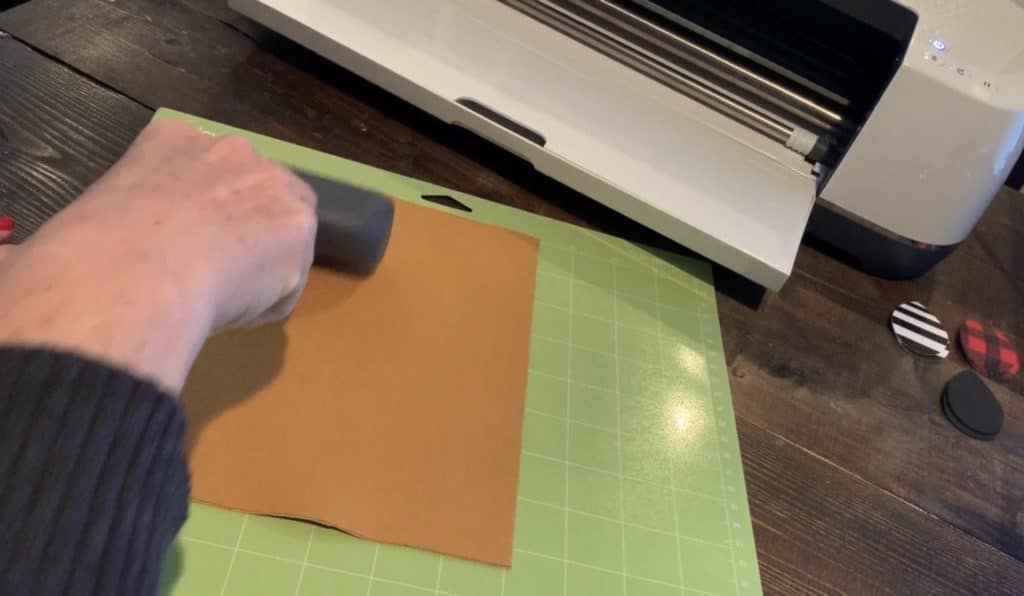
8. Press the Material Firmly
- Use a Cricut Brayer roller (or even a pizza roller!) to press the faux leather onto the mat for better adhesion.
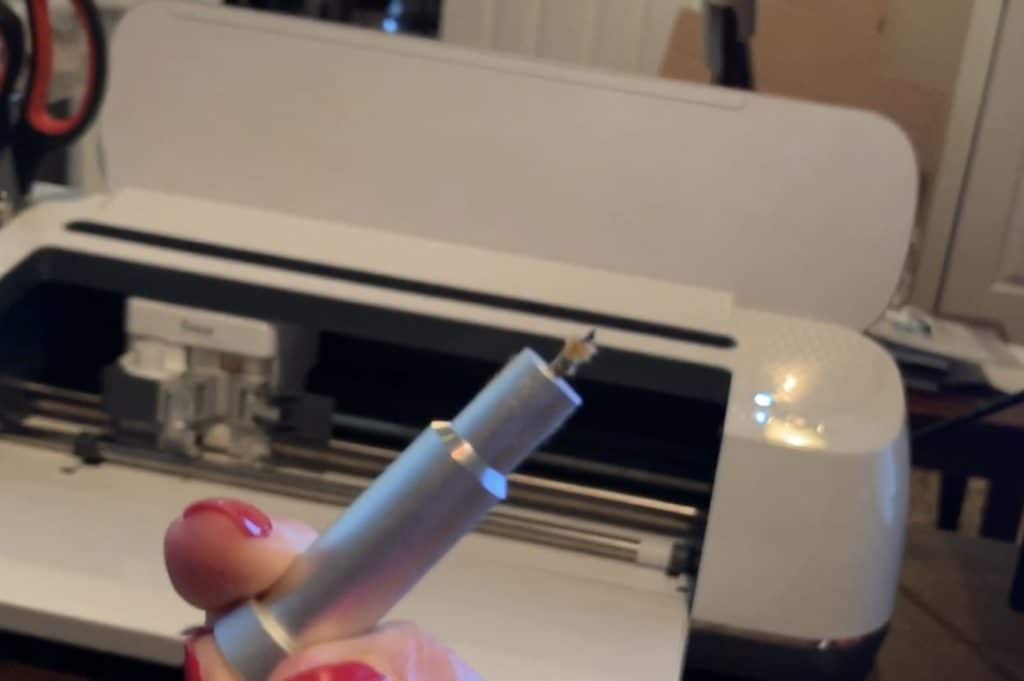
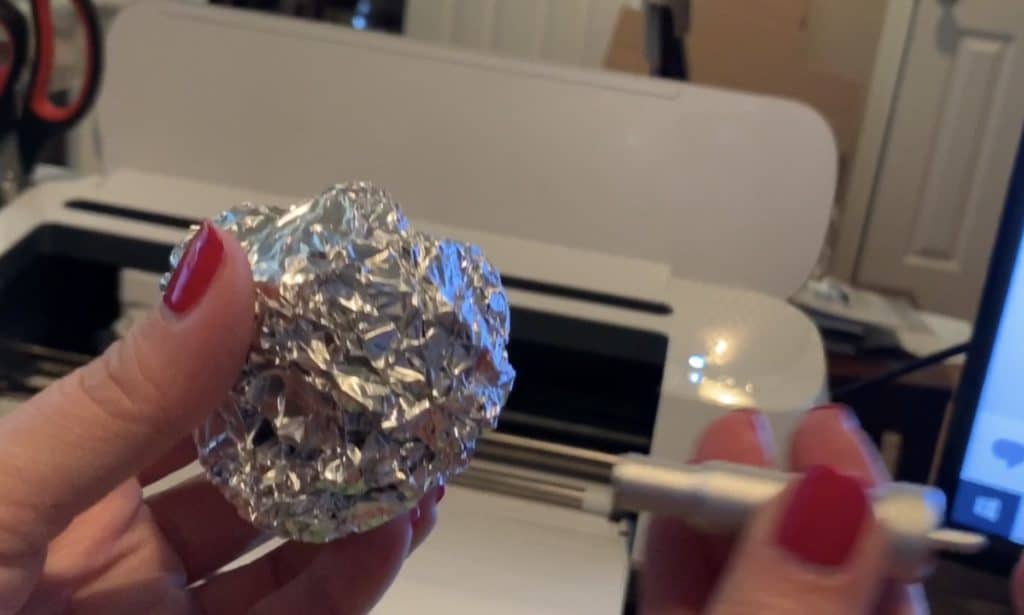
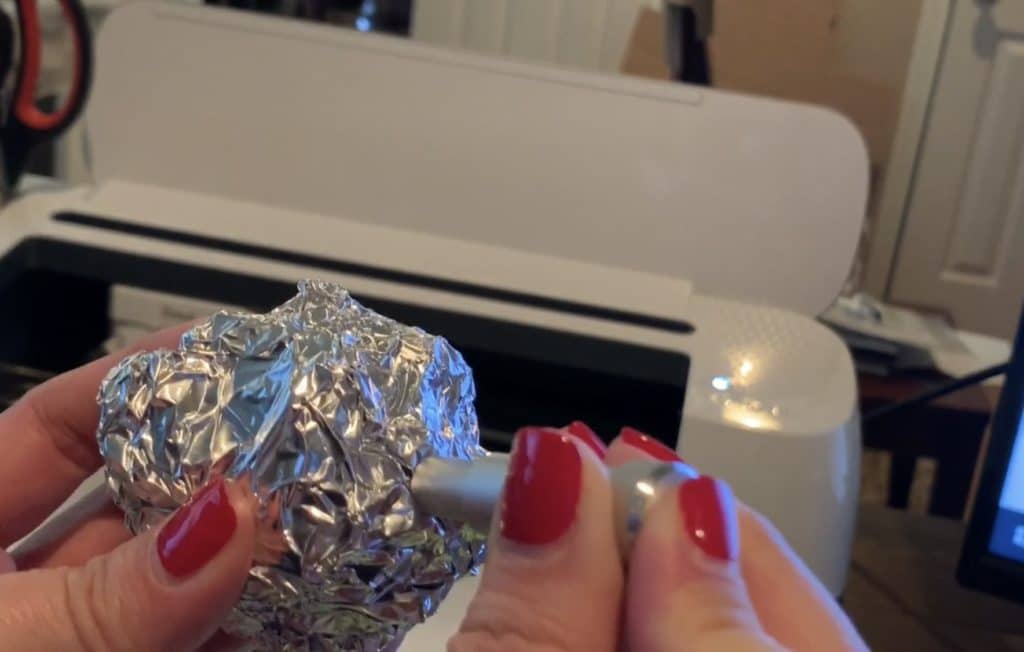
9. Keep Your Blade Clean
- Remove the blade and check for debris or fuzz—blow it off or poke it into tin foil to clean it.
10. Be Patient & Experiment
- Some Hobby Lobby faux leathers require trial and error to find the best settings.
- Start by cutting one earring at a time to minimize waste while testing settings.
These tips and tricks will help you achieve clean, precise cuts when working with Hobby Lobby faux leather ribbon on your Cricut! Let me know if you’d like any refinements.
Check out my favorite diy earring essentials here!
What I Love About Hobby Lobby Faux Leather Ribbon
There are so many reasons to love Hobby Lobby faux leather ribbon, especially for DIY earring projects! Here are the top highlights:
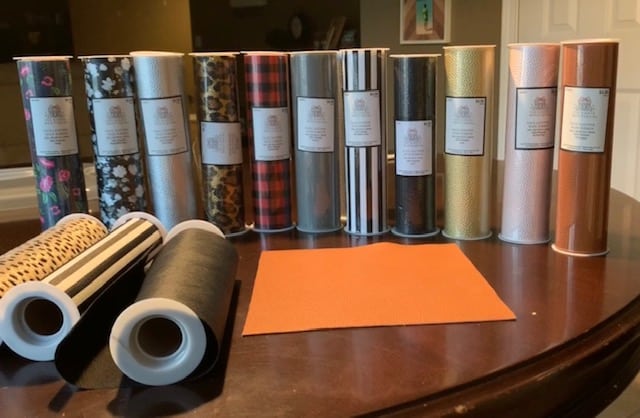
1. Affordable Pricing
- Each roll is normally $4.99, but Hobby Lobby frequently offers 50% off sales, making it just $2.50 per roll.
- The ribbon measures 8 inches wide × 24 inches long, giving you twice as much material compared to standard faux leather sheets.
- You can make up to 55 single-sided earrings from one spool—perfect for bulk crafting!
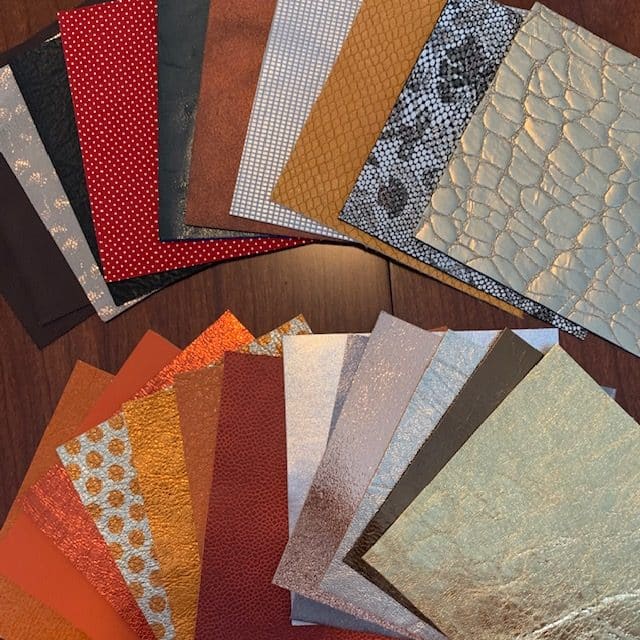
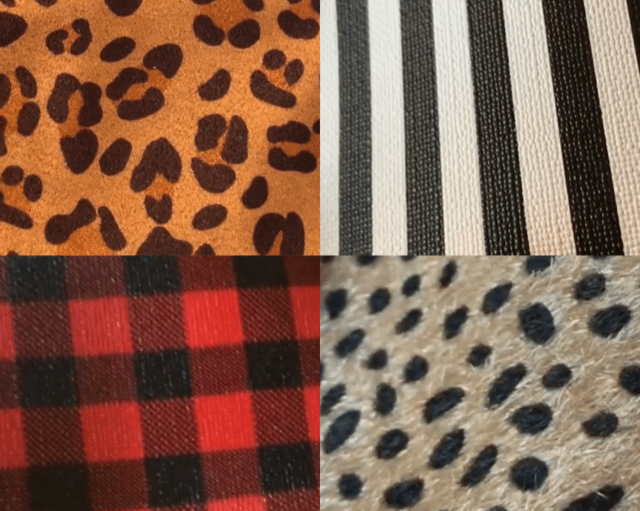
2. Trendy Designs
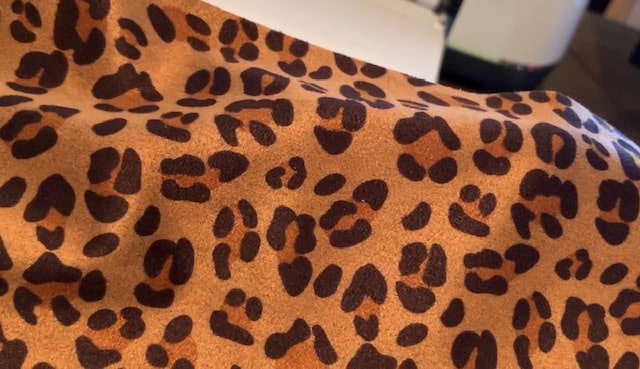
- Hobby Lobby offers a wide variety of patterns, including cheetah print, floral designs, and buffalo plaid.
- The Ribbon Boutique lineup features on-trend styles, plus a great selection of solid colors like black, silver, and gold.
3. Easy Accessibility
- While Etsy and Amazon have amazing faux leather options, sometimes you need materials right away.
- Hobby Lobby is just a quick drive away, making it a convenient option for last-minute projects.
- If you’re looking for unique faux leather, check out my favorite Etsy shops:
- Pink Antler Art
- Fabric Folding Beans and Peanuts
- Frog Jelly Leather
4. Fun Material Options
- Hobby Lobby carries glitter faux leather, available in fine and chunky glitter styles—perfect for statement earrings.
- They also offer faux fur cheetah material, adding a bold, textured look to DIY projects.
In case you’re interested, my favorite etsy shops for faux leathers are listed below:
Why Cutting Hobby Lobby Faux Leather Ribbon Can Be Challenging
While Hobby Lobby faux leather ribbon is a fantastic material for DIY projects, cutting it with a Cricut machine can sometimes be tricky due to material inconsistencies. Here are the most common challenges and how to overcome them:
1. Inconsistent Material Thickness
- Some designs are paper-thin, while others are over 1mm thick.
- Thicker materials (like solid color pebbled faux leather) may require a deep-cut blade for clean cuts.
- Thinner materials may work best with the Faux Leather (Paper Thin) setting
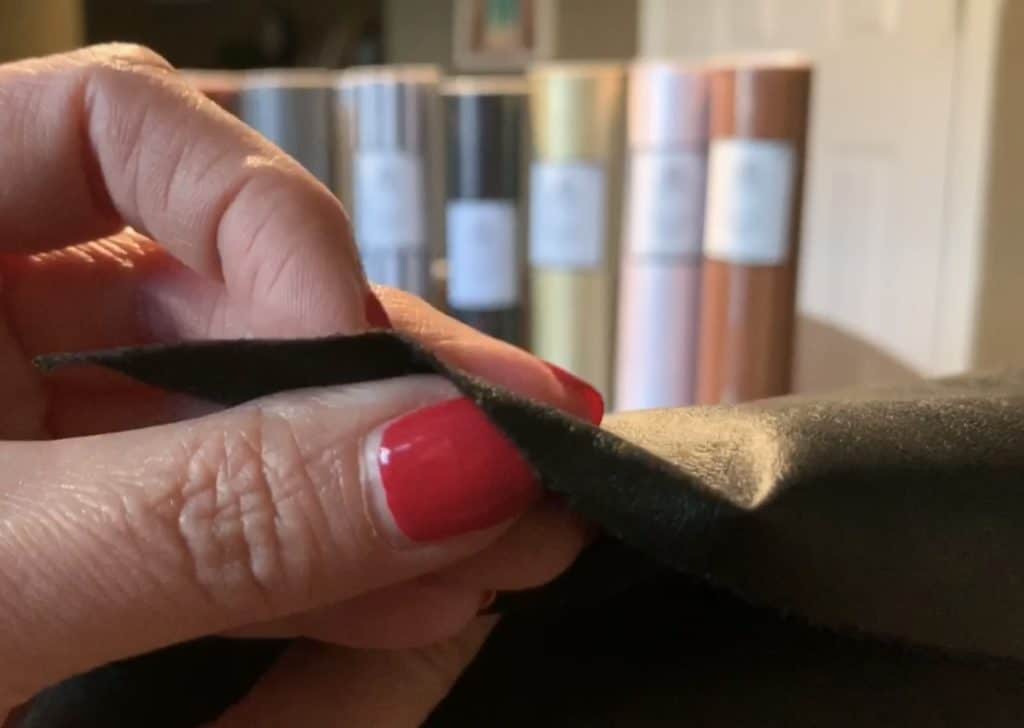
Below is a thicker pebbled leather (silver).
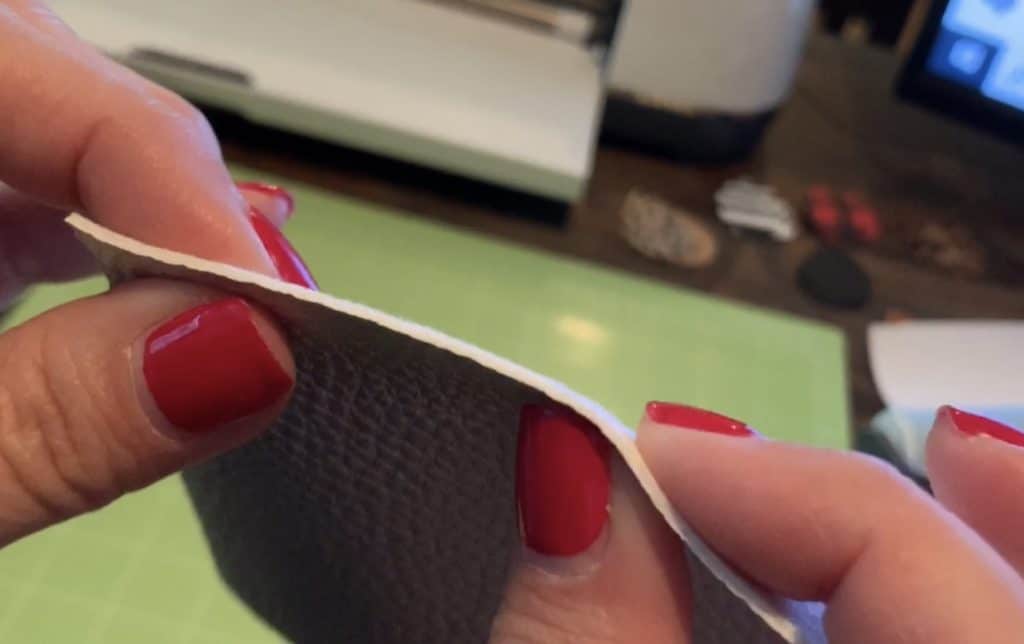
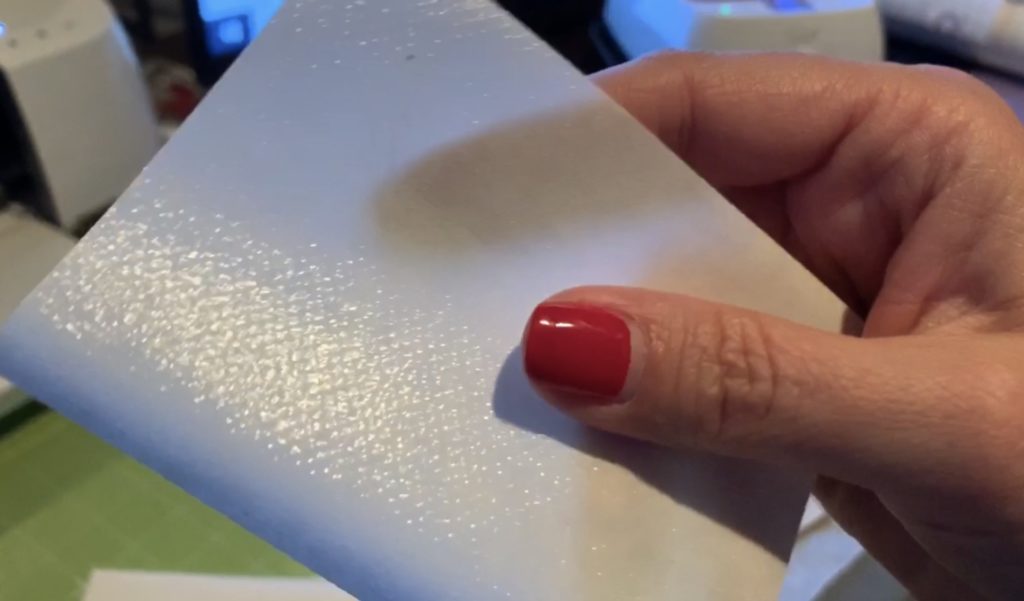
The solid black faux leather shown below is super thin!
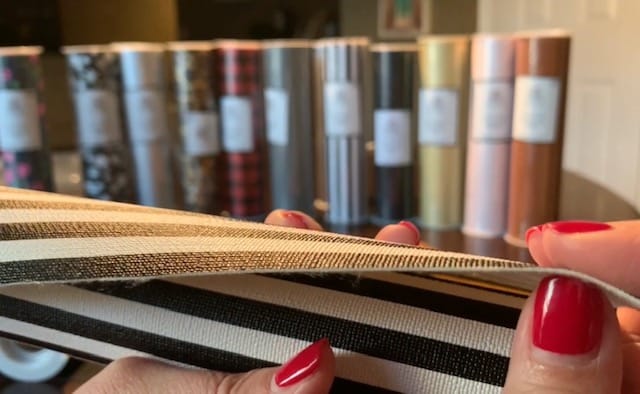
Variations in Backing Material
- Some faux leather has stretchy backing, which can lift off the mat during intricate cuts.
- Fleece-backed faux leather may not cut cleanly—reinforcing it with HeatnBond Ultrahold or iron-on vinyl can help.
- Harder, plastic-like backing tends to cut more easily.

3. Material Differences
- Some faux leather feels more like fabric, while others have a plastic texture.
- Faux fur faux leather is completely different and requires unique cutting techniques.

4. Troubleshooting Tips
- Use a sticky mat to hold the material firmly in place.
- Apply transfer tape (sticky side up) to help secure thinner materials.
- Press the material firmly onto the mat using a Cricut Brayer roller.
- Check the blade for debris—clean it by poking it into tin foil if needed.
- Run multiple passes before ejecting the mat to ensure a complete cut.
These challenges can be frustrating, but with the right techniques and adjustments, you can achieve clean, precise cuts for your DIY projects!
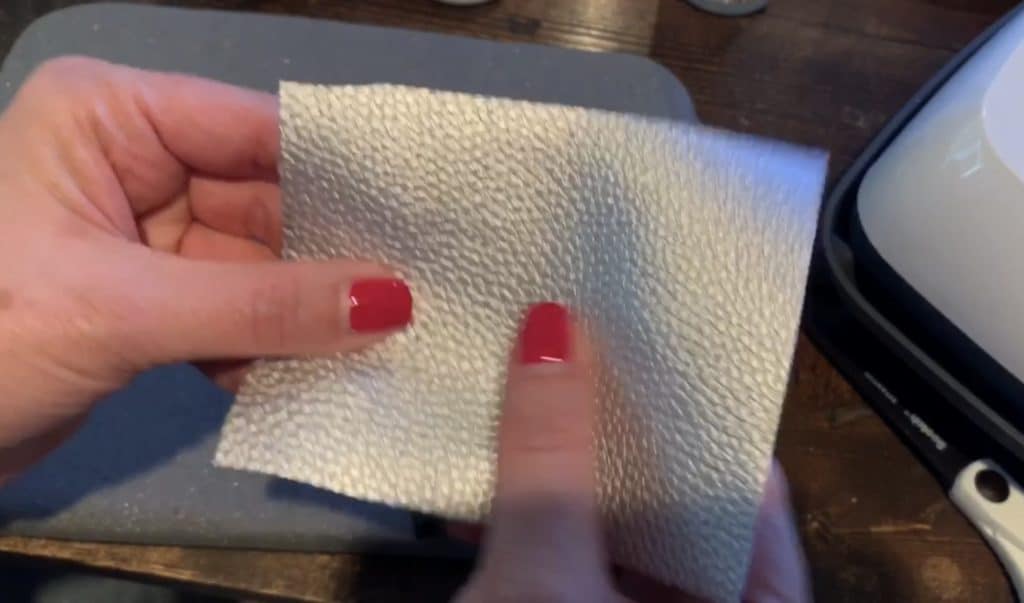
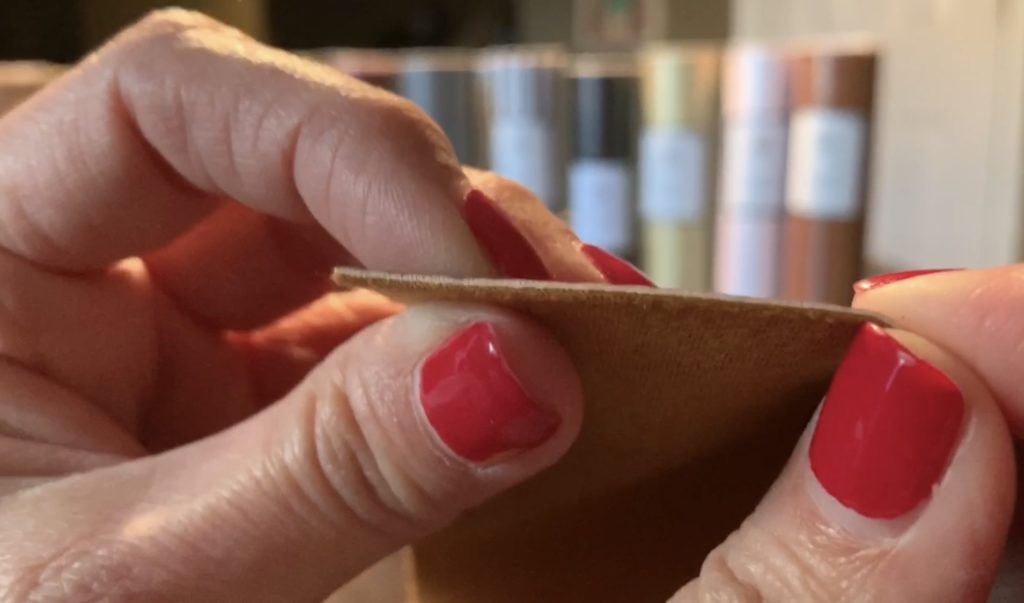
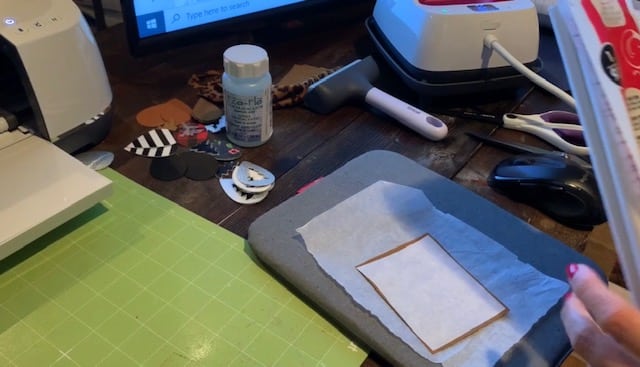
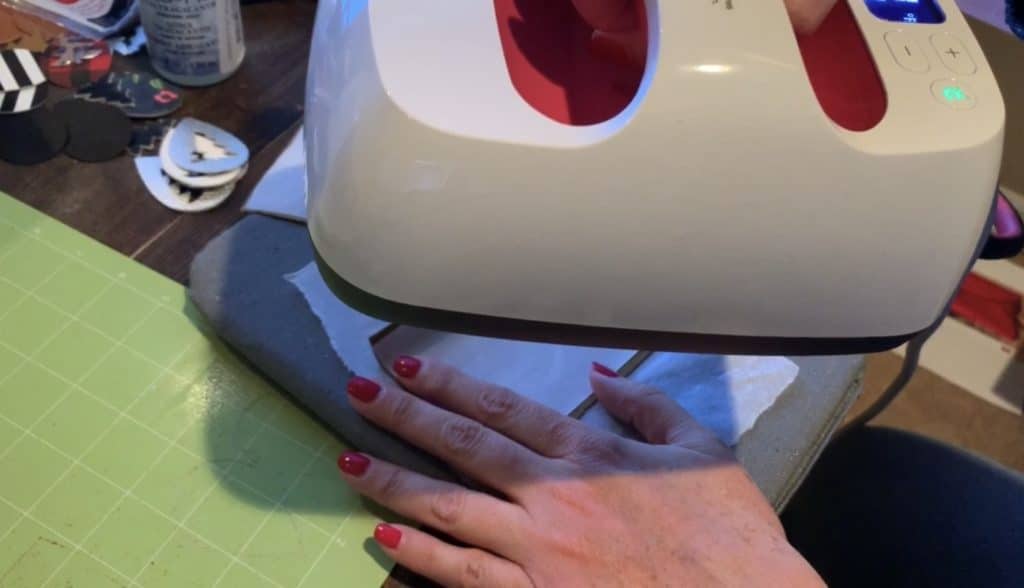
Using Heat n Bond
I love to use HeatnBond Ultrahold to create a more durable faux leather. I iron it onto the back of the faux leather and the material typically cuts much nicer for me. You can see me do this in the YouTube video linked above.
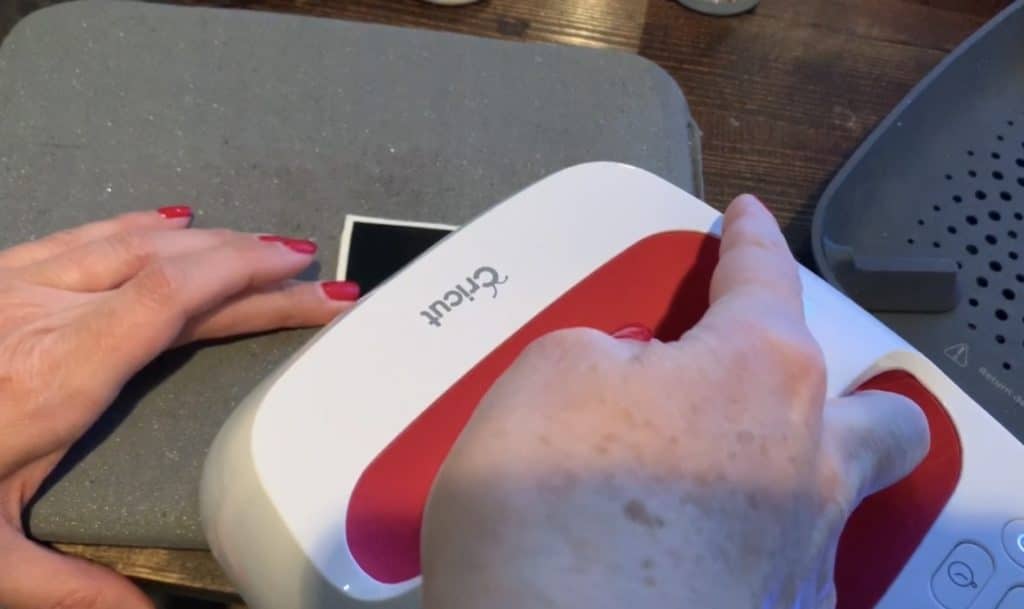
Place the side with the texture (shown below) against the back side of the fabric and then use the heat press (or an iron).
My Favorite Cricut Machine Options


Cutting Tool and Accessory Essentials


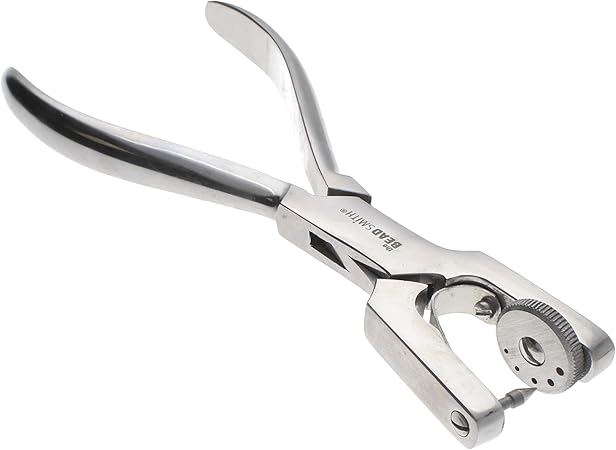
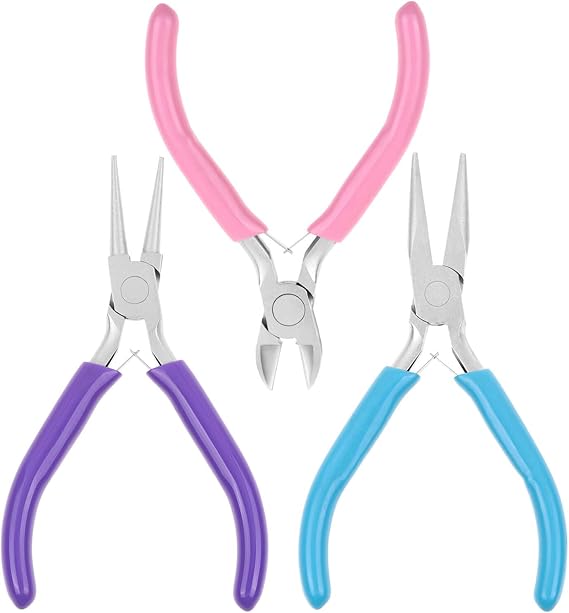
Must Have Earring Tools


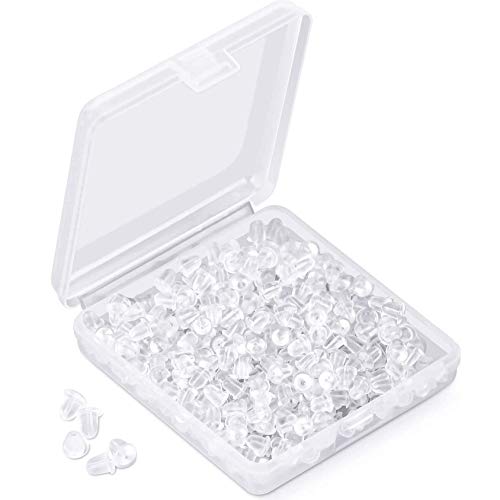
Must-Have Earring Findings

Heat Press Essentials


Heat Transfer Vinyl
I used to only purchase Cricut brand HTV; however, the colors are very limited. I know enjoy the large range of HTV colors available on Amazon. Check them out here.
Check out these other DIY earrings below.
St. Patrick’s Day Earrings
Valentine’s Day Earrings
- 40 Great Valentine’s Day DIY Earrings
- LOVE Leather Earrings DIY
- Valentine’s Day earrings DIY (heart shape)
- Heart Earrings DIY (Iron On)
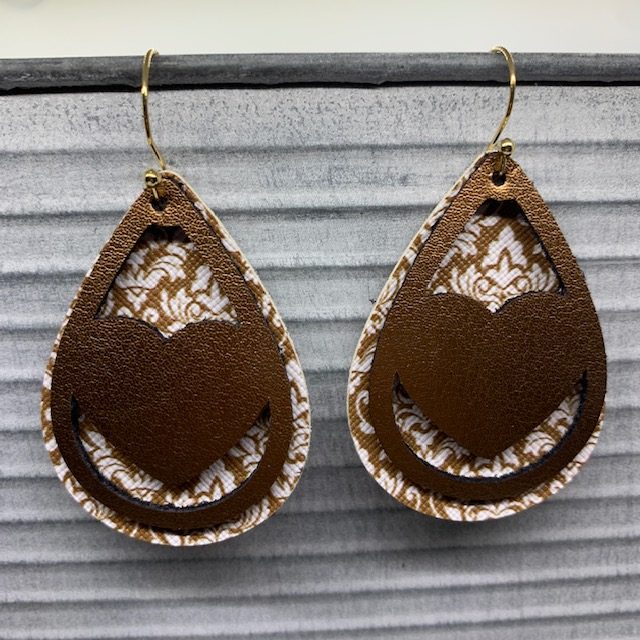
- Leather Heart Earrings DIY (with heart cutout)
- DIY Valentine’s Day Earrings
Everyday Earrings
These can be seasonalized as well with designs and colors:
- How to Emboss Leather Earrings
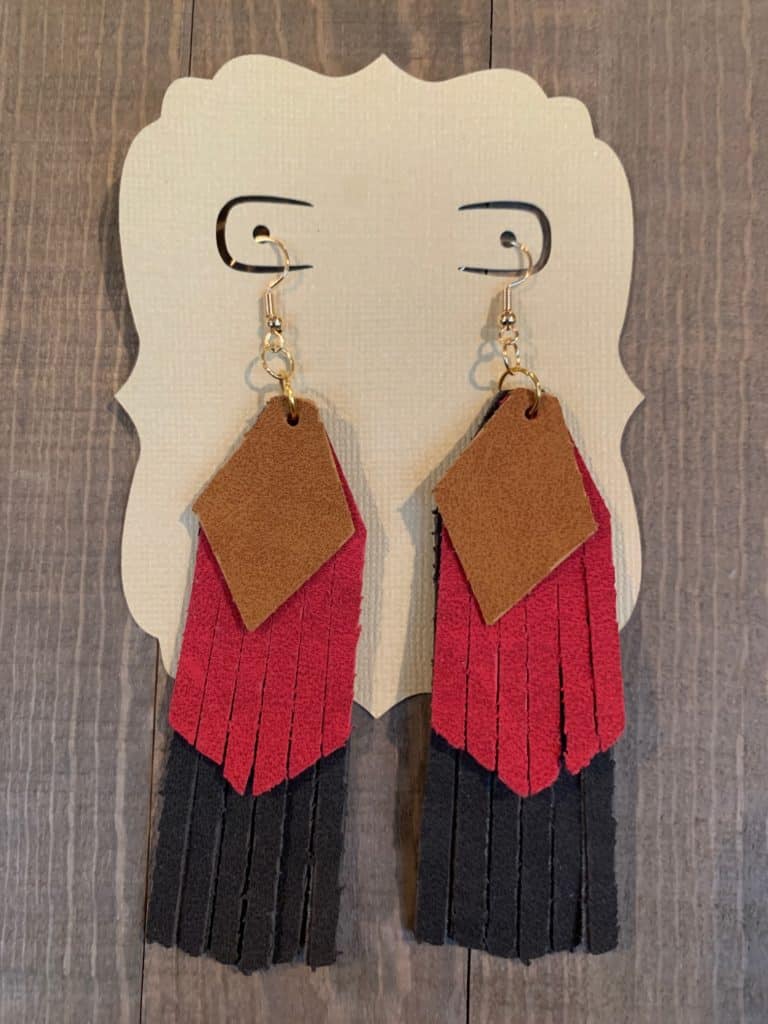
- DIY Angled Fringe Earrings
- Leather Circle Earrings
- DIY Fringe Leaf-Shaped Earrings
- Cross leather earrings
- FRI-YAY Leather Earring DIY
- Leather Bar Earrings DIY (with metal charm)
- How to Make Genuine Leather Earrings
- Statement Earrings
- Teardrop Cork Earrings
- Hollow Faux Leather Earrings – Teardrop and Leaf Shaped
- Faux Leather Bar Earrings
- Cork Sheets Haul: For DIY Cork Earrings – Great Designs!
- Faux Leather Tall Stacked Earrings
- Split Teardrop Faux Leather Earrings
- Faux Leather Stacked Marquise Earrings
- Football and Soccer Earrings
- Faux Leather earrings with fringe
- Stacked, wavy earrings – KSU
- Faux leather leaf cutout earrings
- Leather Teardrop Earrings
- Faux Leather Leaf Earrings
Winter-Themed Earrings
Christmas-Themed Earrings: