DIY Tall Stacked Earrings
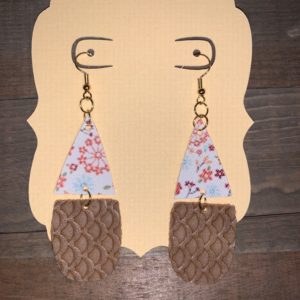
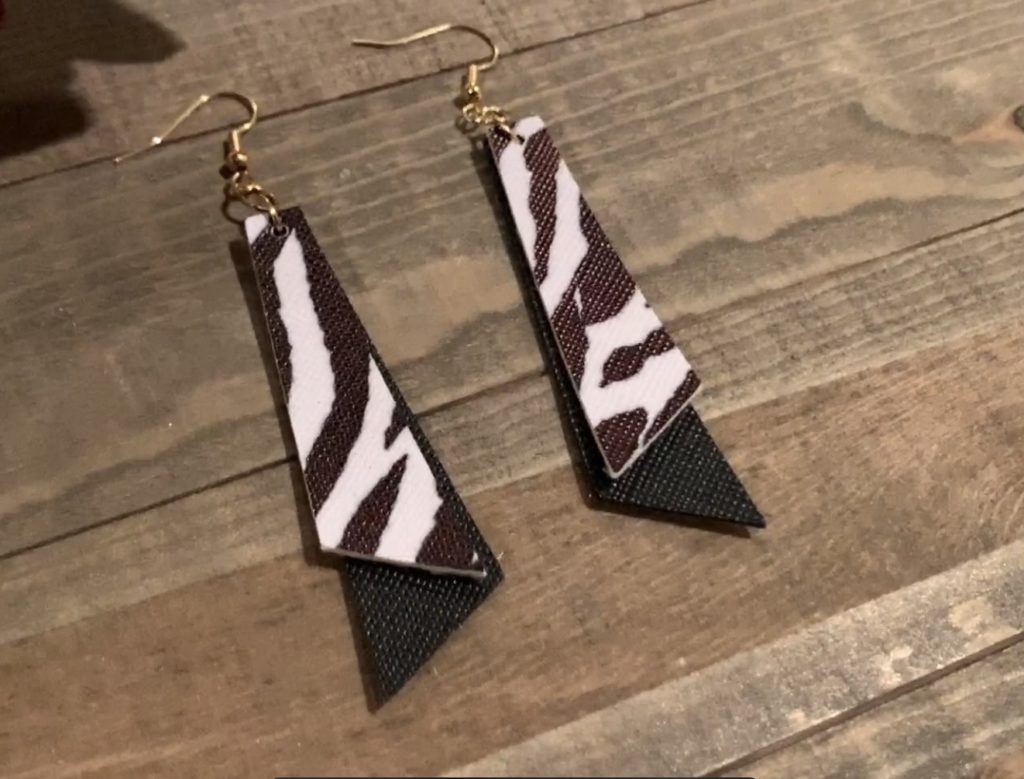
These tall stacked faux leather earrings can easily be made on a Cricut machine and feature two layers.
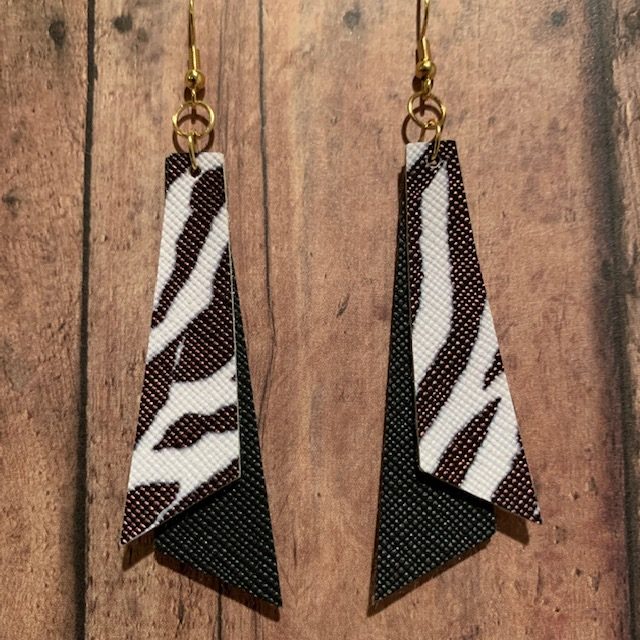
This post features design 1 of 4 tall stacked earring designs; watch for the others in the future. I made several pair of these DIY tall stacked earrings with faux leather and have included photos below.
Disclosure: This page may contain affiliate links. If you purchase through these links, I may earn a commission at no extra cost to you.
Check out my favorite diy earring essentials list on my Amazon storefront here!
Check out my favorite diy earring materials list on my Amazon storefront here!
Details for making these DIY tall stacked earrings can be seen in my YouTube video below.

- Black and white striped faux leather, purchased from etsy
- Red textured faux leather, purchased from etsy
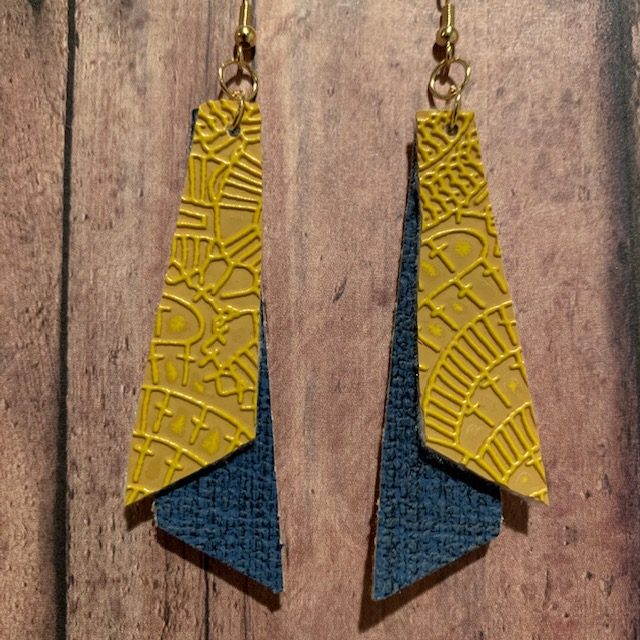
- yellow textured faux leather, purchased from etsy
- blue textured faux leather, purchased from etsy
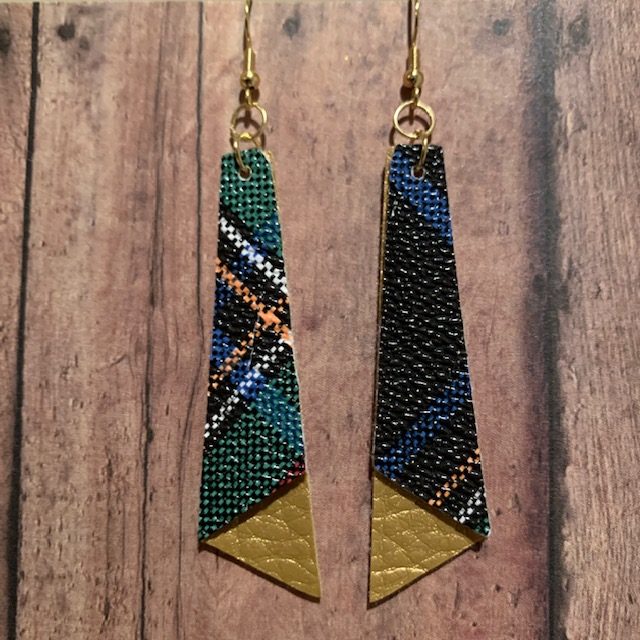
- tartan plaid, purchased from etsy
- gold faux leather, purchased from Amazon
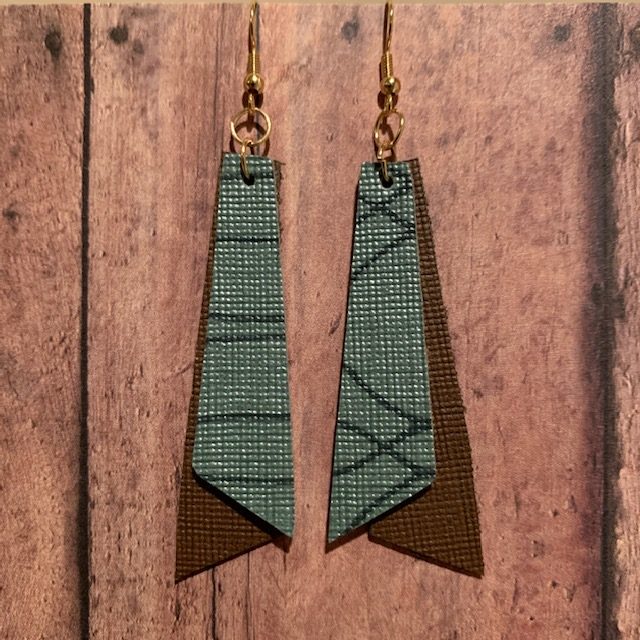
- Green textured faux leather, from etsy
- Brown textured faux leather, from etsy
My Favorite Cricut Machine Options


Cutting Tool and Accessory Essentials


Must Have Earring Tools


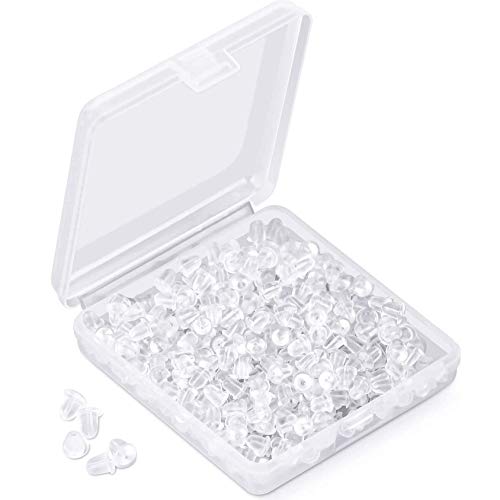
Must-Have Earring Findings

Heat Press Essentials


HOW TO MAKE DIY TALL STACKED EARRINGS
Select an earring template and upload it into Cricut Design Space.
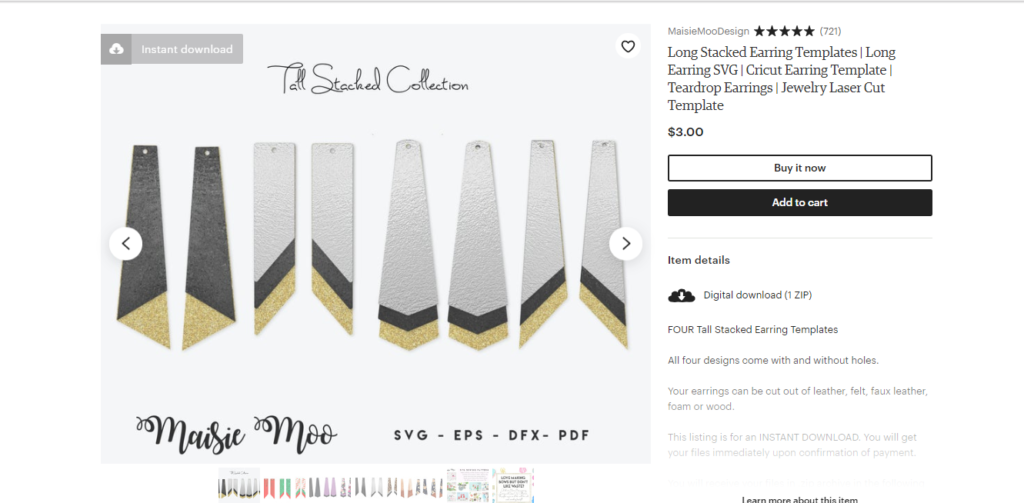
You can find many templates for your earrings on Pinterest and Etsy. Many bloggers offer them for free and others are available for sale on the Etsy website. I purchased the following template from Esty for these long stacked earrings.
Open Cricut Design Space and start a new project
Start a new project to make your long stacked earrings by clicking on the + icon.
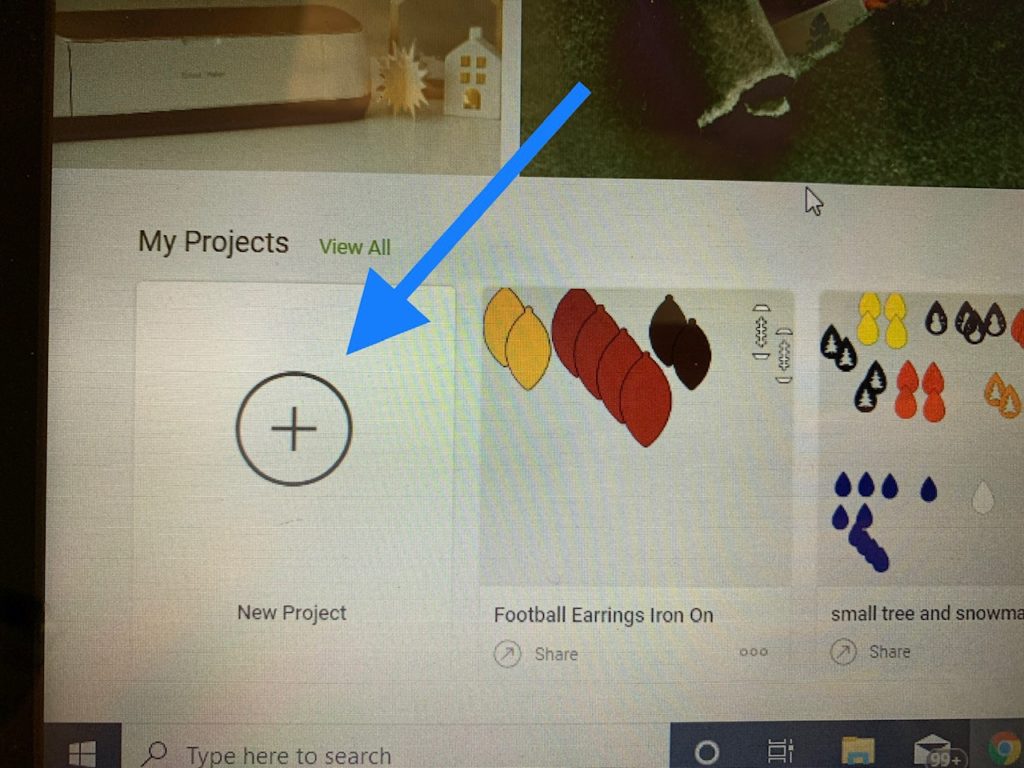
Or if you’re already in a project, you can click on + to start a new project.

Upload Image, if not already uploaded
Upload the cut file for this project, by clicking on the upload icon on the left and navigate to the file on your computer.
I always recommend adding tags when uploading new files. Pick word that you would type in if you were looking for the file. This makes it much easier when you’re looking for the file in the future.
Insert the cut file onto the canvas of your new project.
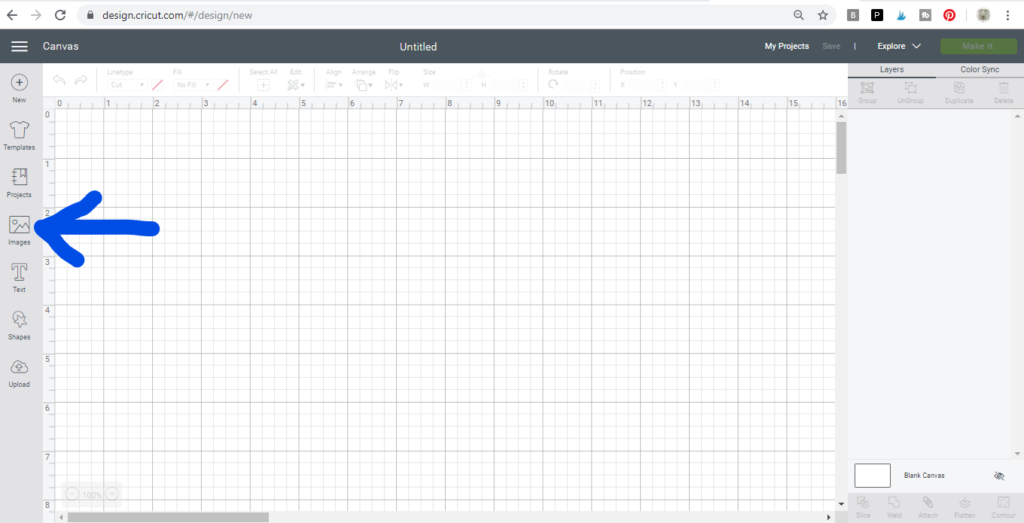
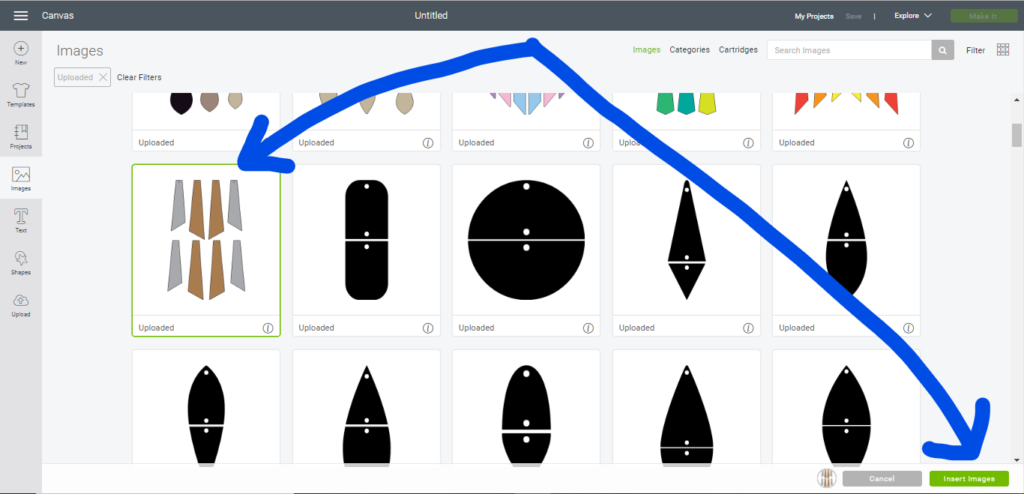
Click on the Images icon on the left.
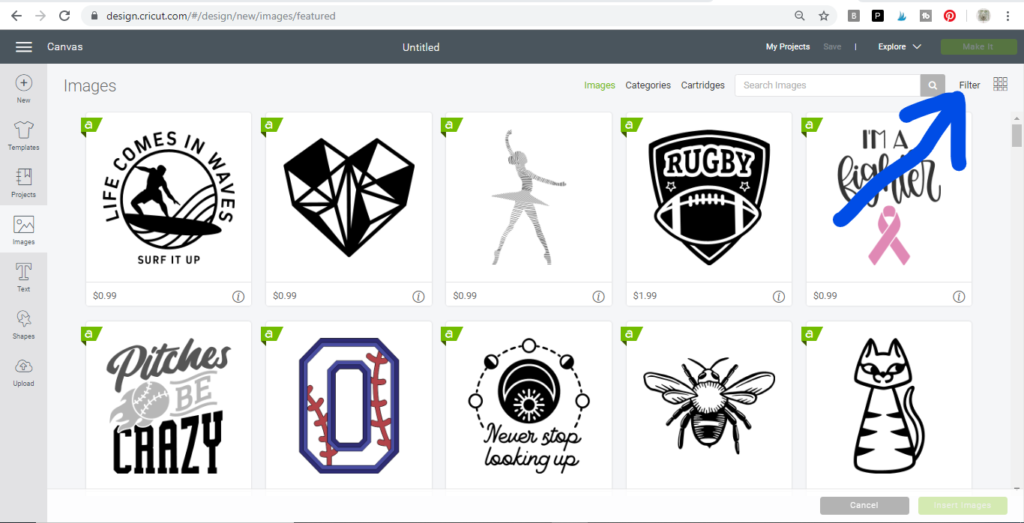
Tip: To easily find my upload files, I usually filter by files that I have uploaded. Click on the Filter option.
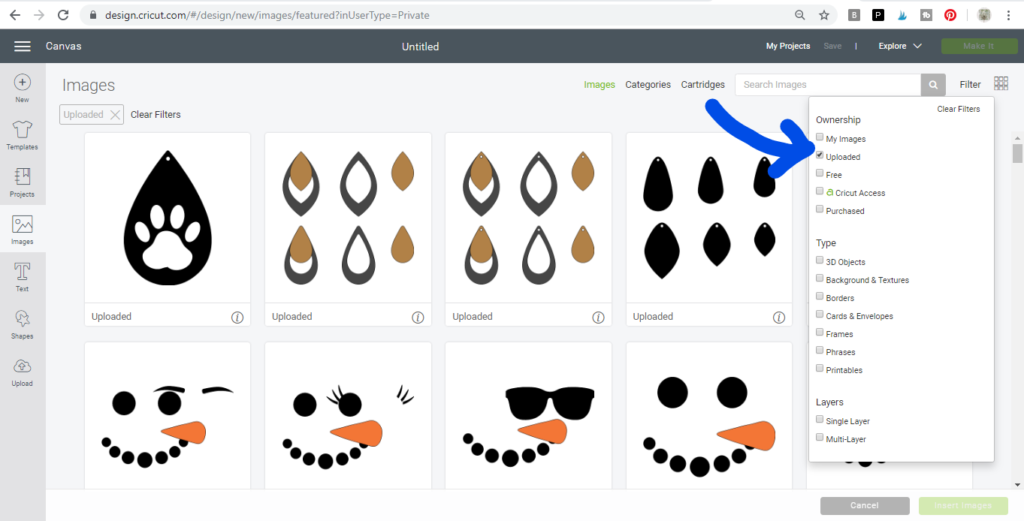
Click on “Uploaded.”
Select the cut file you want to use. It will have a green box around it when selected. Then, click on the insert image button in lower, right-hand corner.
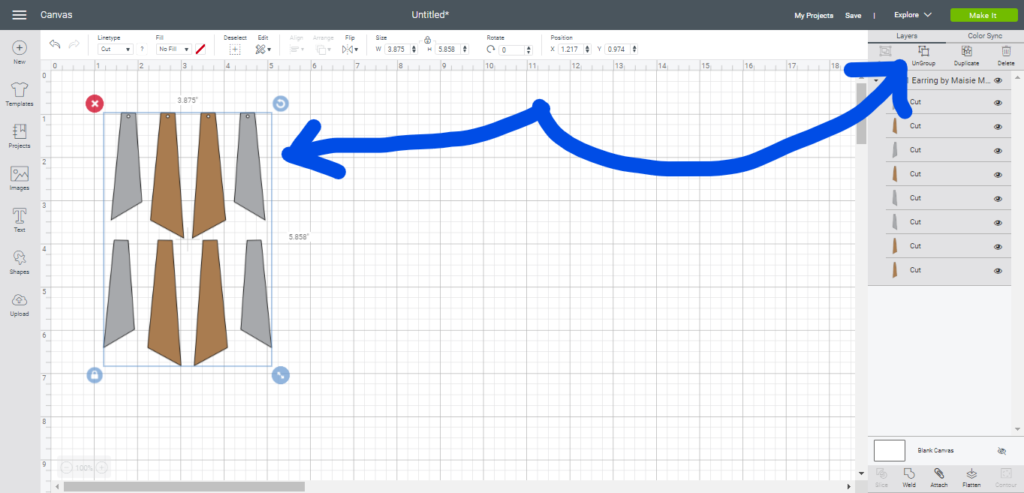
This cut file comes with four different earring designs. I put them together on the canvas and took a screen shot so you can easily see the different earring designs in this cut file.
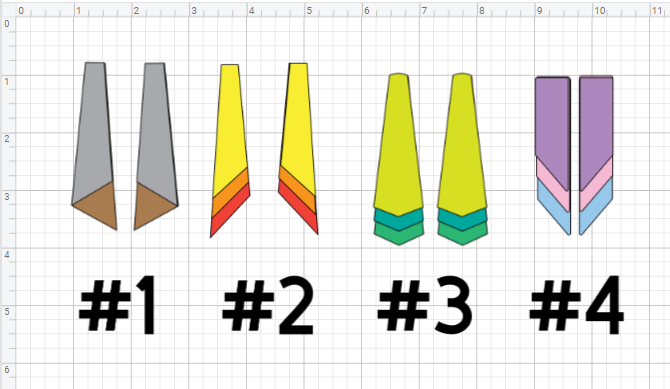
In this post, I’m making design #1. The image of this design is shown below.
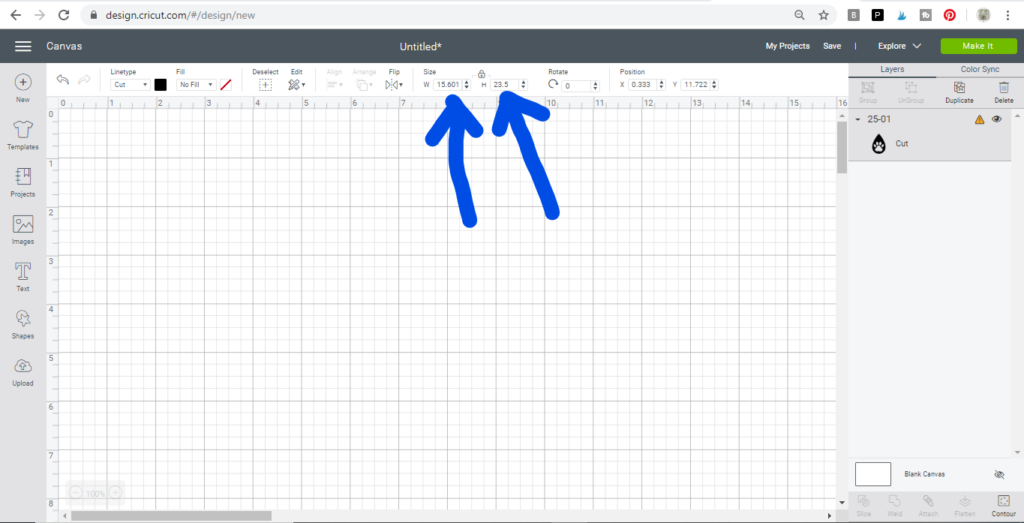
Once you’ve inserted the image onto the canvas, you can see the dimensions of the file you’ve inserted in the height and width field.
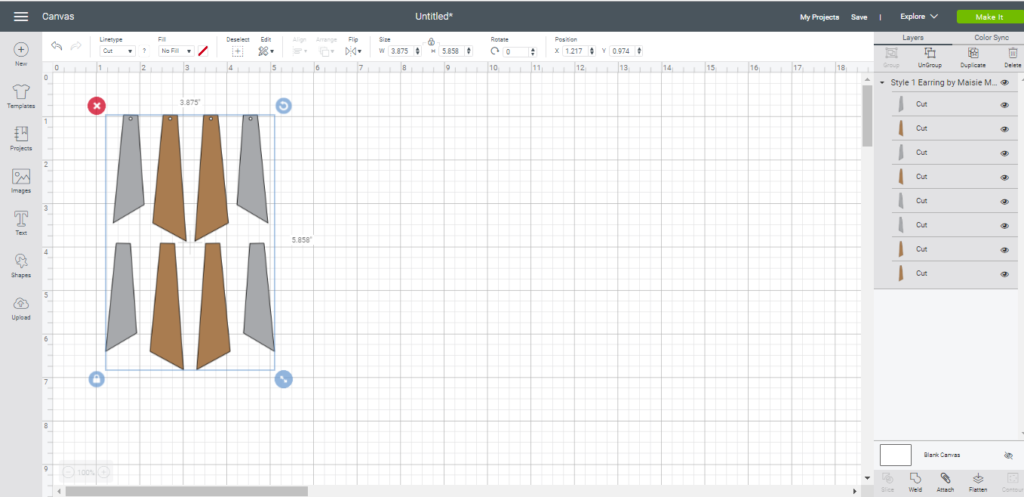
This is what the file for design 1 of the tall stacked earrings from Maisey Moo Design looks like #after being added to the canvas. The top row has the earring components with holes and the bottom row has the earring components without holes.
Delete the components you won’t use.
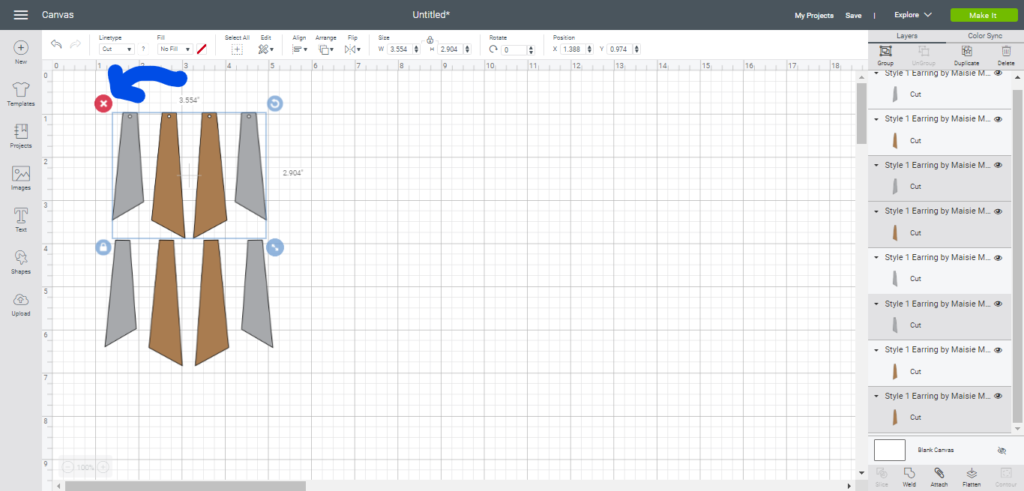
I’m going to cut the earring components without the holes. However, I can’t delete the top row of earring components with holes until I Ungroup the image.
Then press the left click and move mouse to draw a box around the set of components you want to delete. Then click on the red x button to delete. (or you can click on the delete button in upper right hand corner.
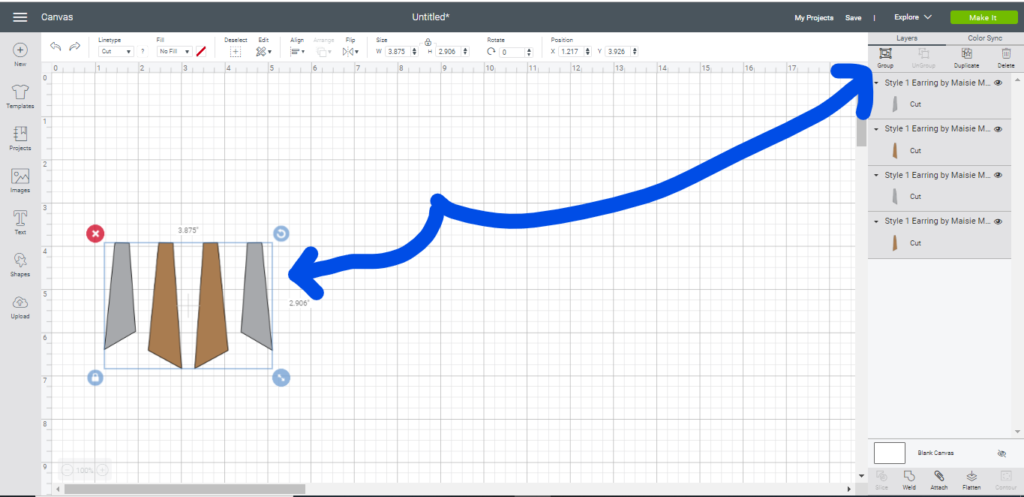
Then left click and move mouse to draw a box around the remaining components and click on the Group button.
Re-size the diy faux leather earrings, if needed.
It is often necessary to re-size earrings when the file is added to the canvas. An earring size is a personal preference, but here are some general dimensions.
- Small teardrops – 1 3/4 inches
- Large teardrops – 2 1/2 inches
- Medium leaf – 2 1/4 inches
- Large leaf – 2 1/2 inches
You’ll want to decide the height of your earring based on personal preference.
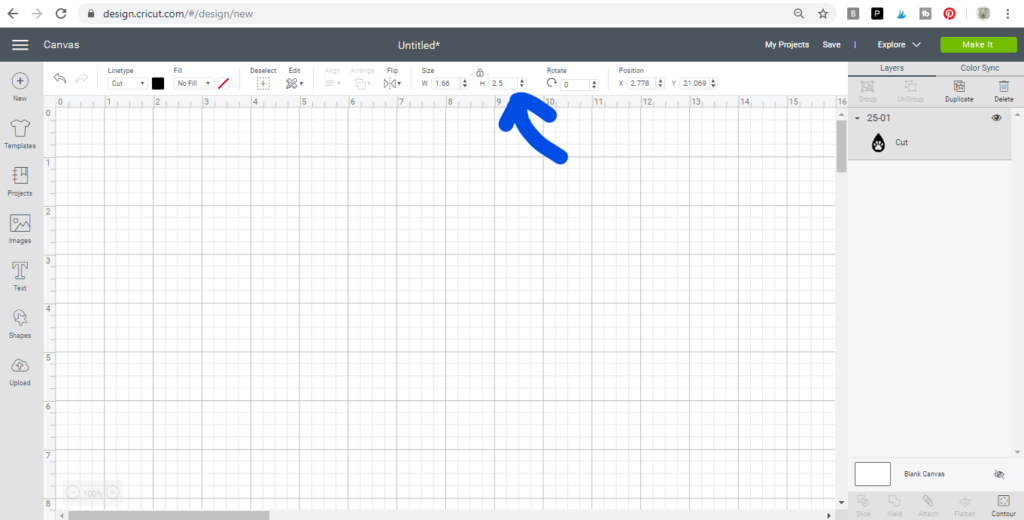
This design of tall stacked earrings come in a 2.9 inches in height.
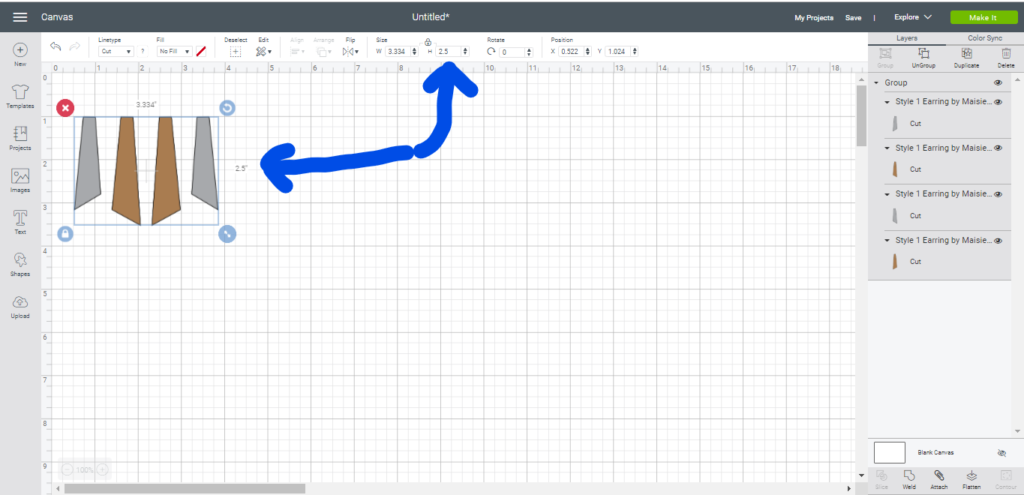
For this project, I’m going to make this earring just a bit smaller at 2.5″. To do this, I’ll type 2.5 into the Height field. Since all of the earring components are grouped together, they all adjust appropriately.
You can modify that number if you want your earrings bigger or smaller.
Change earring components to the right color.
Changing the images to the right color keeps things clear when you’re putting different materials and colors through the cutting machine.
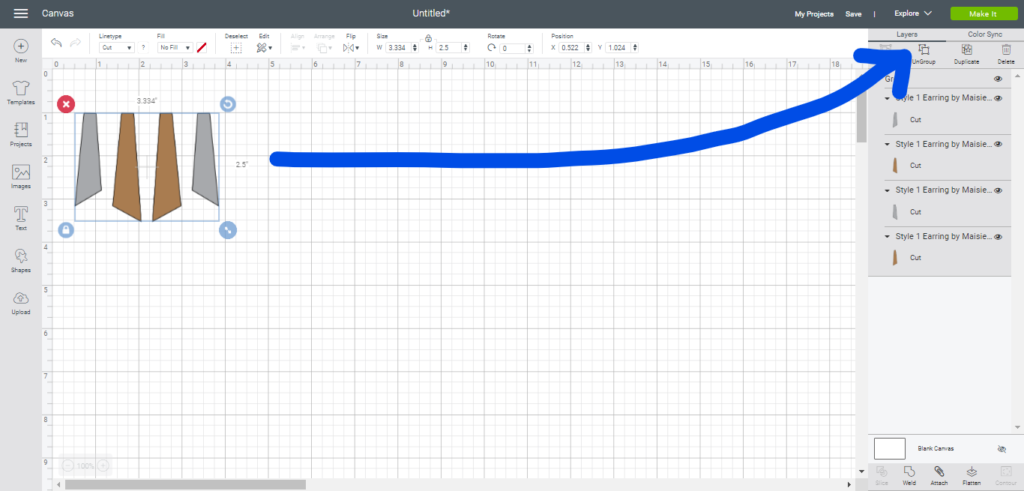
Our components are grouped together, so we’ll need to Ungroup them to be able to modify colors of individual components.
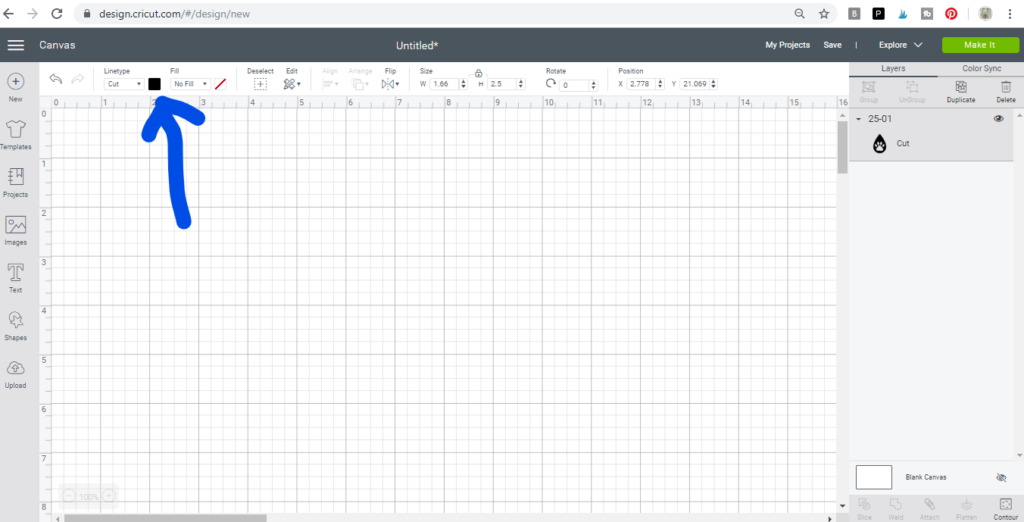
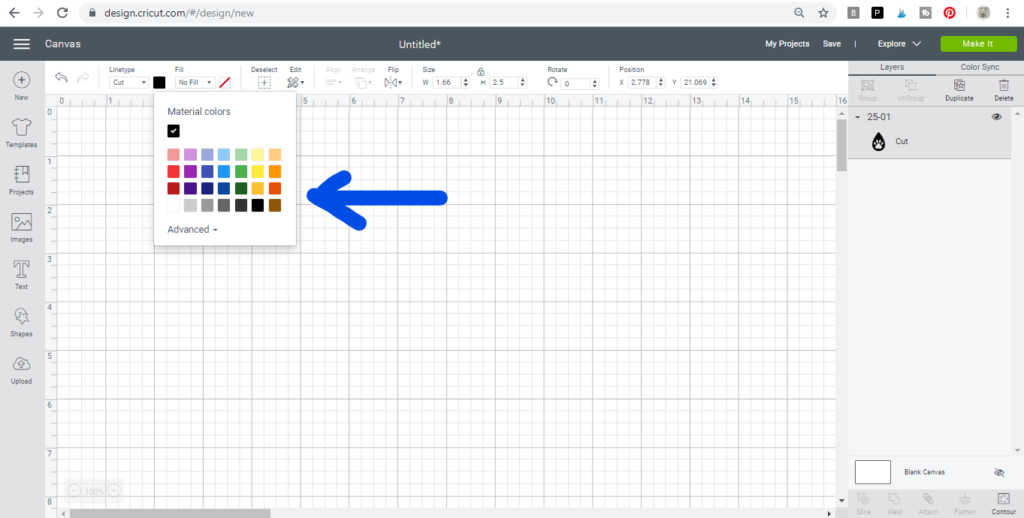
To change the color click on the component and then click on the color that represents your material.
I am not going to modify my colors on the canvas.
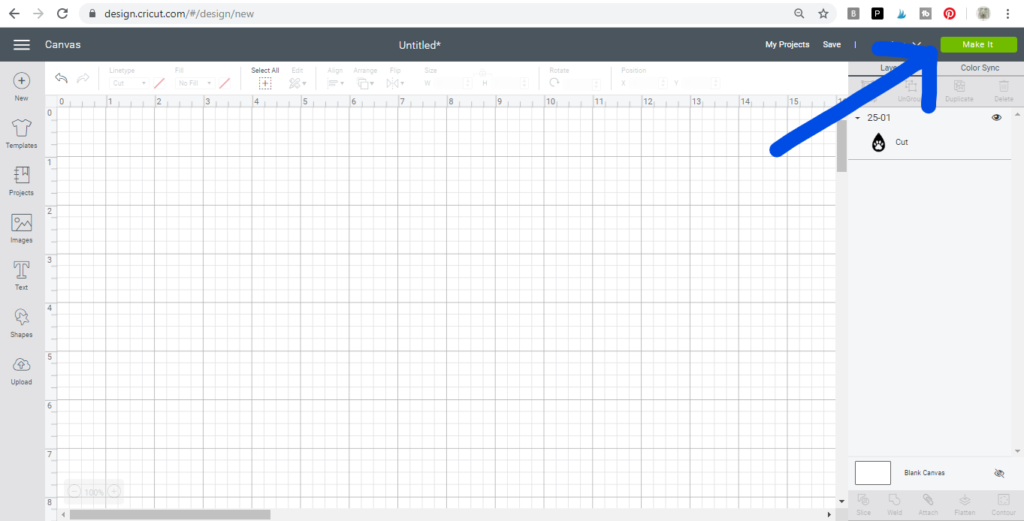
MAKE IT
Once your mat has all the earring components ready to cut for your earring components, click on the Make It button to cut your tall stacked earrings.
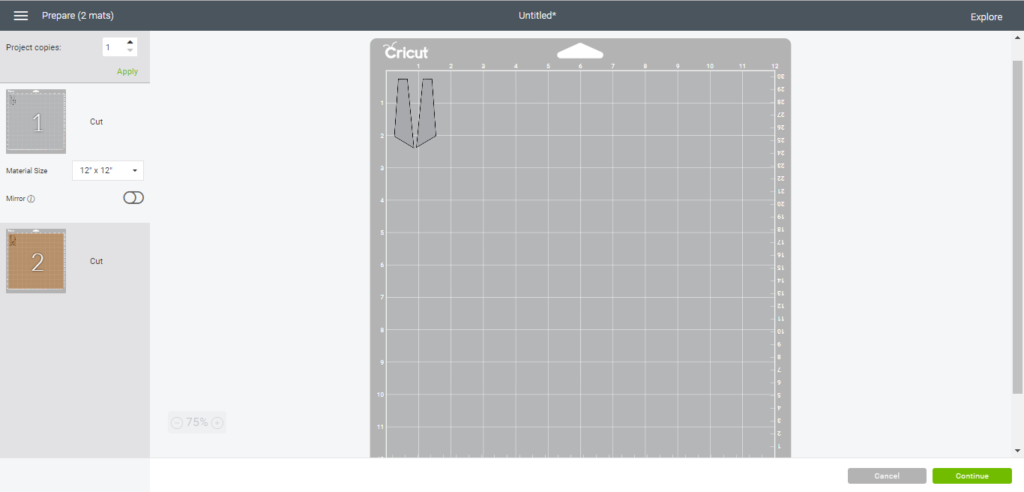
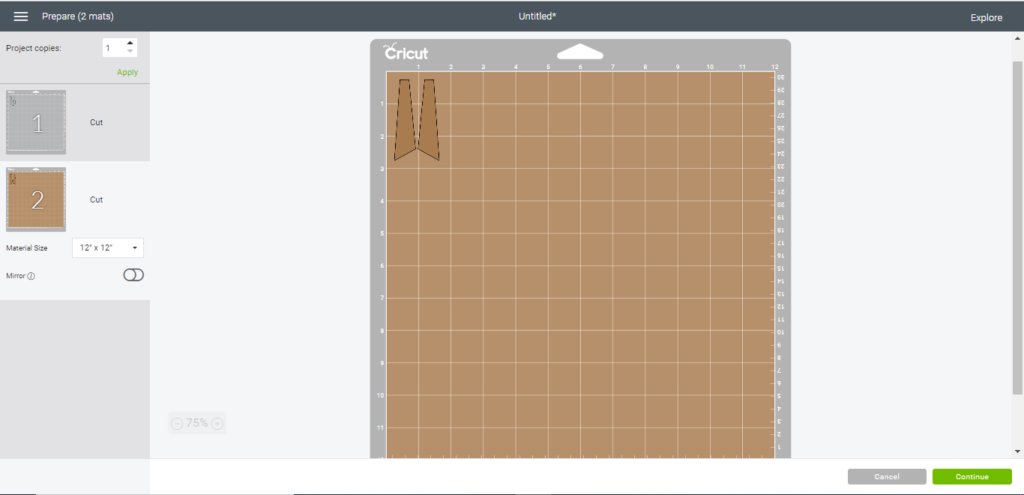
On the left you’ll see the different mats that will need to be cut.
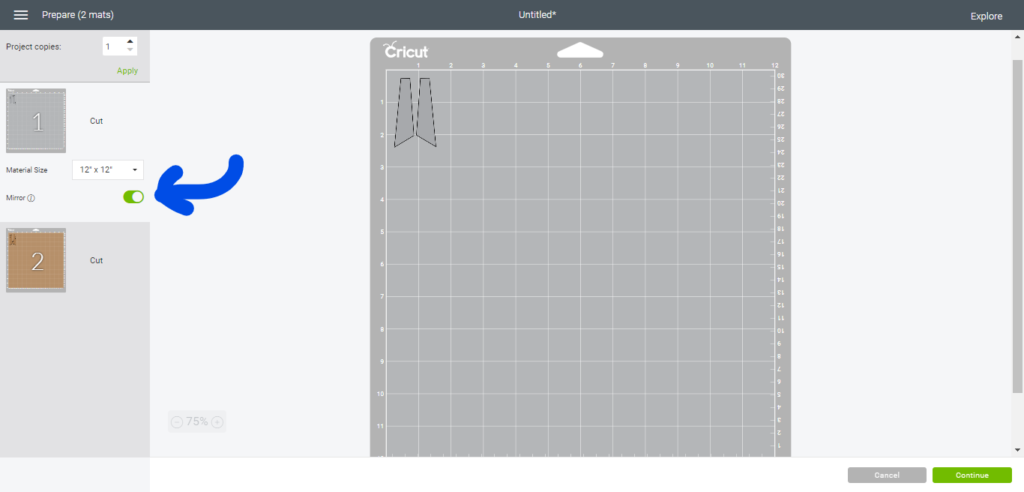
Mirror your design, if necessary
Since the good side of your leather will almost always go onto the mat facing down, click on each mat where the material is facing down and click mirror. If the cuts on your mat are symmetrical it really doesn’t matter, but it’s probably a good idea to go ahead and click mirror any time your material faces down, as a good practice.

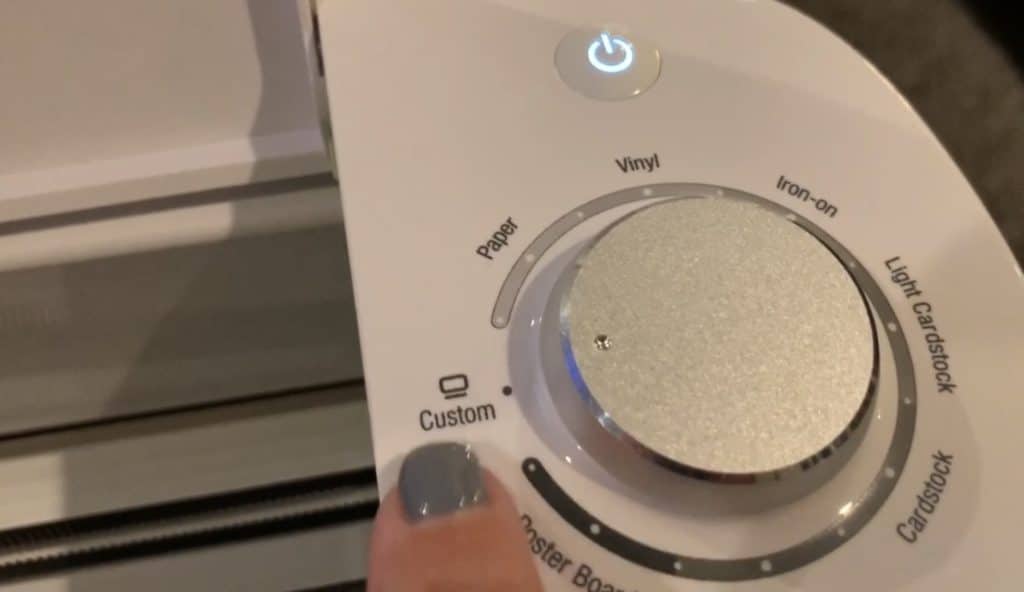
Set the Cricut machine on the right setting.
Turn your dial on your Cricut Explore to Custom. This lets you look at the long list of materials. You will need to select a material for EACH mat.
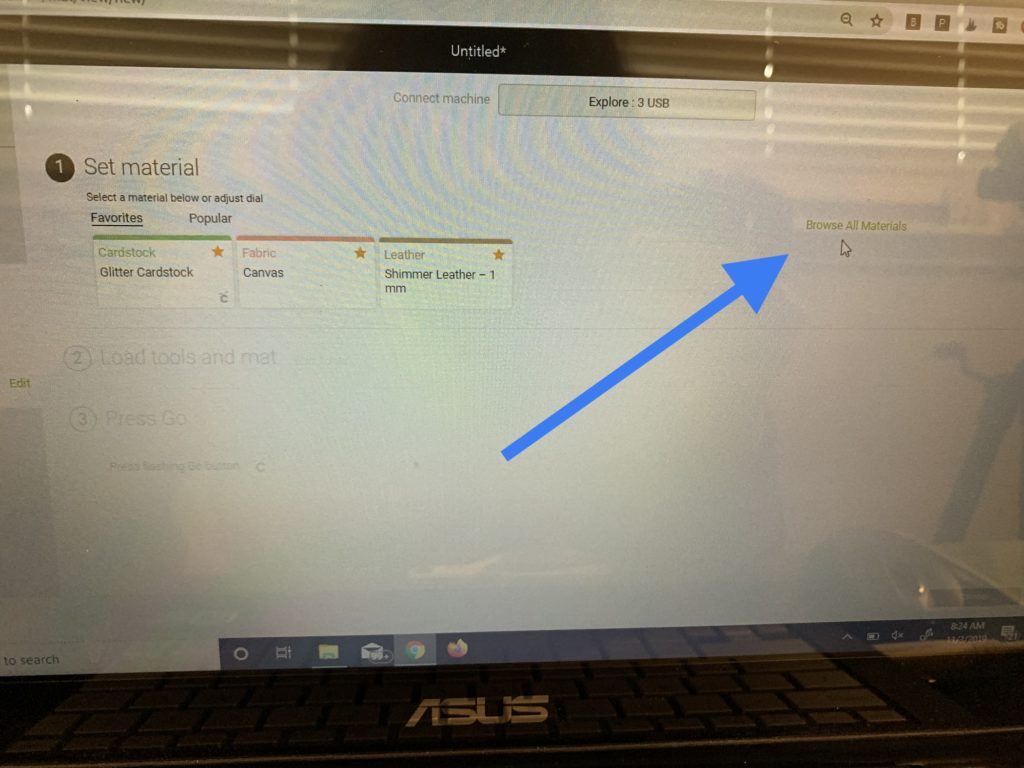
Click on the Browse All Materials link to see the menu of materials options on your Cricut.
For your faux leather, if it is Cricut faux leather, you’ll select the Cricut faux leather option from the Browse materials menu.
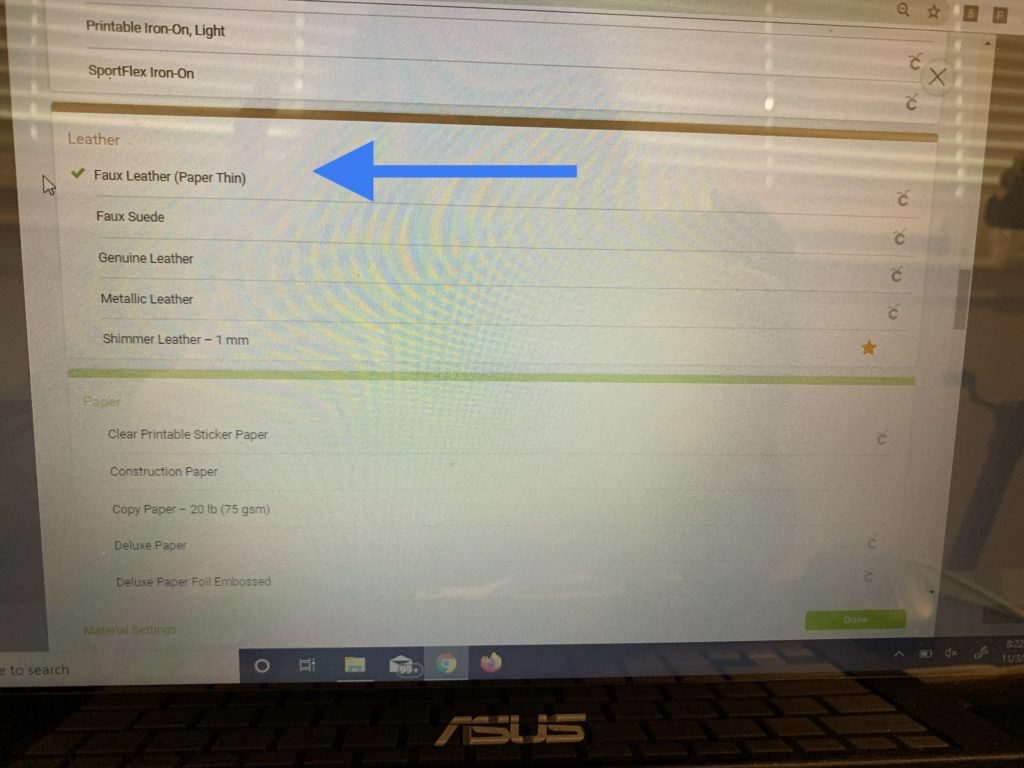
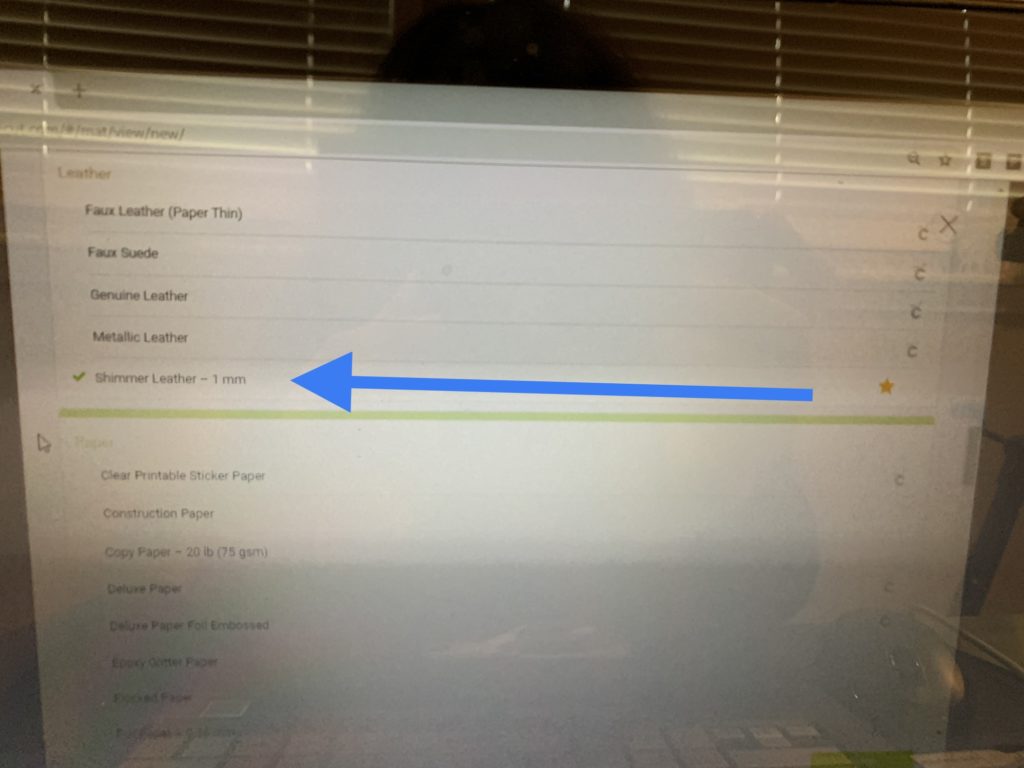
If you’re using non-Cricut faux leather, the Shimmer Leather option normally works best.
Make sure you’re using the right blade.
You can cut faux leather, faux suede, and leather on the Cricut Explore. When cutting Cricut’s faux leather and faux suede, you can use the Cricut standard fine point blade. If you’re cutting genuine leather, you’ll need to use the Cricut deep blade.
Since this project uses faux leather, you won’t need to change your blade (if you’re currently using the normal fine point blade).
Place your material on the cutting mat(s).
Faux Leather/Faux Suede
Before you put the faux leather or suede on the mat, you’ll want to look at the back of it to determine what is is made of. I normally place my material on my mats good side down. The exception to this is when the good side is actually messier than the backside (e.g., glitter faux leather).
Also, I like to determine how much of the leather or suede will be cut. Typically, it is less than 3″ of material, meaning only about 3″ of the mat needs to be exposed. I then place my plastic Cricut mat cover back onto my mat about 3″ down from the top of the cutting area. I do this so that I don’t put the suede or leather on top of the mat where I’m not cutting it. This keeps me from losing the stickiness on my mat. I don’t like to pre-cut my leather/suede because I want minimize waste of the material.
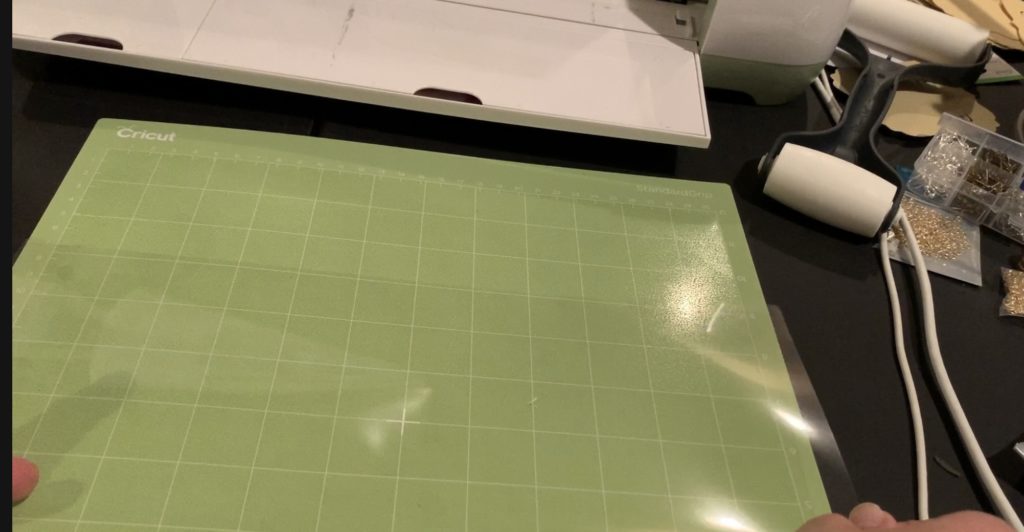
Once I place my plastic on top of the mat, I put the material onto the mat, face down (good side down).
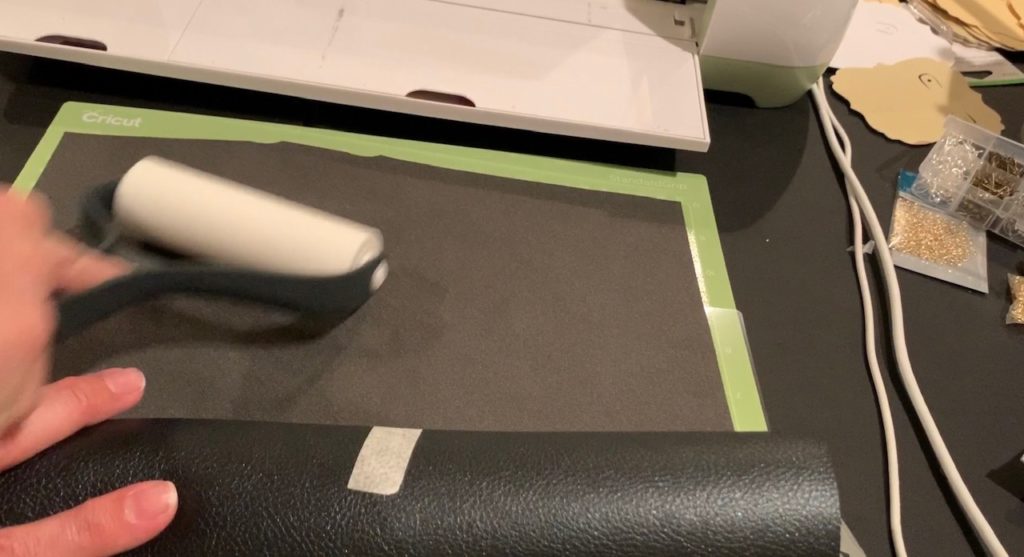
After placing the material on the mat, you can use a Cricut Brayer roller to press the faux suede or faux leather onto your mat. I don’t have one of those so I usually use a dough roller.
Trim any felt or fuzz from the earrings.
Using a pair of sharp scissors, trim fuzz from around the earrings. Be very careful not to cut any of the earring, you’re only cutting the fuzz off of your snowman faux leather earrings.
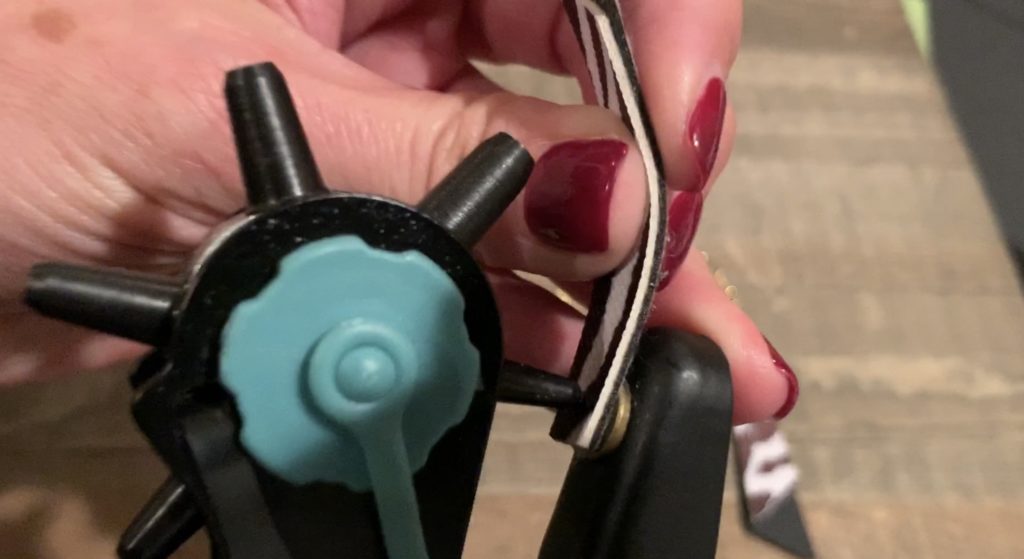
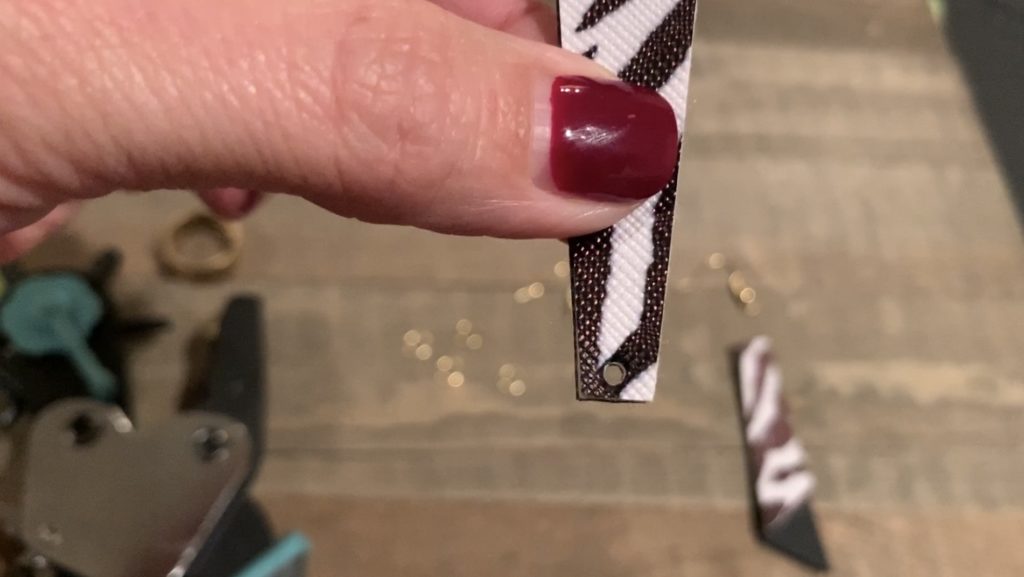
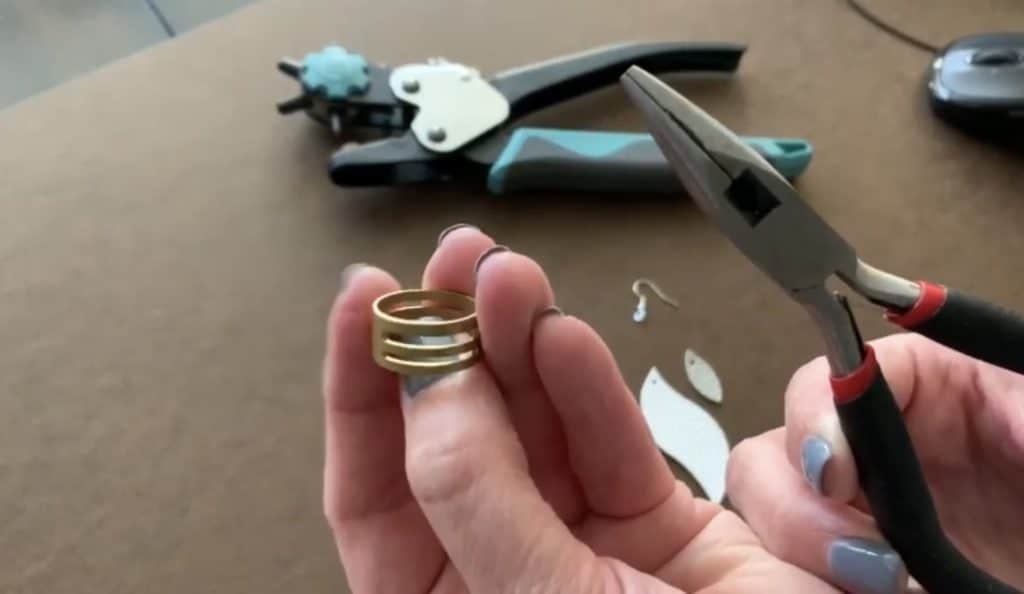
Place a hole in the top of the earring.
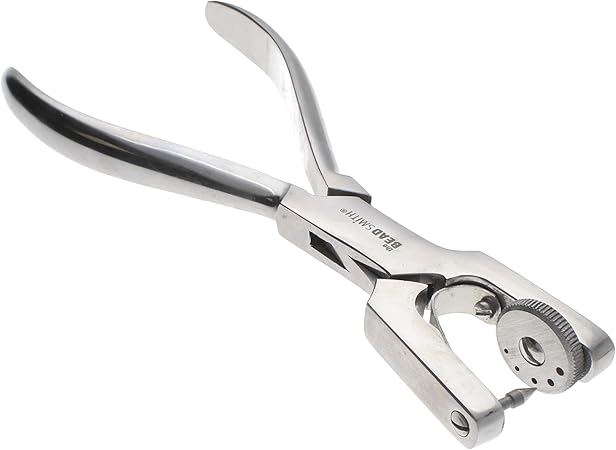
I chose to cut the file without holes so I use a leather punch to put the holes in these tall stacked earrings. The tool linked above cuts through multiple layers of the earring at the same time. You can also use Cricut weeder tool to put a hole through faux leather and faux suede, but it is best to go through just one layer at a time if you do this.
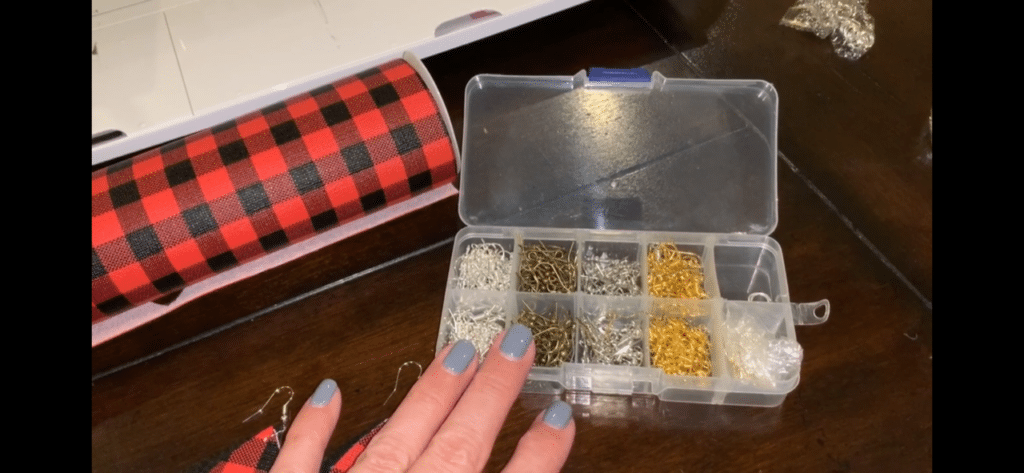
Gather necessary earring components and tools to finish your diy faux leather earrings.
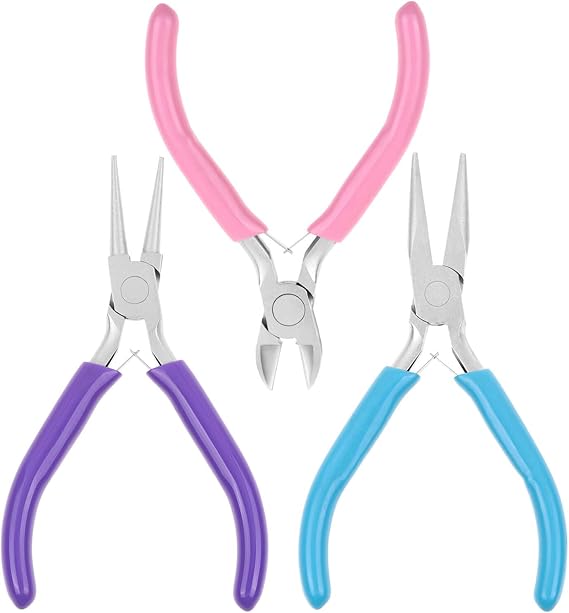
It doesn’t take much to put together earrings. You either need a couple of pairs of pliers or a jump ring tool and one pair of pliers. You can get the two tools below along with a full kit of earring hooks and jump rings on Amazon. It is the perfect starter set. Great for you if you’re getting started and a great gift for anyone that likes to DIY.

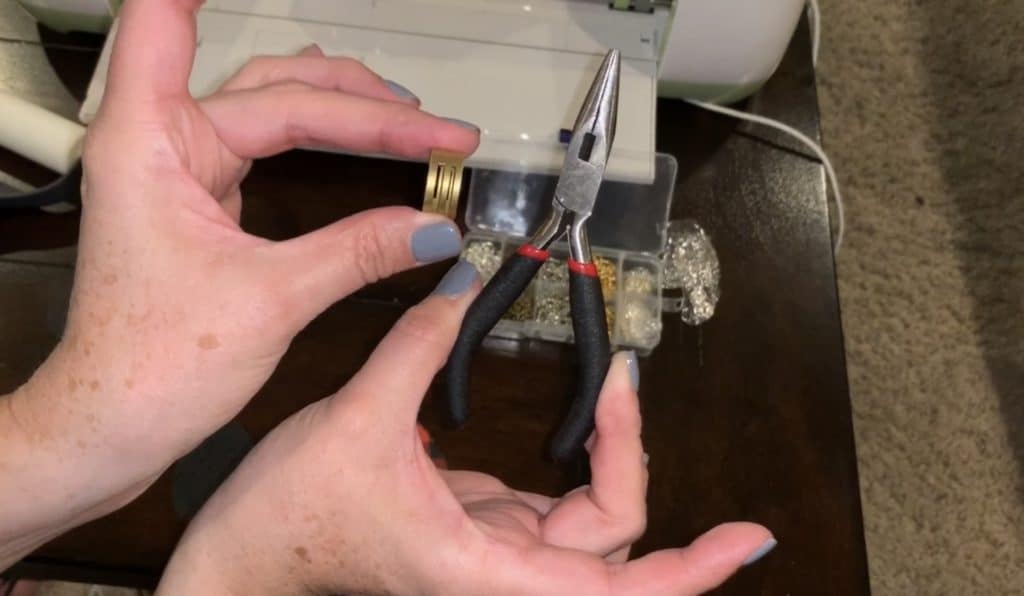

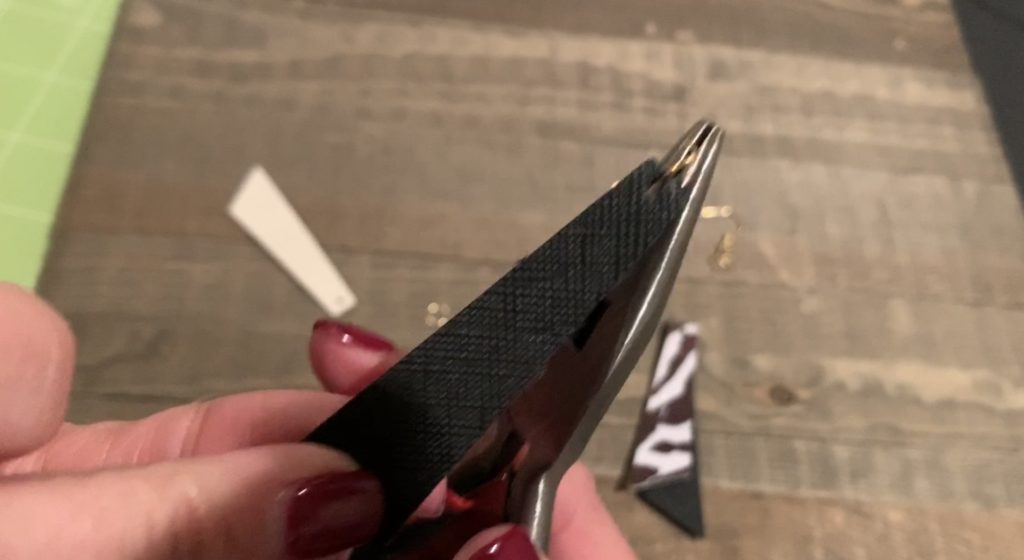
Open the jump ring.
A jump ring isn’t closed. This means with the right tools, you can open it to put on the earring components.
These are the two tools that I use to open and close my jump rings.
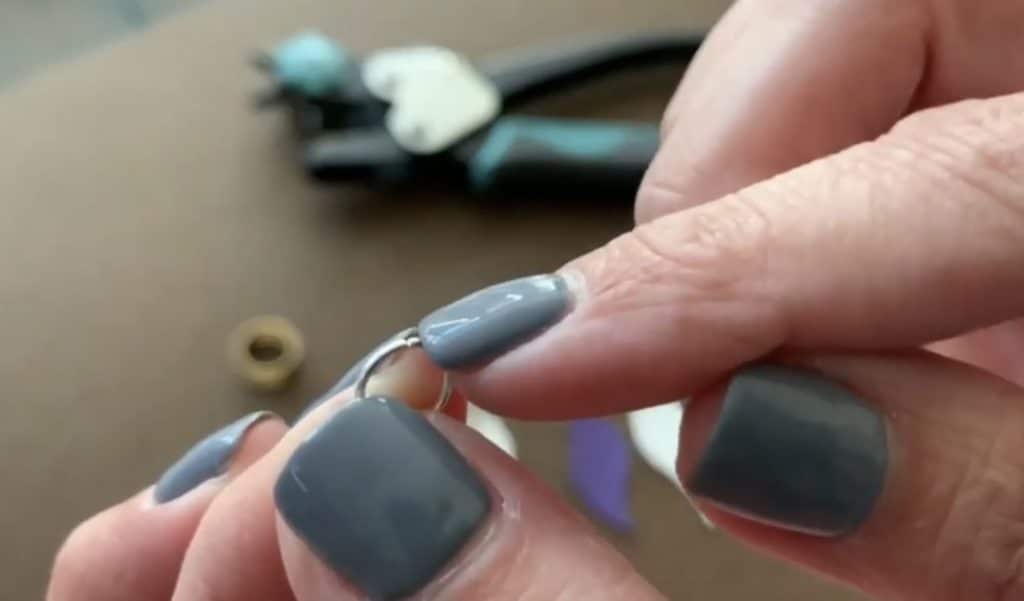
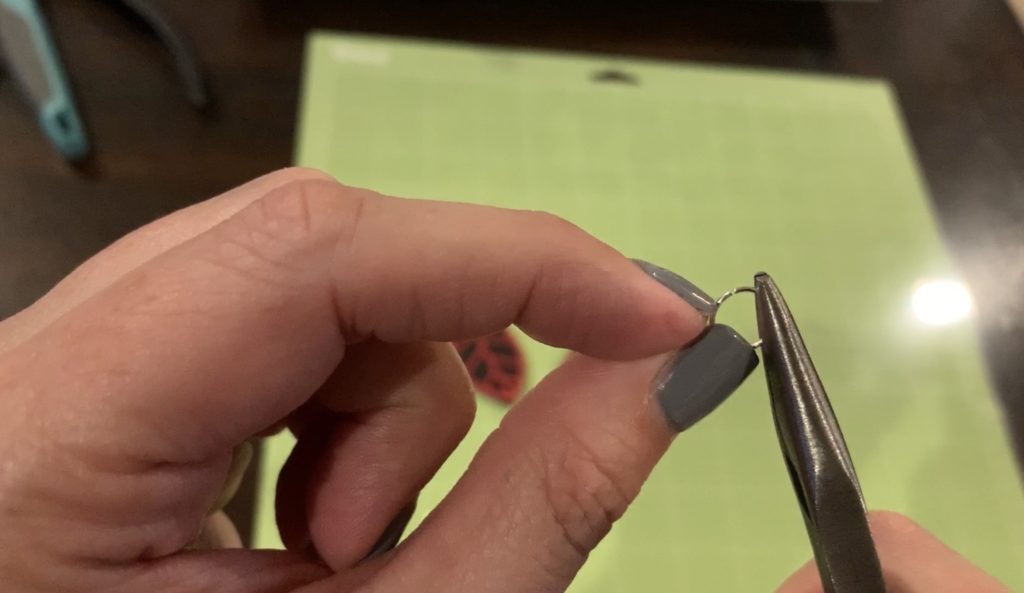
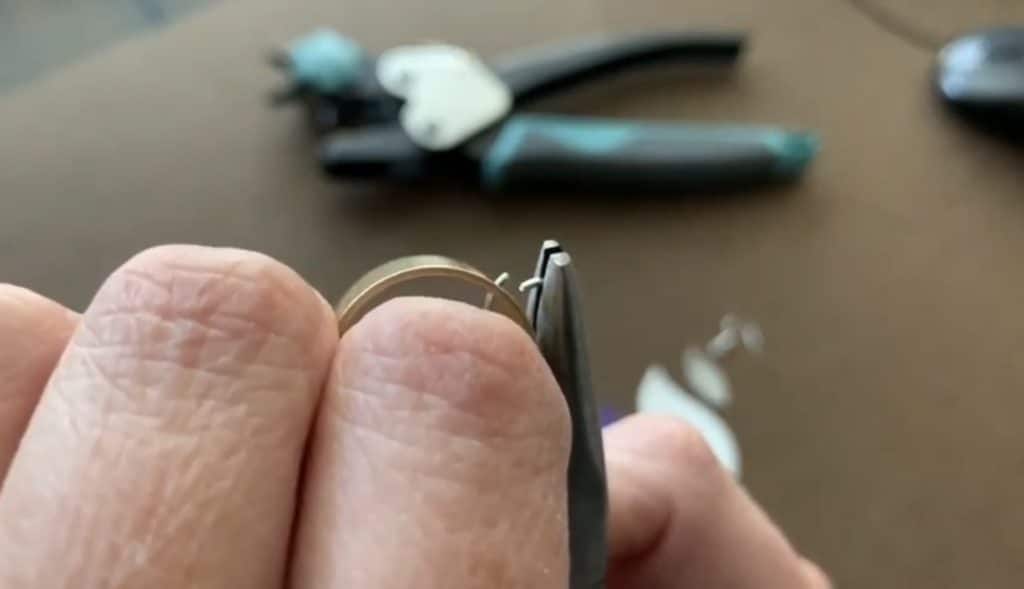
I hold one side of the jump ring with my pliers. With my other hand, I use my jump ring tool to push one side of the jump ring back (to open). It is important not to open the jump ring by pulling them to the left and right. If you do it that way, it will be hard to close the jump ring, while keeping the shape. Instead, push the ring back/front to open the jump ring.
Note: If you’re using the jump ring tool, find the slot on the tool that is sized right for the jump ring.
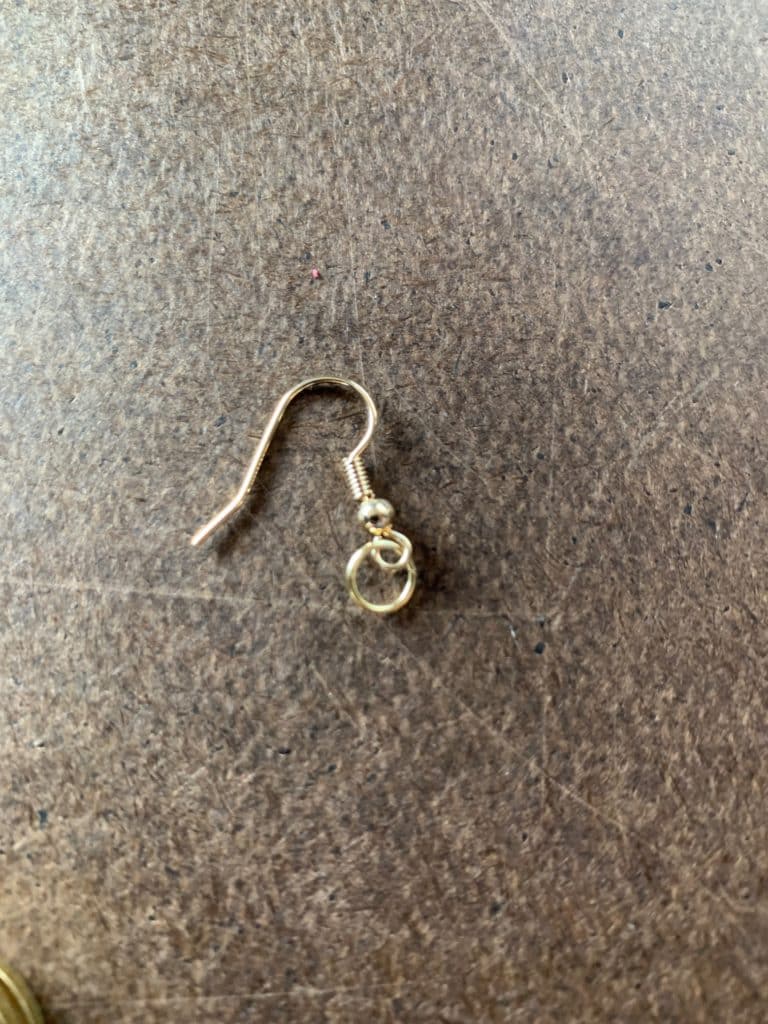
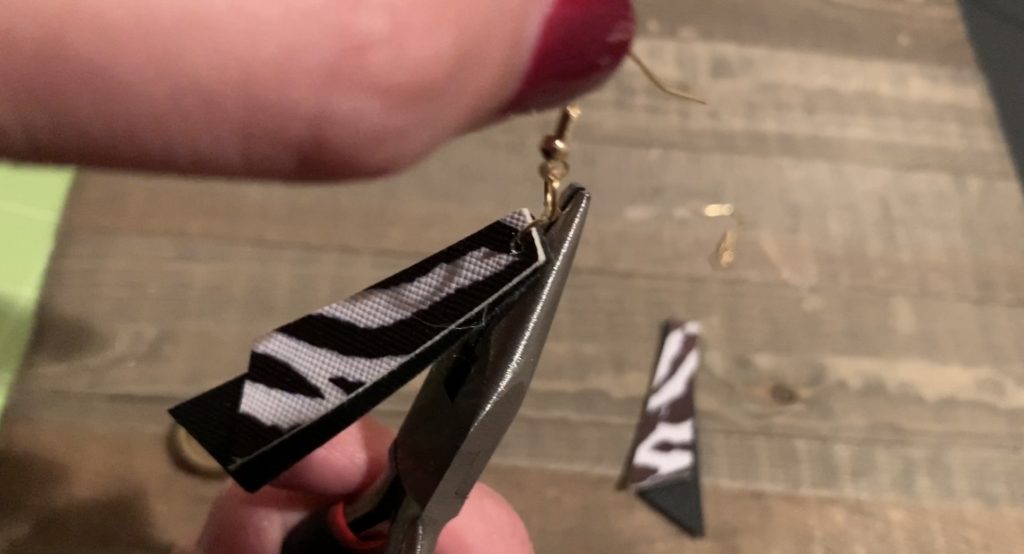
Put a hook onto a jump ring for each earring.
My new best practice is to put a jump ring onto the hook and to close the jump ring. I do this before I even begin to put the earring components onto a jump ring.
Put earrings and hook into a jump ring.
We’re almost done with our tall stacked earrings.
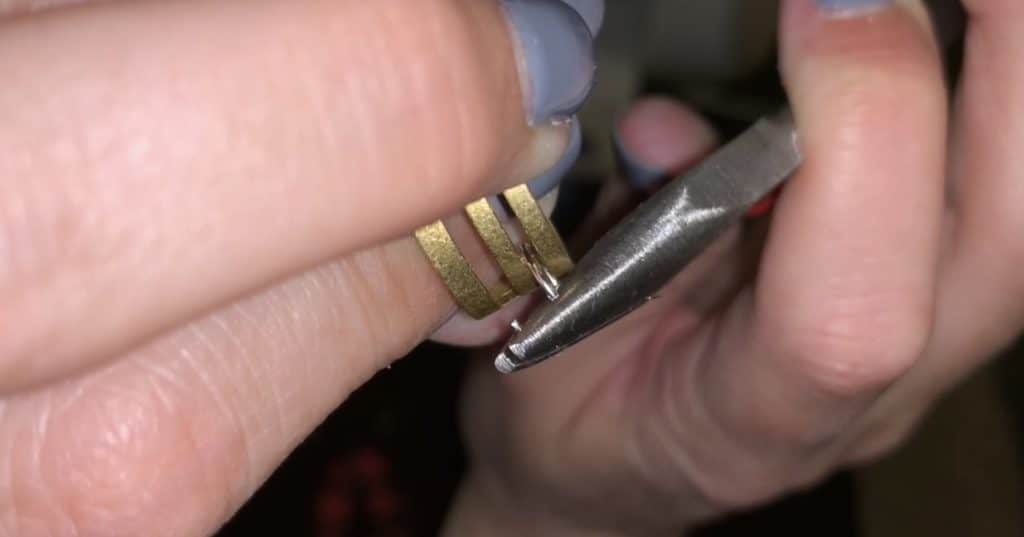
Open another jump ring and put the earrings onto the open jump ring.
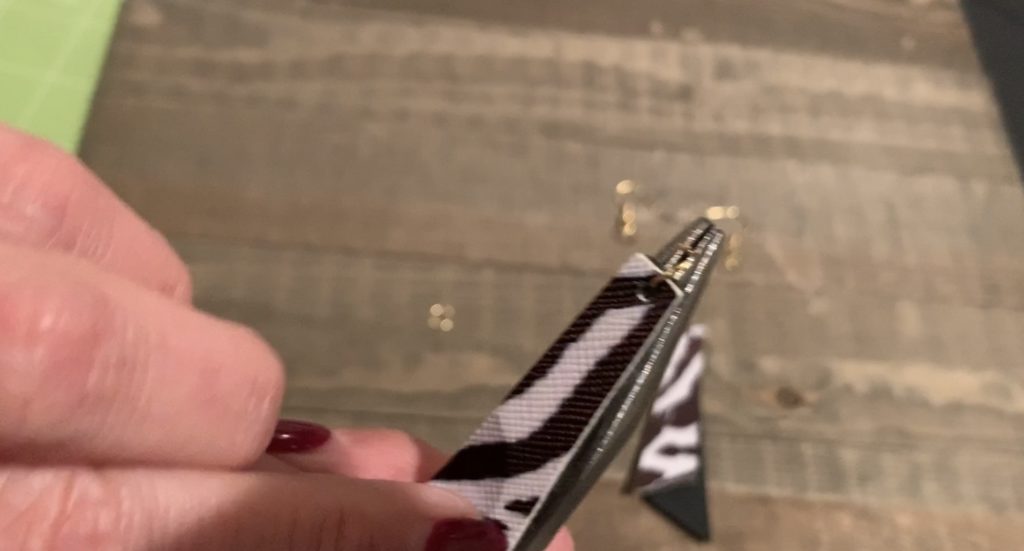

After putting the earring onto the jump ring, add the hook, making sure it is facing towards the back.
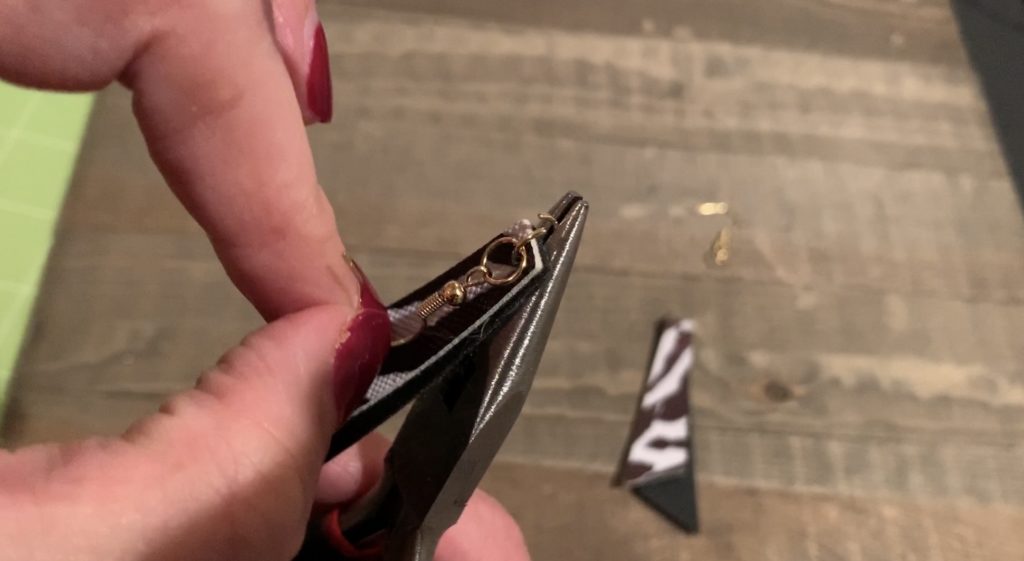
Using the pliers and the jump ring tool, close the jump ring.
And that’s it! Your diy tall stacked earrings are finished!
If you enjoy making diy faux leather earrings, check out my other posts below.
Everyday Earrings DIY
- Leather Bar Earrings DIY
- How to Emboss Leather Earrings
- DIY Angled Fringe Earrings
- Leather Circle Earrings
- DIY Fringe Leaf-Shaped Earrings
- Cross leather earrings
- FRI-YAY Leather Earring DIY
- Leather Bar Earrings DIY (with metal charm)
- How to Make Genuine Leather Earrings
- Statement Earrings
- Teardrop Cork Earrings
- Hollow Faux Leather Earrings – Teardrop and Leaf Shaped
- Faux Leather Tall Stacked Earrings
- Faux Leather Circle Earrings
- Split Teardrop Faux Leather Earrings
- Faux Leather Stacked Marquise Earrings
- Stacked, wavy earrings – KSU
- Faux leather leaf cutout earrings
- Faux Leather earrings with fringe
- Faux Leather Teardrop Earrings
- Faux Leather Bar Earrings
- Faux Leather Leaf Earrings
Sports
- Football Earrings – Teardrop with football cut out
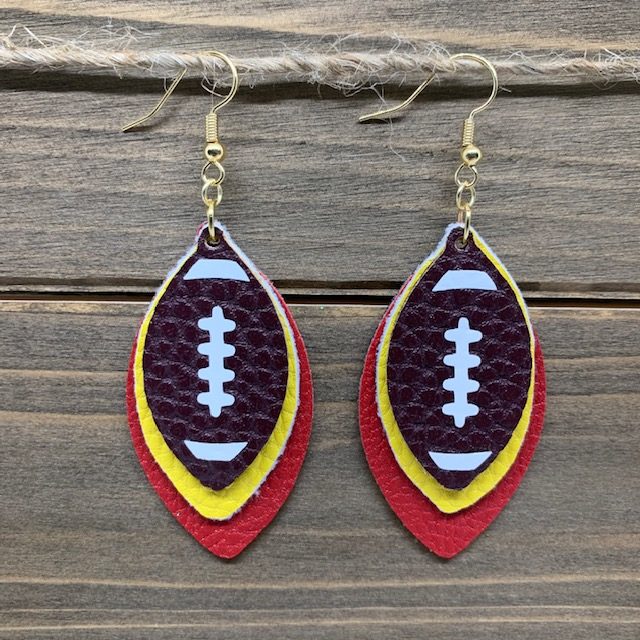
- Stacked Football earrings
- Chiefs Football Teardrop Earrings
- Chiefs Heart Teardrop Earrings
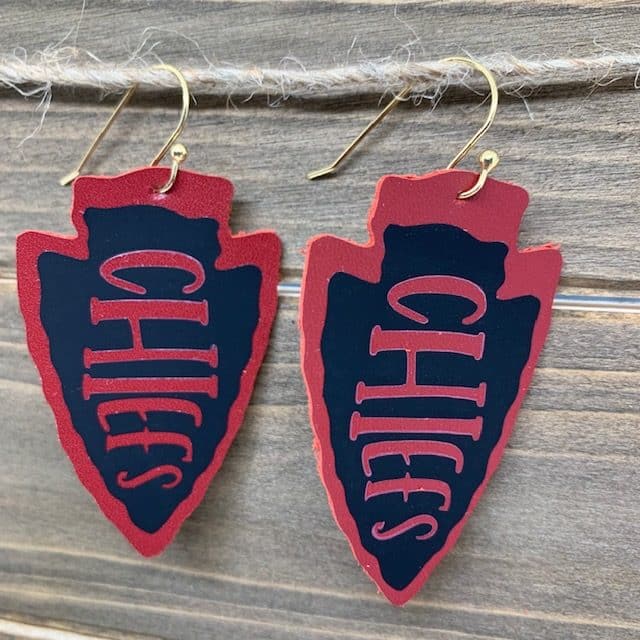
- Chiefs Arrowhead Earrings
- Chiefs Arrowhead on Teardrop Earrings
My Favorite Leather
My Favorite Faux Leather
Valentine’s Day Earrings
- 40 Great Valentine’s Day DIY Earrings
- LOVE Leather Earrings DIY
- Valentine’s Day earrings DIY (heart shape)
- Heart Earrings DIY (Iron On)
- Heart Earrings DIY (with heart cutout)
- DIY Valentine’s Day Earrings
St. Patrick’s Day Earrings
Winter-Themed Earrings DIY
- Snowflake Cutout Teardrop Faux Leather Earrings
- Snowman Leather Iron On Earrings
- Buffalo Check Snowman Cutout Earrings
Christmas -Themed Earrings DIY