How to Decorate a Wine Bottle for a Mom‑osa Bar
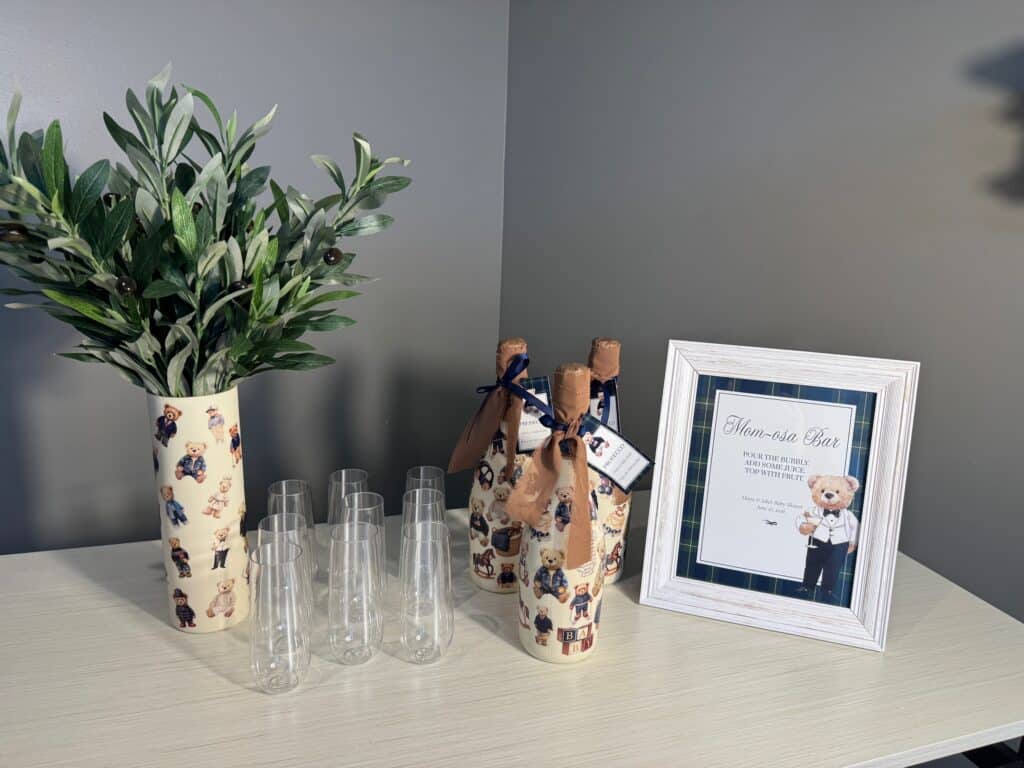
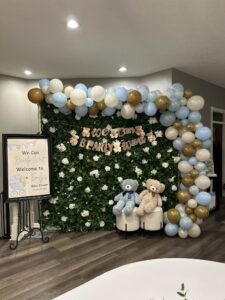
For my Classic Bear Baby Shower, I wanted the wine bottles for our Mom‑osa bar to match the rest of the décor without ordering custom labels or relying on anything expensive or complicated. Decorating a wine bottle with simple DIY touches turned out to be the perfect solution — an easy way to create coordinated, personalized bottles that look intentional and pulled‑together on your drink station.
Disclosure: This page may contain affiliate links. If you purchase through these links, I may earn a commission at no extra cost to you.
This project is simple, beginner‑friendly, and completely customizable, whether you’re matching a baby shower theme, coordinating with your tablescape, or just giving your Mom‑osa bar a more intentional look. I’ll walk you through exactly how I decorated my wine bottles step‑by‑step so you can recreate the same polished, cohesive style for your own event.
1. Gather your materials
Here are the items I used for this project:
- Classic Bear printable package from Etsy
- Classic Bear images from Etsy
- Mod Podge
- Sponge brushes
- Painter’s tape
- Goo Gone
- Spray paint
- Shipping tape
Watch the Full Bottle-Decorating Tutorial
If you prefer to watch the process step‑by‑step about how to decorate a wine bottle, I’ve included a quick video walkthrough below. It shows exactly how I decorated the bottles from start to finish, so you can follow along in real time.
2. Decide whether to keep or remove the original wine labels
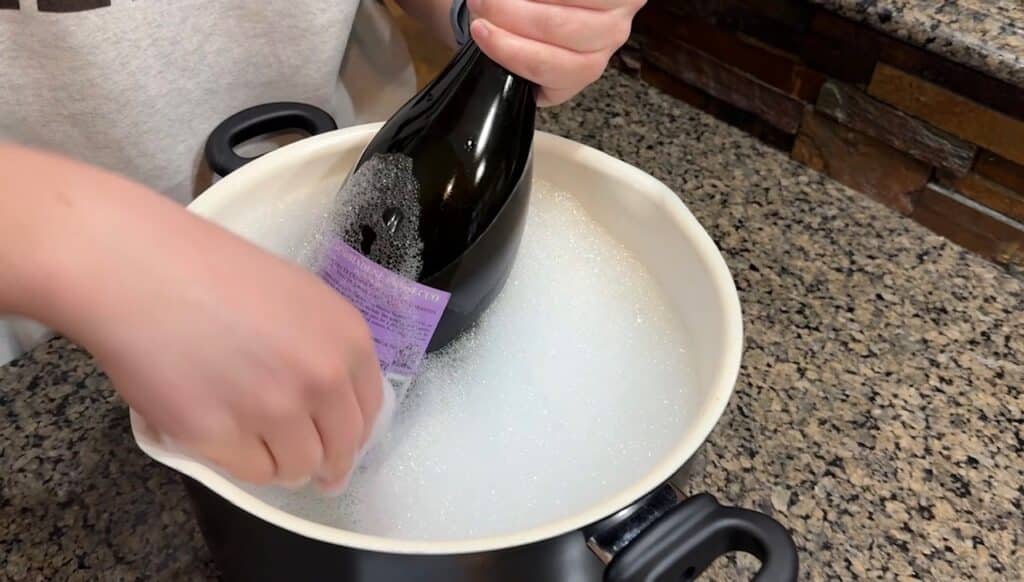
Before decorating, take a look at the front and back labels on your wine bottle and decide whether they fit the theme and overall look you’re going for. If the colors or style work with your décor, you can keep them — just cover the labels with painter’s tape before painting or decorating so they stay clean. If the labels don’t match your theme, you’ll want to remove them first. I have a full tutorial on how to remove wine bottle labels that walks through a couple easy methods you can use. Ensure the bottle is clean and dry before moving onto the next step.
3. Cover the top of the bottle with painter’s tape
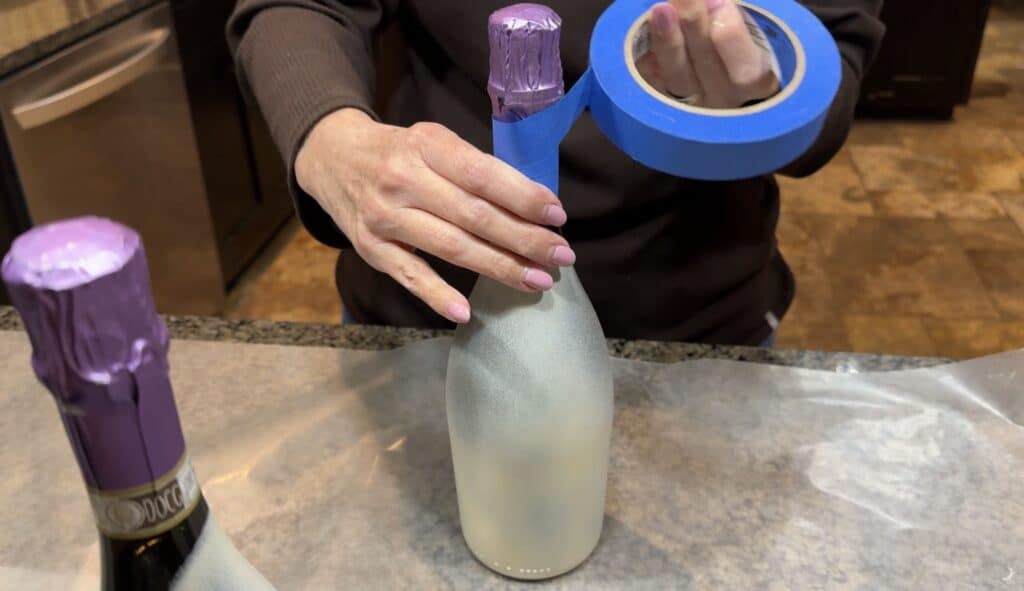
Before painting, wrap painter’s tape around the top of the bottle to protect the foil or neck area. This keeps the original finish clean and gives your bottle a crisp, professional line once the paint is dry. Press the tape down firmly so no paint seeps underneath.
4. Paint the Bottles

You can paint your bottles using spray paint or brush‑on acrylic paint—both work well, and each has its own advantages.
If You’re Spray Painting
Choose a spray paint that adheres well to glass—matte, satin, and chalk‑style spray paints all give smooth, even coverage. Shake the can well and use light, sweeping passes to avoid drips.
Start by painting the bottoms of the bottles first. Since you can’t hold the bottle while spraying, use one of these simple supports to keep the bottle upside down and stable:
- Cut holes in a cardboard box so the bottle necks drop through and the bottoms sit elevated.
- Use a wine case insert (the cardboard grid) to hold bottles upside down without wobbling.
- Place bottles over wide mason jar rings to lift the bottoms off the surface.
- Poke holes in a scrap foam board to support the necks securely.
Spray the bottoms lightly, let them dry to the touch, then flip the bottles upright. Continue painting the sides using multiple thin coats, rotating the bottle as you spray for smooth, even coverage. One can painted provided enough coverage for me to paint six bottles and two vases.
If You’re Using Brush‑On Paint
Brush‑on acrylic paint is a great option if you prefer a hand‑painted look or want more control. Use a soft, flat brush and apply thin, even coats, allowing each layer to dry before adding the next. Chalk‑style acrylics work especially well for a matte, modern finish.
You can hold the bottle by the neck while brushing, or set it on a protected surface and rotate it as you paint. Brush‑on paint may require 2–3 coats for full coverage.
Drying Time
Let the bottles dry completely before moving on. Thin coats dry faster and give you a smoother, more polished finish.
5. Choose your Decorative Designs
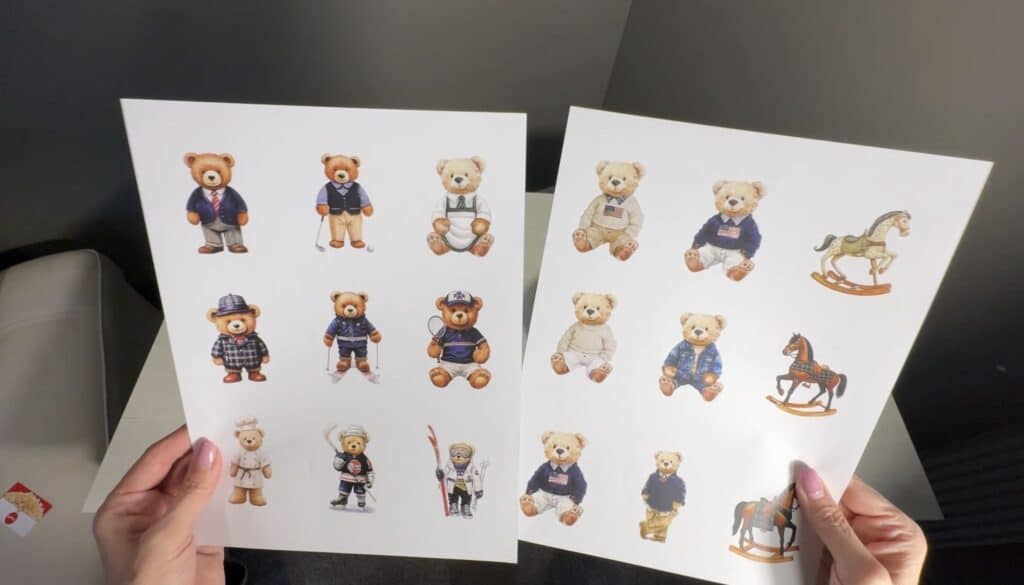
Decide what type of decoration you want to add to your painted bottle. The easiest option is to use a napkin design — simply cut out the artwork you want to feature. Napkins often have soft, detailed prints that look beautiful on bottles and require no extra steps.
If you don’t have a napkin that fits your theme, you can use printed designs instead. These can be turned into tape‑transfer decorations that create a soft, translucent look on the bottle. If you want to try this method, see my full post on how to create tape‑transfer designs for step‑by‑step instructions.
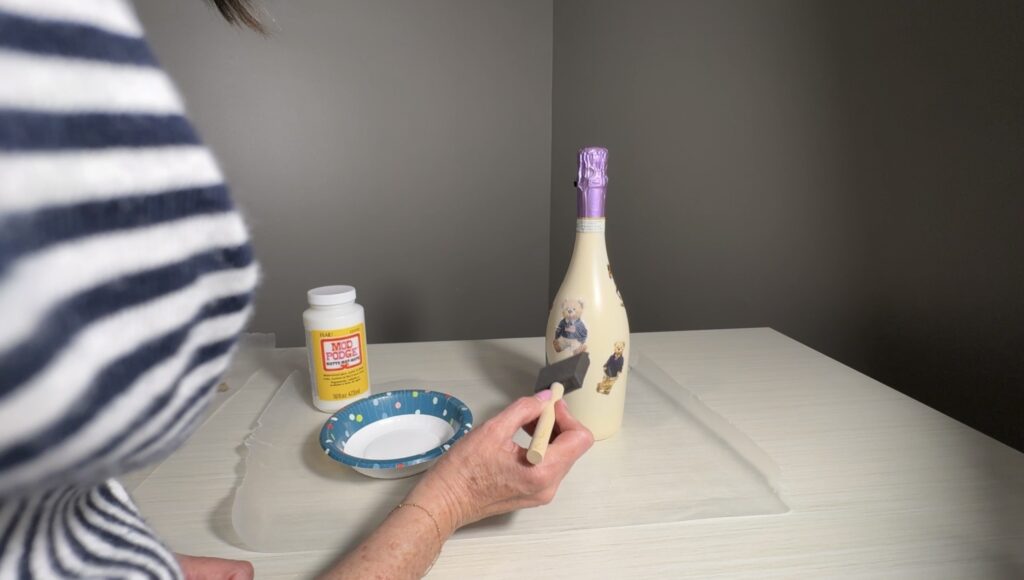
6. Apply your Decorations
How you attach your design depends on the type you chose in the previous step. Each material behaves differently, so use the method that matches your decoration.
Napkin Designs
Napkin artwork needs a base layer of Mod Podge to help it adhere. Brush a thin, even coat of Mod Podge onto the area where the napkin will sit. Gently place your cutout on top and smooth it from the center outward. Because napkins are delicate, dab a light layer of Mod Podge over the top to seal it—avoid dragging your brush so the design doesn’t tear.
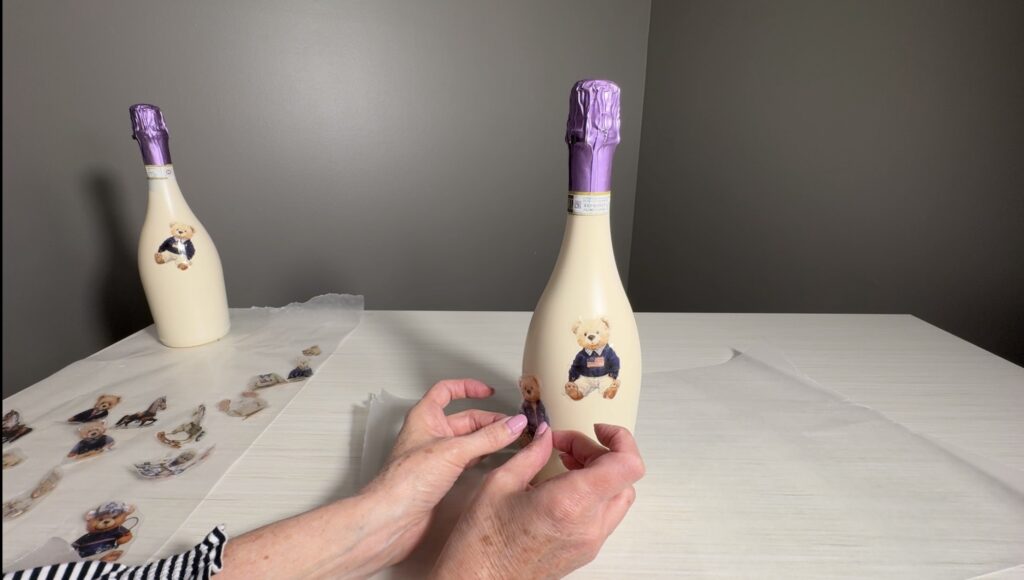
Tape‑Transfer Designs
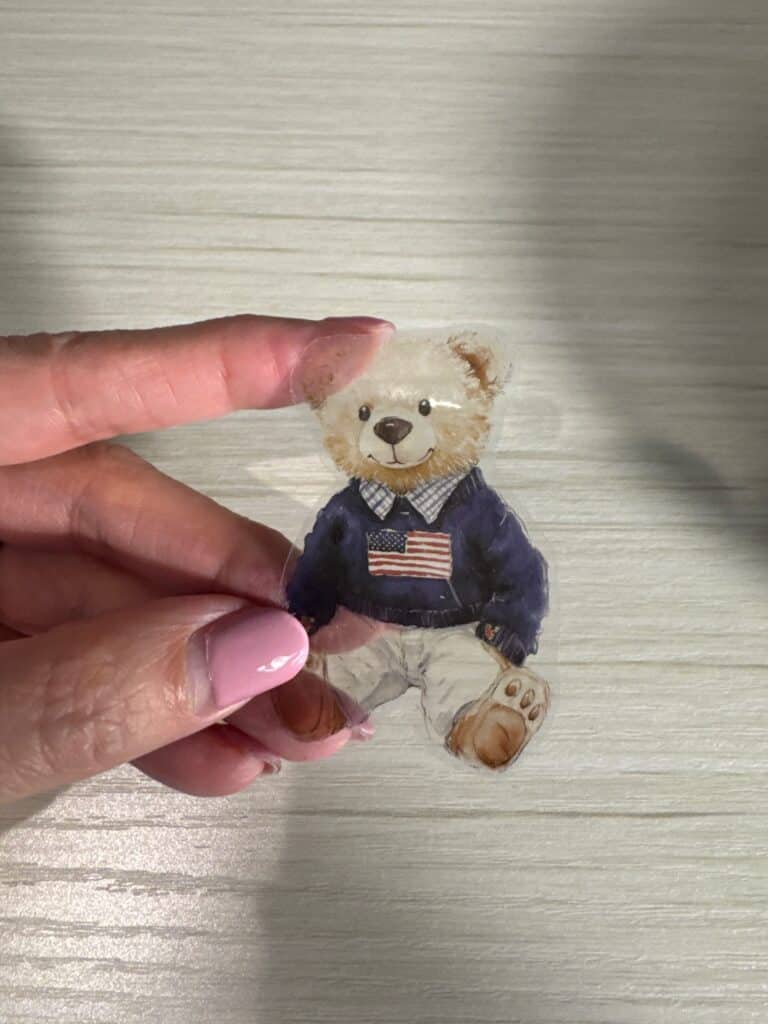
Tape‑transfer images already have a tacky surface, so place them directly onto the bottle without Mod Podge underneath. Press firmly to help the design grip the painted surface. Once it’s positioned the way you like, brush a thin coat of Mod Podge over the top to seal and protect it.
New to using transfer tape images? Be sure to check out my transfer tape video tutorial and/or blog post which share just how easy and amazing this process is.
Finishing Coats
- 1 coat: Natural, matte, handmade look
- 2–3 coats: Smoother, more polished finish
- Gloss Mod Podge: Shiny, glass‑like finish
- Matte Mod Podge: Soft, subtle finish (usually best for baby‑shower themes)
7. Seal your design and let the bottle fully dry
Let the bottle dry completely before moving on to the next step.
8. Add finishing touches to the top of the bottle
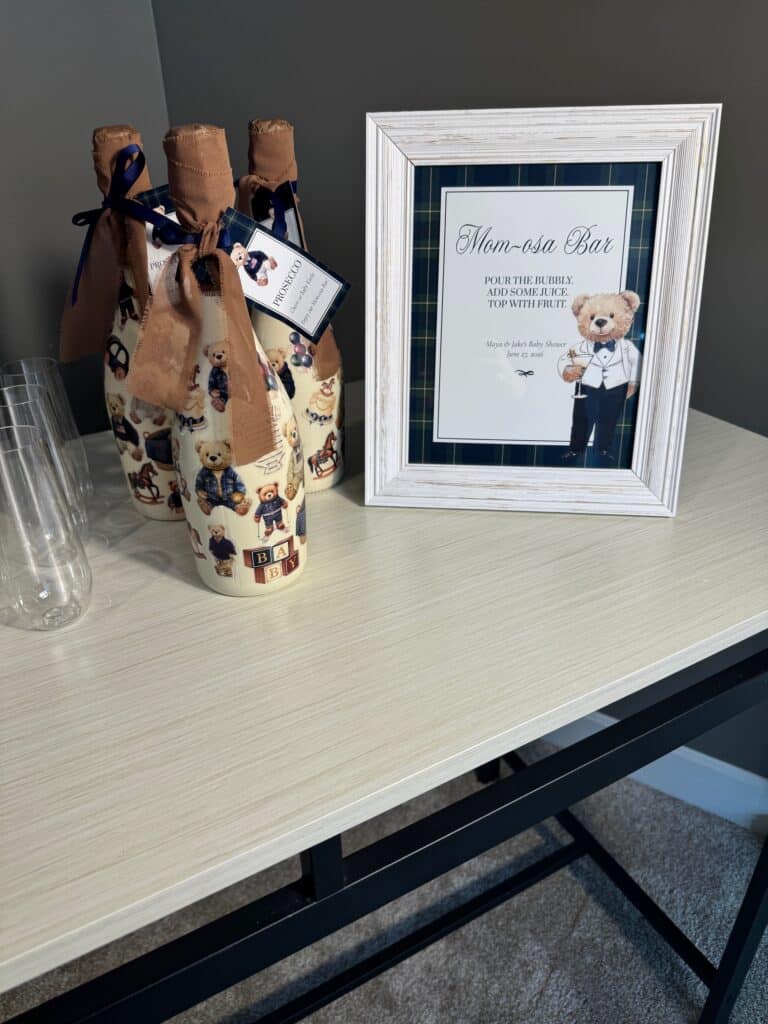
Take a look at the foil or wrapping at the top of your wine bottle and decide whether it works with your theme. If the color already matches your décor, you can keep it as‑is and simply add a bow, twine, or a small charm around the neck for a polished, coordinated look.
If the foil color doesn’t match, you have a few options:
- Cover it with ribbon or twine for a soft, textured finish
- Wrap it with coordinating paper (kraft, tissue, or patterned) and secure with twine
- Remove the foil entirely and leave the glass neck exposed for a clean, minimal look
- Add a small tag that ties into your theme (like a Classic Bear tag or a “Mom‑osa Bar” charm)
Choose whichever option feels most cohesive with the rest of your decorations and the overall style of your event.
Once all your decorations and finishing touches are in place, brush a final thin coat of Mod Podge over the decorated areas to seal everything. This helps protect the design, smooth the surface, and give the bottle a finished, cohesive look. Allow the bottle to dry completely — Mod Podge will feel dry to the touch within minutes, but it needs time to fully cure so the decorations stay secure.
Let the bottle sit undisturbed until it’s fully dry before styling it on your Mom‑osa bar.
Final Thoughts
Decorating a wine bottle for a Mom‑osa bar is one of those simple projects that instantly elevates your drink station without requiring special tools or advanced crafting skills. Whether you use a napkin design, a tape‑transfer image, or a mix of both, the finished bottle adds a personal, intentional touch that ties your whole theme together. Once everything is dry and styled on your bar, it becomes one of those small details guests always notice — and it’s such an easy way to make your baby shower feel polished and thoughtfully put together.