Halloween Mini Rolling Pins
These DIY rolling pins make the perfect seasonal farmhouse decor for your tiered trays!
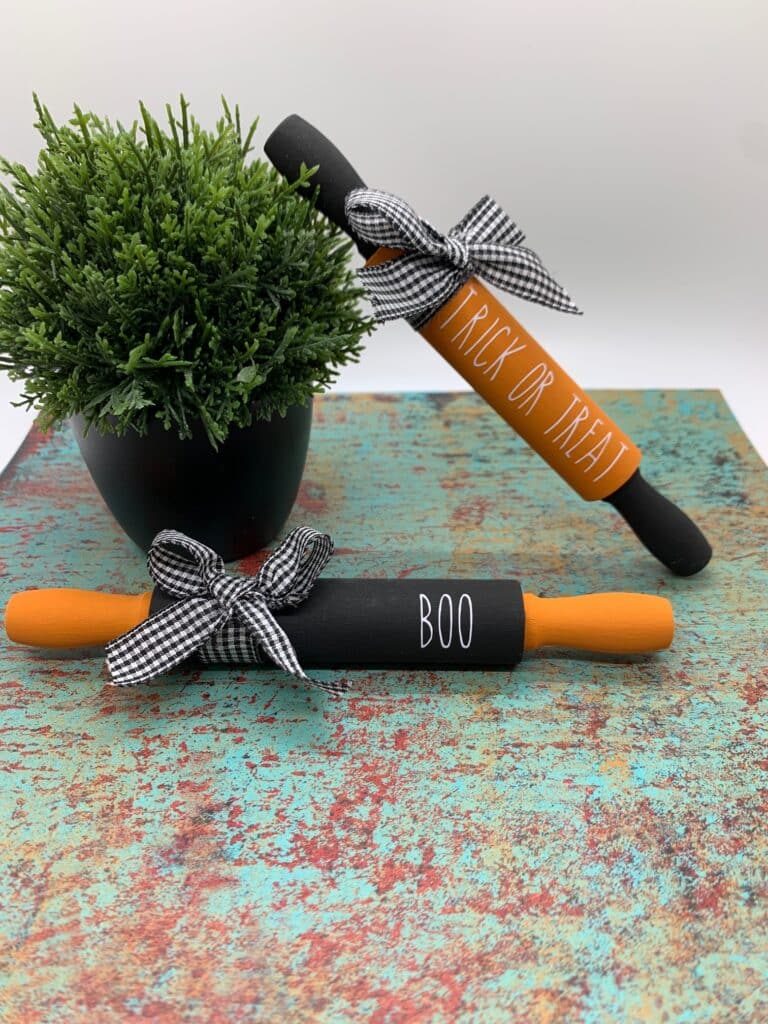
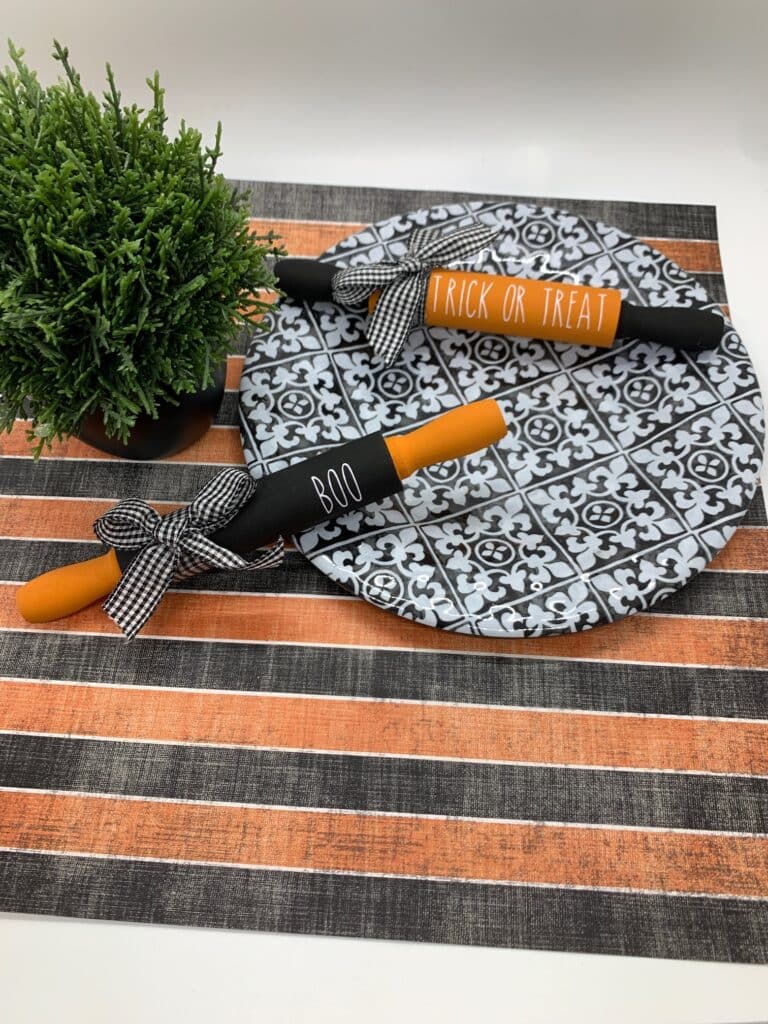
These Halloween mini rolling pins make the perfect Halloween tiered tray decor. They’re the perfect size to add a Halloween touch to small spaces. And they’re super easy (and cheap) to make.
Disclosure: This page may contain affiliate links. If you purchase through these links, I may earn a commission at no extra cost to you.
Halloween Mini Rolling Pins Supplies
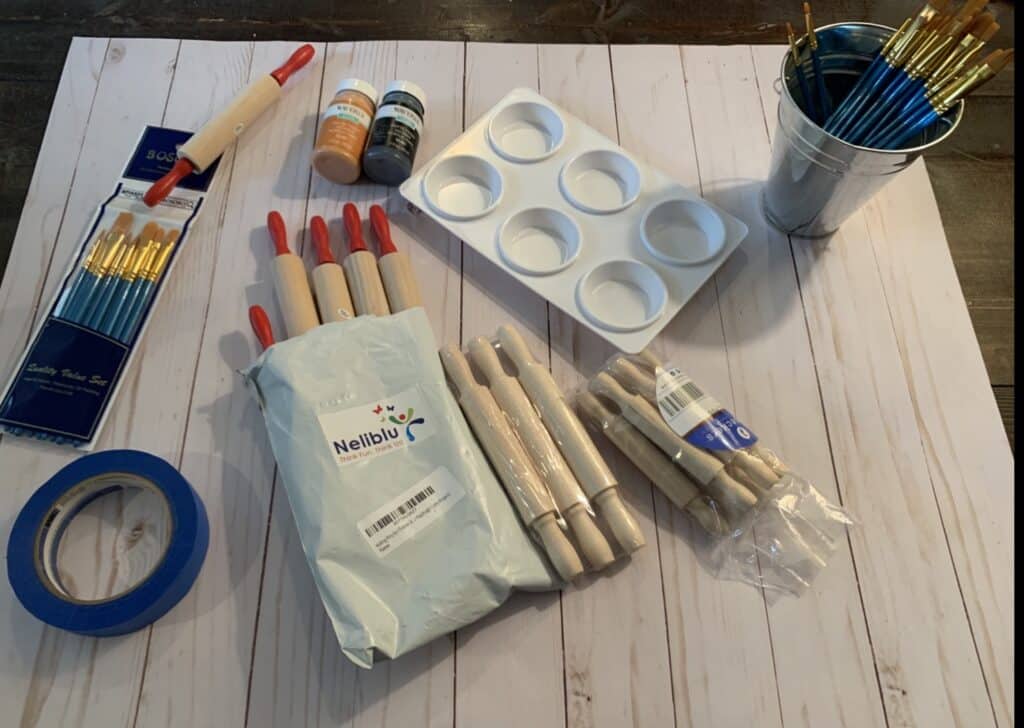
There are several supplies needed for this project :
- Rolling Pins
- 7-inch rolling pins, packed 3 in (these are the ones I used and are photographed below).
- 7″ rolling pins, packed 12 in
- 5″ rolling pins, packed 6 in
- Chalk paint – Here is a similar color on Amazon.
- Paint brushes – These paint brushes are my favorites.
- Painter’s tape (optional) – to tape off the ends for cleaner lines
- Paint tray (optional) – you can use a small paper plate or bowl
- vinyl letters – I made mine with my Cricut white vinyl
Check out the project via YouTube video below!
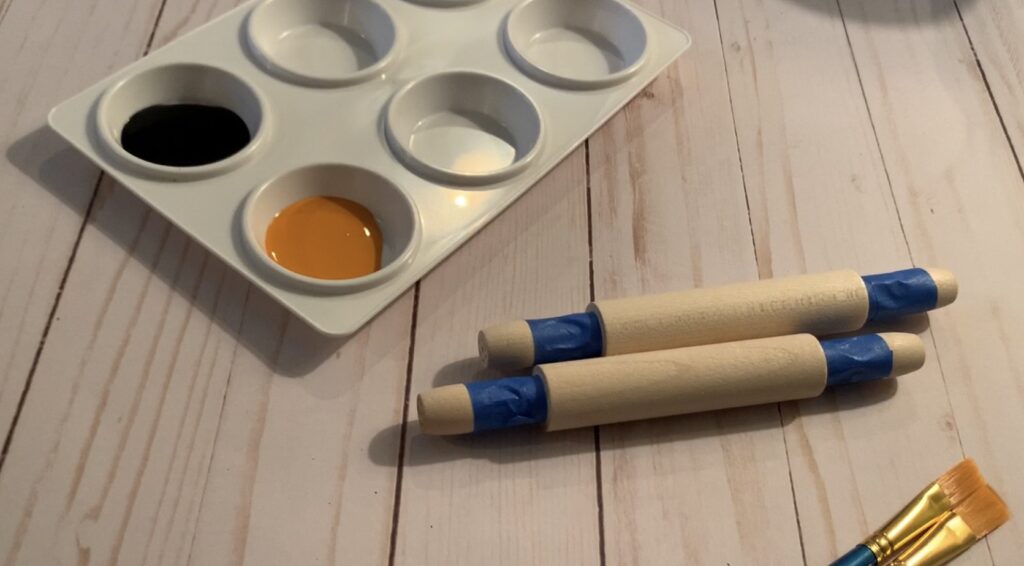
Tape off the rolling pin ends with tape.
I like to use painters tape tape off the end of the rolling pins so that I have a clean line of color on the handles.

You can see both pins below, taped and ready to be painted.
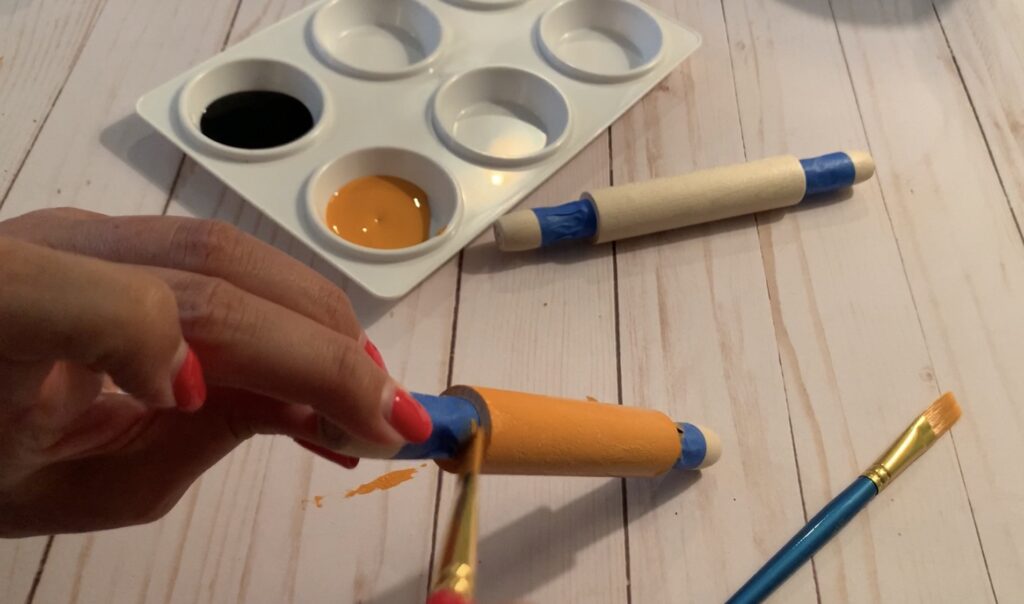
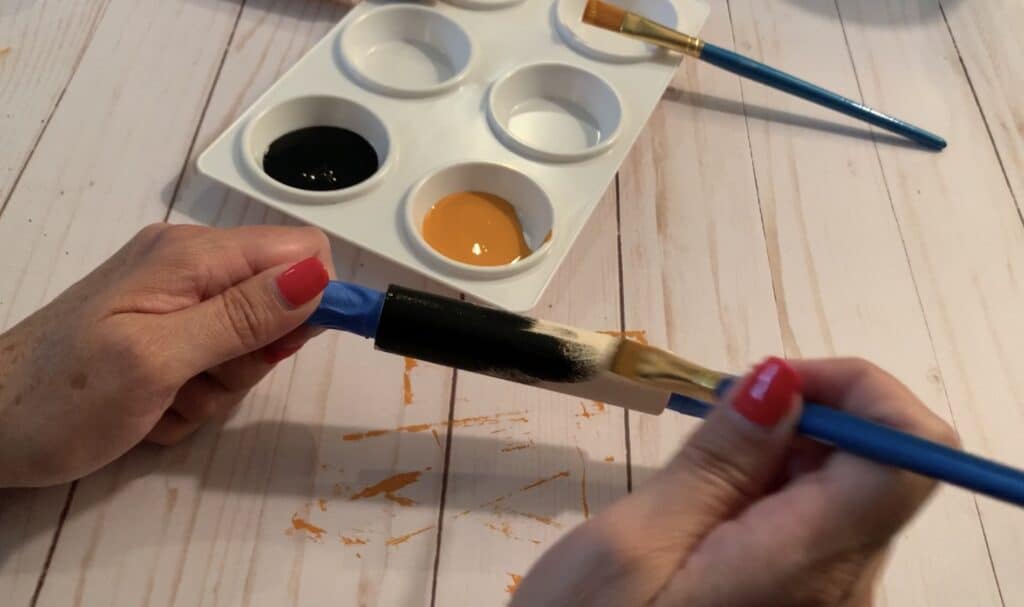
Paint the Halloween mini rolling pins.
I normally apply two coats of paint to the rolling pins, waiting the time indicated on the paint bottles in between coats.
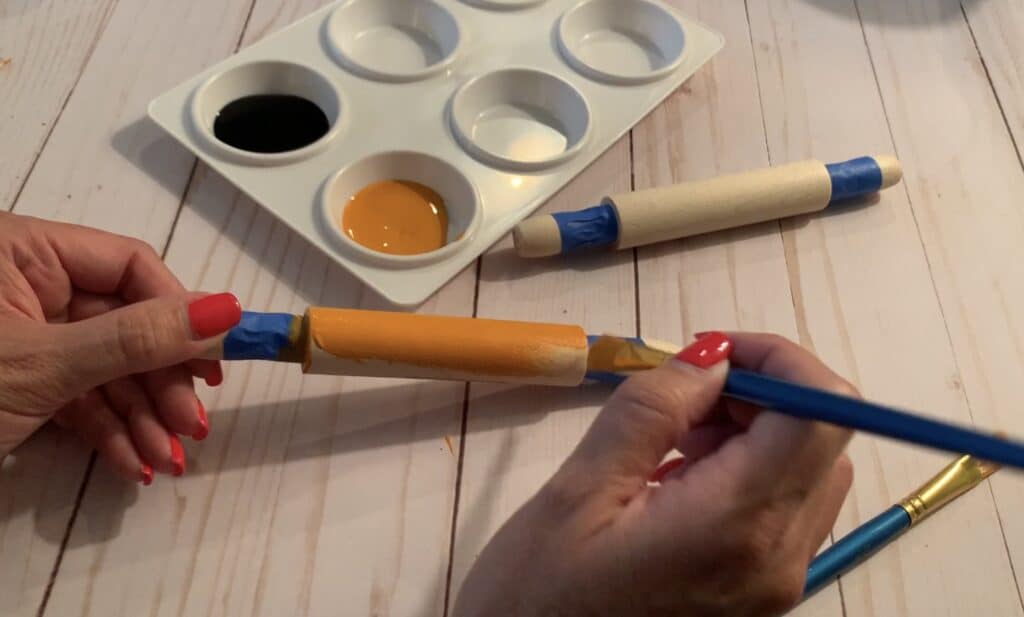
Decide if you want the side of the roller to match the color of the rest of the roller or the handles. I like for the side of the roller to be the same color as the rolling pin.
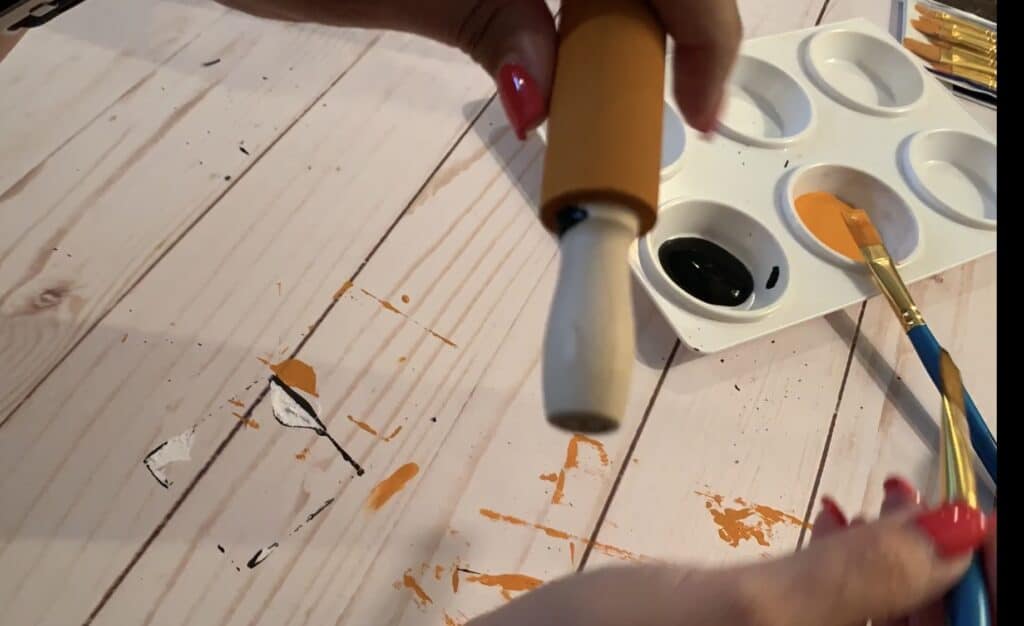
Remove painters tape from the handles.
After the paint dries, remove the painters tape from the handles of the Halloween mini rolling pins.

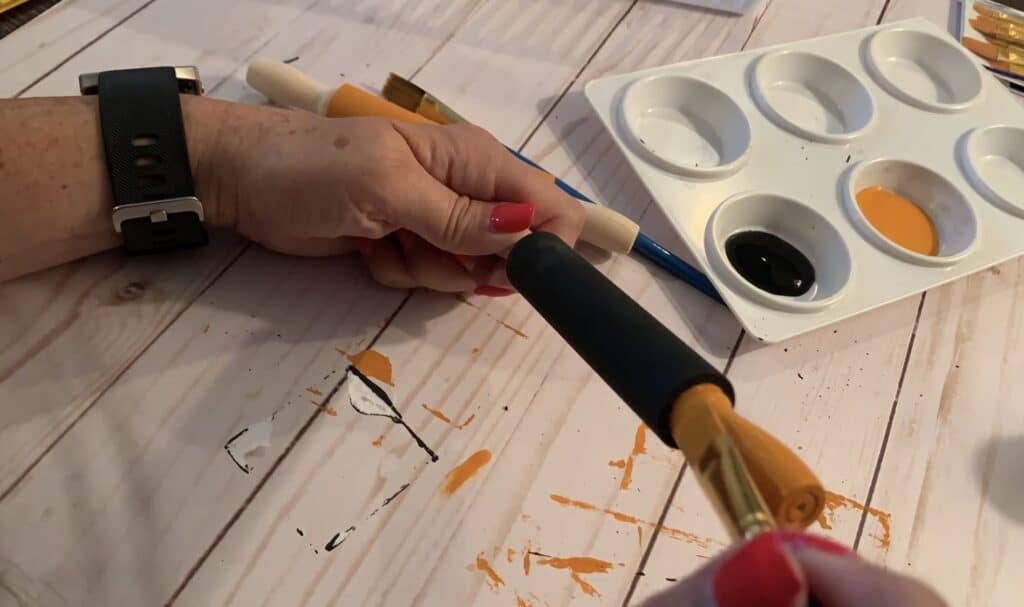
Paint the rolling pin handles.
Paint the handles of the Halloween mini rolling pins after removing the tape. I like to use the paint color of the other rolling pin, making a really cute set.
Decide on your Halloween sayings.
There are so many great options for Halloween sayings! I’ve listed several options below.
- Happy Halloween
- Boo!
- Spooky or Spooktacular
- Hocus Pocus
- Trick or Treat
- Candy Corn
- Witches or Witchy
- Wicked
- Pretty Wicked
- Ghosts
- Goblins
- Haunt or Haunted
- Jack-o-lanterns
- Pumpkins
- Creepin’ it Real
- Spells
- Spooks
- Sweets
- Treats
- Mummies
- Scary
- Dracula
- Cauldron
- Beware
- Fright
- Skulls
- Black Cats
- Monsters
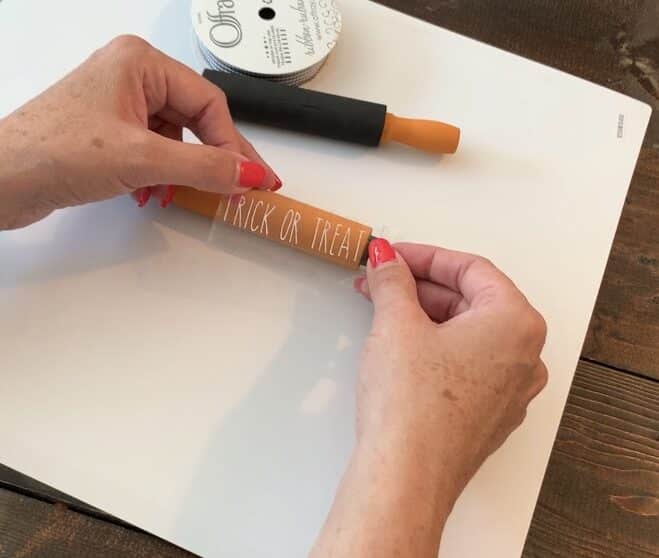
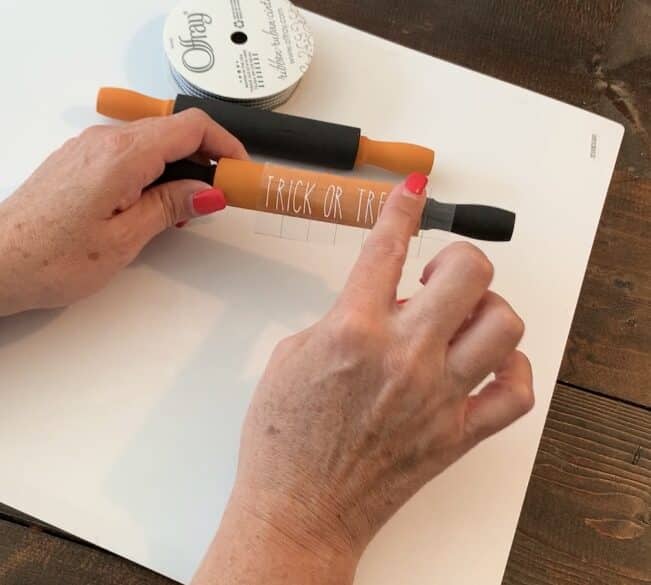
Apply the stickers or vinyl letters onto the rolling pins.
There are many great font options to choose from when cutting words and letters on a Cricut or Silhouette machine. I chose to use the Skinny font, a free font on dafont.com.
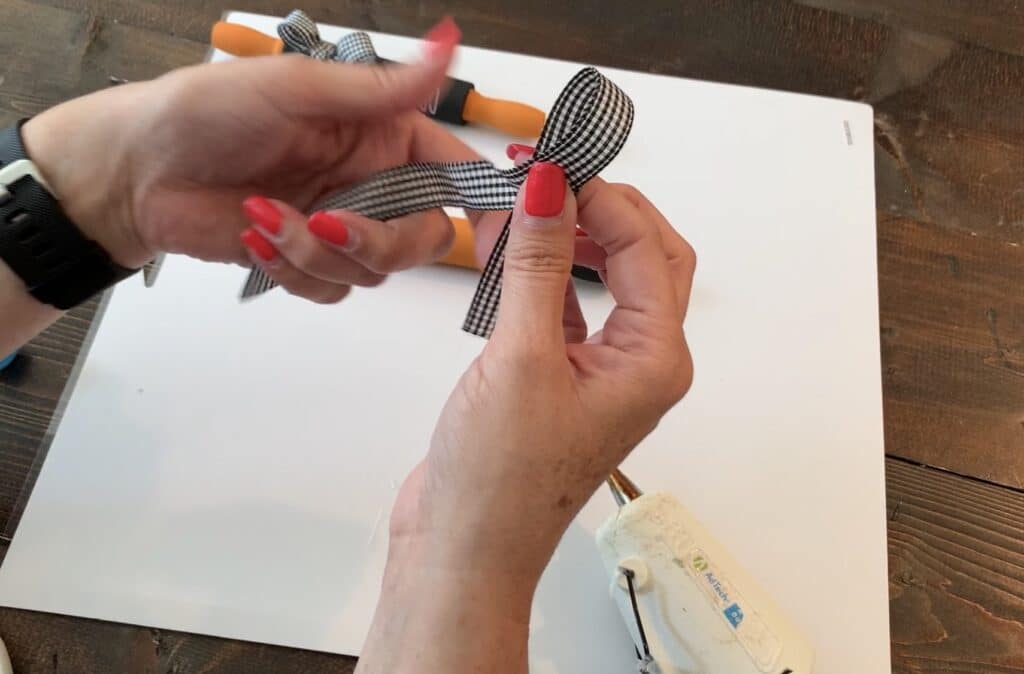
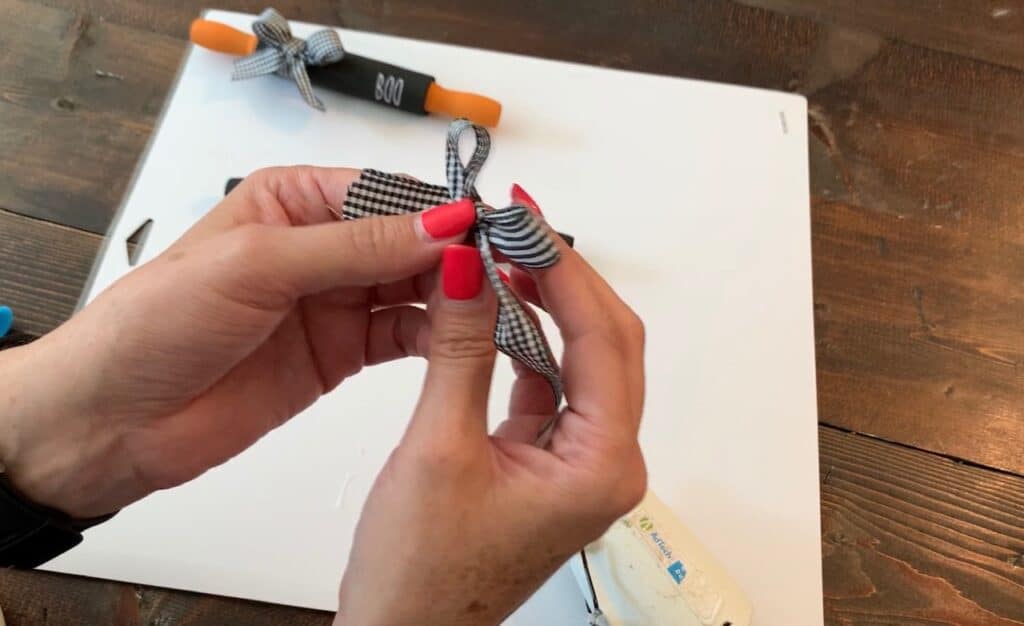
Add embellishments to the mini rolling pins.
Ribbons and twine look great as an embellishment tied around the rolling pin. To make my bow, I start by hot gluing a short strip of ribbon around the end of the rolling pin.

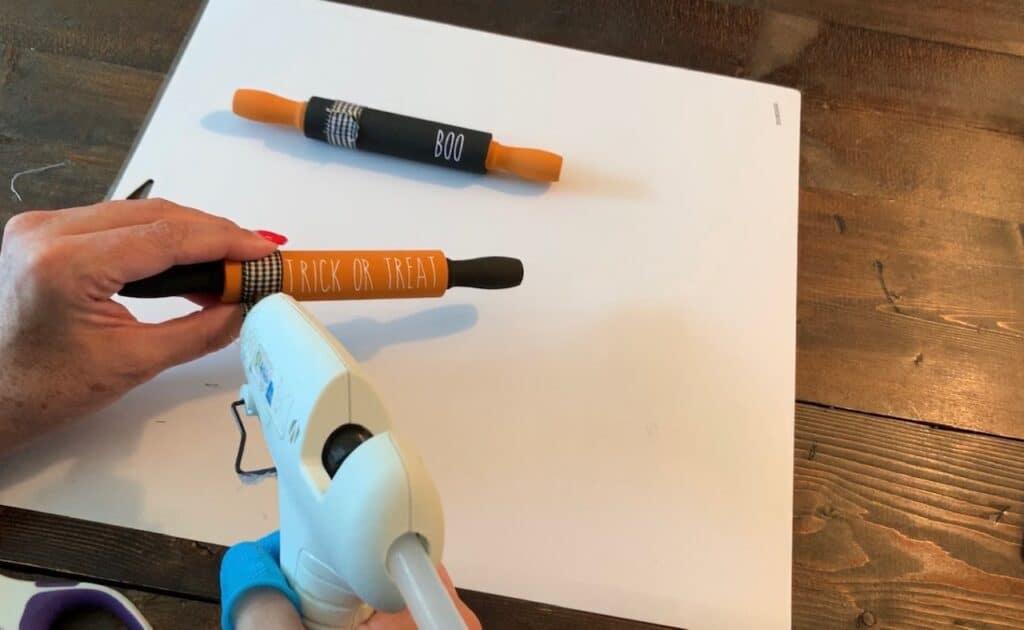
I love using these silicone finger protecting covers when I use my glue gun. They save my fingertips all the time!
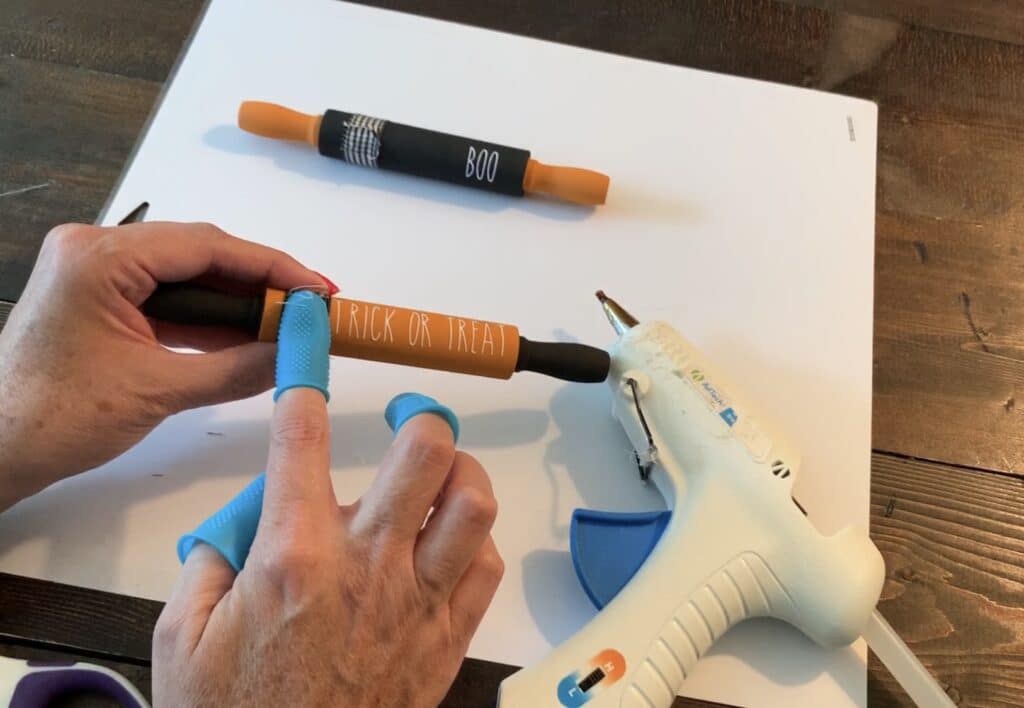
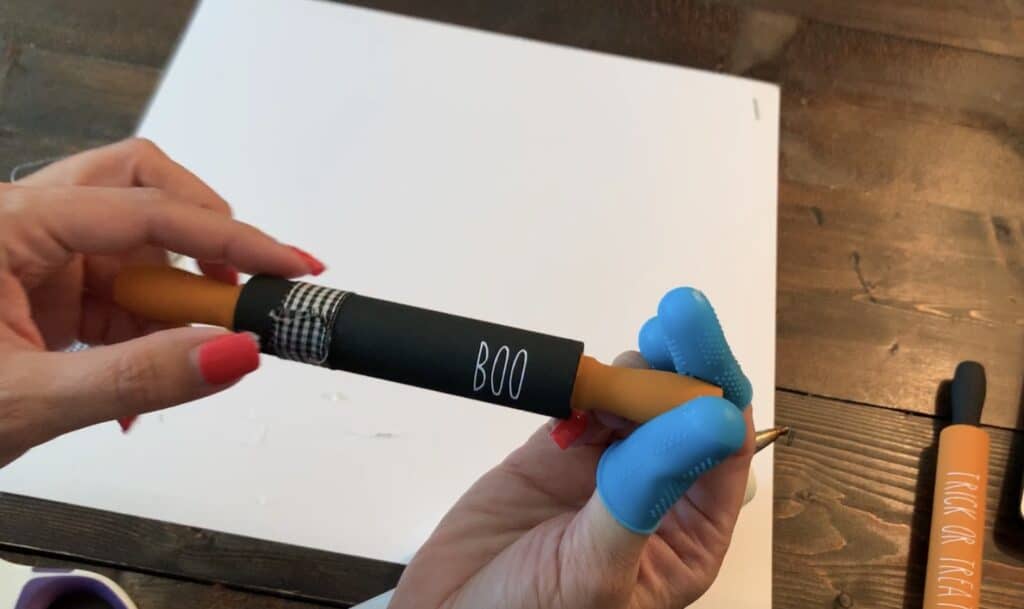
A simple shoestring bow is perfect for these Halloween mini rolling pins.
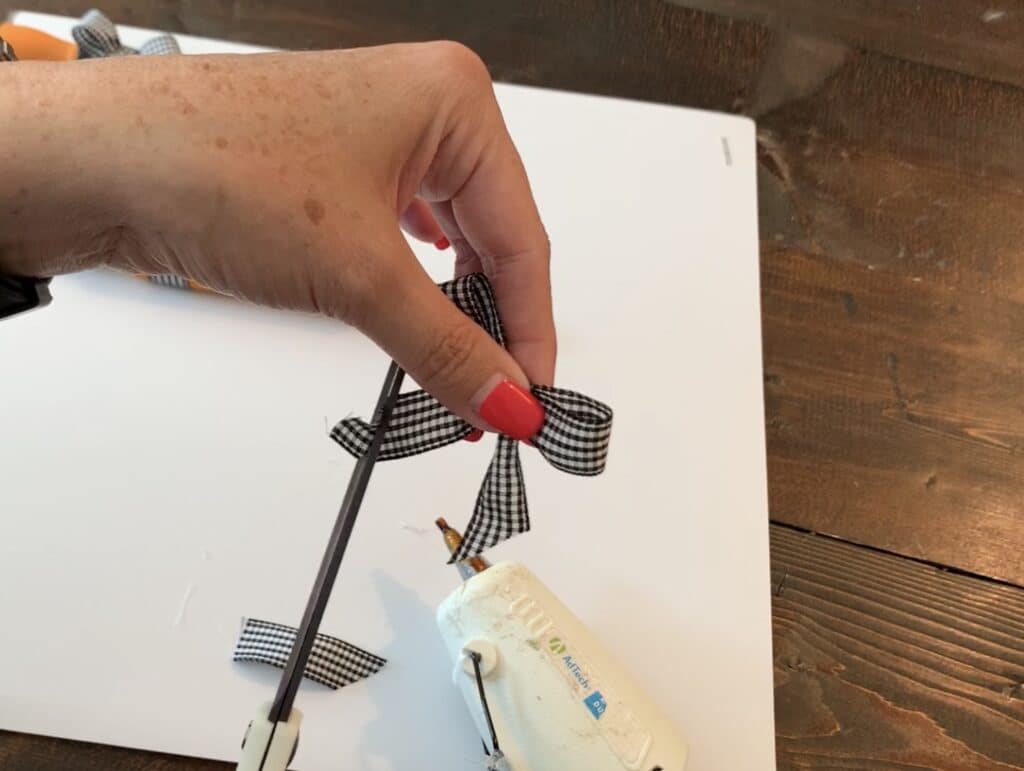
After I’ve created the mini bow, I use the glue gun and attach it to the ribbon that is on the mini rolling pin.
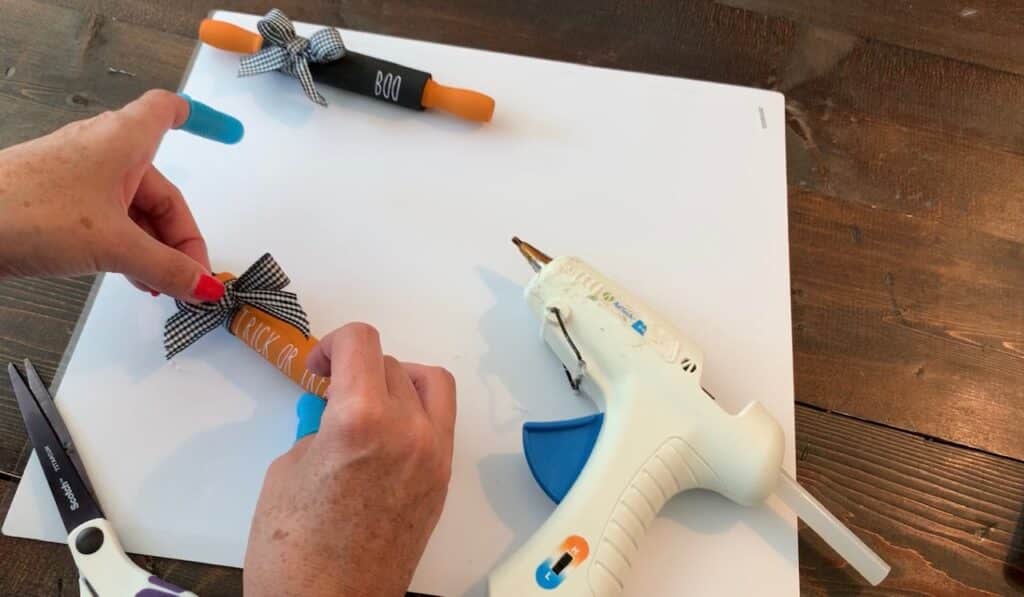
And that’s it! These Halloween mini rolling pins are darling and so easy to make!
Check out my Other Halloween Posts:
- Halloween rolling pins decor
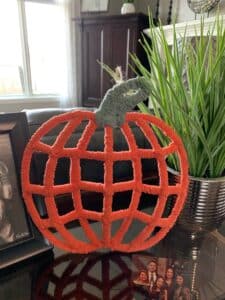
- Pumpkin Yarn Wreath from Dollar Tree Tinsel Decor
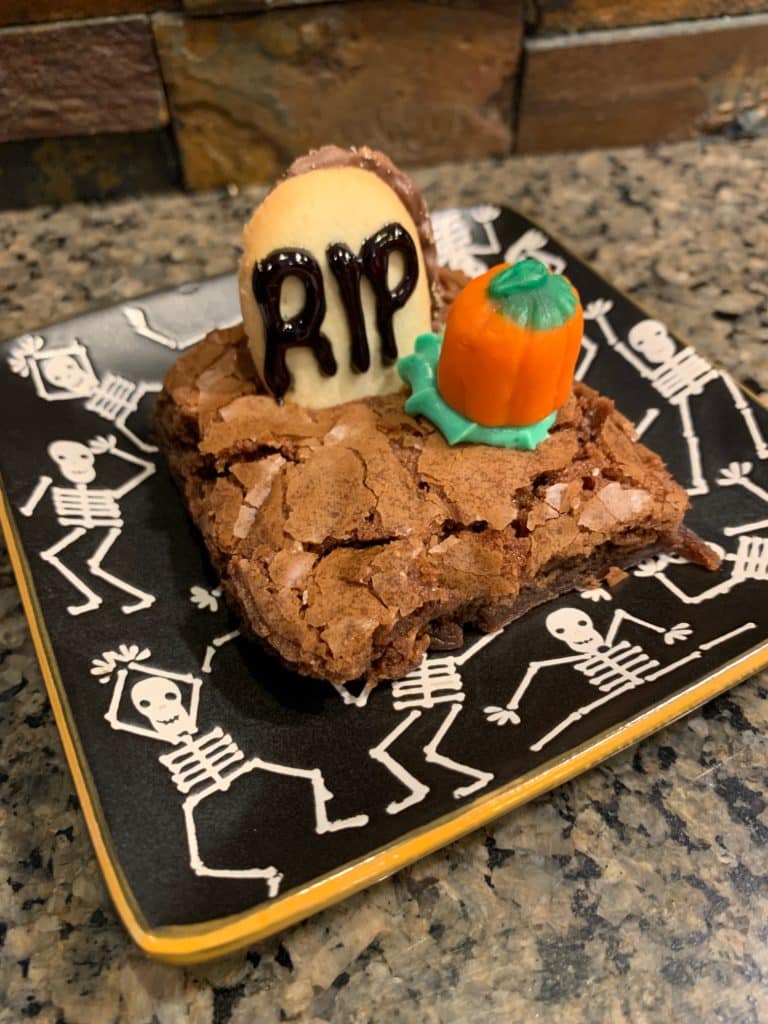
- Tombstone Brownies
- Mummy Brownies
- Halloween Skeleton Vase
- Halloween Care Package
- Halloween DIY Candy Jars
- Halloween Decoration DIY: Buffalo Plaid Pumpkins
- Fall Tiered Tray
- Fall Gold and Cream Tiered Tray
- Halloween Tiered Tray with Halloween glassware
- How to make a Halloween Tiered Tray
- Pumpkin Earrings DIY
- Bat Earrings DIY
- Ghost Earrings DIY
- Skull Earrings DIY
- Halloween Pinched Earrings DIY
- Boo Earrings DIY