Cricut PJs: Sorority Gift Idea
Iron on Greek sorority letters to PJ bottoms to make the perfect sorority gift
With the holidays around the corner, I’m busy, busy, busy making DIY Christmas gifts. Today, I made these Cricut PJs (iron on PJ’s) and they turned out super cute! Who doesn’t love PJ bottoms, especially in a buffalo check pattern. I simply used my Cricut machine to cut heat transfer vinyl and then ironed them onto each pair of PJ bottoms using a Cricut Easy Press.
Disclosure: This page may contain affiliate links. If you purchase through these links, I may earn a commission at no extra cost to you.
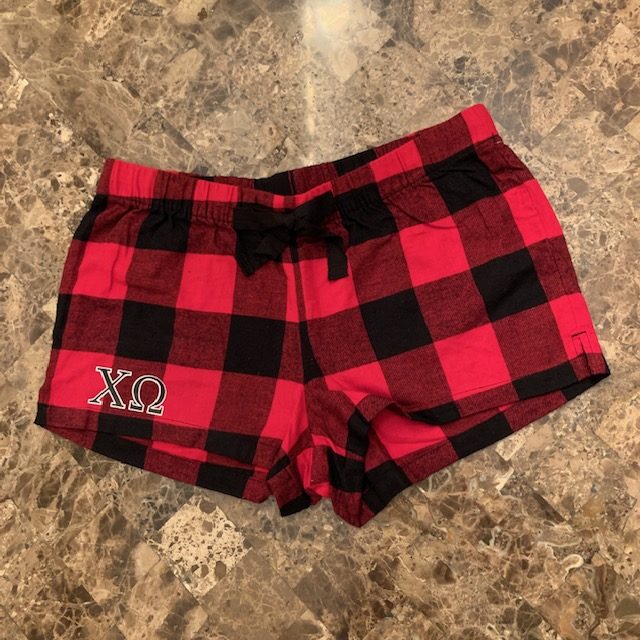
First, find your PJs.
Here is a cute option on Amazon: Buffalo Plaid PJ shorts
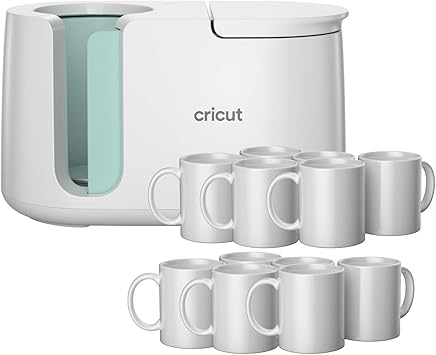
My Favorite Cricut Machine Options


Heat Press Essentials


Heat Transfer Vinyl
I used to only purchase Cricut brand HTV; however, the colors are very limited. I know enjoy the large range of HTV colors available on Amazon. Check them out here.
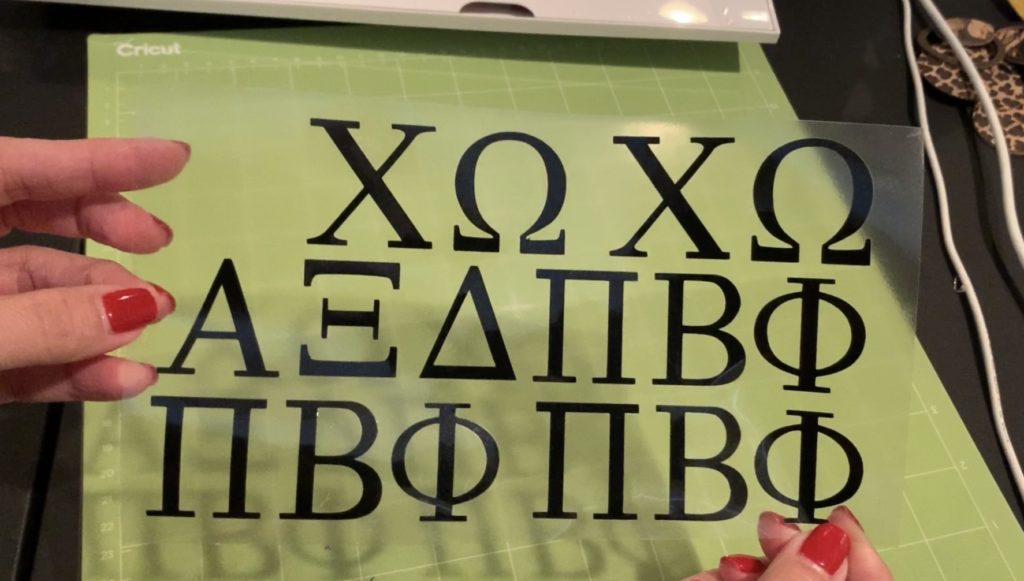
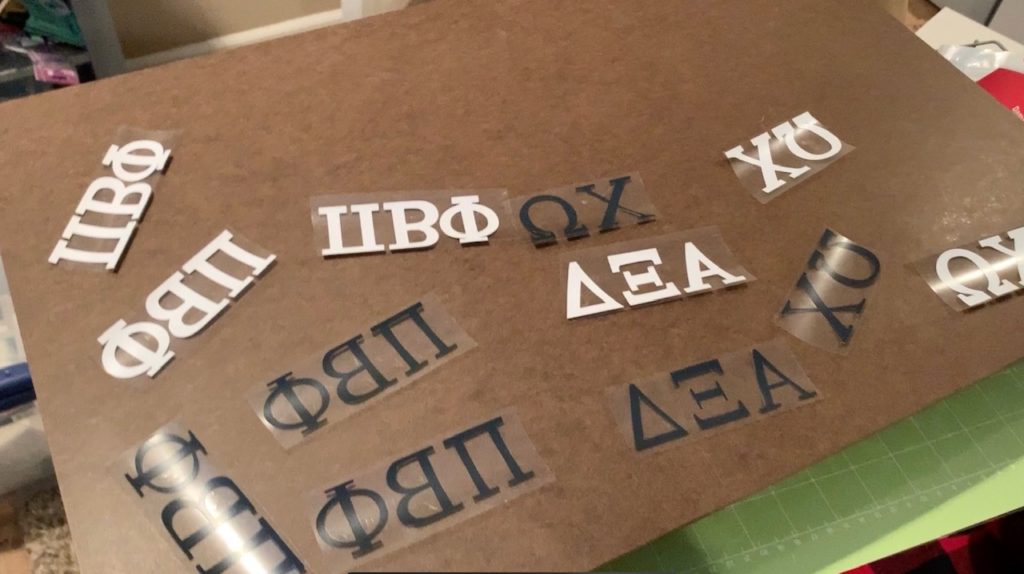
Images and Fonts
For my Greek alphabet, I purchased an SVG file from Design Bundles. I shopped around and liked the versatility that I’ll get with this one.
HOW TO MAKE CRICUT PJs
Check out my Cricut PJs sorority gifts YouTube video!
This video share shares step-by-step instructions to create this project in Cricut Design studio and how to use the Cricut Easy Press to iron on the heat transfer vinyl. Below the detailed YouTube video are some general reminders and tips.
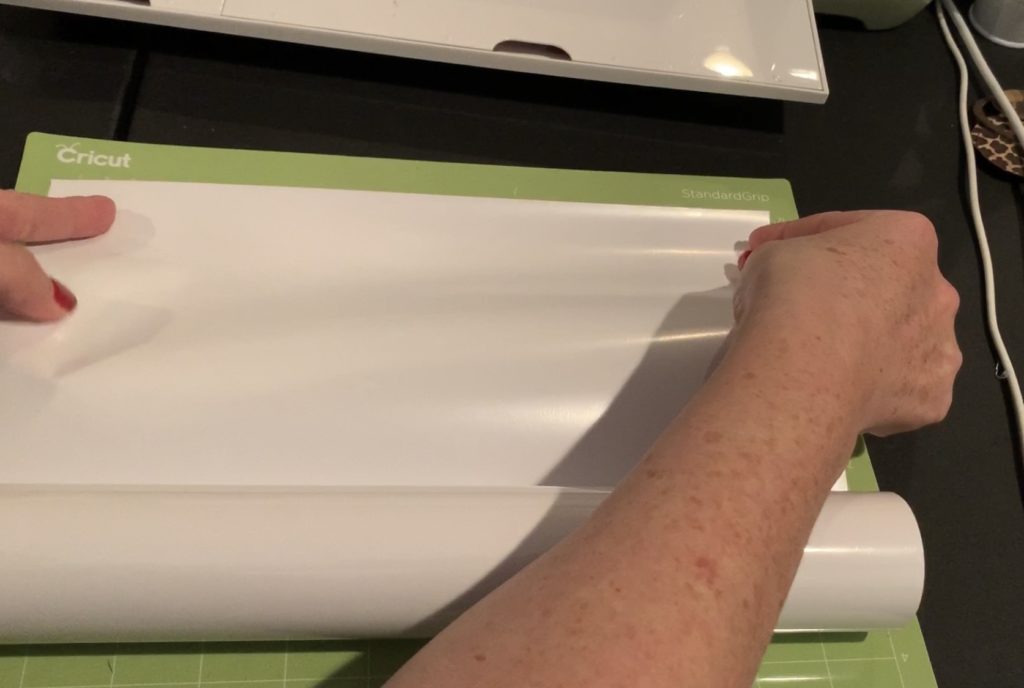
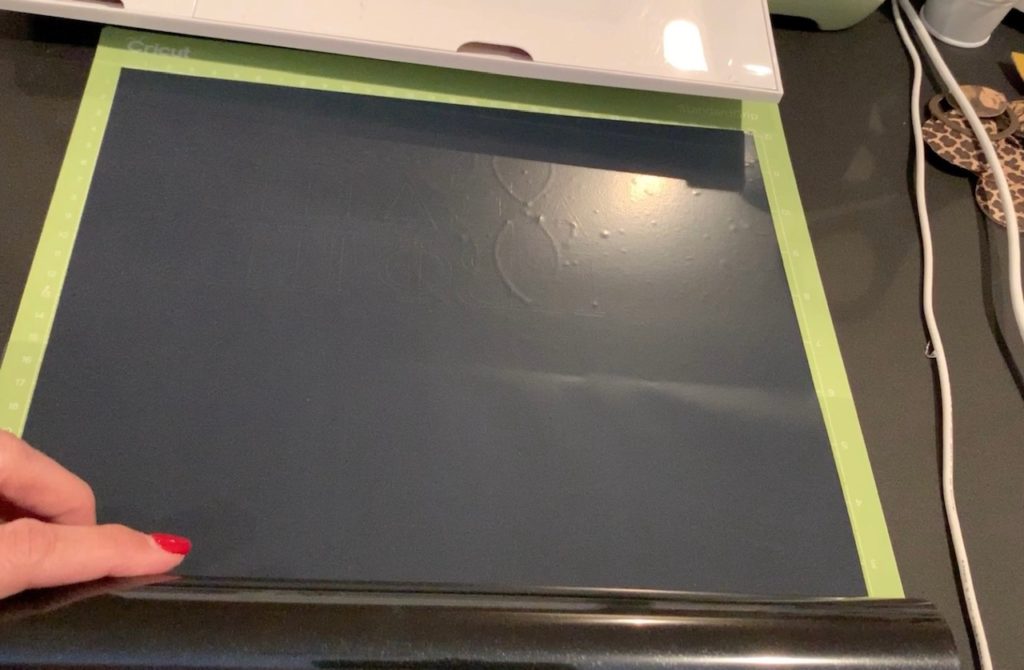
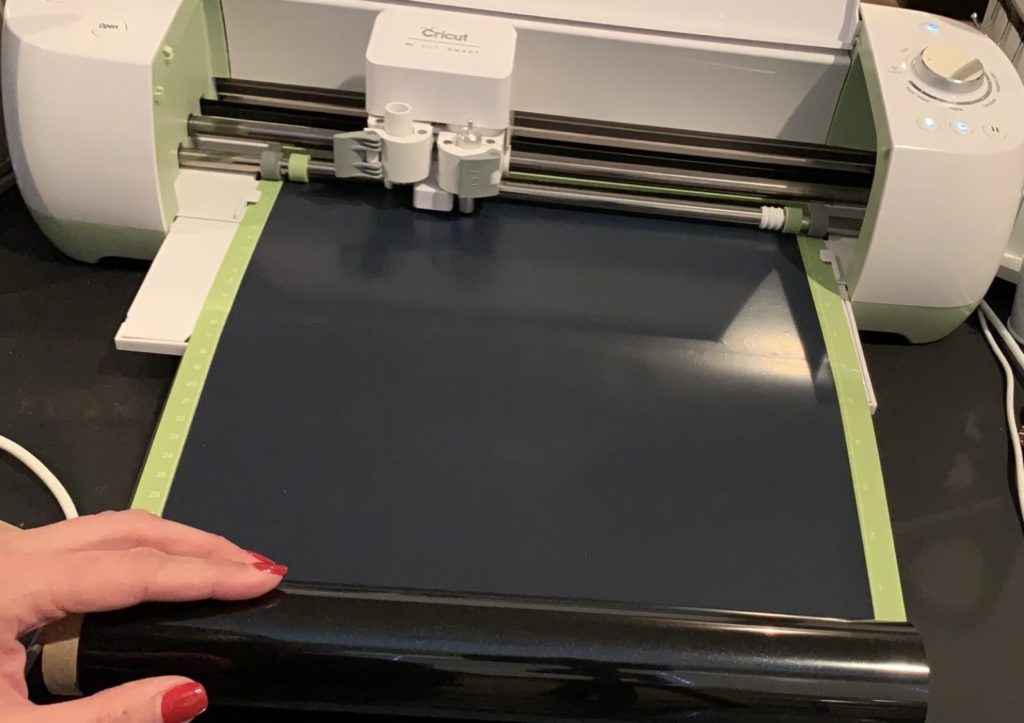
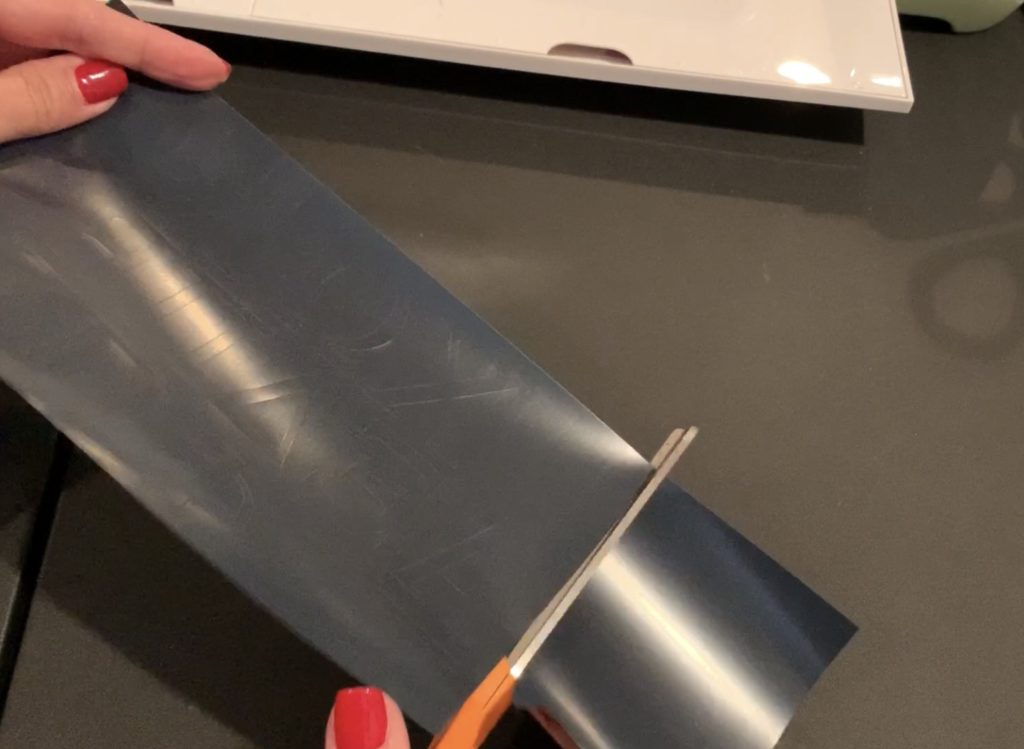
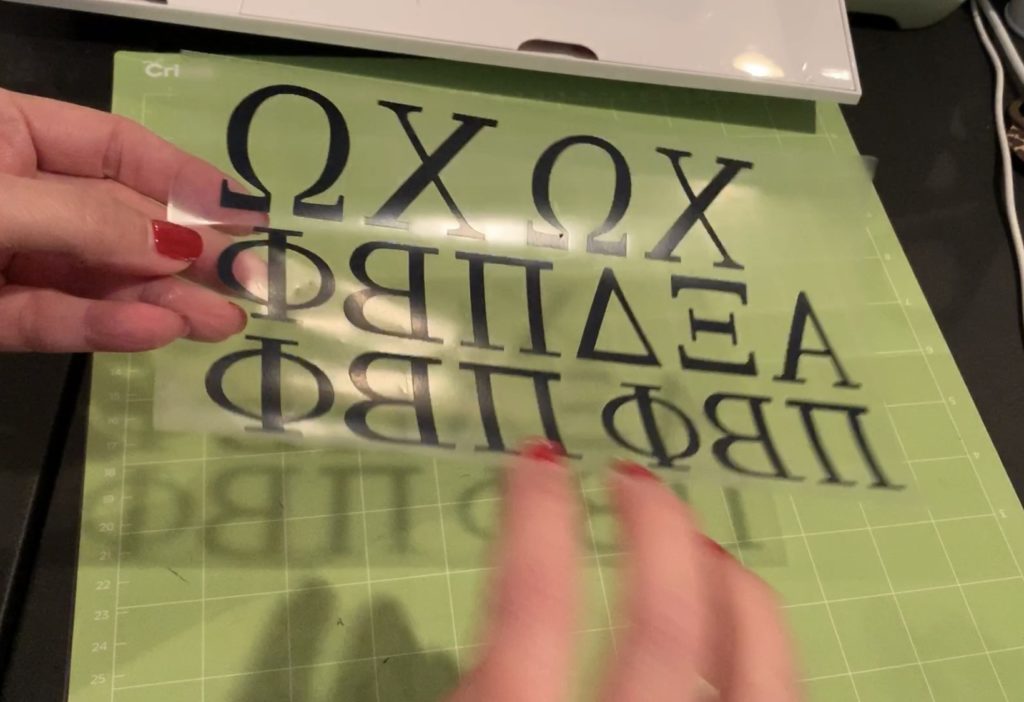
Cut your material.
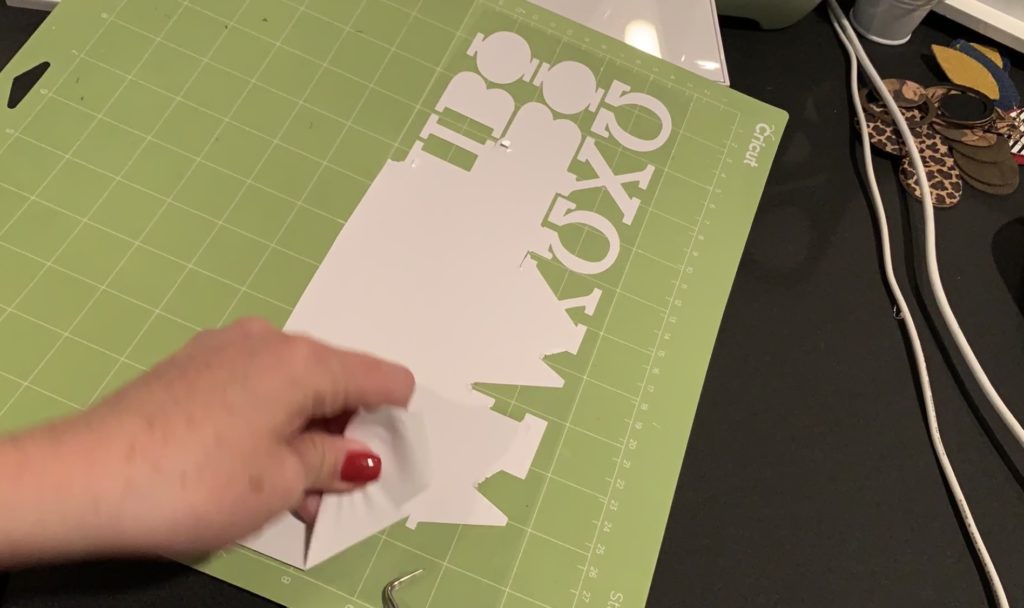
Be sure to put the heat transfer vinyl onto the Cricut mat glossy side down, dull side up when you cut it.
Also make sure you reverse you image by clicking on the Mirror option before you cut your vinyl.
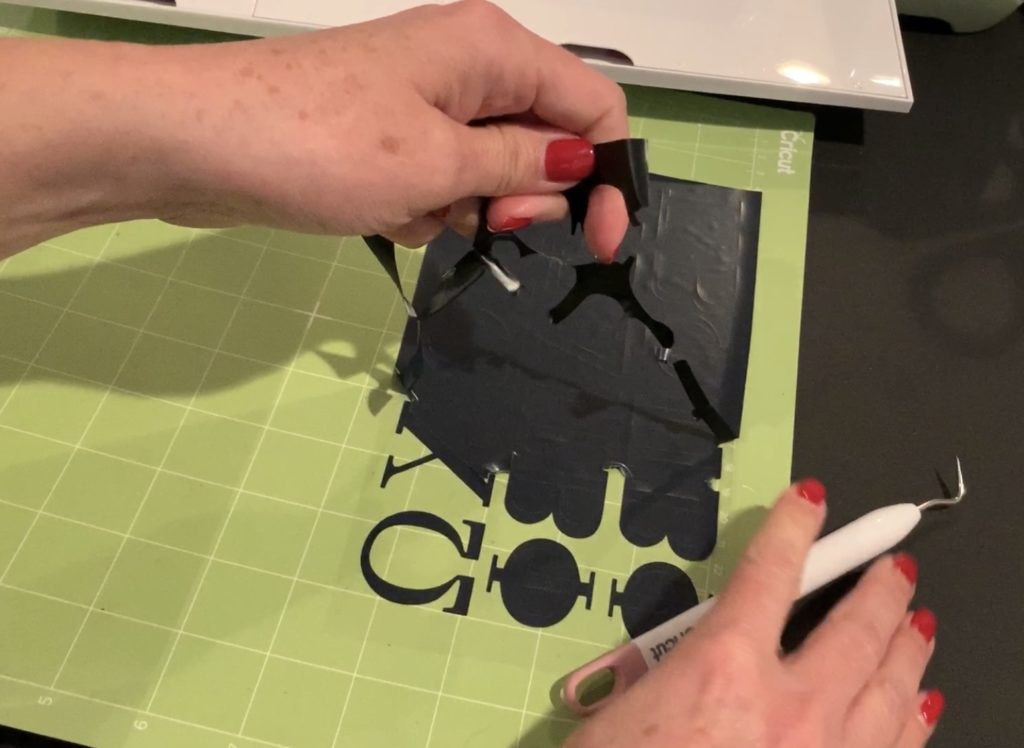
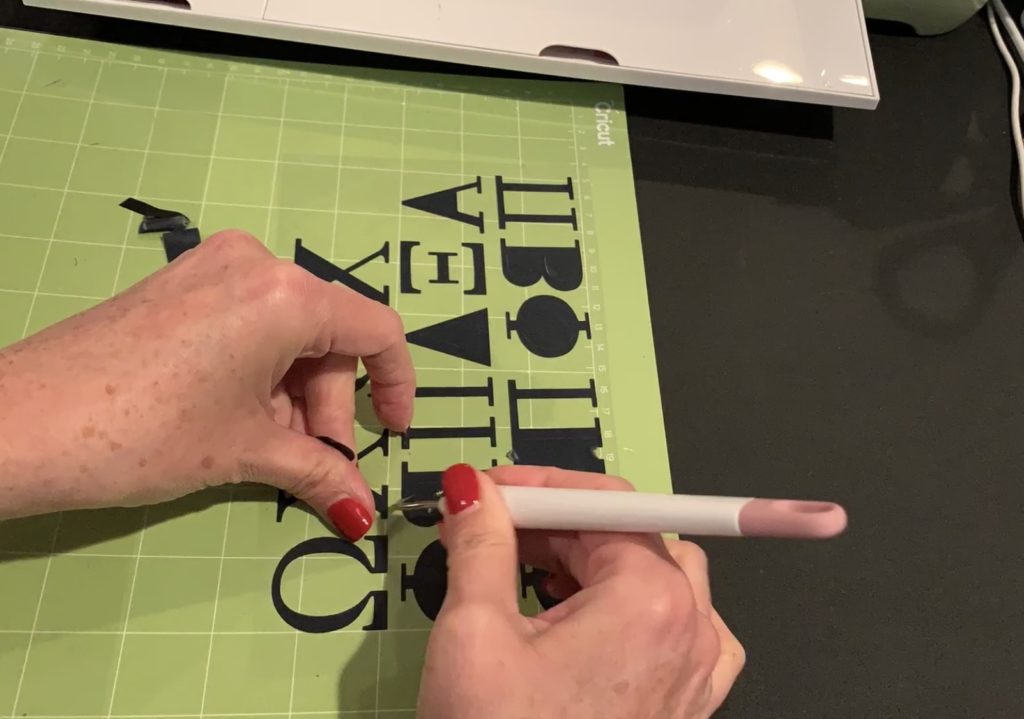
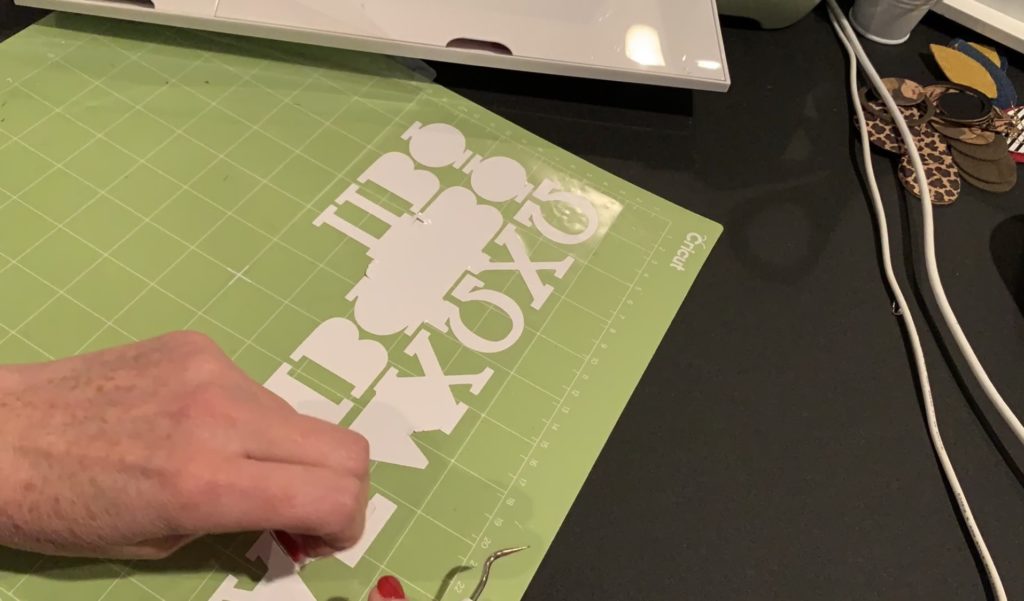
Weed the heat transfer vinyl.
Use your Cricut weeder to remove the vinyl that isn’t part of the iron on.
Working with Heat Transfer Vinyl
I use a Cricut Easy Press to put on heat transfer vinyl. Before owning an Easy Press, I used an iron. It works, but the easy press just does a much better job and it is easy to control the temperature. I love, love, love mine. For Christmas I want to get the Cricut Easy Press mini!
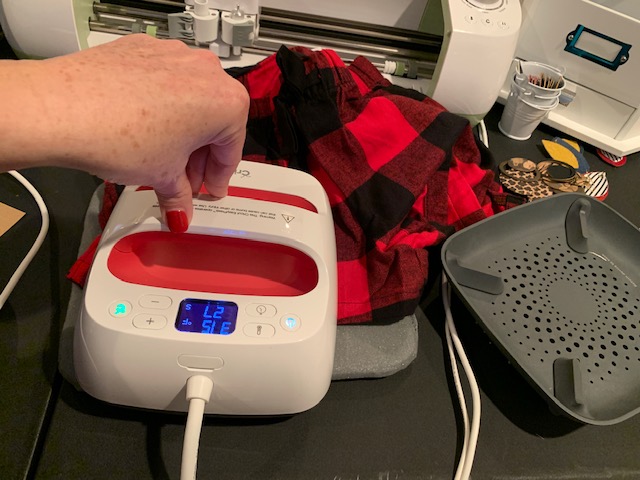
Pre-heat the Cricut Easy Press
When you’re ready to use your Cricut Easy Press, turn it on and set the temperature.
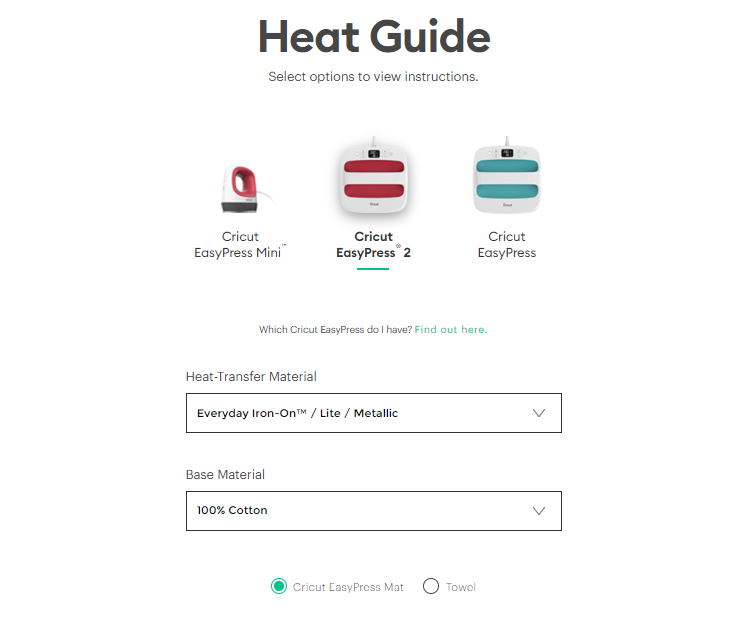
Cricut provides a guide with your easy press, but I always just look it up online whenever I’m doing a project. You can just search “cricut easy press heat guide.”
Tap on the type of Cricut Easy Press that you’re using. Then select the heat transfer material you are using. Then select the type of base material you’re using (what you’re ironing onto). And finally, select whether you’re using the Cricut Easy Press mat or a towel.
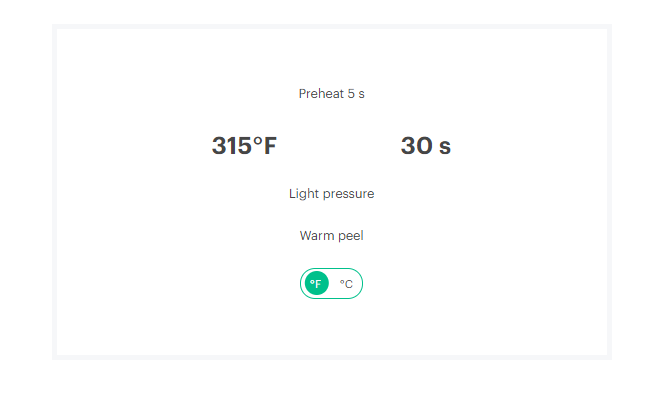
After tapping “Apply” it lets you know the temperature setting for the project. It also shares how long you should keep the press on your project and it tells you whether to remove the transfer material while it is warm or cool. For this project, the heat guide instructed me to set the temperature to 315 degrees.
Here are some Cricut Easy Press mat options from Amazon.
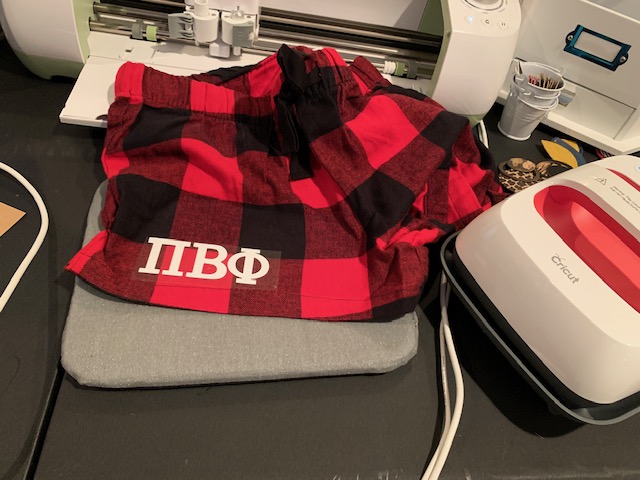
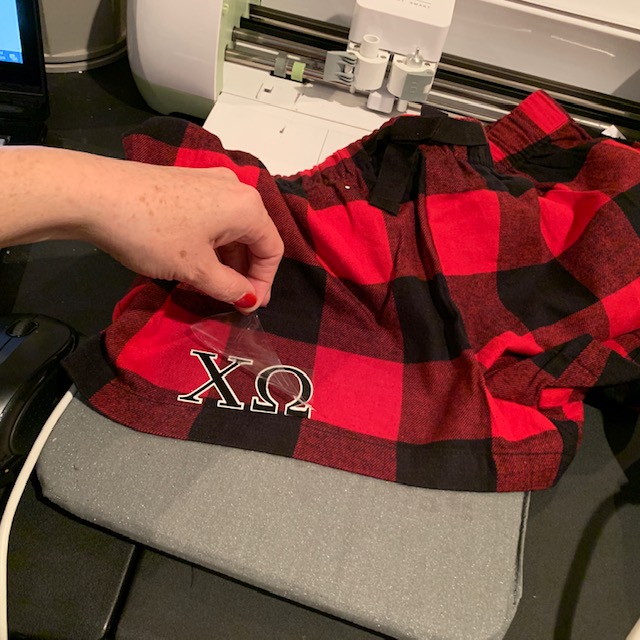
The photos below show my PJ sorority gifts being finalized.
First, I ironed on the white layer of heat transfer vinyl onto my Cricut PJs. I applied light pressure for 30 seconds.
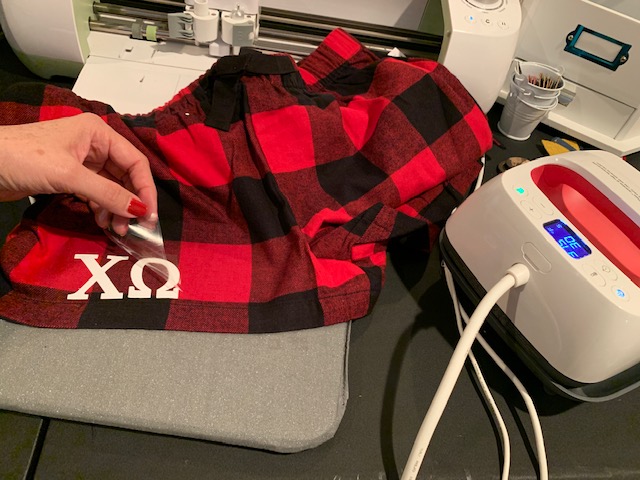
After 30 seconds, I peeled the backing from the heat transfer vinyl.

Then, I applied the black layer of the heat transfer vinyl on top of the white vinyl. I applied light pressure again for 30 seconds.
Cutting Tool and Accessory Essentials


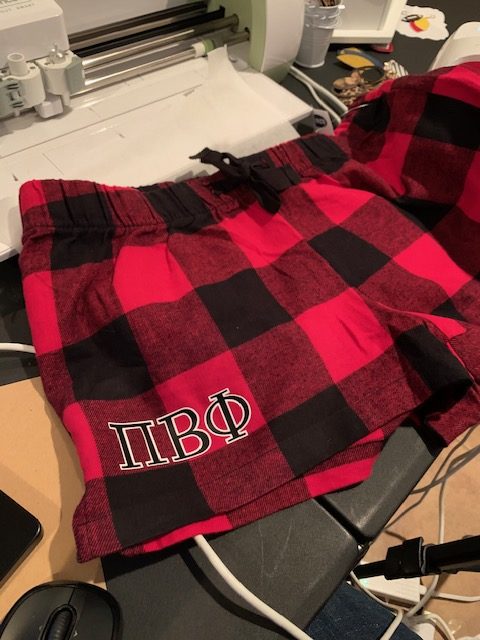
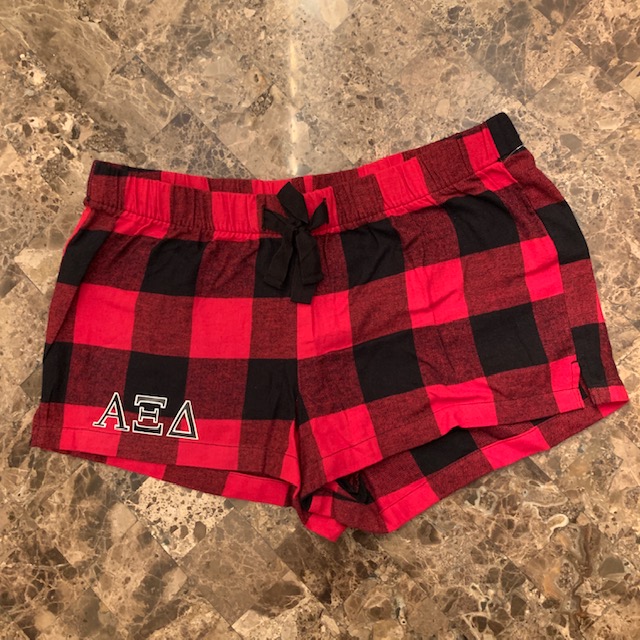
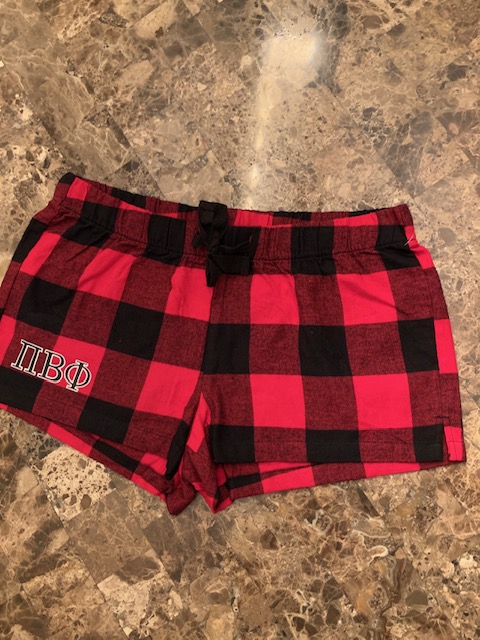
I made several pair. They all turned out so cute!

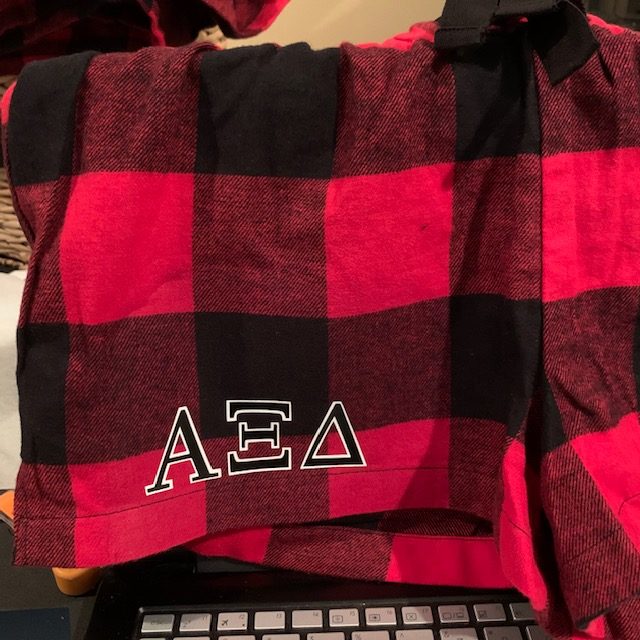
Check out the pictures of my finished Cricut PJs below.
Check out some of my other posts for this holiday season:
- Cricut Blankets – Iron On Blankets
- Wood slice ornaments
- Christmas Care Package – full of DIY Christmas Ideas
- Ornaments with heat transfer vinyl (iron on)
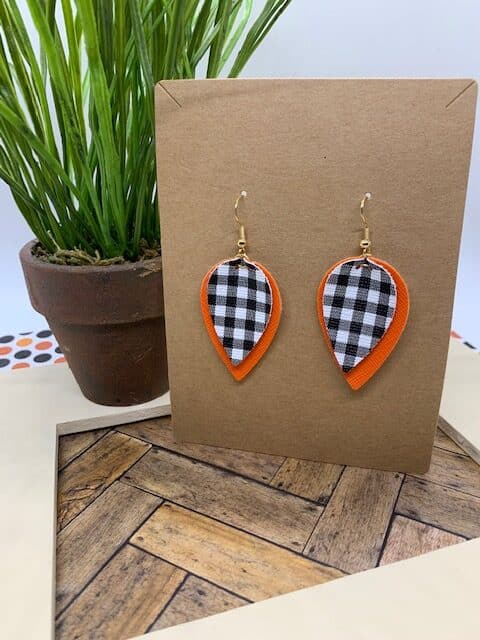
- Teardrop Cork Earrings
- Snowflake Cutout Teardrop Faux Leather Earrings
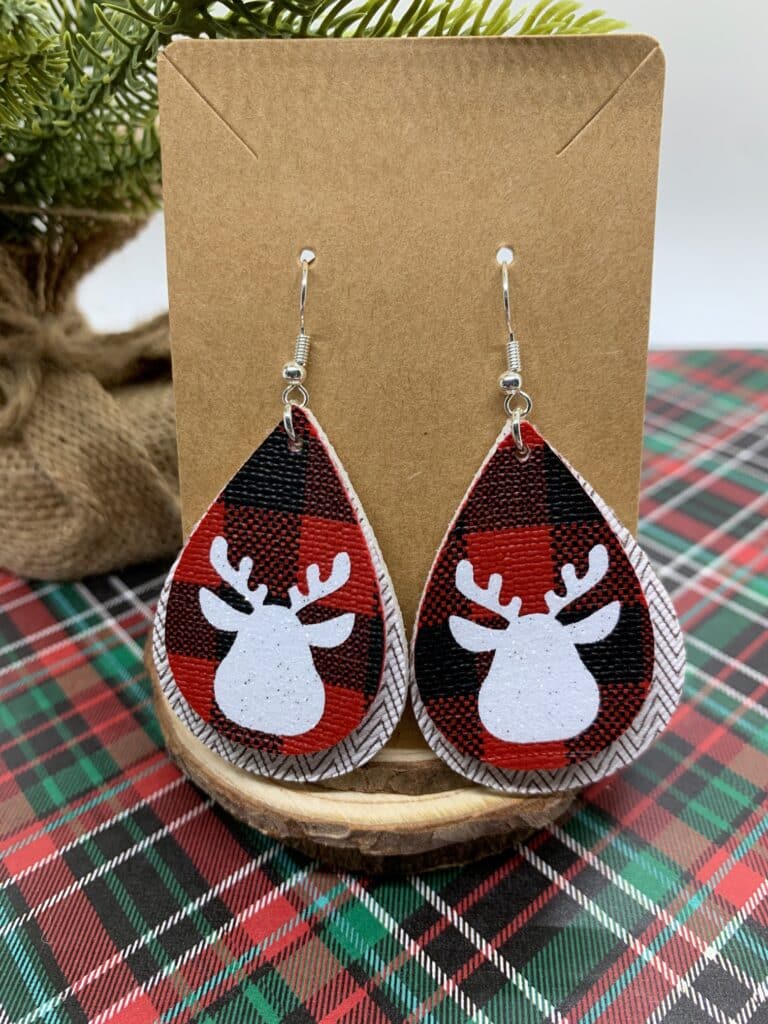
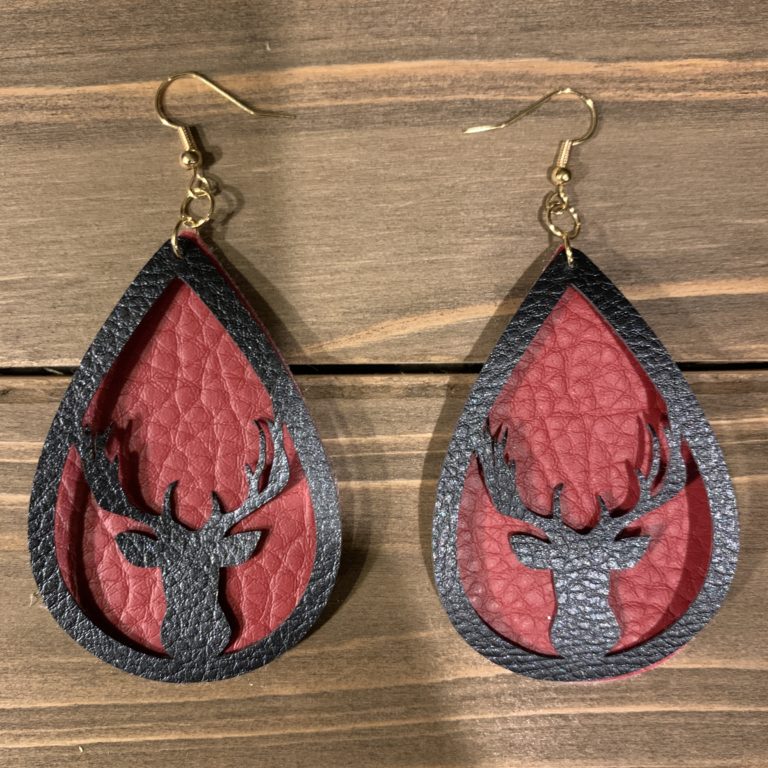
- Reindeer Iron Onto Teardrop Earrings
- Snowman Leather Iron On Earrings
- Reindeer cutout Earrings
- Buffalo Check Snowman Cutout Earrings
- Buffalo check with Christmas Tree cutouts