Wood Slice Ornaments: Painted with Vinyl
I love decorating for the holidays with these DIY ornaments made with wood slices. There are so many ways to decorate them!
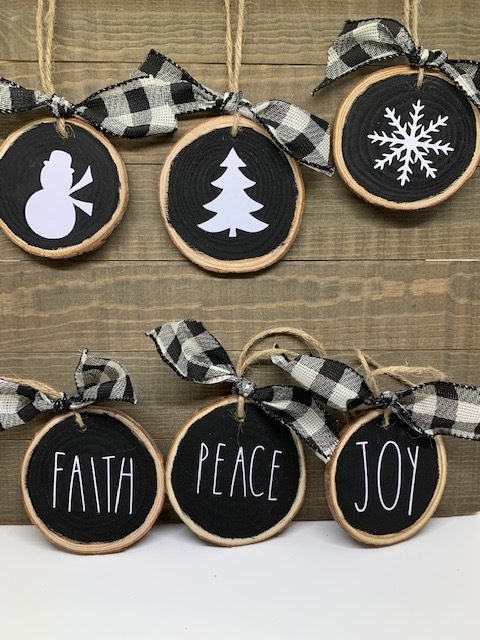
In this post, I’ll share how I made these wood slice ornaments by painting them with chalk paint and then decorating them with cut vinyl.
Disclosure: This page may contain affiliate links. If you purchase through these links, I may earn a commission at no extra cost to you.
My website contains affiliate marketing links, which means that when you make a purchase after clicking my links, I may receive a small commission for any sales made from links you click on. This doesn’t change the price you price for the items.
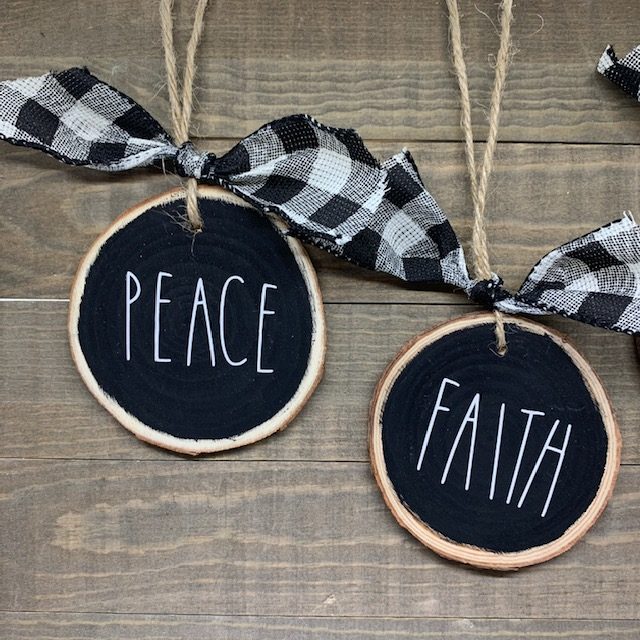
Details for making these DIY wood slice ornaments can be seen in my YouTube video below.
What You’ll Need for this wood slice ornaments project:
- Wood slices – These are the ones that I bought on Amazon. They’re super cheap, have drilled holes, and come with the string.
- Black Chalk Paint and foam paint brush. The link here is for a chalk paint available on Amazon. I got mine at Walmart.
- Ribbon for the ornaments – Here is some similar to mine.
- Cricut Machine – I recommend the Cricut Explore Air 2 or the Cricut Maker.
- White Vinyl
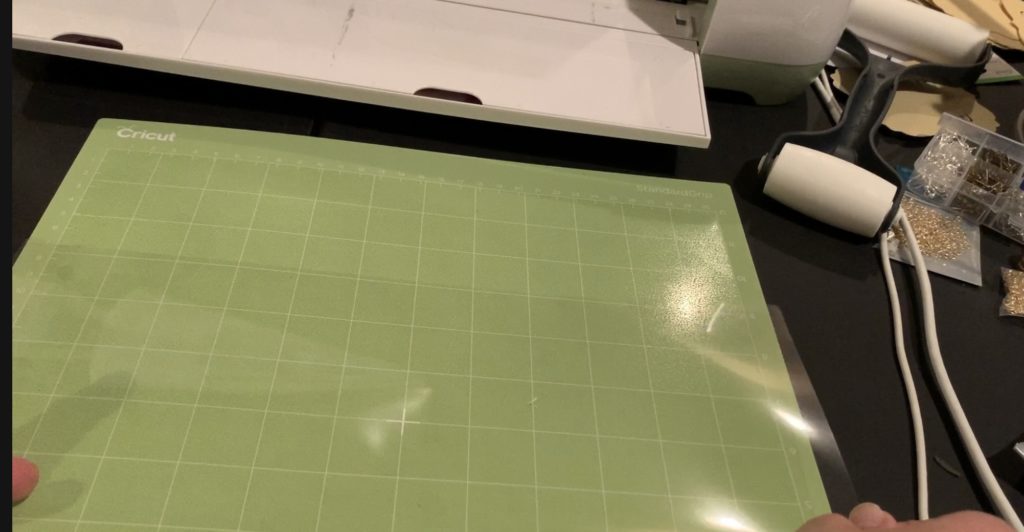
- Cricut Cutting Mats – You need new or very sticky Cricut mats. The green mats work fine for this project because we’re using faux leather.
- Basic Cricut Tools
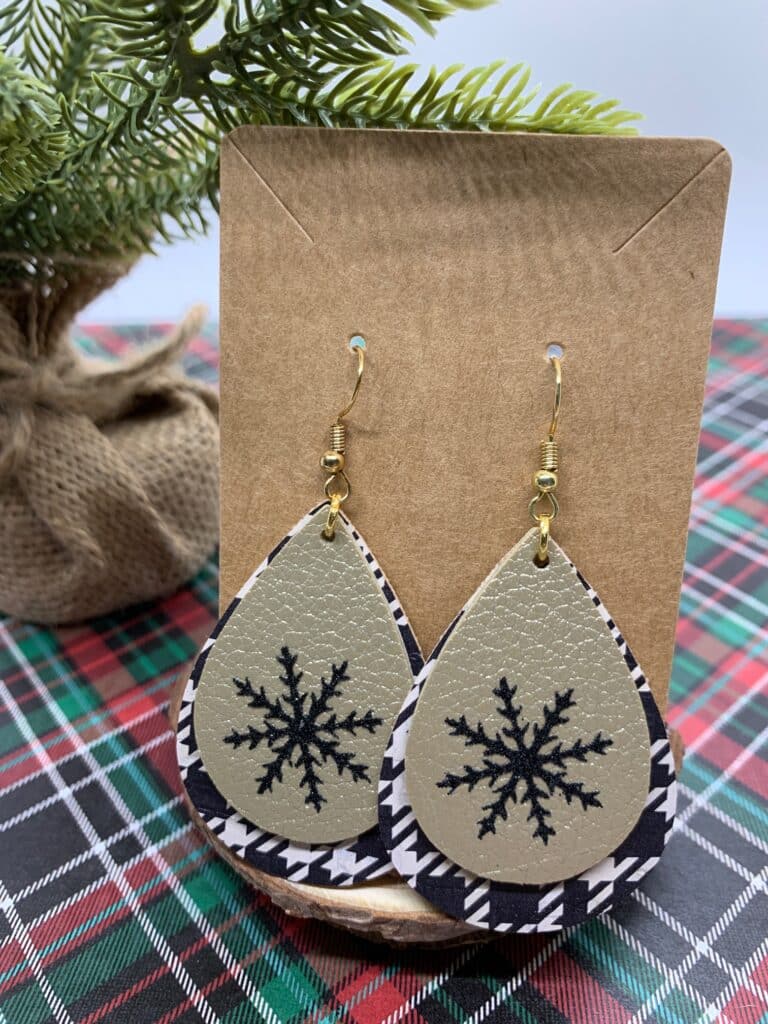
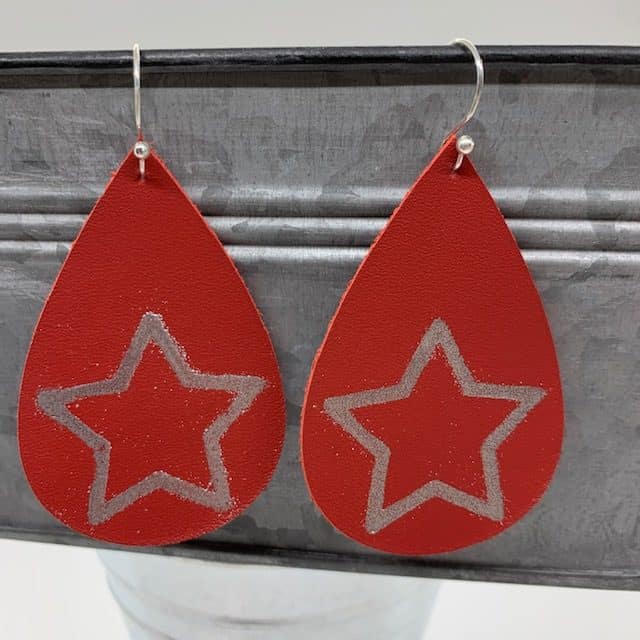
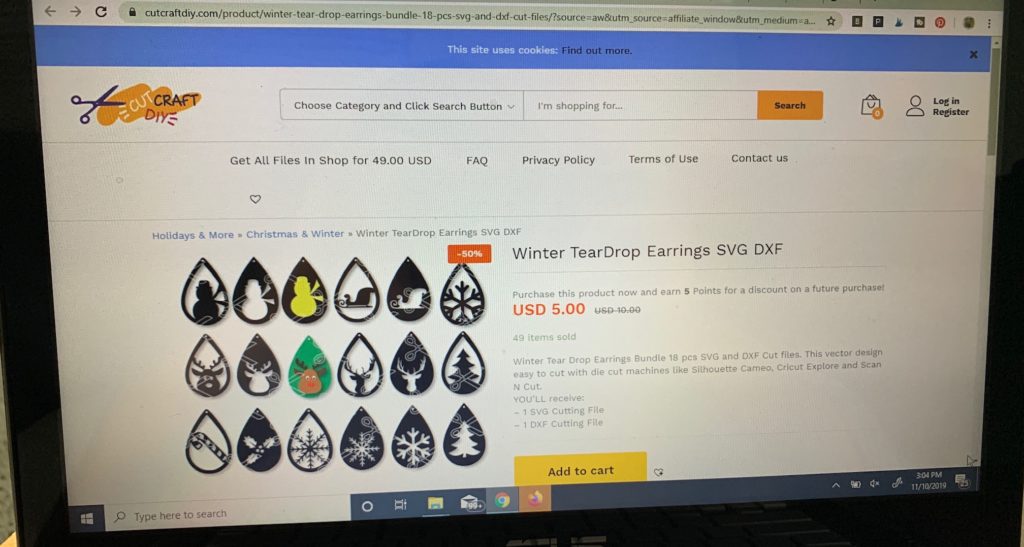
- SVG files for your ornament cutouts – I used these files that I had already purchased for earrings projects that I’ve completed. These were part of a bundle from cutcraftdiy.com.
STEPS TO MAKE WOOD SLICE ORNAMENTS
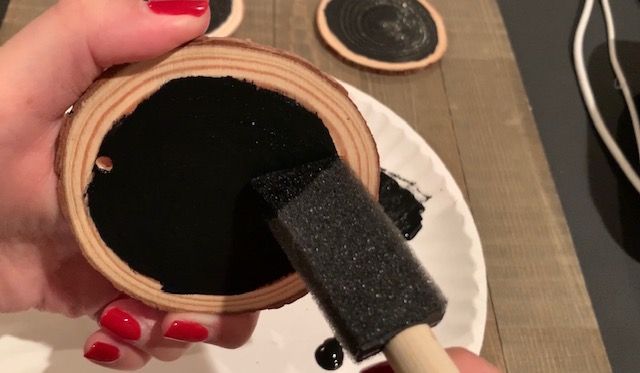
Paint the wood slices.
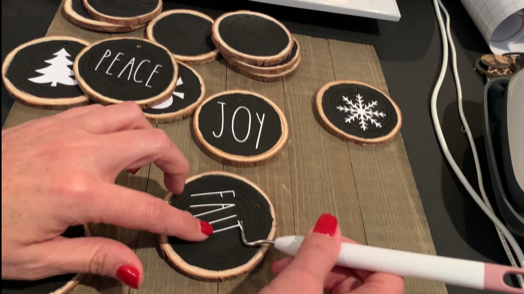
Paint a circle on each of the wood slices. I left a bit of space around the circle unpainted so that you can see the wood. For my project, I used black chalk paint, but I’ve seen really cute wood slice ornaments that have circles painted in gold, green, red, and white. So pick the color that works best for your Christmas decor.
Cut the vinyl using your Cricut.
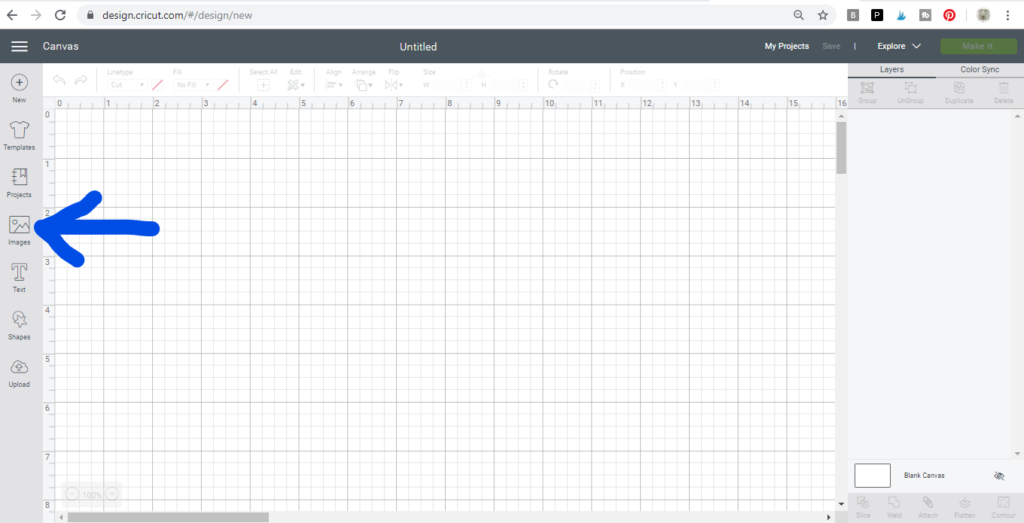
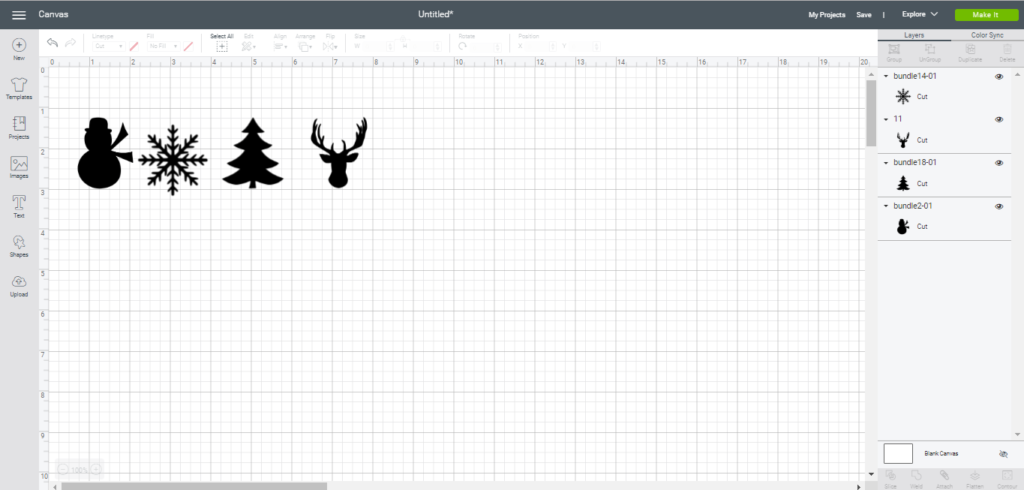
Create a new project in Cricut Design Space.
Start a new project to make the wood slice ornaments by clicking on the + icon.


Upload Image, if not already uploaded
Upload the cut file for this project, by clicking on the upload icon on the left and navigate to the file on your computer.
I always recommend adding tags when uploading new files. Pick word that you would type in if you were looking for the file. This makes it much easier when you’re looking for the file in the future.
Insert the cut file onto the canvas of your new project.
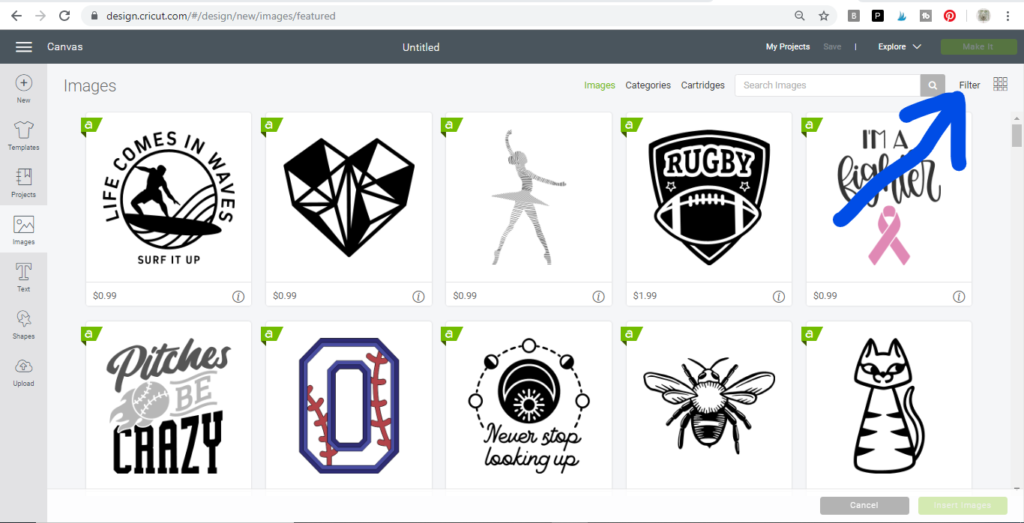
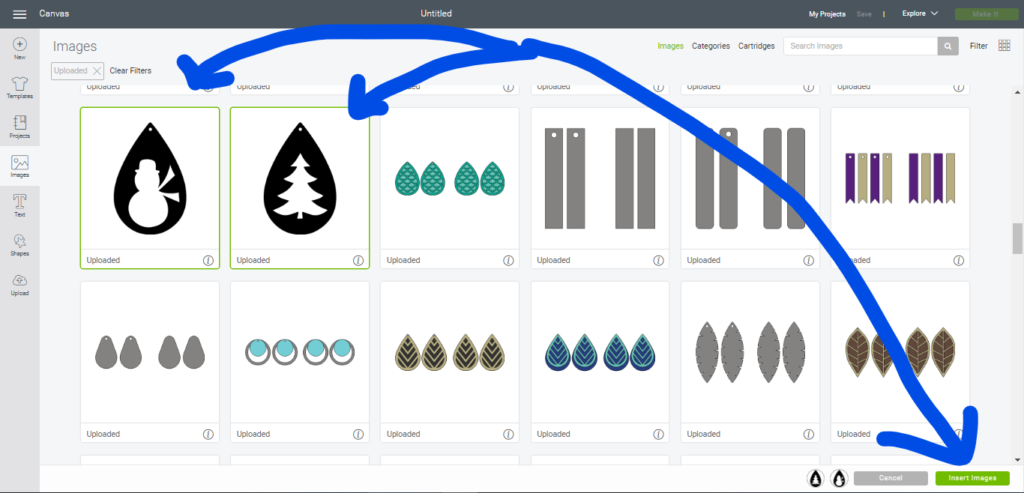
Click on the Images icon on the left.
Tip: To easily find my upload files, I usually filter by files that I have uploaded. Click on the Filter option.
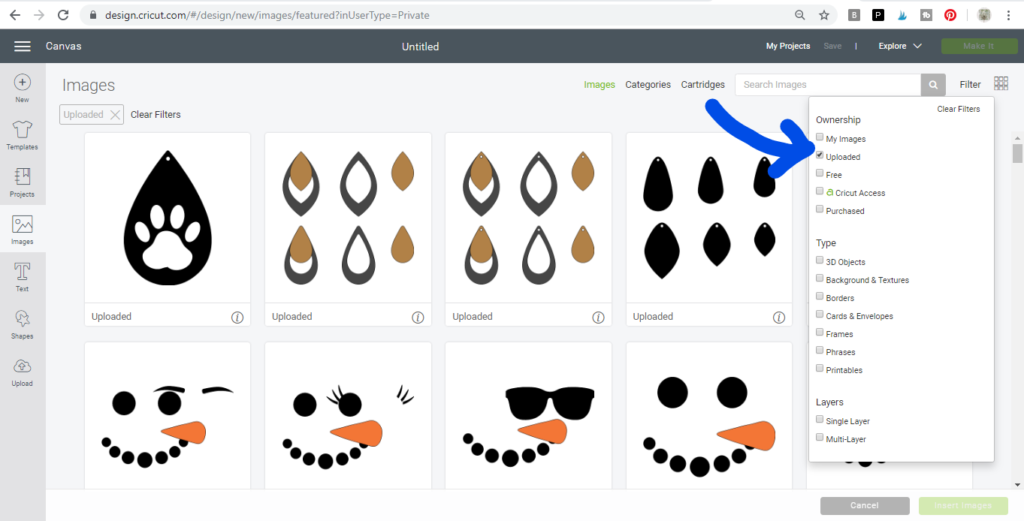
Click on “Uploaded.”
Select the cut files you want to use. It will have a green box around it when selected. You can click on however many you’d like to use and then, click on the insert image button in lower, right-hand corner.
Once you’ve inserted the image onto the canvas, you can see the dimensions of the file you’ve inserted in the height and width field.
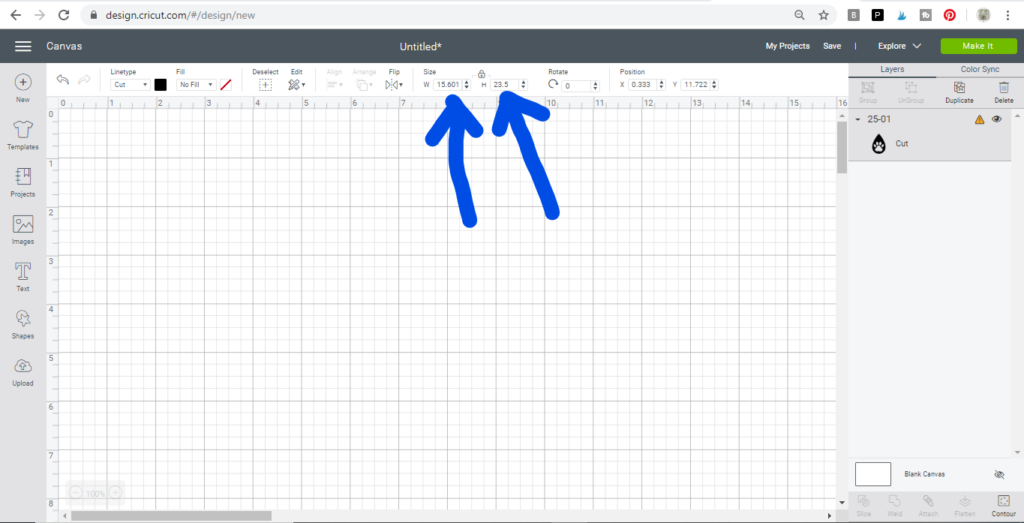
The files I’m using come into the canvas VERY large. I click on each one and change the height to 2″ to make them more manageable.
Re-size the image as needed.
My wood slice ornaments are 2-3″. To make the images manageable to work with, I changed the height of each to 2″.
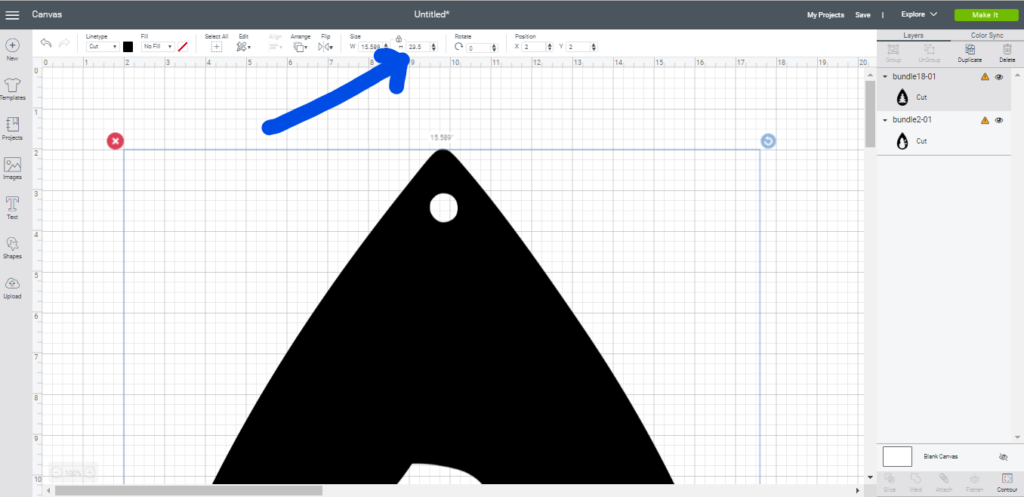
Hide the teardrop earring and earring hole, leaving only the Christmas image.
For the earring images that I’m using for this wood slice project, I needed to modify the images a little bit to get them ready for this project. I need to delete the teardrop earring shape and just keep the Christmas image.
Use the Contour Button to Hide Elements, as needed
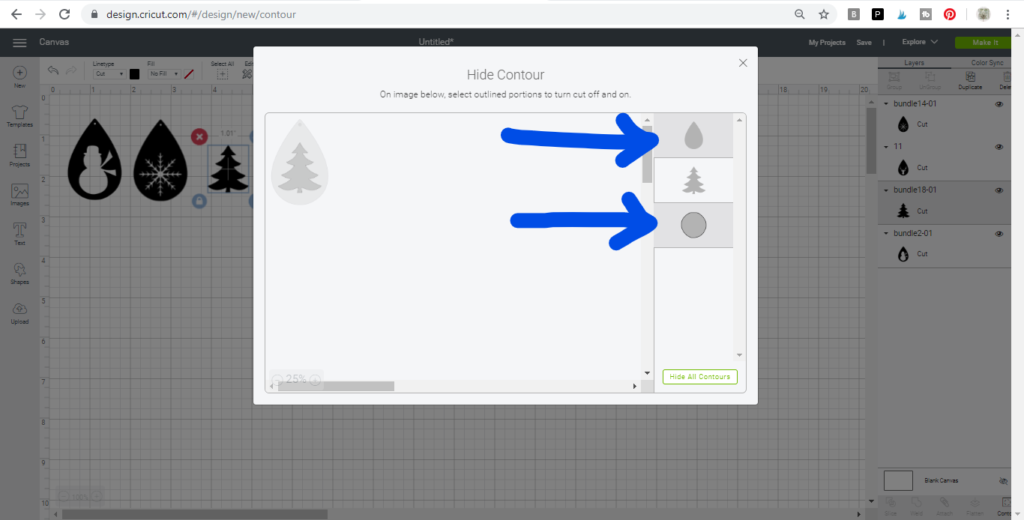
Click on one of the image and then click on the Contour button in the lower right-hand corner.
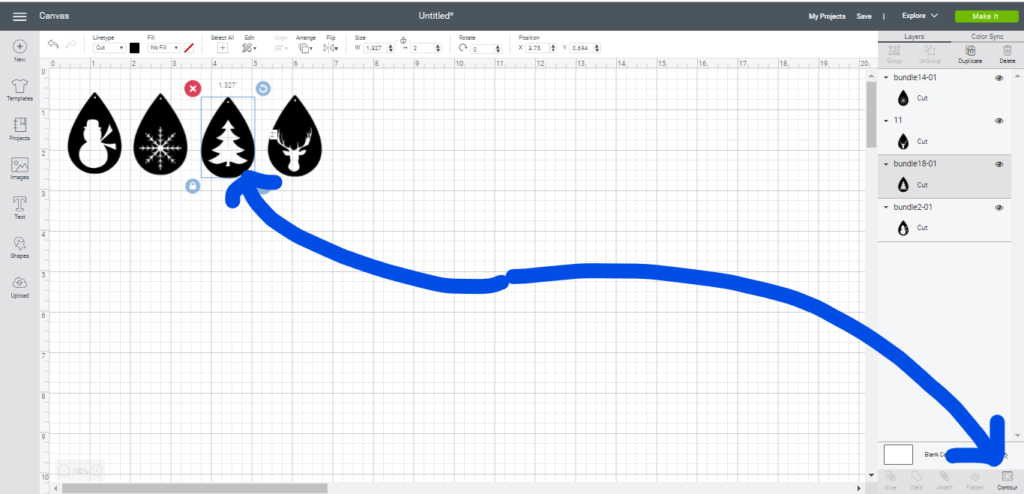
Click on the image that looks like the teardrop and the circle. They should be shaded. Once they’re shaded click the X in the upper right hand corner. This will hide those elements and only the Christmas shape will remain. Repeat to hide all earring shapes.
And below you’ll see the image after taking these steps. Only the Christmas tree shape remains.
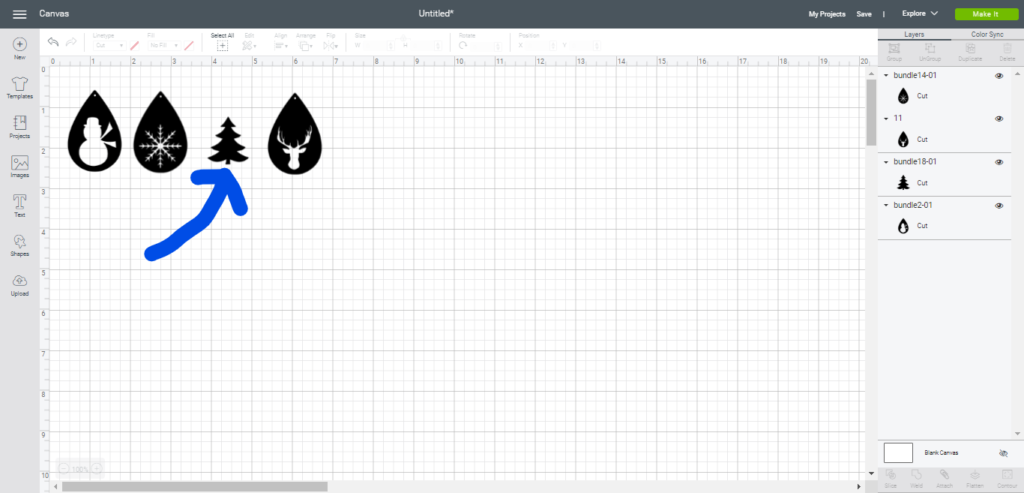
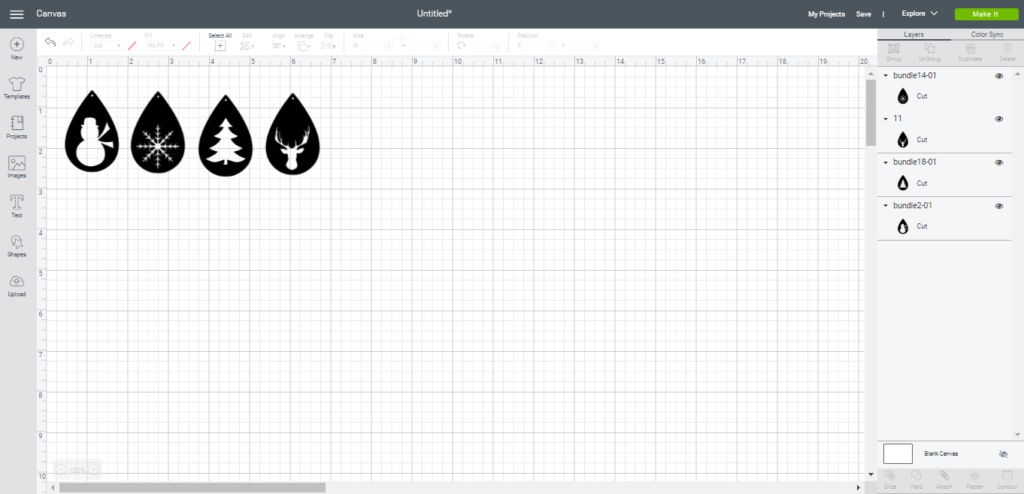
Continue taking these steps for each image on the mat that needs the teardrop to be hidden.
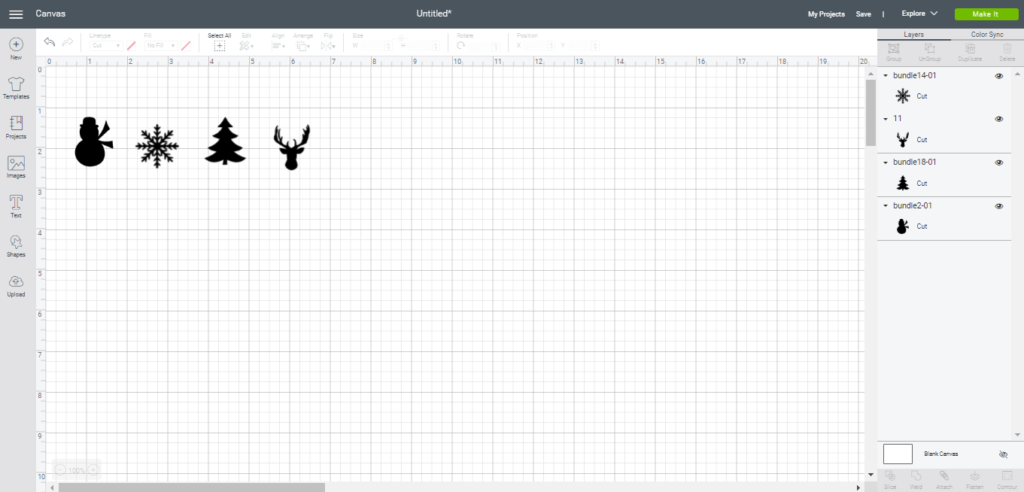
Change the size of the images, as needed.
Now that only my holiday image is remaining, I need to re-size my images. I changed each to 1.75″ to ensure that it will fit in the center of my wood slice ornament.
MAKE IT
Once your mat has all the earring components ready to cut for your wood slice ornaments, click on the Make It button to cut your vinyl.

On the left you’ll see the different mats that will need to be cut. For my project, all my pieces of vinyl are white, so I only had one mat
Set the Cricut machine on the right setting.
Turn your dial on your Cricut Explore to Vinyl.
Place your material on the cutting mat(s).
I put the plastic mat cover on the mat, exposing only the mat that will be cut on. Since the height of these images is less than 2″, I put my plastic on at around 3″ down.
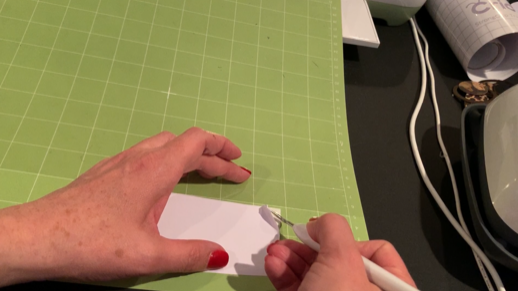
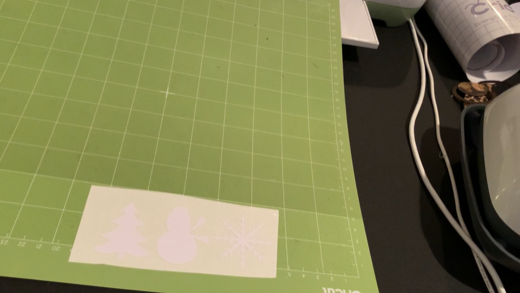
Once I place my plastic on top of the mat, I put the vinyl on the mat and cut and weed it. See details on this in my YouTube Video.

Creating words for the ornaments
I typed words for some of my ornaments. The font that I used is the Cami Rae font which you can download for free here. I use this Rae Dunn inspired font for many projects. Just type the words you want for your ornaments, making sure the width is shorter than the width of your ornaments. I made sure that mine were less than 2″ wide.
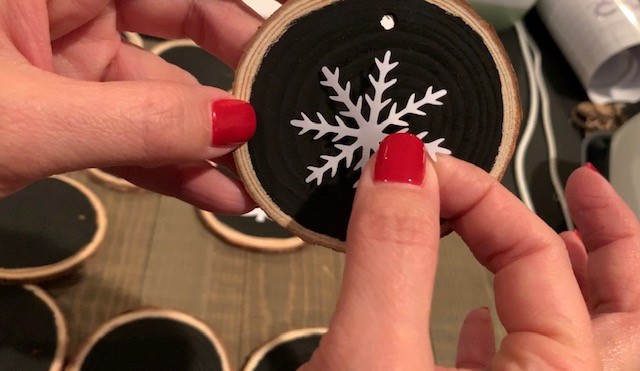
Put the vinyl on your ornaments.
I didn’t use transfer paper for this project. Once I weeded the vinyl, I used my weeder to lift my vinyl and to place it on my ornaments.
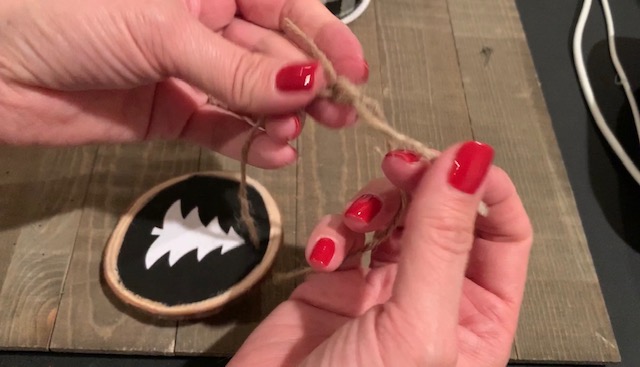
Tie strings onto the ornaments.
My wood slice ornaments came with twine. I had to put tape on the end to be able to put it through the hole without fraying.
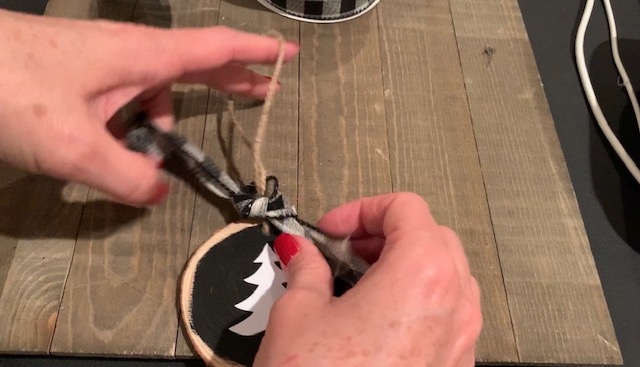
Decorate each ornament with decorative ribbon.
This is optional. I wanted to add a little bit of pattern to my ornaments. I think 3/4″ or 1″ wide ribbon would work best. The most narrow buffalo check ribbon that I could find was 1.5″ so that is what I used. I just tied a single knot with the ribbon.

See my DIY faux leather earrings made with these same cut files.