How to Make New Wood Look Old and Weathered (Easy DIY Crates)
Weathered wood has a rustic, vintage charm—and it’s surprisingly easy to recreate the look! In this post, I’ll show you how to make new wood look old using just a few inexpensive supplies. The process is simple, budget-friendly, and perfect for wooden crates, signs, or other décor.
Disclosure: This page may contain affiliate links. If you purchase through these links, I may earn a commission at no extra cost to you.
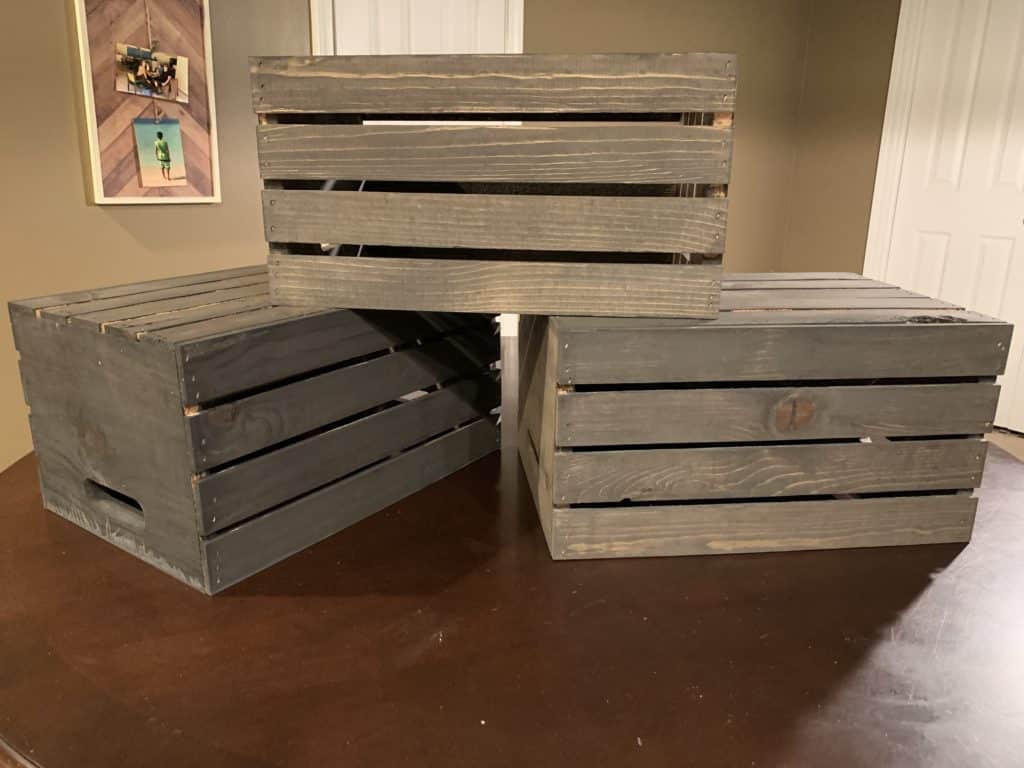
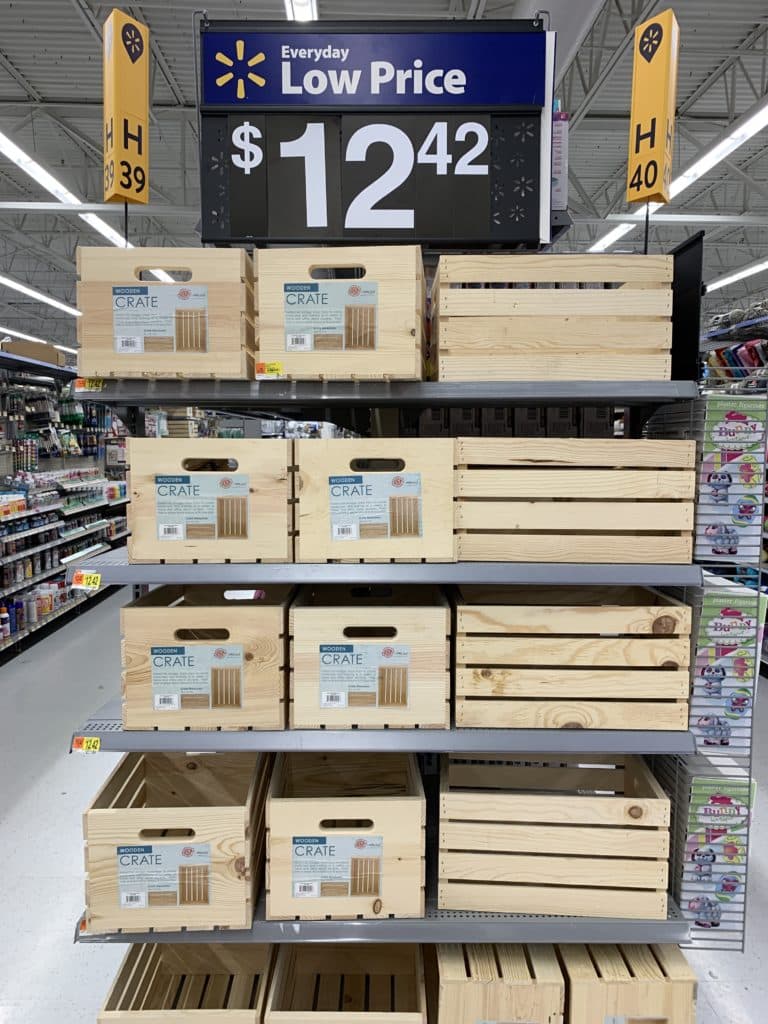
I recently picked up a few unfinished wooden crates at Walmart to use in a graduation table display. While the raw wood was nice, it didn’t fit the vibe I was going for. With a little paint and less than $2 in supplies, I gave the crates a weathered, aged look in just a couple of hours!
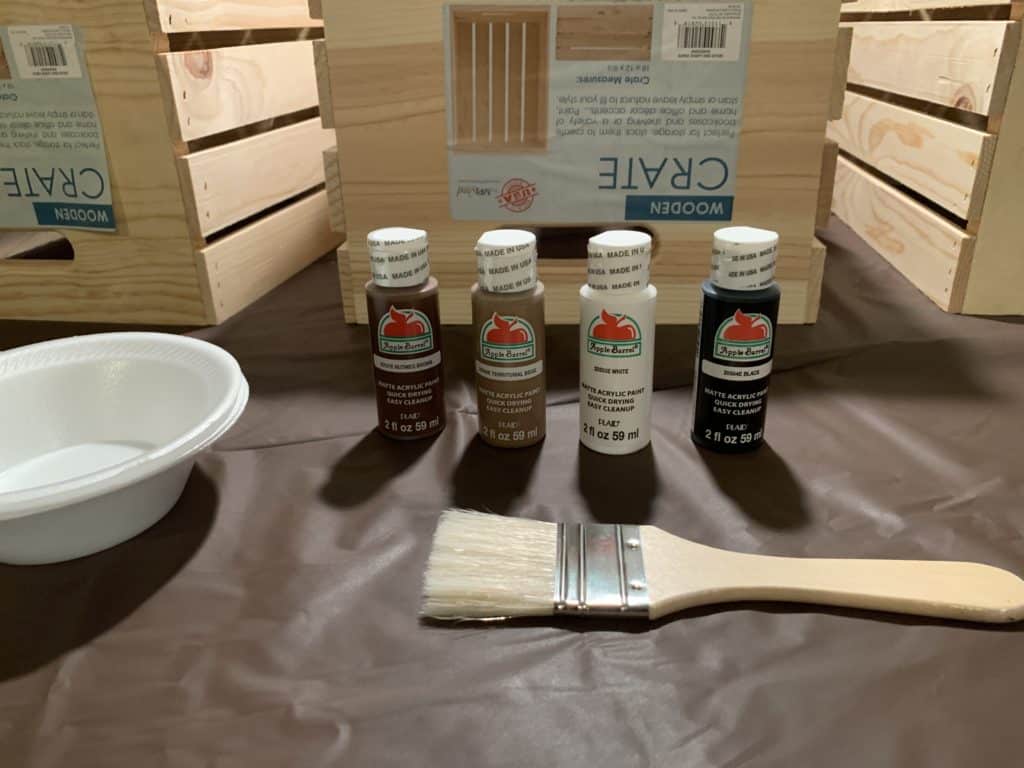
Supplies You’ll Need:
- Wooden crates – [Here’s a link to unfinished crates at a great price]
- Acrylic paint – Black, white, and brown (about $0.50 each at Walmart)
- Paintbrush
- Bowl – For mixing your paint
- Old sock or cloth – To wipe off excess paint
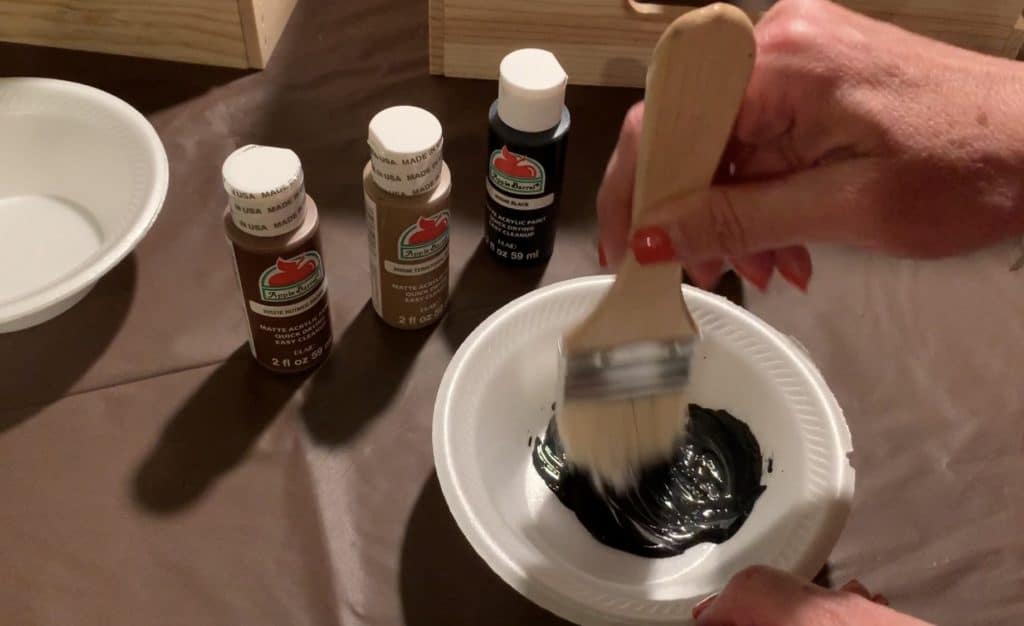
Step 1: Make the Black Paint Wash
- Pour a generous amount of black acrylic paint into your bowl.
- Add a small amount of white paint to soften the black.
- Mix the two paints together thoroughly.
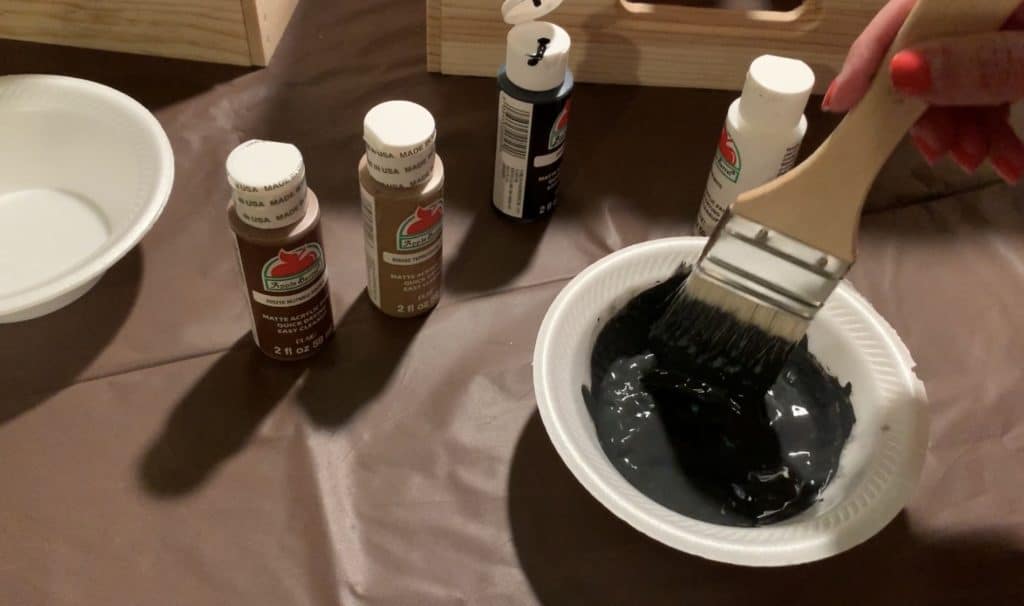
- Add about a cup of water to thin the mixture into a wash. Stir well.
Tip: You want the mixture thin enough that it doesn’t coat the wood too heavily—this creates a more natural weathered effect.


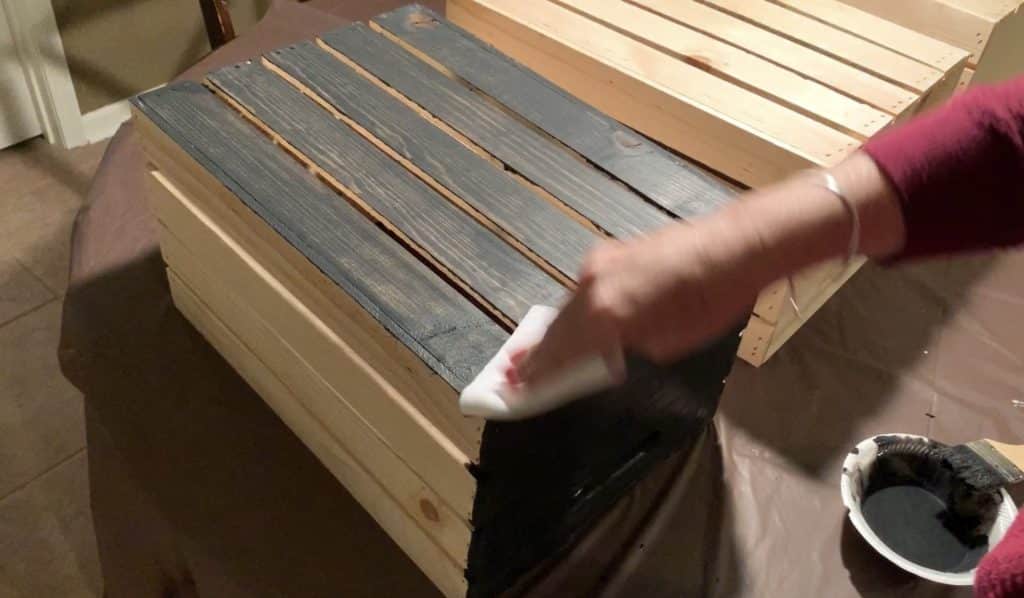
Step 2: Apply the Black Paint Wash
- Lightly brush the mixture onto one side of the crate. Be sure to get between the slats.
- Immediately wipe off the paint using a sock or cloth, leaving only a faded layer behind.
- Repeat for all sides of the crate.
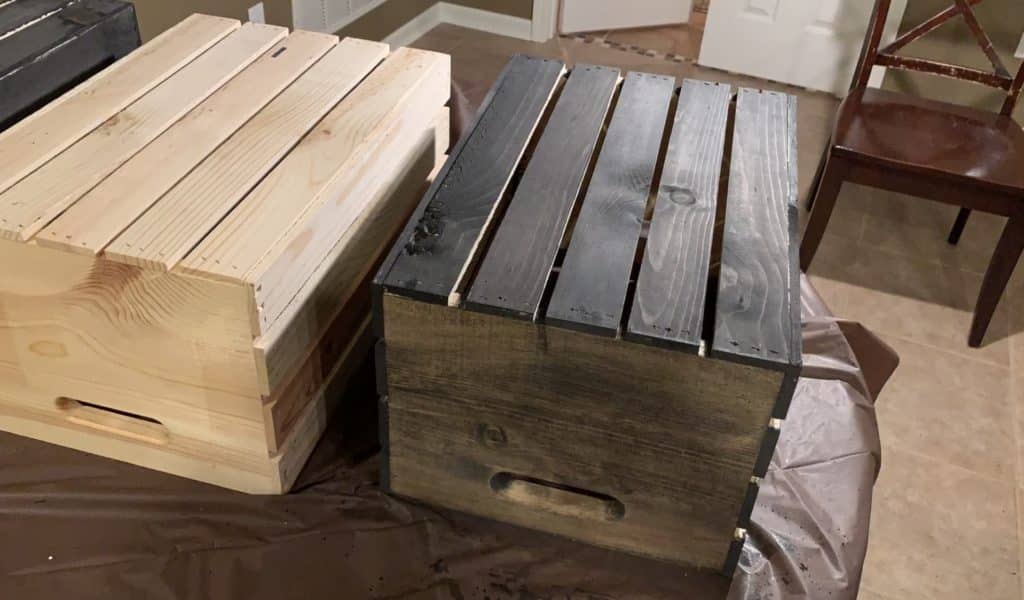
You should start to see that aged, sun-worn look emerge. Here’s what my crate looked like after one coat of the black wash:
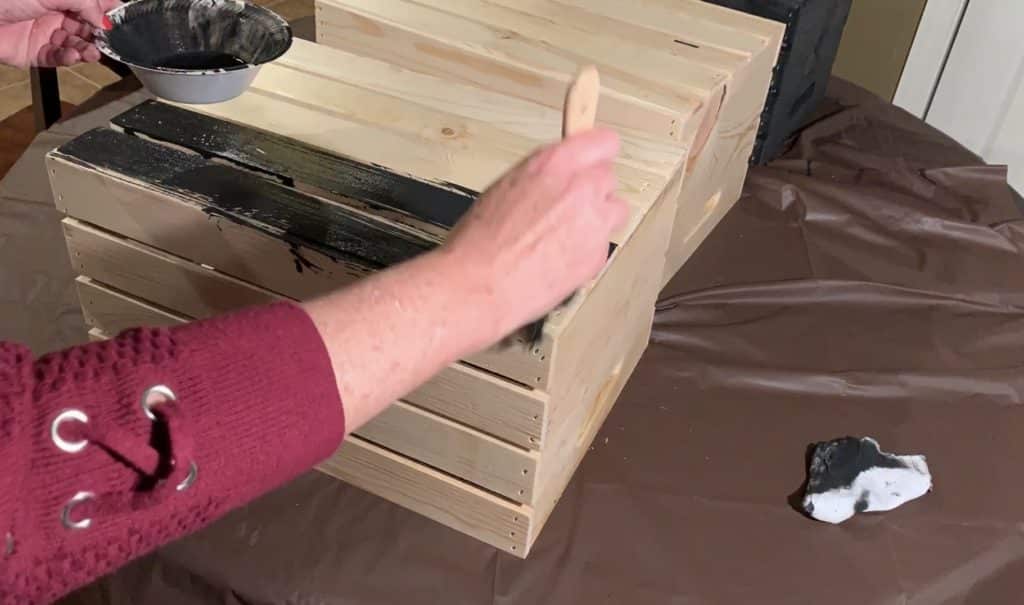
The photo below shows you what my crate looked like after one coat of the black paint mixture.
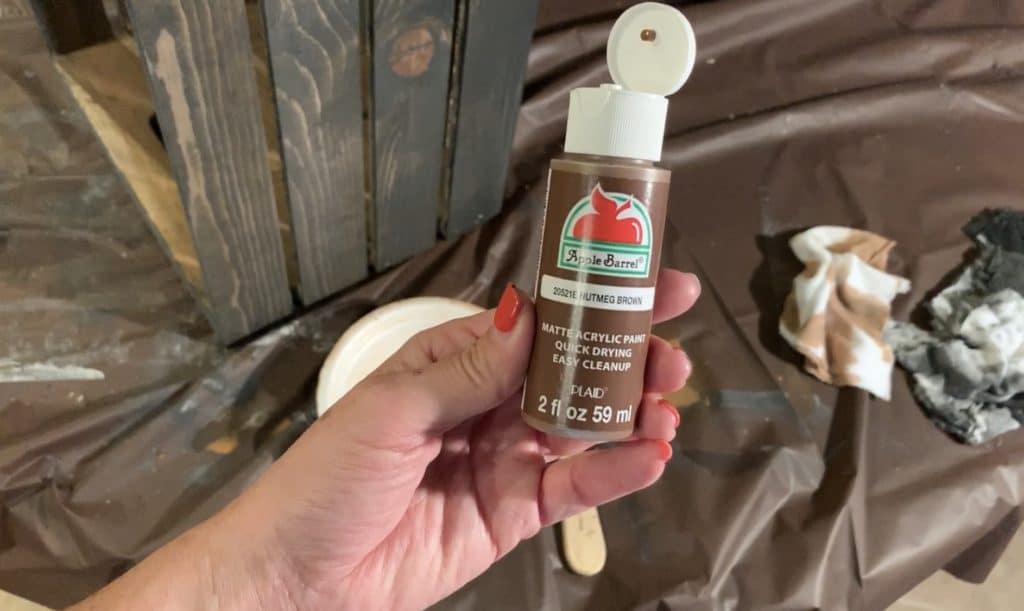
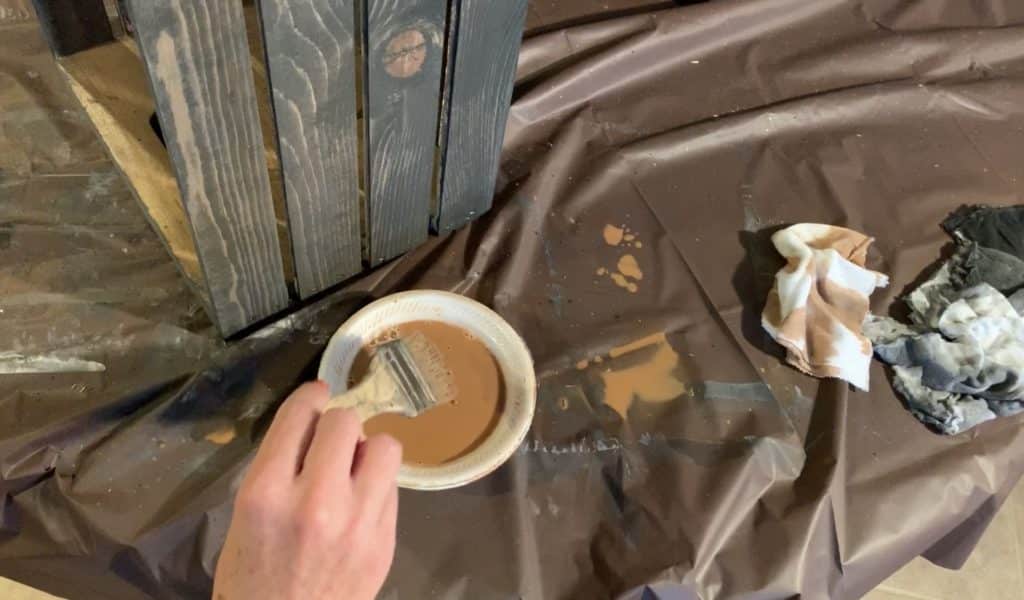
Step 3: Prepare the Brown Paint Wash
- Pour a small amount of brown acrylic paint into a clean bowl.
- Add water and stir until the mixture is thin and runny—similar to the black wash.
I used the brown shade shown in the photo below for a warm, earthy tone.
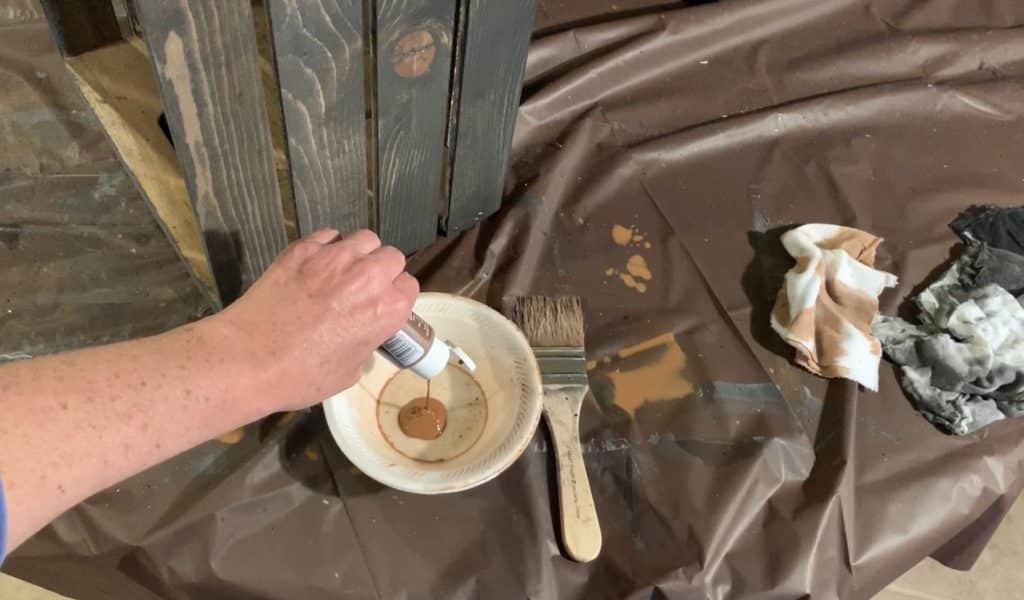
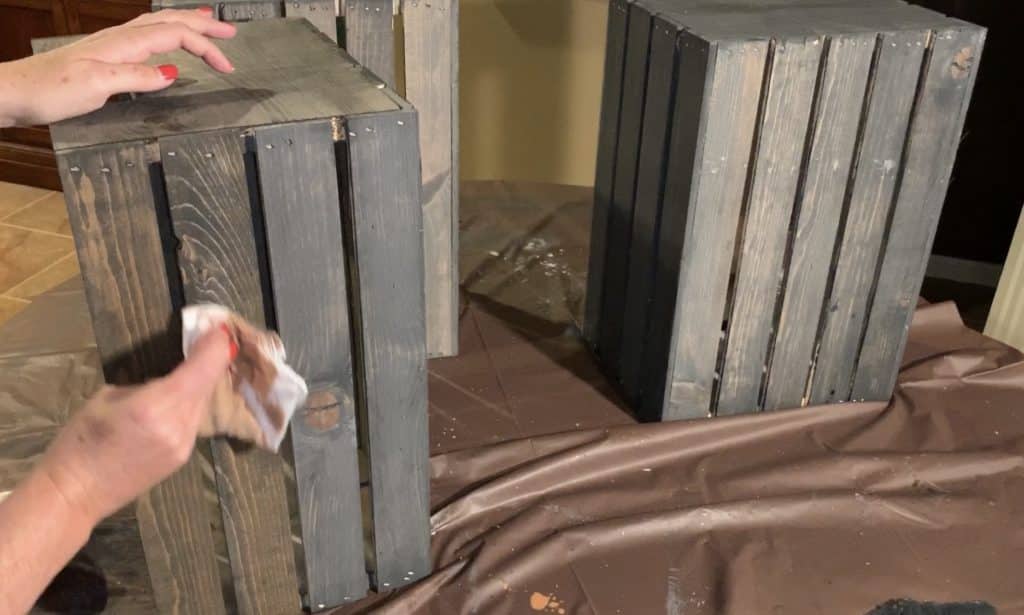
Step 4: Apply the Brown Paint Wash
- Brush the brown wash onto one side of the crate.
- Wipe off the excess with a clean cloth or sock, just like you did with the black wash.
- Continue one side at a time, painting and wiping as you go.
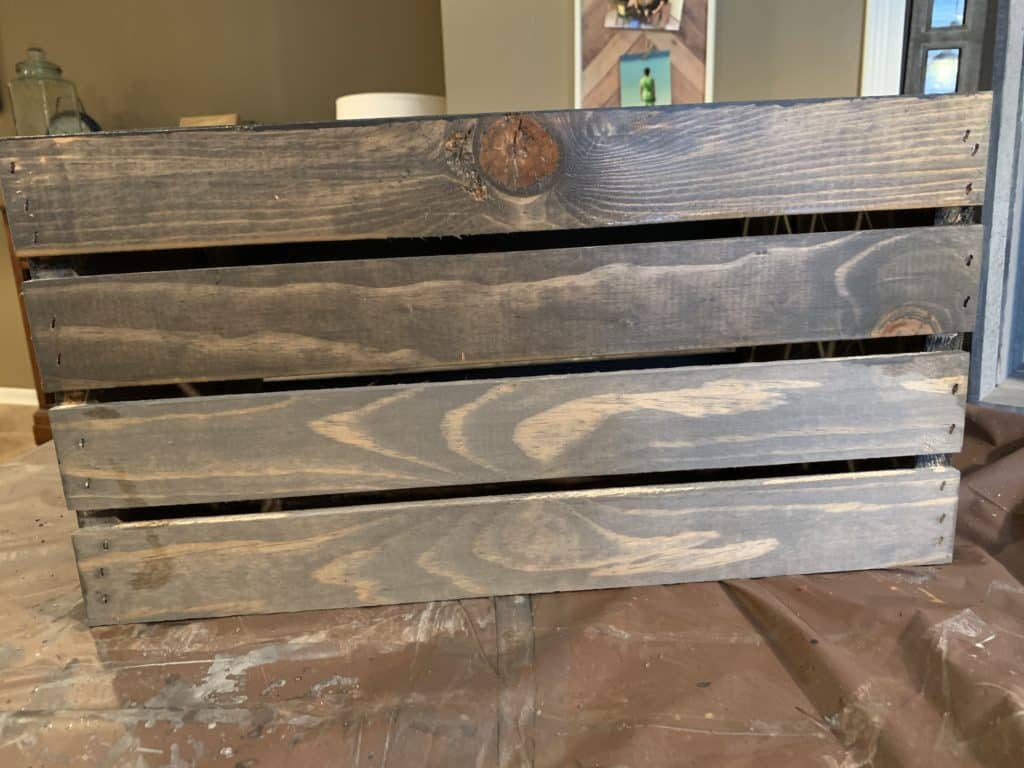
You’ll notice how the brown layer deepens the wood’s tone and adds warmth. Here’s a side-by-side example showing the difference after the brown wash is applied:
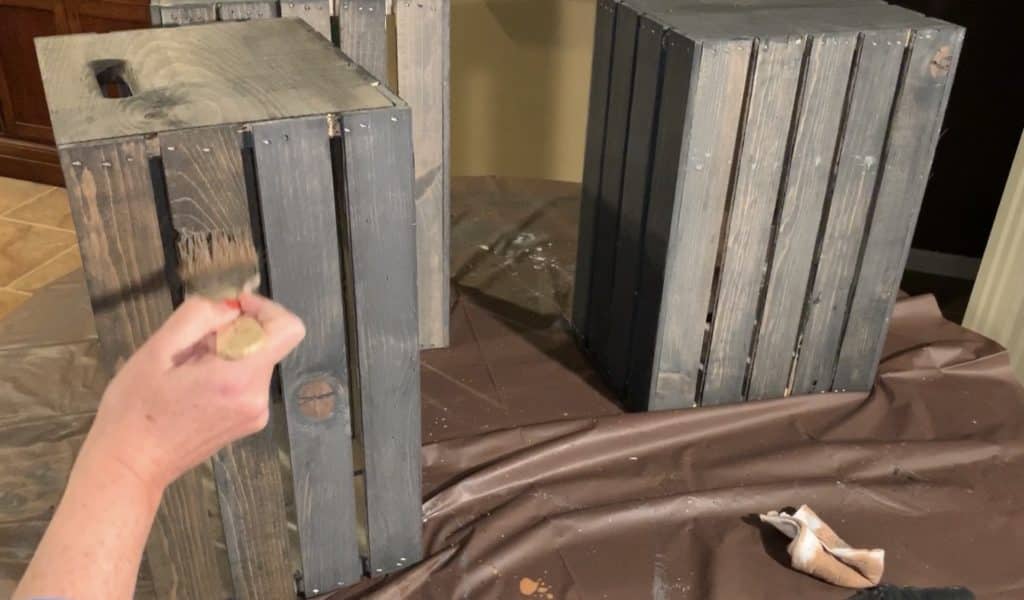
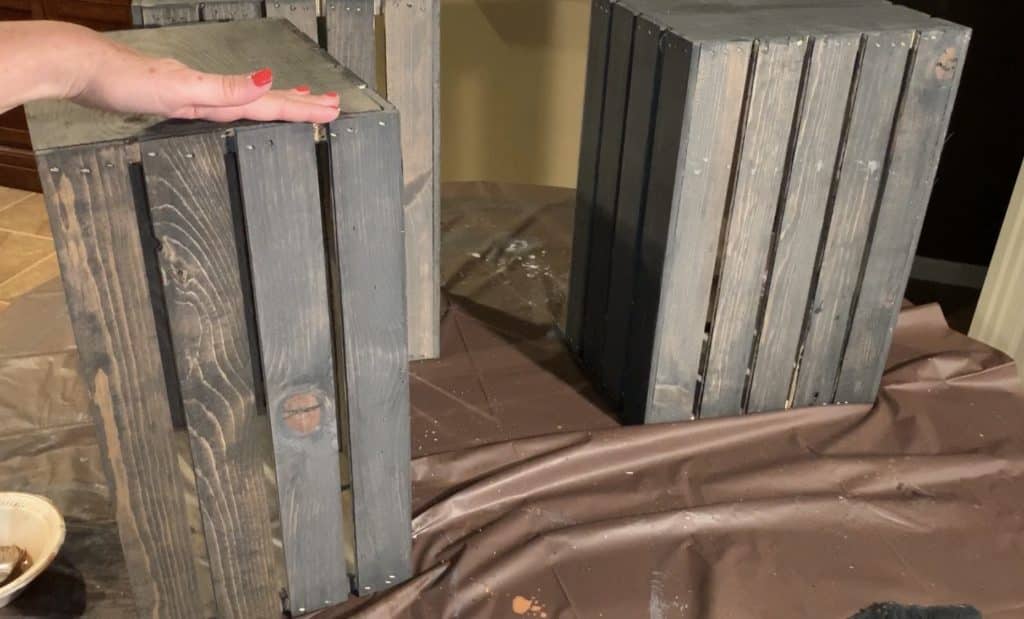
Here is another example that shows the color variance. The two slats on the top have the brown paint mixture applied and wiped off.
That’s It!
Your crate now has a beautifully weathered, rustic look. This simple technique costs just a few dollars and makes a huge impact. Whether you’re styling a party table, decorating your home, or organizing with flair—these aged crates add instant charm.
I also filmed a quick video of the process, which I’ve linked below for easy reference.