Bleach Spray Shirt DIY: Transform a Basic Hoodie in Minutes
Looking for a quick and stylish way to personalize a hoodie? This bleach spray shirt DIY is an easy, fun project that turns an ordinary sweatshirt into a unique, one-of-a-kind design.
Disclosure: This page may contain affiliate links. If you purchase through these links, I may earn a commission at no extra cost to you.
The best part? It requires minimal supplies, takes less than 30 minutes (excluding drying time), and lets you get creative with different spray patterns. My daughter and I had a blast making ours, and I’ve even included a step-by-step video tutorial to show you exactly how we did it!
Check out our YouTube video for a full walkthrough:
Bleach Spray Shirt DIY Supplies
Here’s everything you’ll need to complete this project:
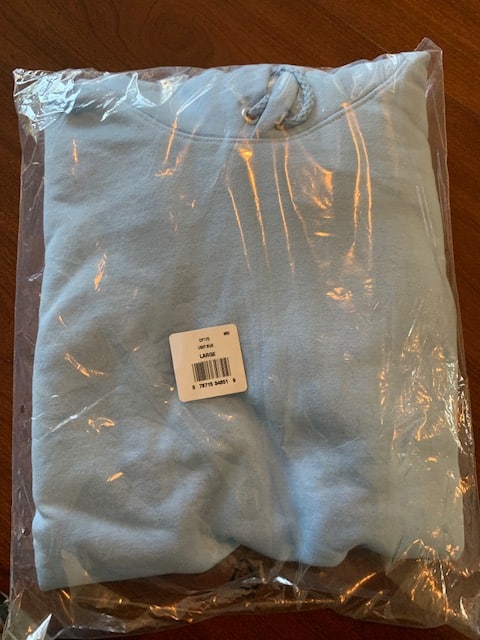
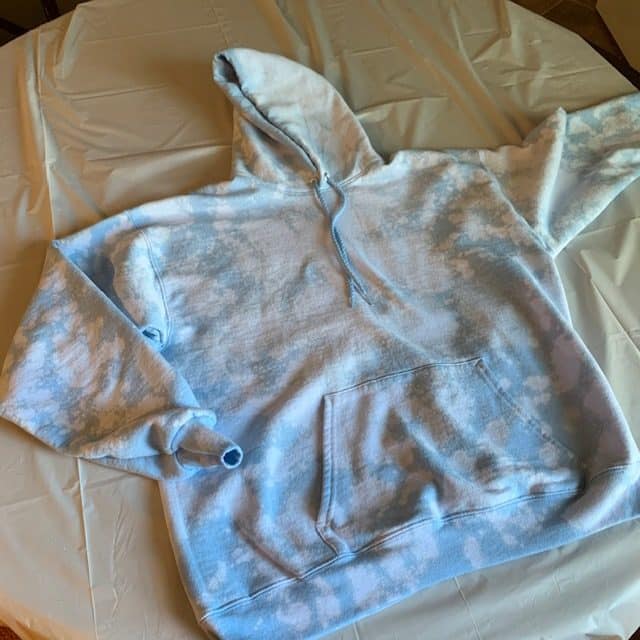
- Hoodie – We used a Hanes sweatshirt shown below from Amazon; however, it isn’t available. Check out this Gildan option on Amazon. Lots of colors to choose from!
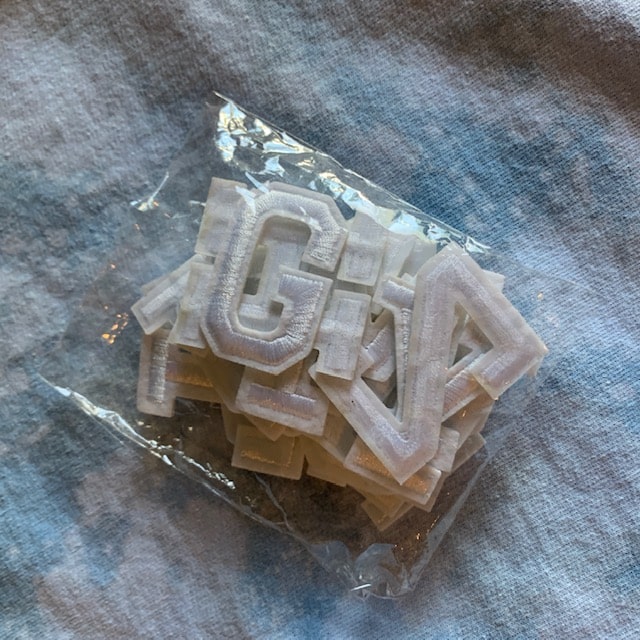
- Iron On letters made it easy to personalize.
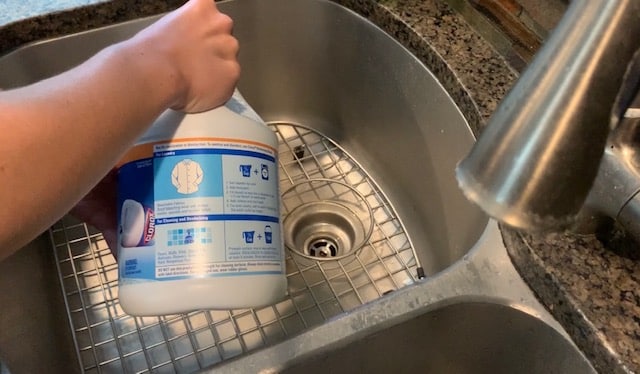
- Bleach (Amazon) – Regular bleach works best (avoid splash-less bleach).
- Continuous Mist Spray bottle (Amazon) – Great for controlling the bleach pattern.
- Cardboard box or towel – To protect the back of the shirt from bleach seeping through.
- Trash bag – Place it over the clipboard or cardboard to prevent leaks.
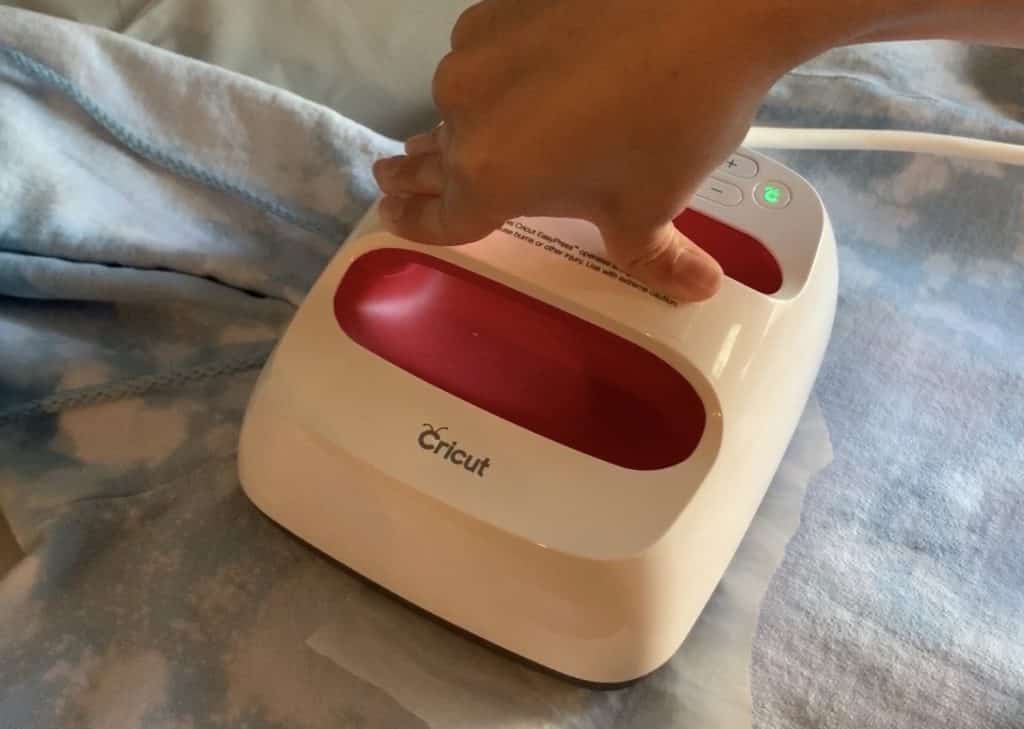
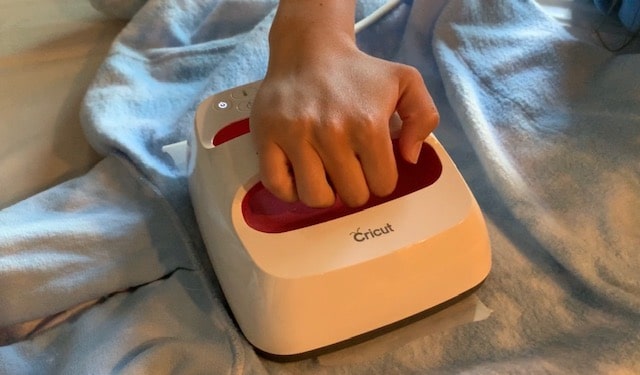
- Iron or Cricut Easy Press and Easy Press mat – For applying the iron-on letters.
- Gloves (Amazon) – Essential for safely handling bleach spray.
- Heat Transfer Vinyl! Perfect for personalizing your hoodie after bleaching, if you prefer these versus the one I used in this project. There are many colors of HTV available on Amazon.
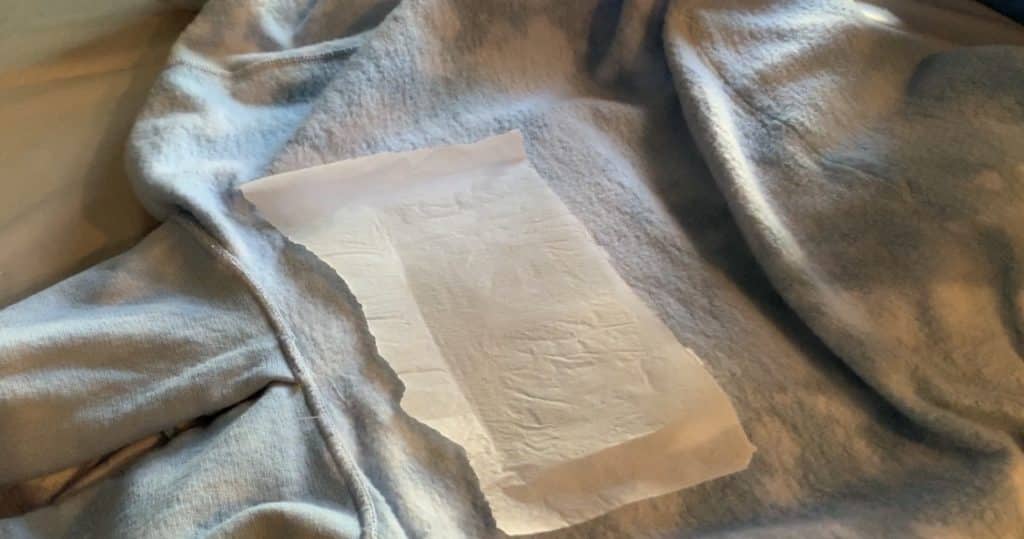
- Pre-cut Parchment Paper Sheets. Use these to prevent sticking and protect the vinyl while pressing. I don’t use my Cricut heat press without it! Here are the pre-cut sheets from Amazon.
How to Make a Bleach Spray Shirt
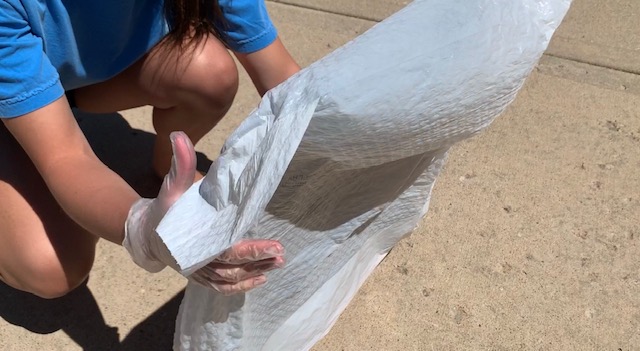
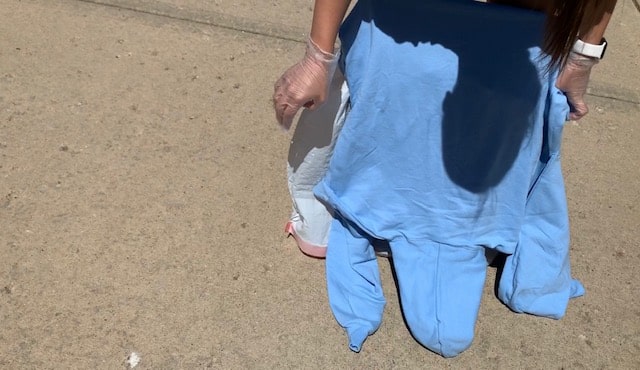
Step 1: Prepare Your Shirt
Place something inside your hoodie to prevent bleach from seeping through. A cardboard box, clipboard, or towel works well—just be sure to cover it with a trash bag for extra protection.
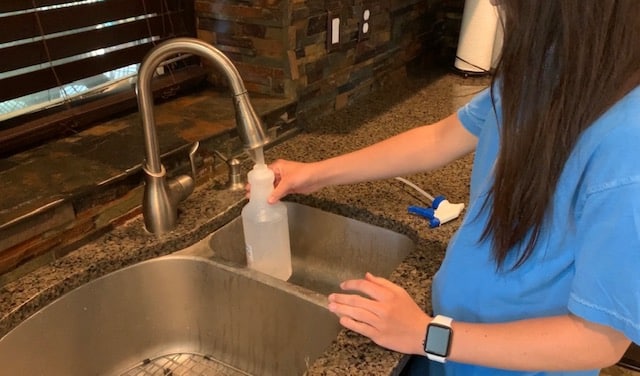
Step 2: Mix Your Bleach Solution
In a spray bottle, combine 50% bleach and 50% water. Label the bottle so you know what’s inside for future projects!

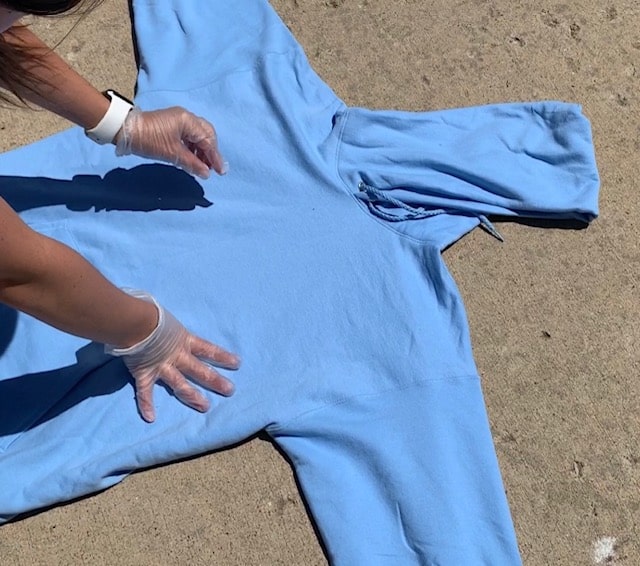
Step 3: Set Up Your Work Area
Lay the hoodie flat on a table or elevated surface to avoid excessive bending while spraying. Trust me—it’ll save your back!
Step 4: Choose Your Spray Pattern
Different spray nozzles create various effects:
- Mist spray produces tiny, scattered spots.
- Direct spray creates bold, concentrated areas.
- Drip technique lets you create larger bleach spots—my daughter loved this effect!
Try a small test spray first to get a feel for your design before committing.
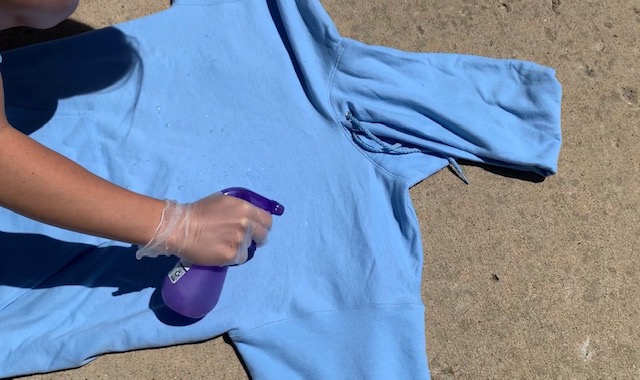
Step 5: Spray Your Hoodie
Spray the bleach-water mixture onto the hoodie, then let it sit for a few minutes to reveal the design. Start light—you can always add more bleach, but you can’t remove it once applied!


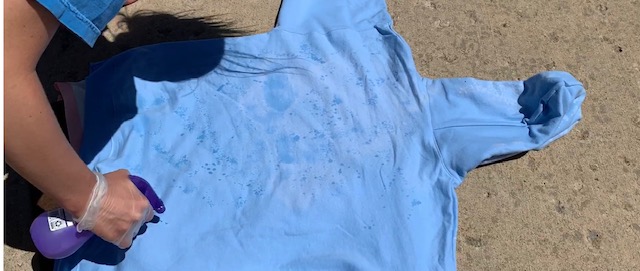
Step 6: Let It Dry
Hang the sweatshirt and let it air dry for about 90 minutes before washing.
Step 7: Wash and Dry
Once dry, wash the hoodie alone in the washing machine, then dry it completely.

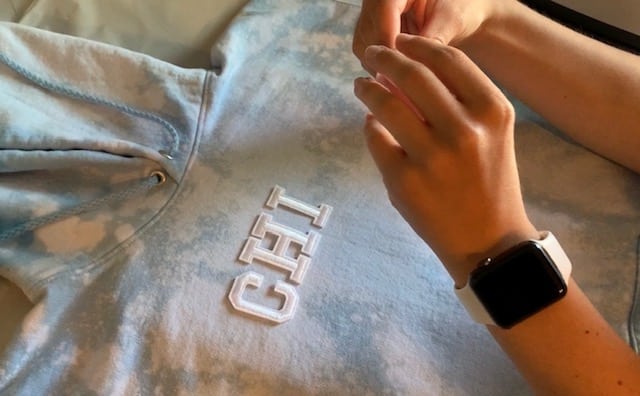
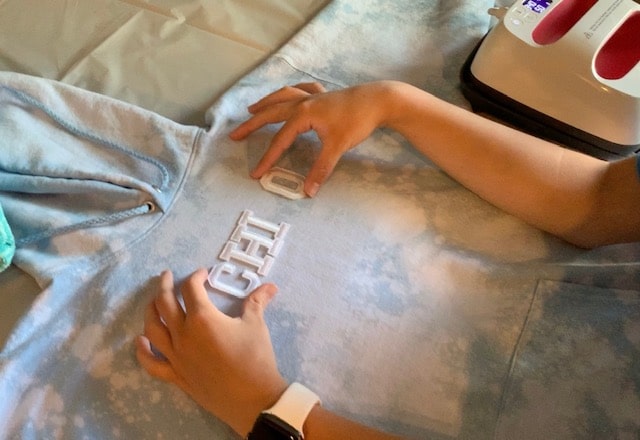
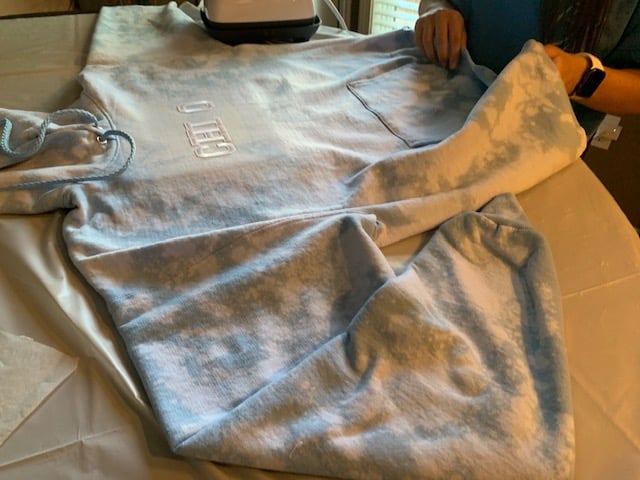
Step 8: Add Iron-On Letters
Lay the hoodie flat and place a Cricut Easy Press mat or towel inside to support the iron-on letters.
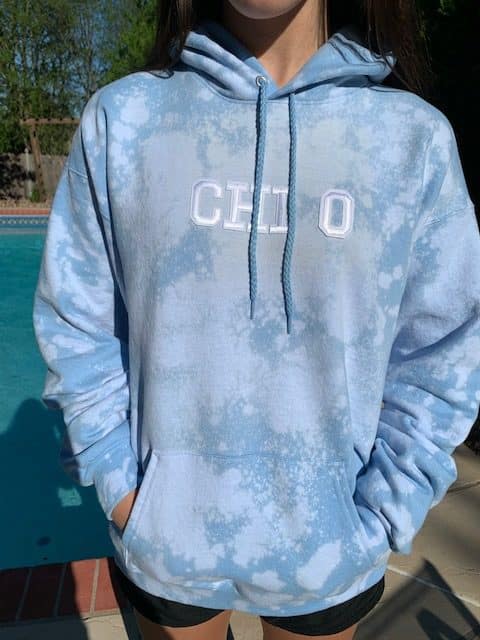
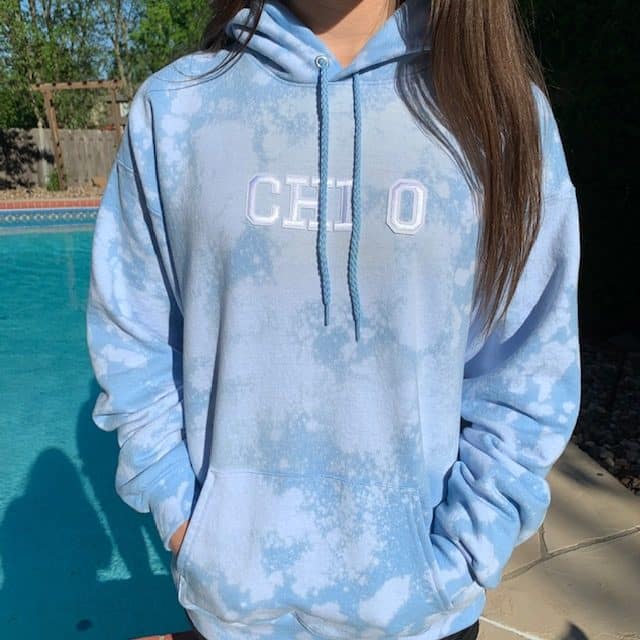
Position the letters 2–3 inches below the neckline and press them using a Cricut Easy Press or iron. Cover the letters with parchment paper before applying heat, then flip the hoodie inside out and repeat the process on the back side for extra adhesion.
Final Thoughts: A Fun, Easy DIY You’ll Love!
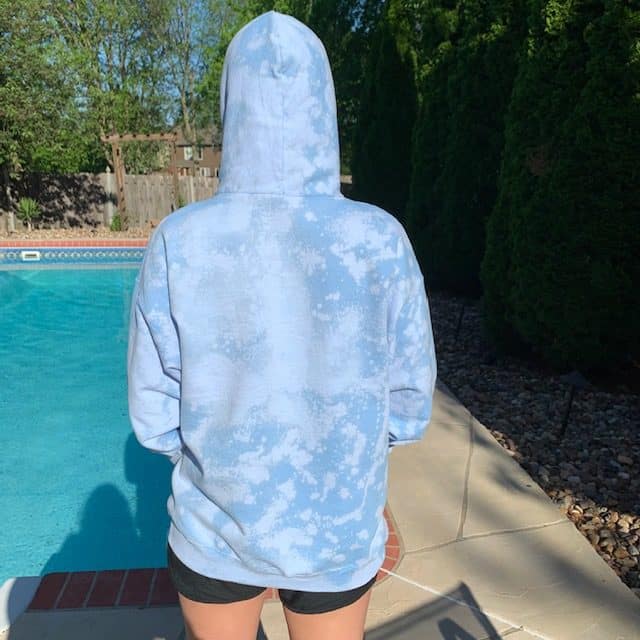
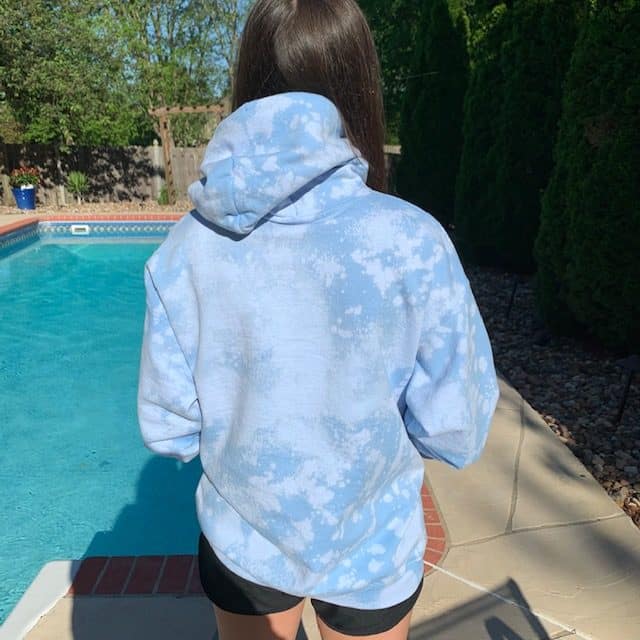
We absolutely loved how this hoodie turned out—the bleach spray created such a cool, unique effect! Whether you’re customizing a hoodie for yourself or making one as a gift, this project is a quick, budget-friendly way to create a stylish, personalized piece.